Showing posts with label Stitched Tag Dies. Show all posts

Thursday, November 7, 2024

Dancing Santa Tag by Dori Mendiola

 Happy Thursday AI Friends!

Have you seen the new Art Impressions Christmas release?  Wow, what a bundle!  Two cute stamp sets, a die set and two beautiful paper packs.  I decided to play with the #5931 Santa Puppet die set and boy, did I have fun making several versions of this Santa.  I have several more that aren't christmas so I'll save those for another post.  Stay tuned.

For my first Santa, I made him a dancing tag.  His body and legs move.  Check out the video below.


I partial die cut the pants (cut up to top of pant and then hand cut to make pant waist higher - see Pic 1).  I die cut all of the other pieces as well as an extra jacket and hands and decorated accordingly (see Pic 1 below).  The oval white piece on the right is a rough cut of the back of the head as you will need a base piece.  I then punched a hole in the three pieces as seen in Pic 1.  To put them together so that Santa dances, hold the leg piece where you want it to fall under the finished jacket.  Turn this over and adhere a foam dot into the hole (Pic 2).  Layer the extra jacket behind the back of the other jacket and adhere with the foam dot (see Pic 3).  Next hold the face over the front of the jacket, turn over and place another foam dot into the hole on the back of the jacket (see Pic 4).  Adhere the head base piece onto the foam dot in the jacket.   Your dancing Santa is ready for decorating with a pompom on the hat and a string to hang from the tree or present.

       Pic 1                                                                                      Pic 2

    Pic 3                                                                                           Pic 4

     Pic 5

My other variations using the 5931 Santa Puppet die set:

Cut my Santa in half and made two tags, one of which using the 5132 Tag Stitched Die.  I popped up the chimney and placed the body of Santa upside down into the chimney.   The second tag, I scored the arms before putting the cuffs on and folded them in half, then put the cuffs on the outer side so he was wrapping his arms around the star.  I also added google eyes to him for fun.  I cut several snowflakes from the 4804 Snowflake dies and the icicles on the chimney are from the 5407 Birthday Cake gift card die.  The sentiment is from 5350 Animal Nativity set and the candy canes are from 5457 Christmas Truck cubbies and the 5187 Gingerbread cubbies.


For the following tag I decided to make him a gnome santa.  I shortened his arms and legs and placed the hat lower on his face.  For his beard, I cut two but I cut one differently, by cutting half and then moved the die to stretch his beard and make it wider.  Another thought, you could use the 5223 Bookmark die and cut the top tab off to make a smooth beard.  He actually fits perfectly, but I wanted a fuller beard.  The die used for the santa sack is included in the 5931 Santa Puppet die set.  I believe it is actually to be used as the santa face base, however, I saw someone suggest a possible santa sack so I borrowed her great idea.  I wish I could remember who it was, so I could give her a shout out.   The candy canes are from the 5178 Gingerbread Cubbies and the banner is from 5722 Birthday Journal die set.  The sentiment is from 5192 Penguin Cheer set.


Tuesday, December 5, 2023

Missing You Tag By Nina

 Hello Ai fans, Nina here with a new cute tag project. I am using Birdhouse Village set and the Stitched Tag die Set.


I started by stamping my birdhouse image using my Mini Misti and Memento Tuxedo Black ink on a Bristol Smooth White Paper and colored it with Copic Markers.

Copic Shades:

Blues: B05 B04 B02

Blue Green: BG15 BG13

Yellows: Y17 Y08

Browns: YR27 E09

Reds: R30 R32 R27 R29

Purples V09 V06 V04

Oranges: YR07 YR04

I then cute my image with the scissors and backed it with foam tape. 


For the tag background I Die cut the biggest tag from the stitched Tag Die Set from white paper and ink blended Salvaged Patina Distress ink on the background with ink blending tool.

I also grounded the scene with couple grass hillsides that I attached to the bottom of the tag and tucked my Birdhouses image between them both.


Tuesday, November 14, 2023

Happy Holidays Tag by Nina

 Hello Ai fans, Nina here and today I have a very adorable pinkish Christmas/Holidays tag using Ai Stitched Die Set and MB Christmas.


I started by stamping images from the Matchbook die set using Memento Tuxedo Black Ink and Mini Misti and then colored them with my Copic Markers.

I then cut the images and backed them with foam tape for extra dimension.

I cut the tag using the biggest die from the die set from a pink pattern paper. I also die cut the ground from a matching pattern paper to be the ground where my images will sit on.


I placed my cabinet images on the floor strip and placed the toys shelf a little above as if it is hanging on the wall above the cabinets.

I then found these cute letters in my stash that matched perfectly my color palette. I used them to write my sentiment Happy Holidays.

I cut another tag from white sturdy paper and attached them together to make the tag more sturdy and added a hole reinforcer around the top hole.


Tuesday, August 15, 2023

Home is Where my Plants Are Tag by Nina

 Hello Ai fands, Nina here with a new project for our current challenge. I created this tag using the Garden mini Die set, Stitched Tags Die Set and Rocking Chair Set. 


 I die cut the chair three times and glued them on top of each other so the chair has some dimension.

I also die cut the garden tools using different scraps of pattern papers and glued to the tools to the back of the watering can so it gives the illusion that they are coming out of it.


I then die cut my tag base from a pattern paper and I noticed it has some greens on the top righ corner which inspired the color of the green ground. I cut a strip from a pattern paper that is green and glued it to the tag so my chair has a ground to sit on.

I then glued the chair, the tools nd a fun sentiment from my stash.

I then decorated with some enamel dots.


Thursday, August 10, 2023

Tag, You're It! Challenge #357 Week #2

 Hello and welcome to week #2 of our Tag, You're It! challenge!!

Last week, Janet was our featured designer and she created a tutorial for this fabulous gold tag.
She used 5132 – Tag Stitched Dies and 5276 – Tropical Circlet MTF.


She also created a second tag using 5132 – Tag Stitched Dies5255 – Birthday Cake Set5064 – Circle Double Stitched Dies5062 – Rounded Rectangle A2 Double Stitched Dies and AICS28 – Chocolate Therapy.


I added the inside cover page to my three Halloween Journals.  For this page I used 5352 – Halloween Critters Set5487 – Front Porch Halloween Set5562 – Journal Letter Die Set5543 – Journal Template Die Set5605 – Halloween Journal Paper Pack5589 – Journal Pocket Die Set and 5132 – Tag Stitched Dies.


Tasha used 5132 - Tag Stitched Dies, 5512 – Front Porch Door Set and
5494 – Front Porch Patriotic Set


So many great ways to use tags!  We hope we've inspired you and that you'll join the challenge.
You may just win a free stamp set!


You are invited to the Inlinkz link party!

Click here to enter

Tuesday, May 30, 2023

Baby Steps Tag Journal Page By Nina

 Hello Ai fans, Nina here excited to show my new Tag Journal tag using the cute MB Nursery Set which is one of the Matchbook sets and Stitched Tags Die Set.


I stamped the images from the MB Nursery Set on a white paper using Memento Tuxedo Black Ink and my Mini Misti.

I colored the images with Copic Markers, shades are:

Reds: R27 R29

Green : YG23 YG01

Yellow: Y17 Y15

Browns: E99 YR24

Browns 2: E29 E25

Grey: C2

Pinks: RV11 RV13 R21

I then cute the images and backed then with foam tape.


I cut my tag using Stitched Tag Die Set with my die cutting machine from blue and pink pattern paper.

I used stickers from a Baby Girl Paper collection that I had, I used Baby Steps banner on top and couple strips at the bottom of the tag.


To make my colored images stand out against the bust background I added white circles behind them that I cut using stitched circled die set.


I then decorated the tag with enamel dots and stickers and attached my tag to the Tag Journal.


Thursday, May 25, 2023

Fabulous Flowers Challenge #352

 Hello Ai fans!!
It's time for a new challenge and to announce the winners
from our last challenge.

Our new challenge goes along with one from last month.
In April we had an April Showers challenge.
Now, of course, we have to have May flowers.

FABULOUS FLOWERS!

Bring on the flowers.

Stamped
Die cut
Artificial flowers
Pressed flowers
Floral paper

Show us the FLOWERS!! 

But first...
our latest winners!

Our Top Spot went to
#15 Carrie Sheridan
You can visit her blog for lots more photos of her elaborate card.


Please contact Leah at Feedback@artimpressions.com
to claim a free stamp set of your choice!
Also, be sure to grab our badge to display on your blog, Facebook or Instagram!


Our Lucky Random Winner was 


Please contact Leah at Feedback@artimpressions.com
to claim a free stamp set of your choice!
Also, be sure to grab our badge to display on your blog, Facebook or Instagram!


Now that we've shared our winners it's time to see the amazing, new creations from 
our featured Design Team member Nina!

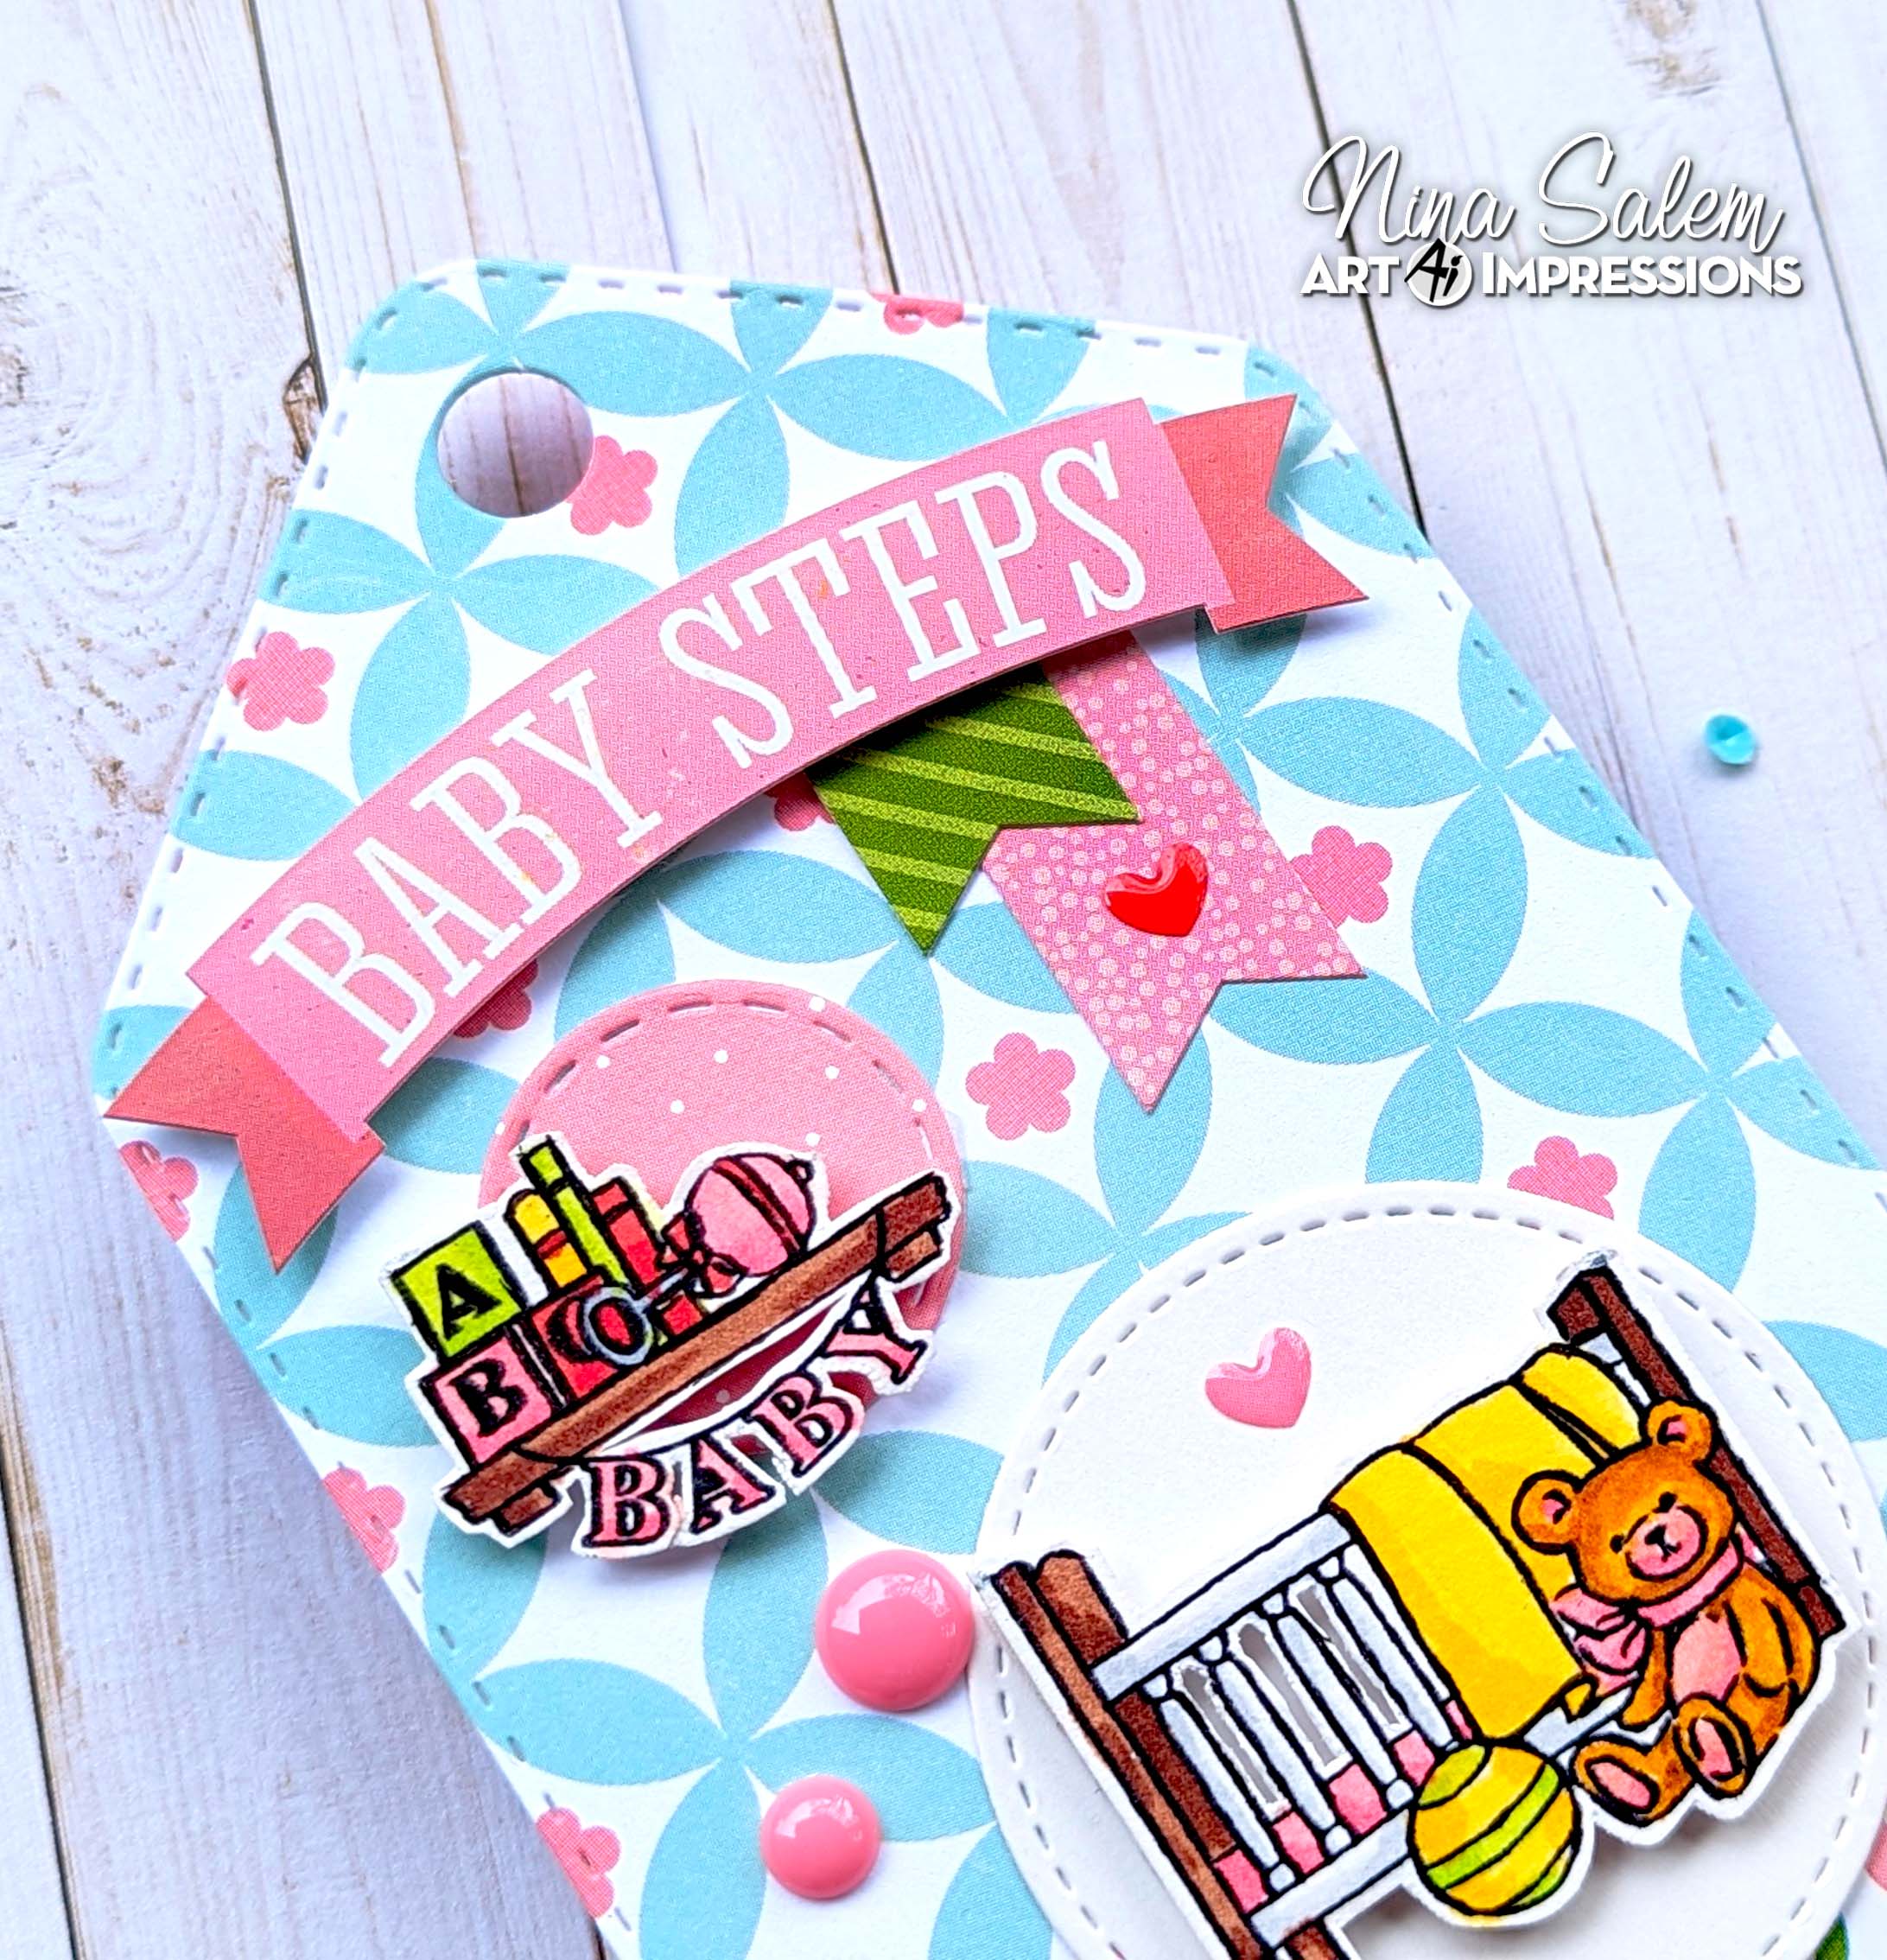
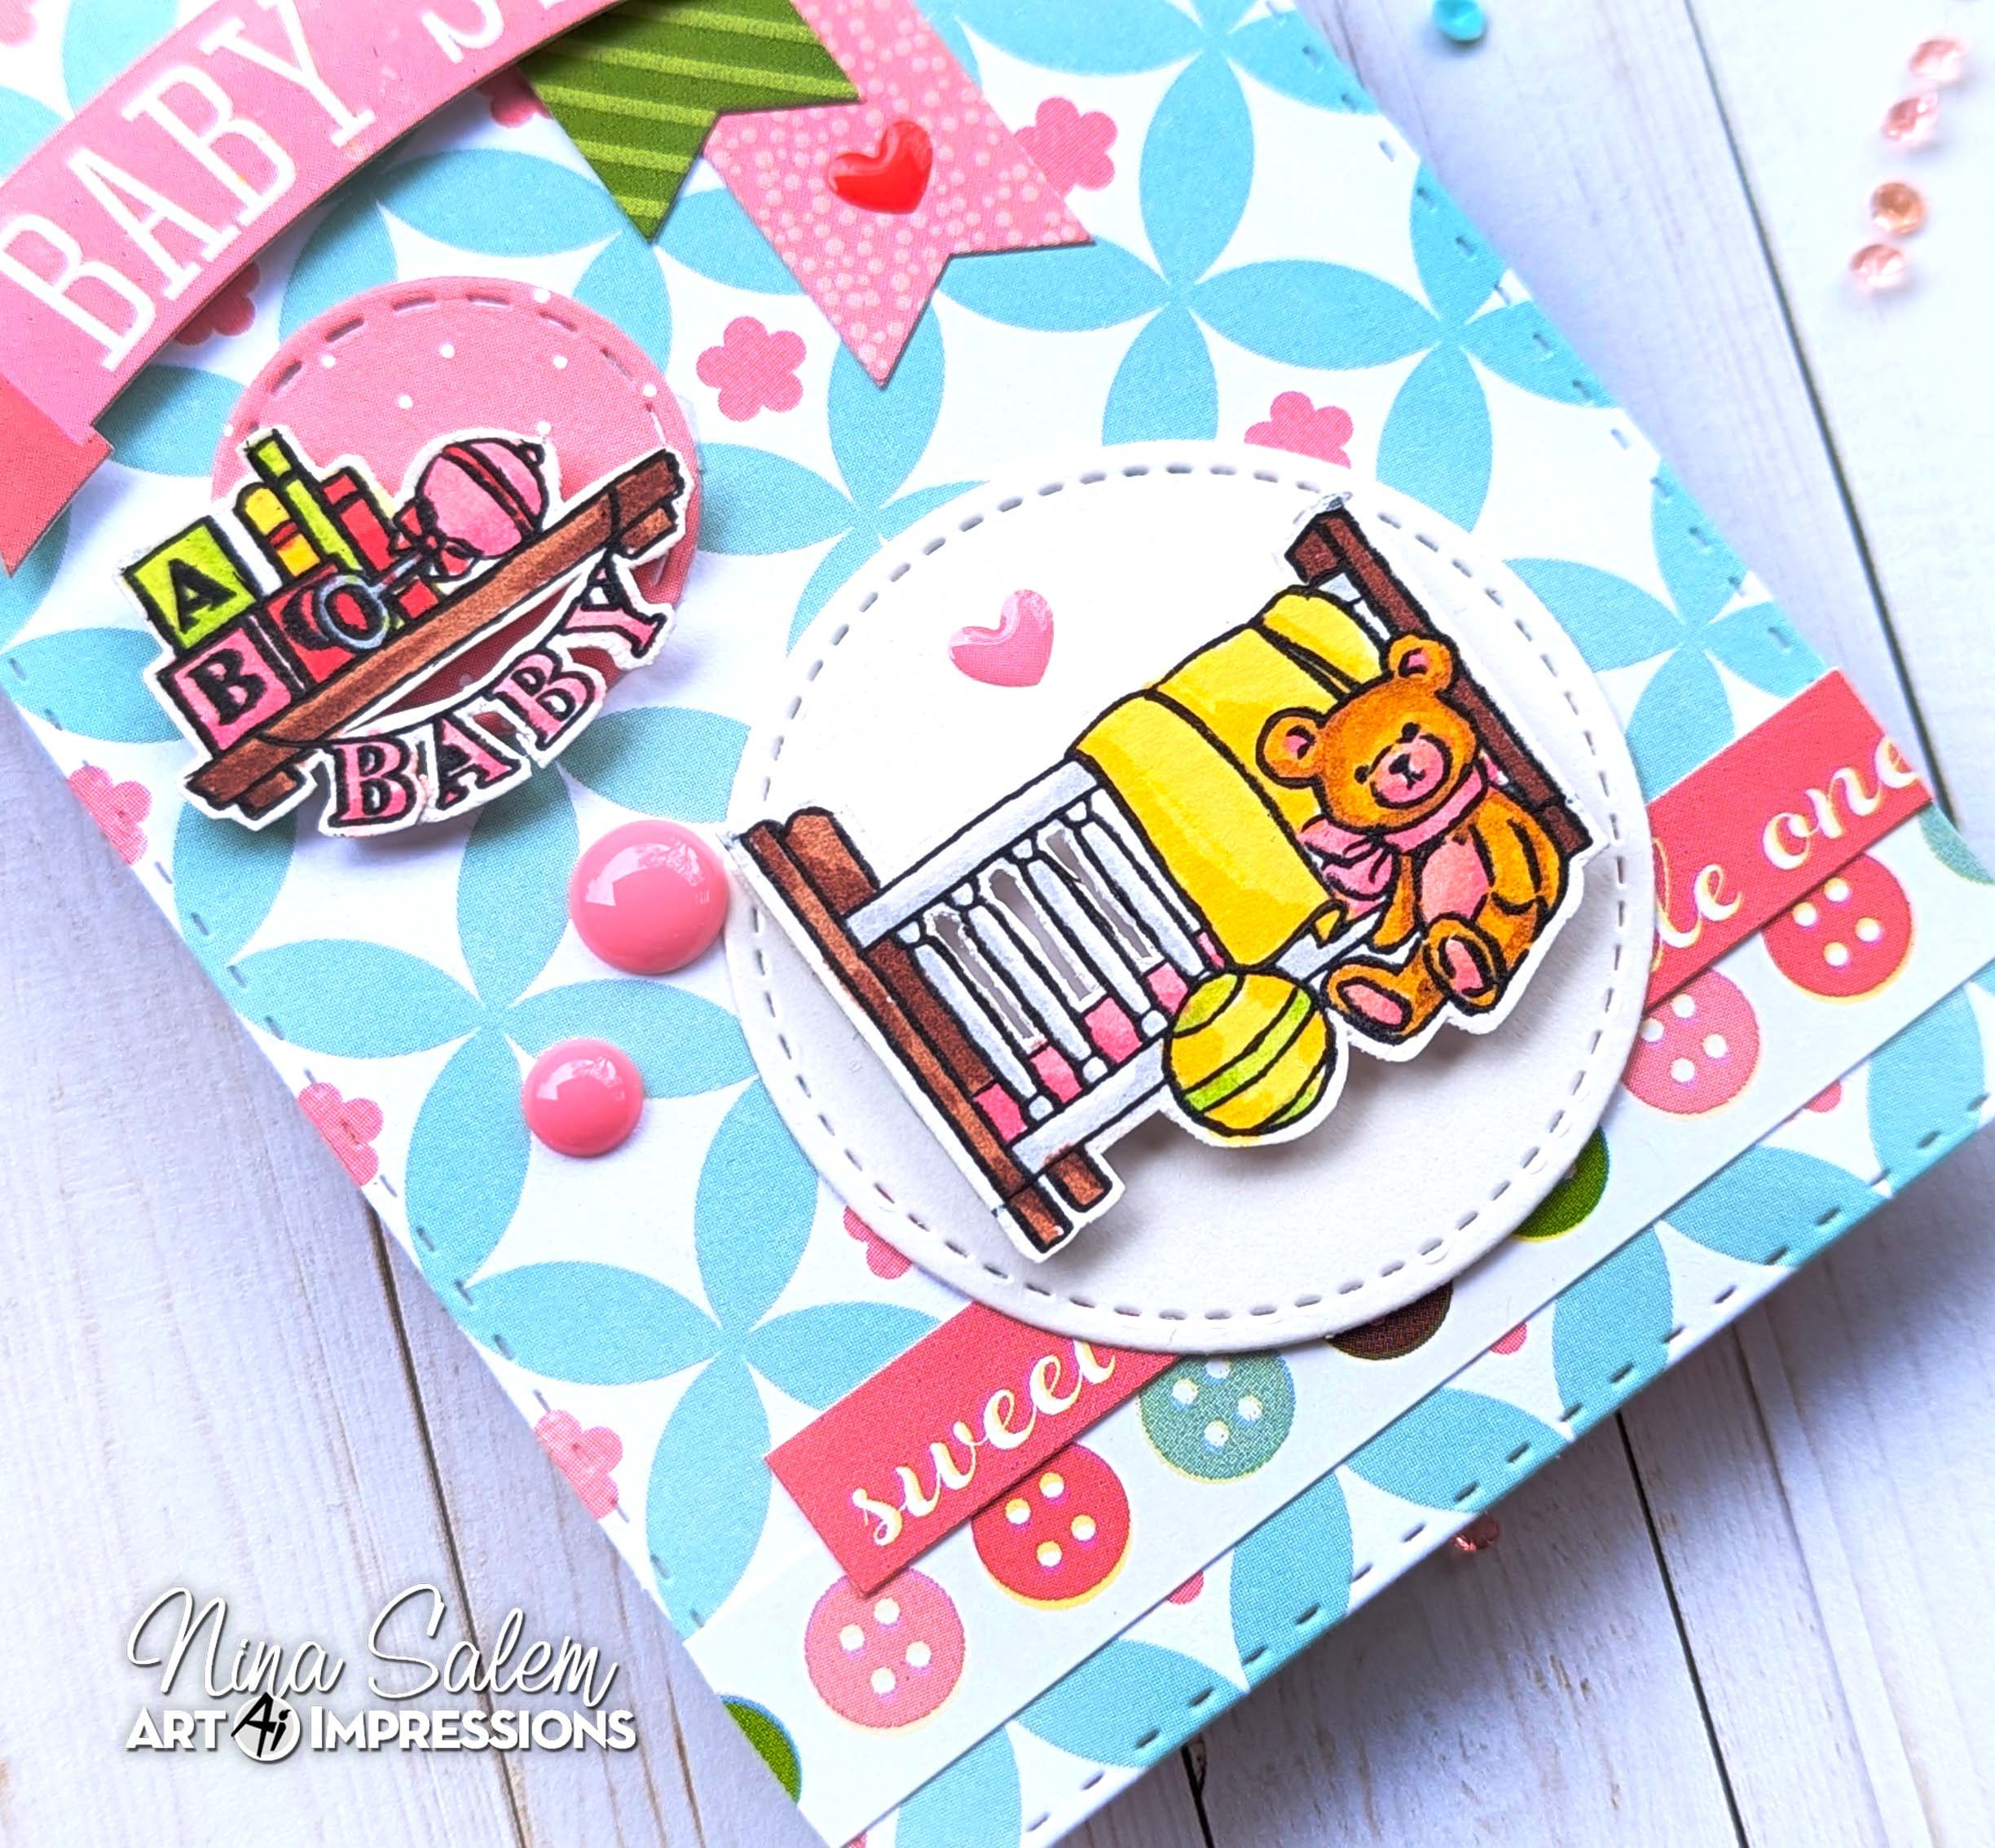
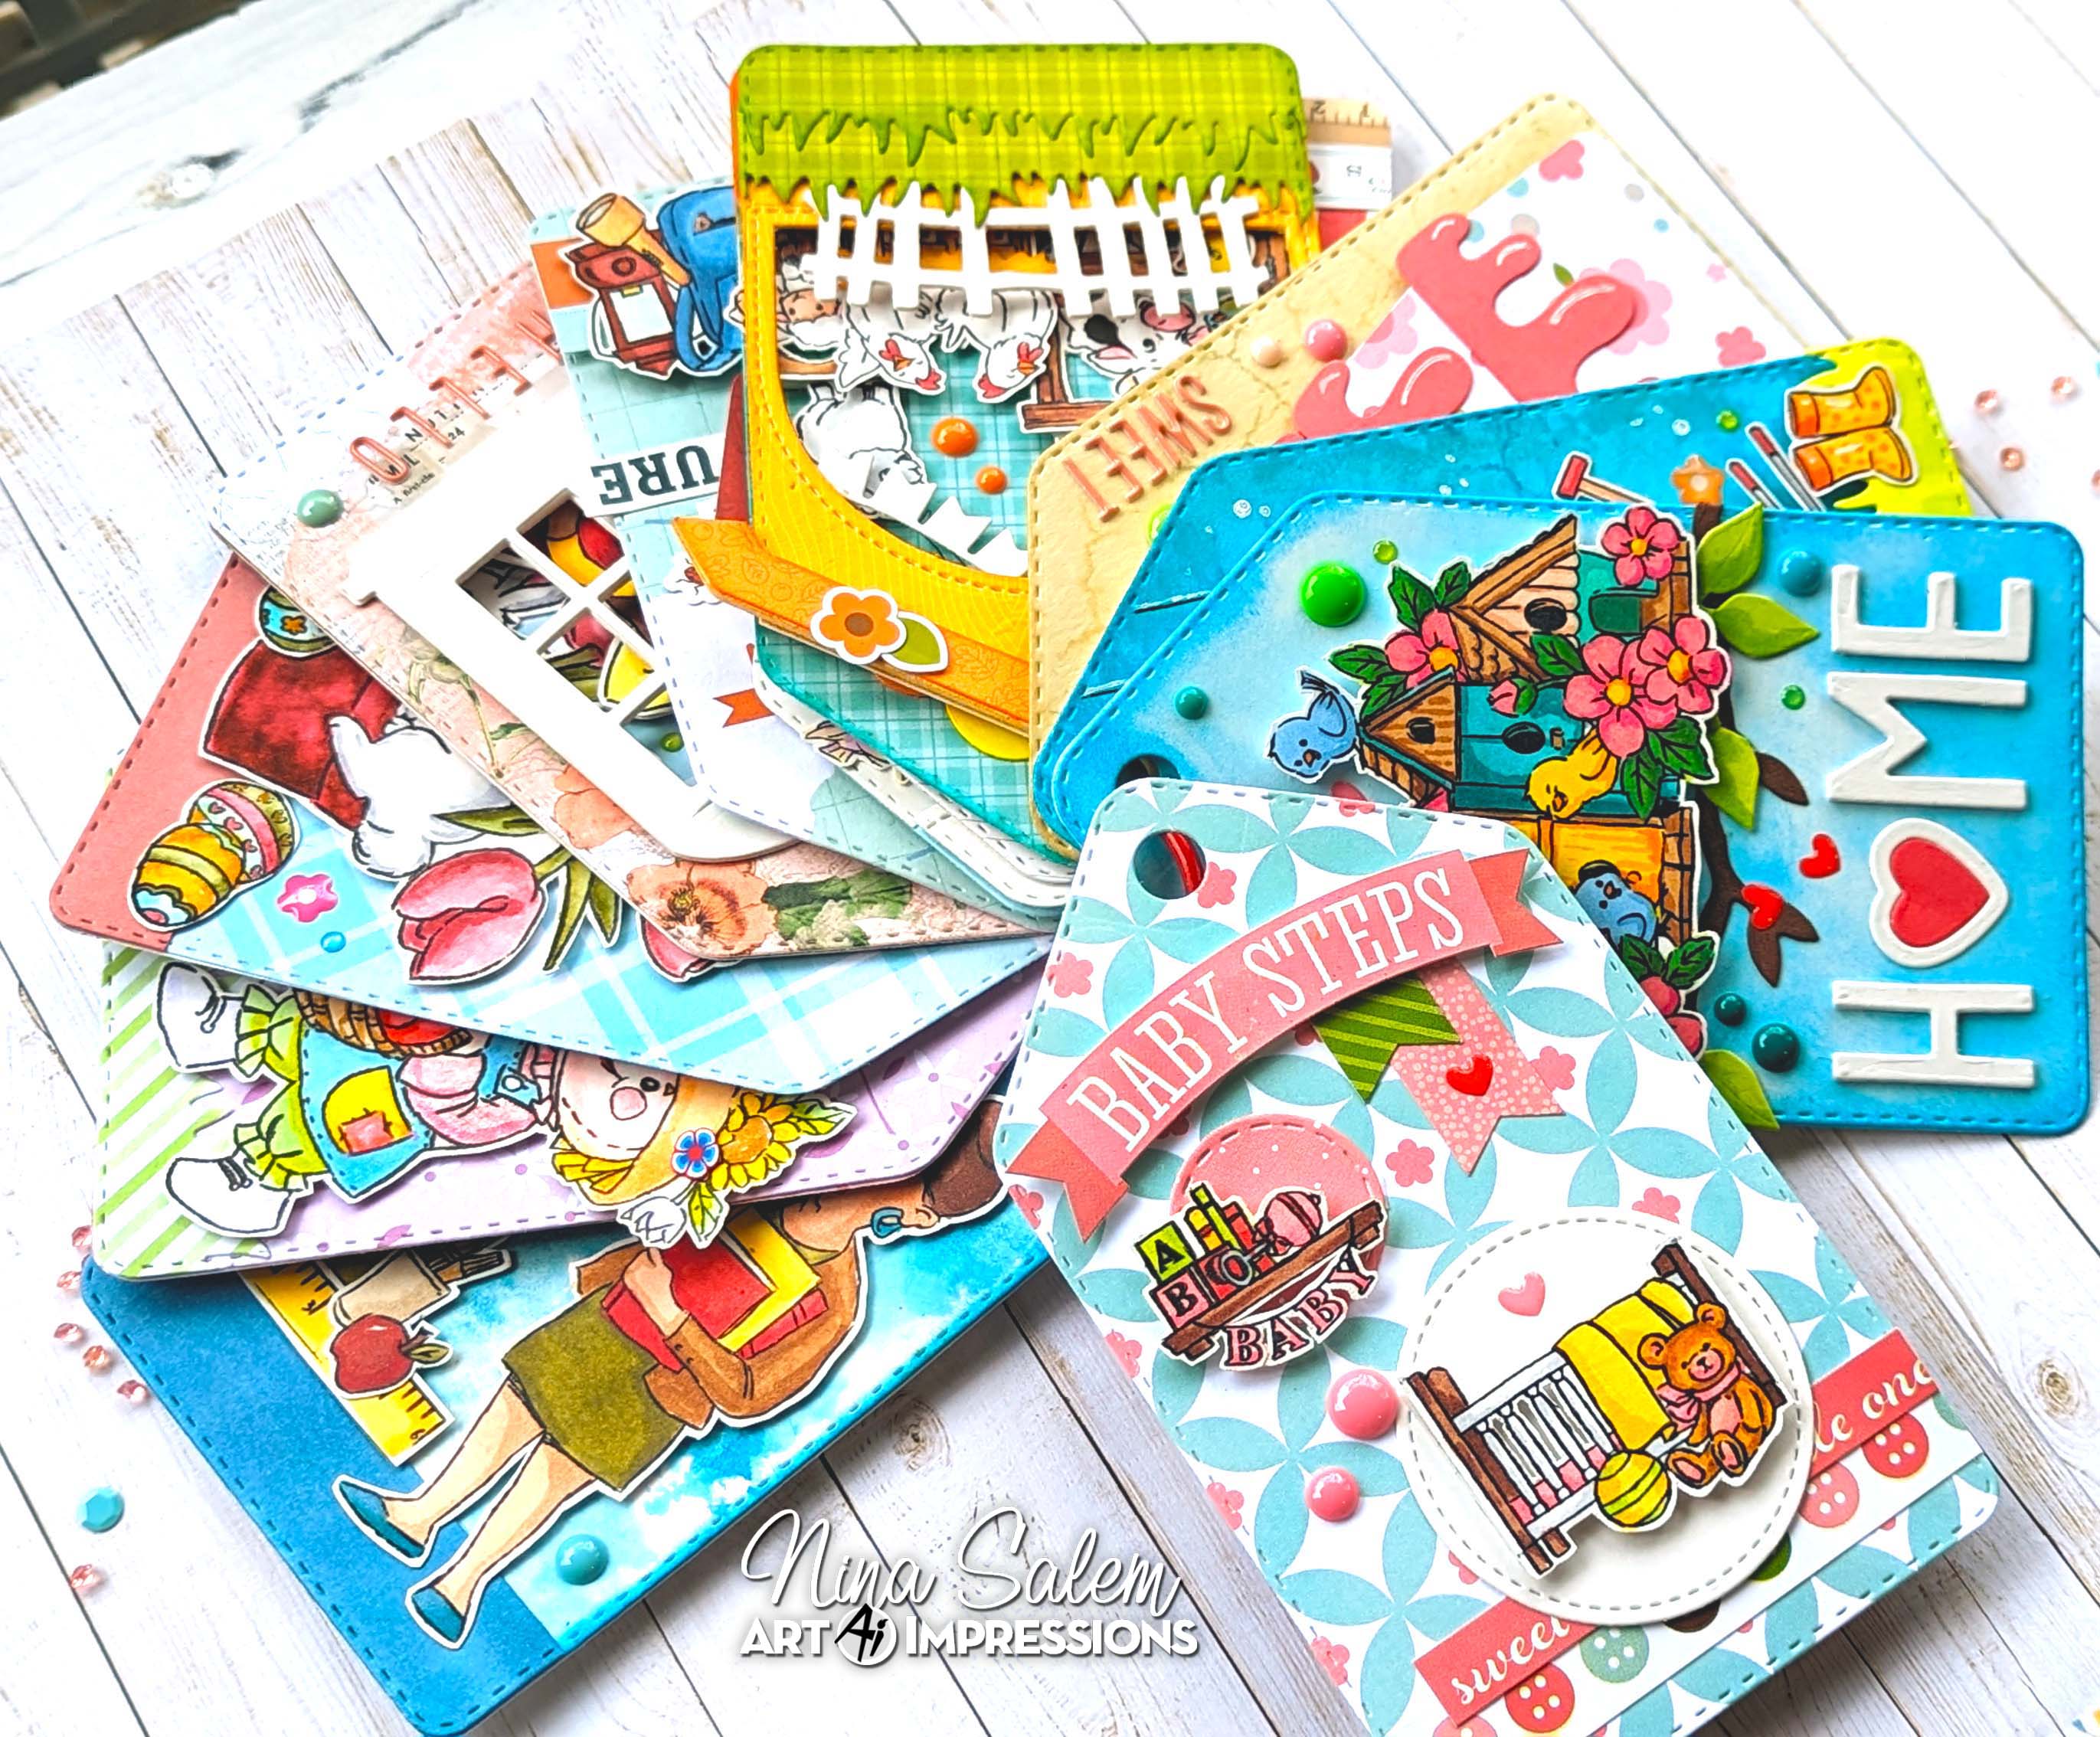
She's been creating a tag album and has a new addition for that as well
as a sweet bookmark.

You can see all of her tags by clicking her Tag Album link here.
This set of tags is just so joyful!
Each one is so beautiful.

-----------------------------------------------------------------------------------------------------

Hello Ai fans, Nina here and today I am so excited to share with you my projects I created for our new challenge Fabulous Flowers.

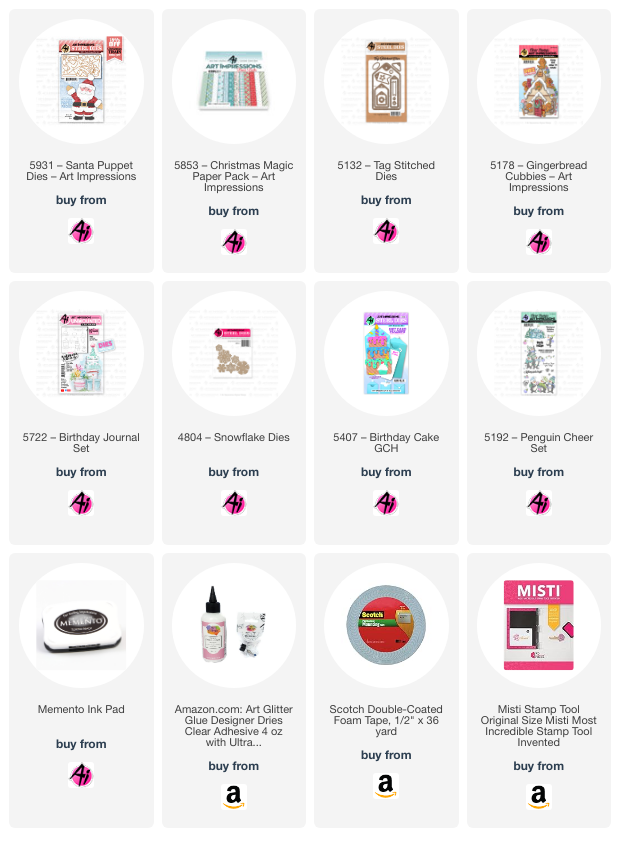
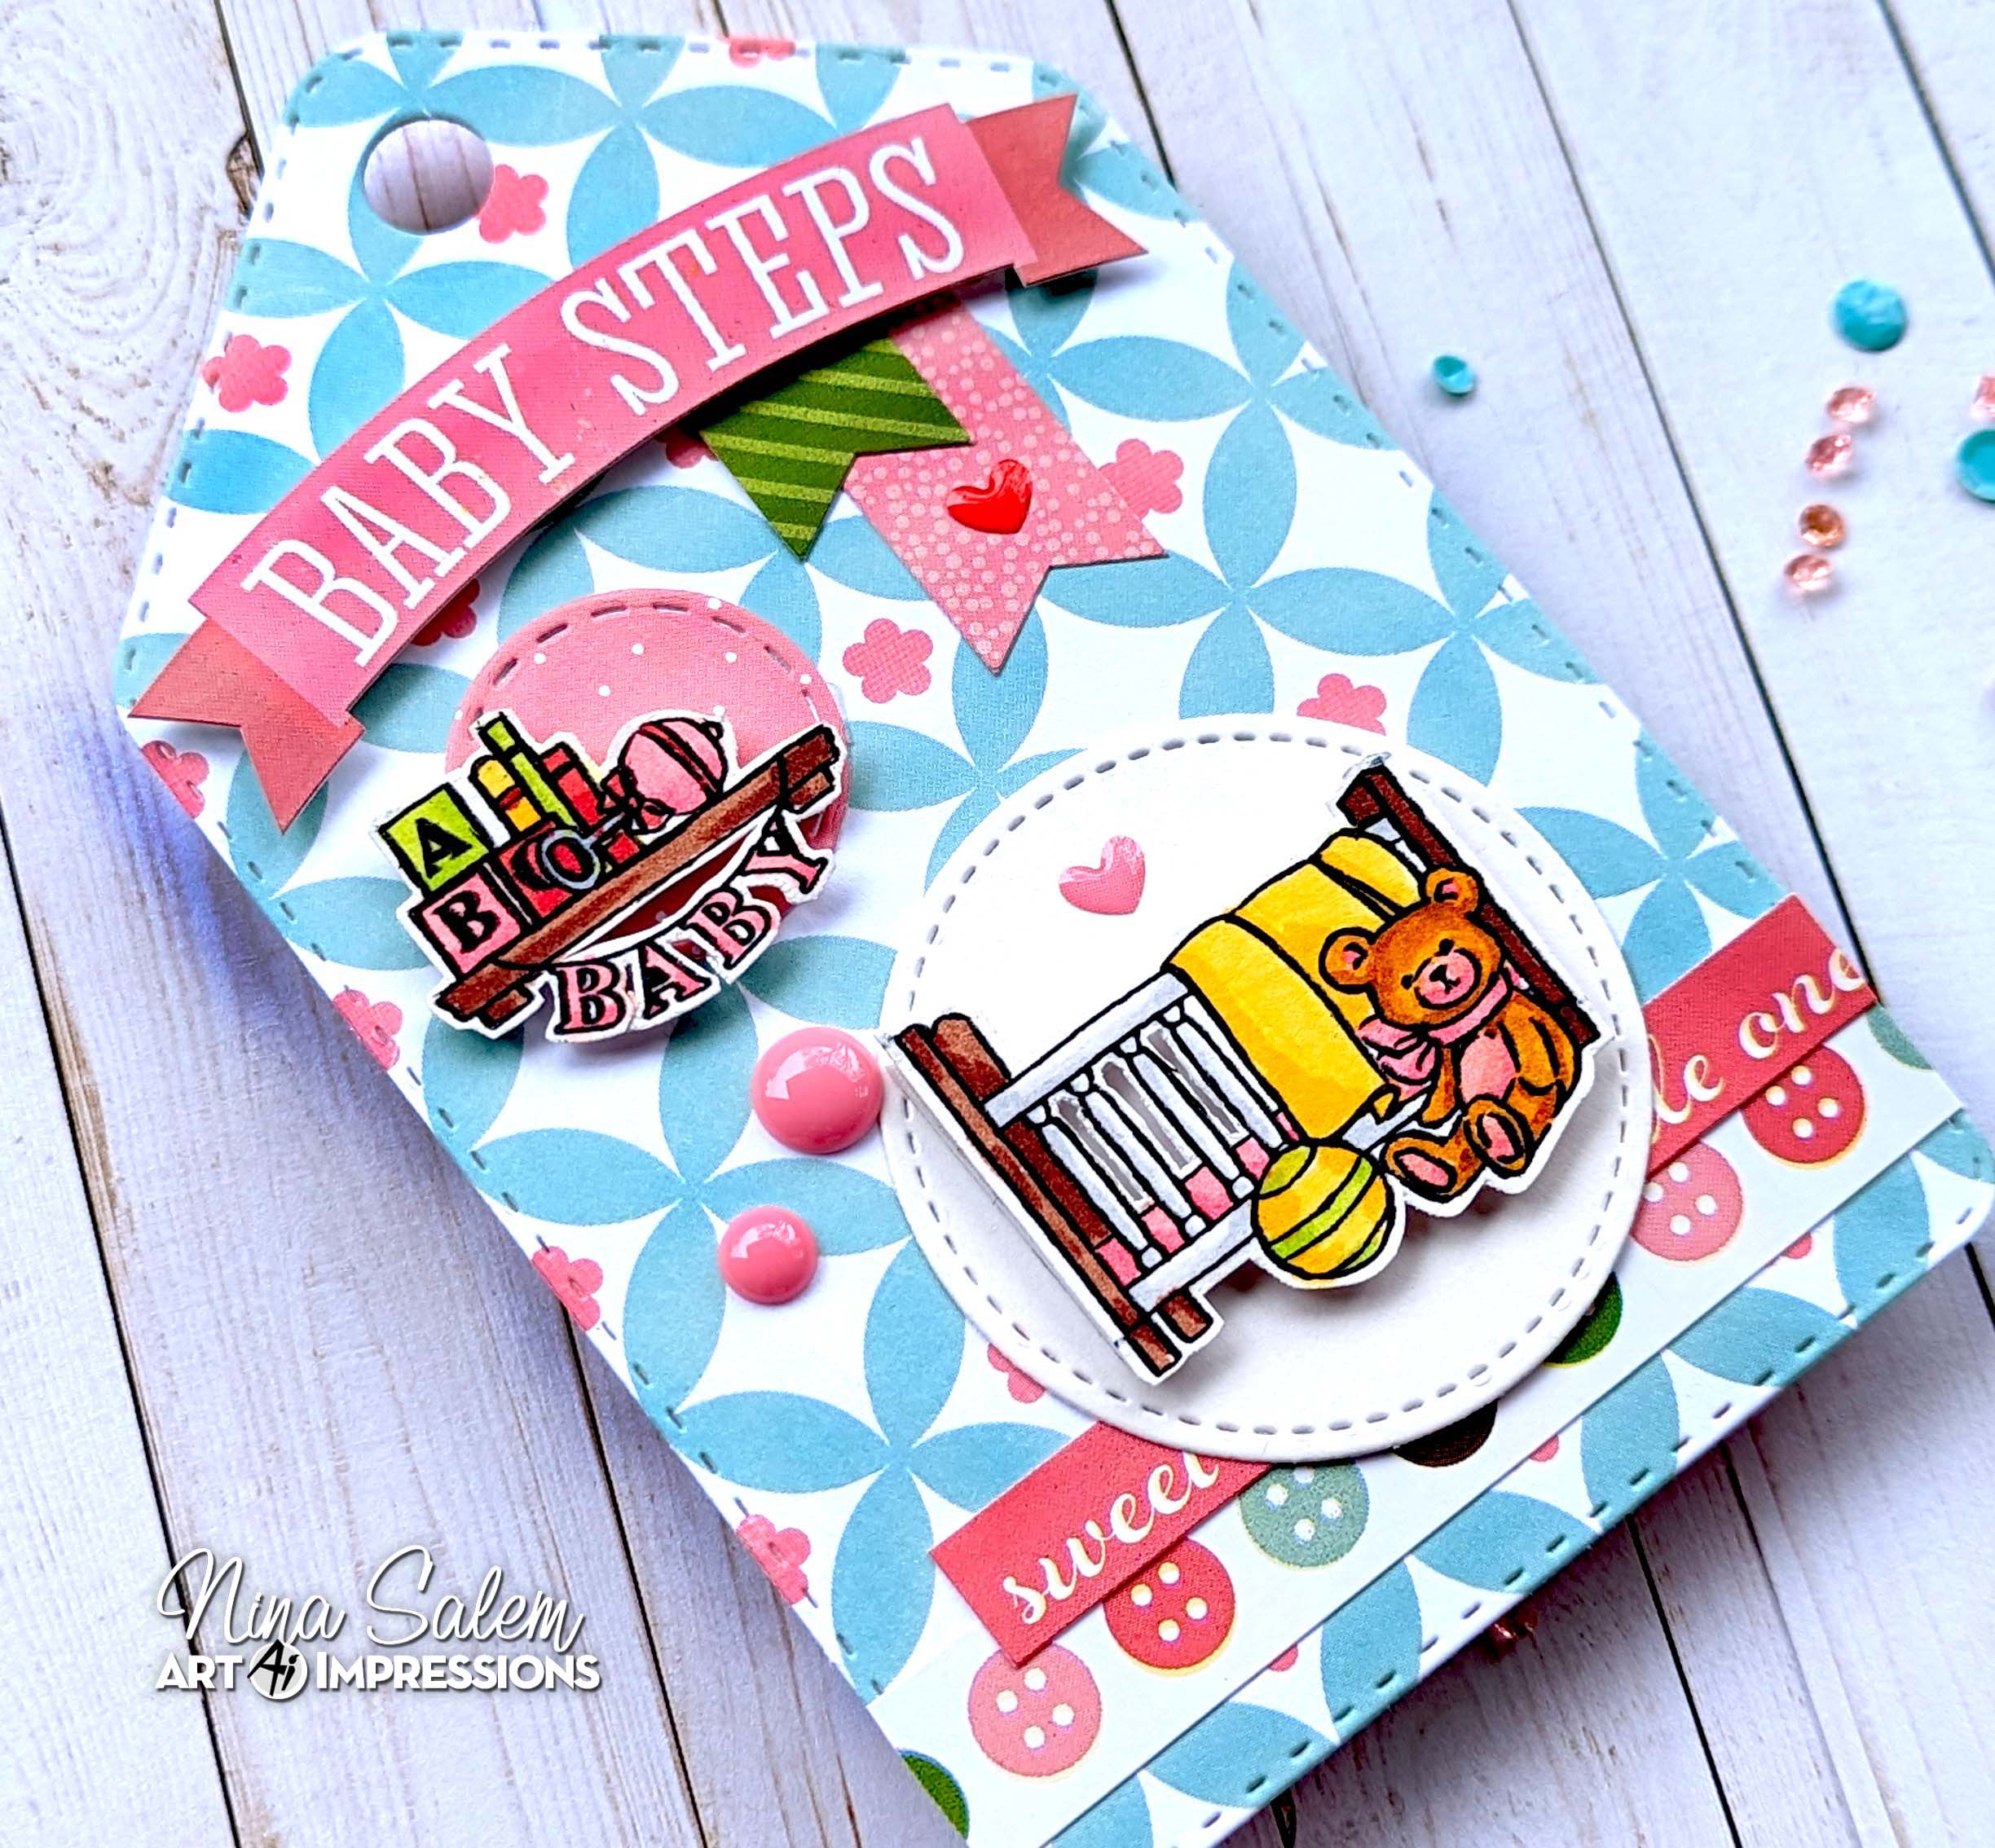
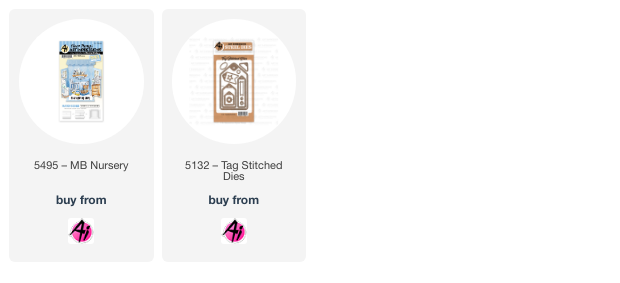
I created a tag to my Ai Tag Journal using Birdhouses stamp Set and the Stitched Tags Die Set.


I stamped the adorable Birdhouses cubbies image on a Bristol Smooth White Paper using Memento Tuxedo Black Ink and my Mini Misti. I then colored the image using my Copic markers.

Copic Shades:

Browns: E35 E37

Light Browns: E11 E13

Greens: G05 G09 G28

Blues: B21 B45

Pinks: RV13 RV09

Orange: YR68

Yellows: Y08 Y38

Light Green: BG23 BG15 

Blue Green: BG45 BG49

I then cut my image and backed it with foam tape.


To create the tag, I die cut the largest die from the stitched Tags Die Set twice from white paper and glued them together to make my tag sturdy. I then ink blended blue shades from Distress Ink. I used Tumbled Glass and Mermaid Lagoon shades.

I die cut my sentiment and added it to the tag along my adorable cubbies image and added a branch for my birdhouses to stand on. I used enamel dots and stickers to decorate around my image. I replaced the letter "O" in the word home with a heart that I die cut with the heart die from the bookmark die set and colored the inside red with Copic shad R29.


I then placed my tag in the metal ring of my Art Journal.


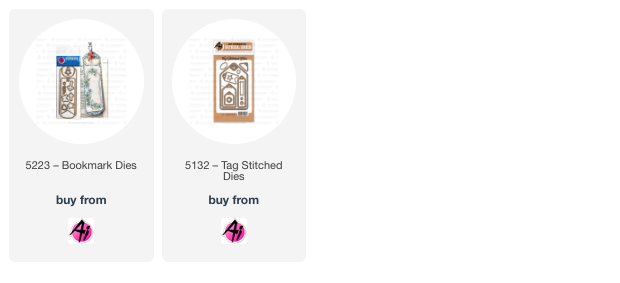
The inspiring challenege got me excited and I created a flowery Bookmark using our Bookmark Dies set and Ai Home & Heart Set.


I stamped the beautiful flower bucket from Home & Heart set on a Bristol Smooth White Paper using Memento Tuxedo Black Ink and my Mini Misti. I then colored the image using my Copic markers.

Copic Shades:

Greens: YG23 YG25

Blues: B21 B45

Pinks: RV13 RV09

Yellows: Y08 Y38

Greys: C2 

I then cut my image and backed it with foam tape.


To create the bookmark base I die cut the biggest die from Bookmark dies from flowery pattern paper from my stash and then again die cut it from white paper and glued them back to back to make the bookmark base sturdy.

I again die cut the bookmark extra banner from white paper and attached my flower bucket on top of it and added my sentiment. I then attached both bookmark pieces together with a layer of foam tape. I placed eyelets with my Crop-a-Dile on the banner and the bookmark base and added a cute ribbon.


If you'd like to join in our challenge be sure to link your project below...

✻ Please make a new card or handmade crafty creation. You can make any item you wish; this is not limited to cards!
✻ Limit two submissions per person. You will receive extra votes if you use Art Impressions stamps!
 ✻Please include your first name and last initial on your submission.
✻We love to comment on your entries, but keep in mind if you use a private group or a platform that you need to sign up for, we probably won't be able to.
✻ The Ai Challenge is open to everyone, international submissions are welcome!
✻ Include a link back to the Ai Blog or grab our button on the top right of our sidebar!
✻ Share the Ai love if you can, by clicking and commenting on your fellow crafters.
✻ Make sure to get your link up by the deadline to enter your creations.
✻ Good luck and happy stamping!


You are invited to the Inlinkz link party!

Click here to enter