Hello Ai fans!
Welcome to our new, "I Like to Move it, Move it!" challenge!

We want to see your projects that have movement on them.
These can be sliders, shakers, wobbles, pop up cards etc. You name it! If something on your project moves, then it qualifies.
Our featured artist is Dori Mendiola but before we see her amazing birthday card, we need to see who won our last challenge.
Out Top Spot went to Rachel B. for her wonderful interpretation of Carol Hintermeier's card.
Here is Carol's card that Rachel CASEd.


Please contact Leah at Feedback@artimpressions.com
to claim a free stamp set of your choice!!
Our Lucky Random Winner was
Kimberly W.
Kimberly was inspired by this card from Amy Tsuruta.

Please contact Leah at Feedback@artimpressions.com
to claim a free stamp set of your choice!!
Now let's see Dori's fabulous creation. You're going to LOVE it!
---------------------------------------------------------------------------------------------------------------------------
I am soooo thrilled to be the feature for this challenge - "I Like to Move it, Move it". I am such a fan of interactive cards, so this is a delight for me. I had soooo much fun creating this card and I am soooo excited for how it turned out.
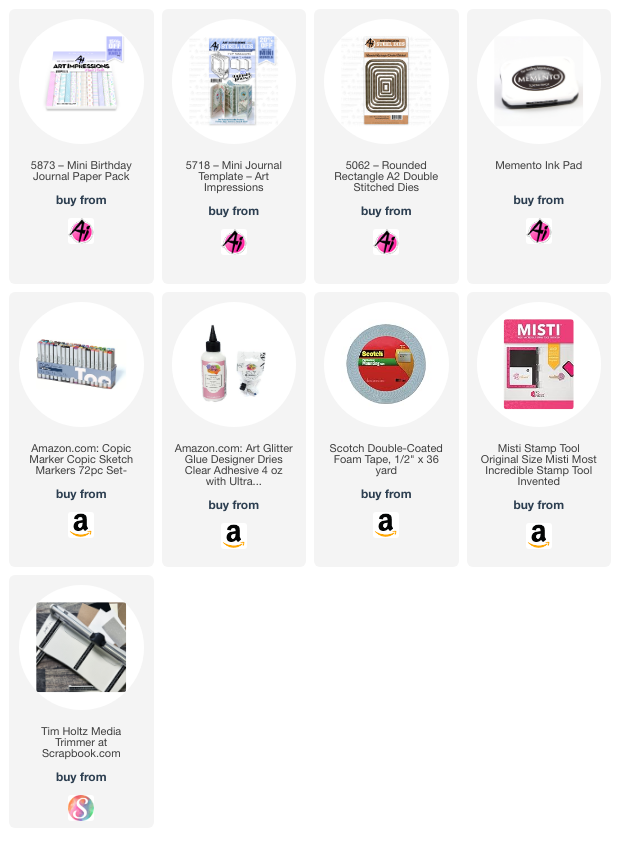
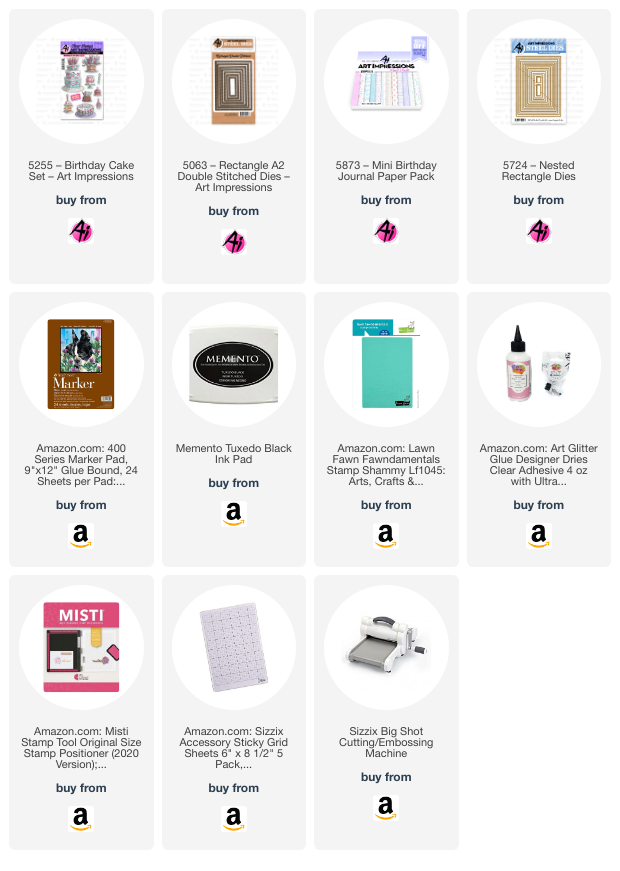
First of all, I stamped all of the images on copic friendly paper with Memento black ink and colored with my copic markers listed below. Some images were dies so I cut them with copic friendly paper and then colored with copic markers.
I cut two 4 1/4 x 4 1/4" pieces of heavy white cardstock and scored each piece at 1". Do NOT adhere together yet as you need to place the acetate pieces in between.
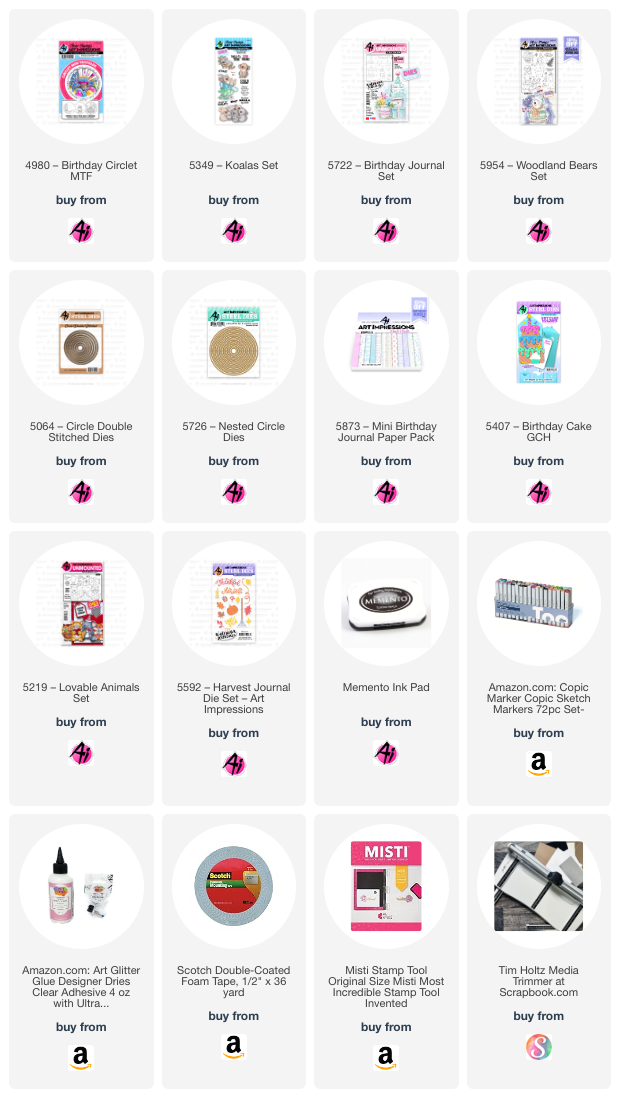
Let's decorate the front of the card first. I matted a piece of pattern paper onto a piece of purple cardstock allowing for an 1/8" border around all sides. This is then adhered to one of the white cardstock pieces. The 1" fold should be towards the back at the bottom. I started by using the front layer (balloons) of the #4980 Birthday Circlet MTF. I die cut this layer with the coordinating die and then cut the whole circle with one of the #5726 Nested Circle dies. I used the koala sitting in the teacup from the #5349 Koala set and cut him off of the teacup so that I could place him on the stack of presents from #5954 Woodland Bears set. I only used the bottom three presents of that stamp so that it fit nicely in the circlet. I popped the circlet onto foam dots and placed onto a stitched circle die cut from purple cardstock. I then glued the bottom two presents behind the balloons and popped up the top present as well as the koala so that they sat on top of the circlet. I colored several confetti pieces from the #5407 Birthday Cake GCH and adhered them to the front of the card. I saved several colored pieces for the inside of the card.

Now, for the inside of the card. I cut several strips of acetate, about 1/2" x 3" for each item. I arranged the images how I wanted them to pop up over the front flap of the card. I glued each to the top of a piece of acetate making sure there is enough acetate at the bottom to glue between the 1" folds. Once the images are glued to a piece of acetate, I then glued the bottom of the acetate to the back of the front flap fold. When all of the acetate pieces are glued down, I took the back flap and glued the two fold pieces together, making sure the acetate pieces are glued in firmly. I then finished decorating the inside of the card with pattern paper and purple cardstock over the exposed white cardstock. Lastly, I added the final pieces of confetti to decorate.
Below is a video of how the card wobbles.
I hope you enjoyed my feature card and that it has inspired you to enter our bi-weekly challenge for a chance to win a free stamp set. We love to see what you create!
Have a great day and happy creating!
Copics used: E21, E50, E51, E53
W5, R20
Y11, Y21, Y23, Y35
RV55, RV63, V12, V15
G40, G43, B41, B45



%20WM.jpg)
%20WM.jpg)