Hello Ai fans!
It's a Watercolor Weekend on the blog and we have 3 amazing Easter cards
from our fabulous Design Team!

All of our designers showcased the same sets which shows you how versatile
these sets are, since their 3 cards were so different. We LOVE them all!!


Our first card today comes from
Karen.
Hello Ai Watercolour fans!
Easter will be here before we know it, so I have pulled out several of the newly released sets to create a little scene.
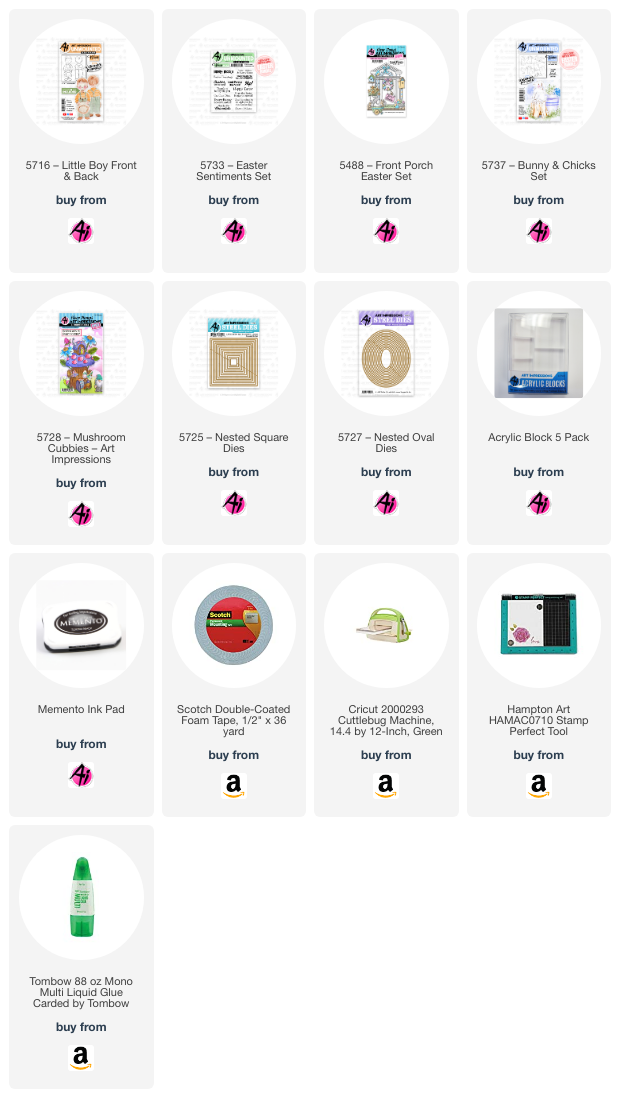
All of my main elements are coloured in Tombow #969/565, and stamped onto Canson XL Watercolour Paper. I began with the single chick from 5737 - Bunnies and Chicks, masked her up, and stamped the basket from 5738 Easter Basket just behind. Again masking the basket, I added the egg images inside and around the basket, and finally I used just the bird from 5739 - Birdhouse Village Set, to sit on top. My stamp positioner was invaluable to get everything placed just right!
.jpg)
After pulling out the colour with a damp brush, I picked a fun, bright palette of colours and painted the eggs in: #173/725/990/933/493/565, starting with a light wash, and layering colour to create darker tones towards the lower part of each egg. For the chick, I began with #990, then added #933 and #947 to create warmer, darker tones as shadows. #493/565 were painted on the bird, and #725 was used for the bow. With #173 and the small grass from Foliage Set - 4051, I added grass around the eggs, and then chose two sprigs of greenery from 5476 - WC Foliage Set 5 which filled in behind my scene, coloured in both #312/346. A wash of #533 was painted in as the sky. My scene was cut out with 5061 - Square Double Stitched Dies, and adhered to my square card base with 3D foam adhesive.

Next up is
Diane.
Hello Ai Watercolor fans! On this week’s Watercolor Wednesday, Bonnie shared the new Easter Journal Bundle. Her Easter Journal is amazing! While these new sets are perfect for journals, they also make great cards. Today I am sharing a sweet little Easter card using three of the new sets.
I started off by stamping the 3 eggs from 5738 – Easter Egg House Set and the standing bunny from 5737 – Bunny and Chicks Set onto masking paper and trimmed them out with scissors. I inked the eggs in Tombows 969/565, and stamped them onto my Canson XL Watercolor Paper. Again with 969/565, I inked and stamped the bunny to the right of the eggs. I placed the masks back over the eggs and bunny. I inked the basket from set 5738 with 969/565 and stamped it back just a bit from the eggs and bunny to make it appear to be behind them. I removed the masks and set them aside. I masked off the basket brim and handle edges with strips of Post-It Labeling Tape. I inked just the bottom 4 eggs from the pile of eggs stamp from set 5738 with 969/565 and stamped them into the basket. I moved the tape up to cover the tops of the eggs. I inked a portion of the sitting bunny with 969/565 and stamped it into the basket above the eggs. I made a mask of the bunny and then covered the bunny. I inked a few more eggs from the pile of eggs and stamped them over the bunny and eggs masks. After removing the masks, I pulled out the color with a damp brush. I used 977 to paint the bunny bodies, leaving some areas lighter and darkened some areas by layering to make contours. I left the tail white. I used 743 for the bunny’s ears and cheeks. I used 743/606/173/515/025 for the Easter eggs and basket. I made sure to leave highlighted areas on the eggs and the center of the basket. I left the bow white and added shadows with a touch of 565. I placed the masks back on the three eggs and the bunny in the front. I covered the sides of the basket with strips of masking tape. I then inked the wild grasses from Foliage Set 4 with 177 and 606 and stamped to the left and right of the basket. After removing the masks, I inked the tiny grass stamp from 4051 – Foliage Set 1 with 177. I stamped a few times in front of the basket and by the eggs. I lightly dabbed the flower tops of the wild grasses and then pulled out the color from the grass. I brushed in a bit of 177 to add ground and shadow in front of the eggs, basket and standing bunny. I darkened the eyes of the bunnies and any lines that were missing with a brown TwinTone marker. I did the same for the basket and eggs using a gray TwinTone marker. I painted in a wash of 528 for the sky.
The patterned paper panel was die cut with 5063 - A2 Double Stitched Rectangle Dies. The painting was die cut using 5065 – Oval Double Stitched Dies and layered with 5727 – Nested Oval Dies. The purple cardstock band was die cut with the scalloped edge die from 5723 – Journal Cover & Bookmark Dies. The sentiment “There’s no bunny like you” is from 5733 – Easter Sentiments Set. The oval and band were popped up with foam squares.
For the inside of the card, I die cut the patterned paper with the same scalloped edge die to create a border on the bottom edge. I stamped the bunny and sentiment in purple onto the card base. Then I stamped the “Hop’’ sentiment onto some purple cardstock and die cut it with the smallest scalloped circle die from 5543 – Journal Template Die Set.
Hippity Hoppity, Easter’s on its way! If you give this card a try, please tag us on social media, we love to see your work. Until next time, Happy Painting!
Our final designer this weekend is
Tricia.
Welcome back watercolor fans! I am so excited about this new release. The bunnies and chicks and the baskets and and and… Any way, onto the card. I pulled out my shadowbox dies and went overboard. Shadowboxes are great because they are so quick and easy (small painting and quick die cutting). Let me tell you how I created this Easter Basket Shadowbox card.
First, I traced the rectangle die, the one that you use to cut out the card, onto my watercolor paper (I actually traced 6 so I could mass produce these). If I had to do again, and I will be doing these again, I would draw some guidelines where the gridlines fall so I could place things a little better within the window, but it’s not a big deal. For this card, I inked the basket from the NEW Easter Egg house set in 969 and stamped it onto the watercolor paper. Next, I masked off the basket and stamped in the eggs from the set. After removing the mask, I pulled the color out of the lines. By creating shadows on the eggs prior to adding the color to the eggs, it gives you shadows that deepen the color with each layer. It gives your painting more depth.
I added color to the eggs, basket and the bow with color from my palette. Lastly I added some blue into the sky by using the wet in wet technique. For the bunny, I inked him up with 969 and 569 to create a grayish color, stamped it off several times and pulled the color out of the lines. Make sure you keep the face really light and just pull a small amount of color out as this bunny is white. Once the bunny was done, I fussy cut him out.
Once the painting was completed, I cut it out using the die that I traced in the beginning. I followed one of Bonnie’s tutorials for assembling a shadowbox card. I popped the rabbit up with pop dots in front of the basket.
I’ll warn you now, once you start making these you may not be able to stop 😊. I hope you will give this a try and tag us so we can see your awesome creations! Have a crafty day! Thanks for stopping by and spending some watercolor time with us!

We hope you enjoyed all of this Easter inspiration.
Be sure to check out all of the new releases on the Art Impressions Website.
Have a Wonderful Watercolor Weekend everyone!


.jpg)
.jpg)


