Welcome to week one of our newest challenge,
Feeling Blue.

Don't worry. We're not sad. We just want to see all of the blues for the next two weeks!
Maybe you prefer powder blue, maybe midnight blue...maybe all of them?
We just want you to use lots of blue on your project.
Blue paper, blue ink, blue paint, blue embellishments...
Blue paper, blue ink, blue paint, blue embellishments...
whatever you like!
Our Featured Designer for this challenge is Nina and she has two FABLULOUS cards for you.
Our Featured Designer for this challenge is Nina and she has two FABLULOUS cards for you.
Before we see what she's made, we need to announce the winners of our All Wrapped Up challenge.
For our Top Spot, we selected De F.


Please contact Leah at Feedback@artimpressions.com
to claim a free stamp set of your choice!
Also, be sure to grab our badge to display on your blog, Facebook or Instagram!
Now for our Lucky Random Winner.


Please contact Leah at Feedback@artimpressions.com
to claim a free stamp set of your choice!
Also, be sure to grab our badge to display on your blog, Facebook or Instagram!
Now for the MAIN FEAUTURE!
Nina often uses blue and does it very well, so we knew this challenge would be perfect for her!
She did NOT disappoint! Let's see what she made...
She did NOT disappoint! Let's see what she made...
Hello Ai fans, Nina here with fun projects for our new challenge "Feeling Blue". It is such an inspiring challenge. I had so many sets that would fit perfectly for it. I choose two main sets to create two projects and then decorated them with more sets.

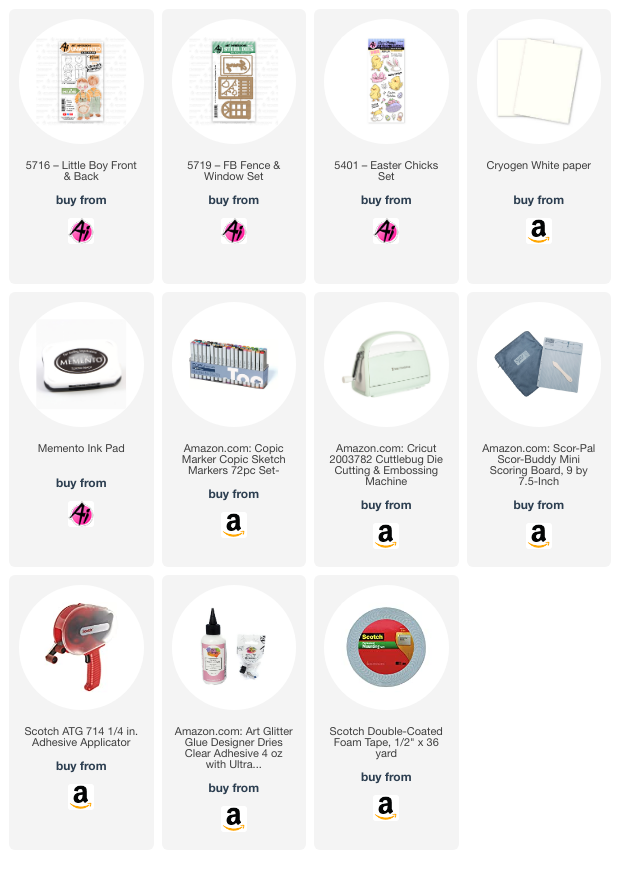
I started with this Miss You Card where I used the Boy Front and Back set from the new release and stamped the front image of the boy with Memento Tuxedo Black ink and my Mini Misti.
I colored the image with Copic Markers using these shades:
Yellows: Y06 Y08
Oranges: YR68 Y17
Jeans: B45 B21
Boots: E99 YR24
Bench: E27 E29
Red: R27 R29
Blue Green: BG13 BG15

To create the sky background I used a scrap of paper and blended Mermaid Lagoon and Speckled Egg Distress inks using my ink blender. For visual texture I then sprayed it with water to make some spots of ink to react with water.
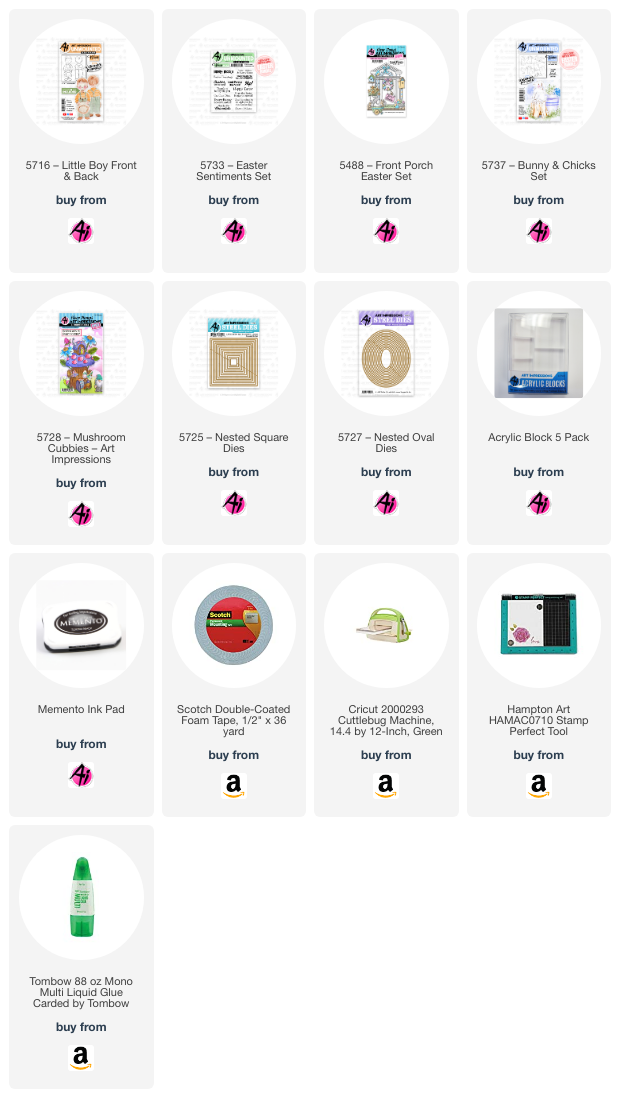
I die cut the leaves frame from the Leaves Die set from white paper and glued it to my sky background.
I also die cut the leaves and mushrooms that came with the same set and colored then with same Copic shades I used for the boy image and glued them here and there around the frame.
Our boy needed a bench to sit on so I used the wooden plank die from the mini Fence Set to die cut it from white paper and I colored it with E27 and E29 Copics.

I attached the boy to the bench with foam tape to give dimension behind the boy and attached it to the sky background.
I then used enamel dots to decorate here and there. I then attached it the little card to a blue card base and added alphabet stickers to write "Miss You" t the bottom.

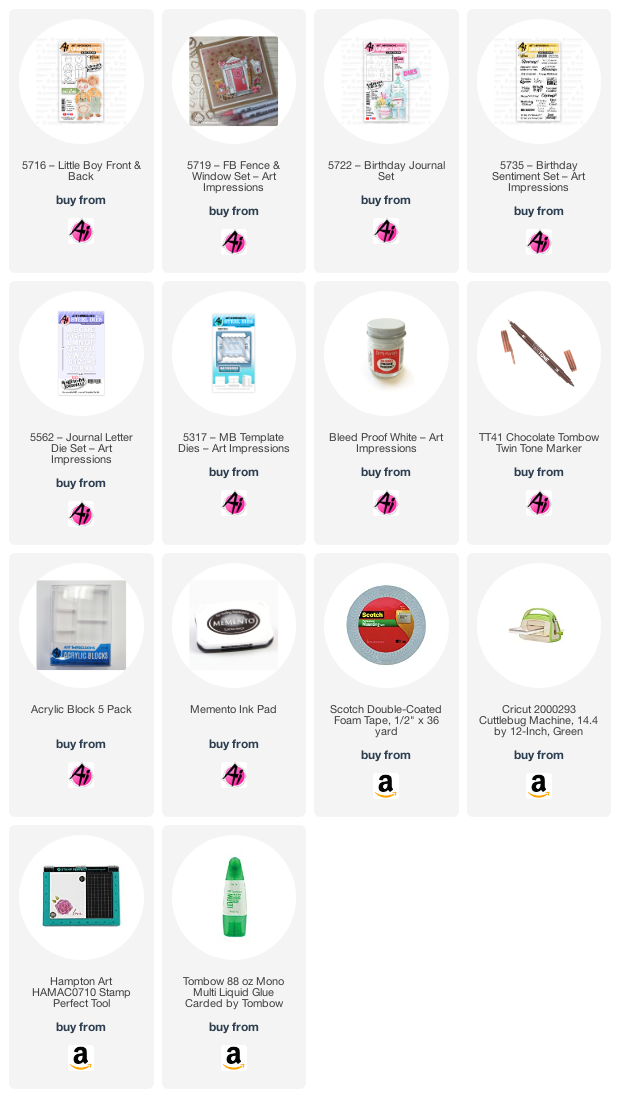
I also creatd another project for this fun challenge using Birdhouse Neighborhood set to create a new page for my Friendship Polaroids Art Journal.

I stamped the lovely image of the birdhouses and colored them with these Copic shades:
Yellows: Y06 Y08
Oranges: YR68 Y17
House 1: B45 B21
House 2: BG10 BG13 BG15
House 3: B06 B04
House 4: B04 B02
House 5: B28 B24
Brown: E99 YR24
Greens: YG17 YG23 YG68
Greys for the fence: C1 C3 C4
Sky Blue: B01


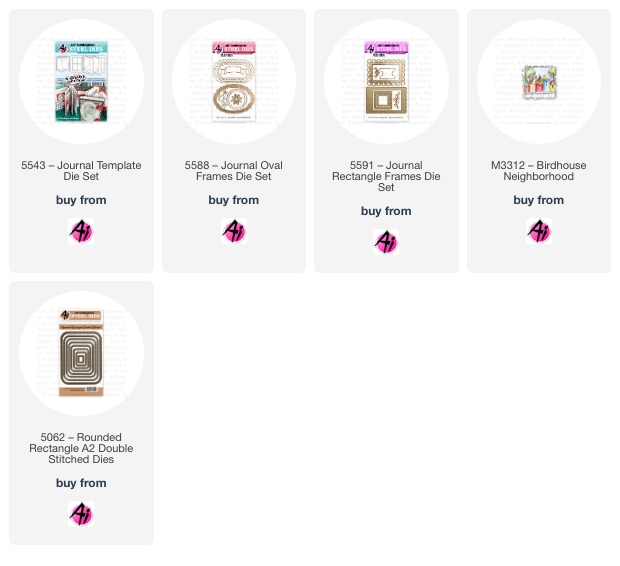
To decorate all around my polaroid photo I cut and colored flowers, tabs and banners using journal dies, Journal rectangle frames dies and journal oval frames from white, teal and blue colors.


After Nina's inspiration, we hope you're feeling blue, in a GOOD way!
Link up your blue project below for the chance to win a free stamp set of your choice.
Link up your blue project below for the chance to win a free stamp set of your choice.
Good luck! We can't wait to see what you make.
✻ Please make a new card or handmade crafty creation. You can make any item you wish; this is not limited to cards!
✻ Limit two submissions per person. You will receive extra votes if you use Art Impressions stamps!
✻Please include your first name and last initial on your submission.
✻We love to comment on your entries, but keep in mind if you use a private group or a platform that you need to sign up for, we probably won't be able to.
✻ The Ai Challenge is open to everyone, international submissions are welcome!
✻ Include a link back to the Ai Blog or grab our button on the top right of our sidebar!
✻ Share the Ai love if you can, by clicking and commenting on your fellow crafters.
✻ Make sure to get your link up by the deadline to enter your creations.
✻ Good luck and happy stamping!
Join our challenge by linking up below.