Showing posts with label Shadowbox Window Die. Show all posts

Thursday, October 12, 2023

Give Us A Fright Challenge #362

 Hello Ai fans!

Are you ready for a new challenge??

We are too!

For our next challenge, we want you to

Give Us a Fright!

Halloween is creeping up quickly and will be here "Boo-Fore" you know it.

Before we see what I made for our Challenge Feature, let's see who the winners from our last challenge were.

For our Top Spot we selected:

Fran K.
She used:


Please contact Leah at Feedback@artimpressions.com
to claim a free stamp set of your choice!
Also, be sure to grab our badge to display on your blog, Facebook or Instagram!


Our Lucky Random Winner was:


Please contact Leah at Feedback@artimpressions.com
to claim a free stamp set of your choice!
Also, be sure to grab our badge to display on your blog, Facebook or Instagram!

---------------------------------------------------------------------------------------------------------------------------------------------------------

I created a card and three lanterns for you today.  All are "see through" and have a battery operated candle to illuminate them.  We'll start with the card.  I kept thinking "Turn out the light, and give us a fright."  That's what inspired these projects.  There will be links to everything at the bottom of my post.


The idea for this card began last year when I received the Web Dies set.  I was so anxious to use them that I didn't even cut them apart. I just die cut the entire thing as is. I really kind of liked the look of the negative space and decided to hold onto it.


I always save good packaging from things I buy because they come in handy for clear cards.  This one is from an embossing folder I think.  I trimmed it down and glued the black piece to it.


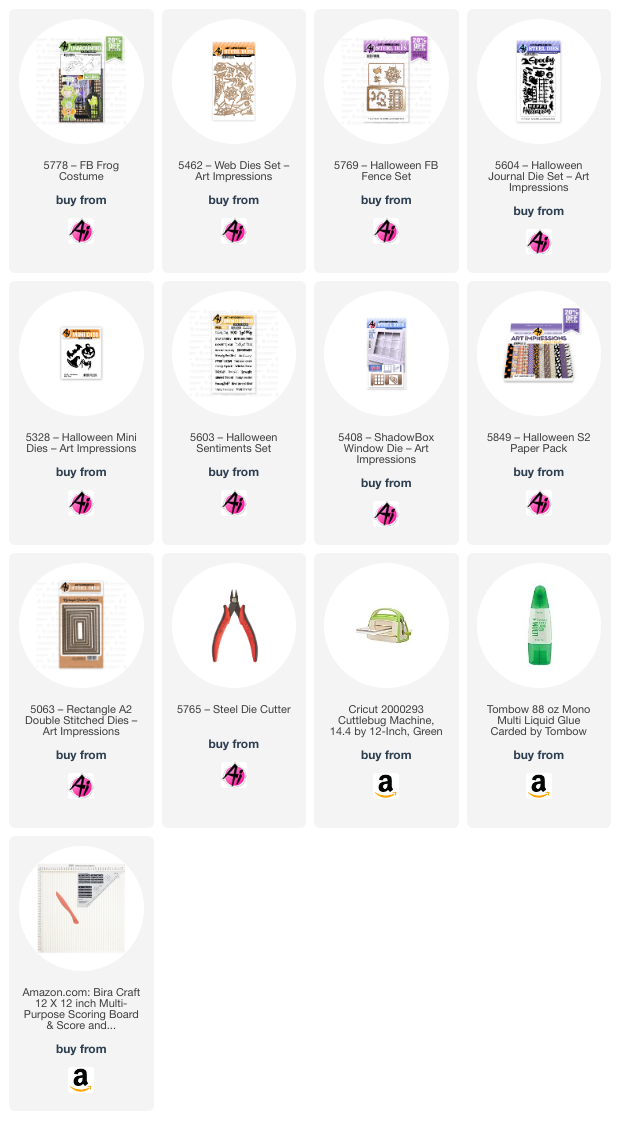
I then used my5063 – Rectangle A2 Double Stitched Dies to cut out a frame so that light would show through.  I glued the black cut out piece to the card base and then I just added back in all the little webs and spiders and jack-o-lanterns.


I used the new Frog FB image since he does show through a little bit on the inside of the card.  Isn't he cute?!


I can just picture this on my mantle or coffee table when the lights are all out and we're watching scary movies.  So much fun!  


Next up I have three very similar lanterns,  yet each one is unique.
This one was done with all dark papers for my son.

   
This was such an easy process.  I have a few quick instructions and photos to help you out.  The cool thing about these is they fold flat if you want to store it for next year.  You can mail it flat too but you'd need a box if you wanted to include the light with it.

Here are the beginning steps.  I felt the rest were pretty self explanatory so I didn't take photos.

1. Cut a base cardstock to measure 4"x12" I used one that was black on one side & green on the inside.

2. Draw a line with your ruler about 1 5/8" from what you plan to be the bottom of the lantern.  This will keep all of your windows lined up and level.

3. Score your paper at 2 3/4", 5 1/2", 8 1/4" and 11"  (You'll then trim off about a 1/4" of what's left after the 11" score mark so it doesn't show through the window when you glue it shut.  You just need enough left to hold your tape or glue.

4.Glue on your patterned paper panels which should measure 2 3/4" x 4"

5. Use the window opening die from 5408 – ShadowBox Window Die to cut the 4 windows.

6. Cut the windows with the panes in them and glue them on.

Here's what I don't have photos for...

7. Glue vellum pieces to the inside of the lantern to help filter the light and give you something to glue all the little die cuts to.

8. Glue on all of your decorative pieces.


They look so adorable all lit up with the little critters and creatures peeking out and lurking about.
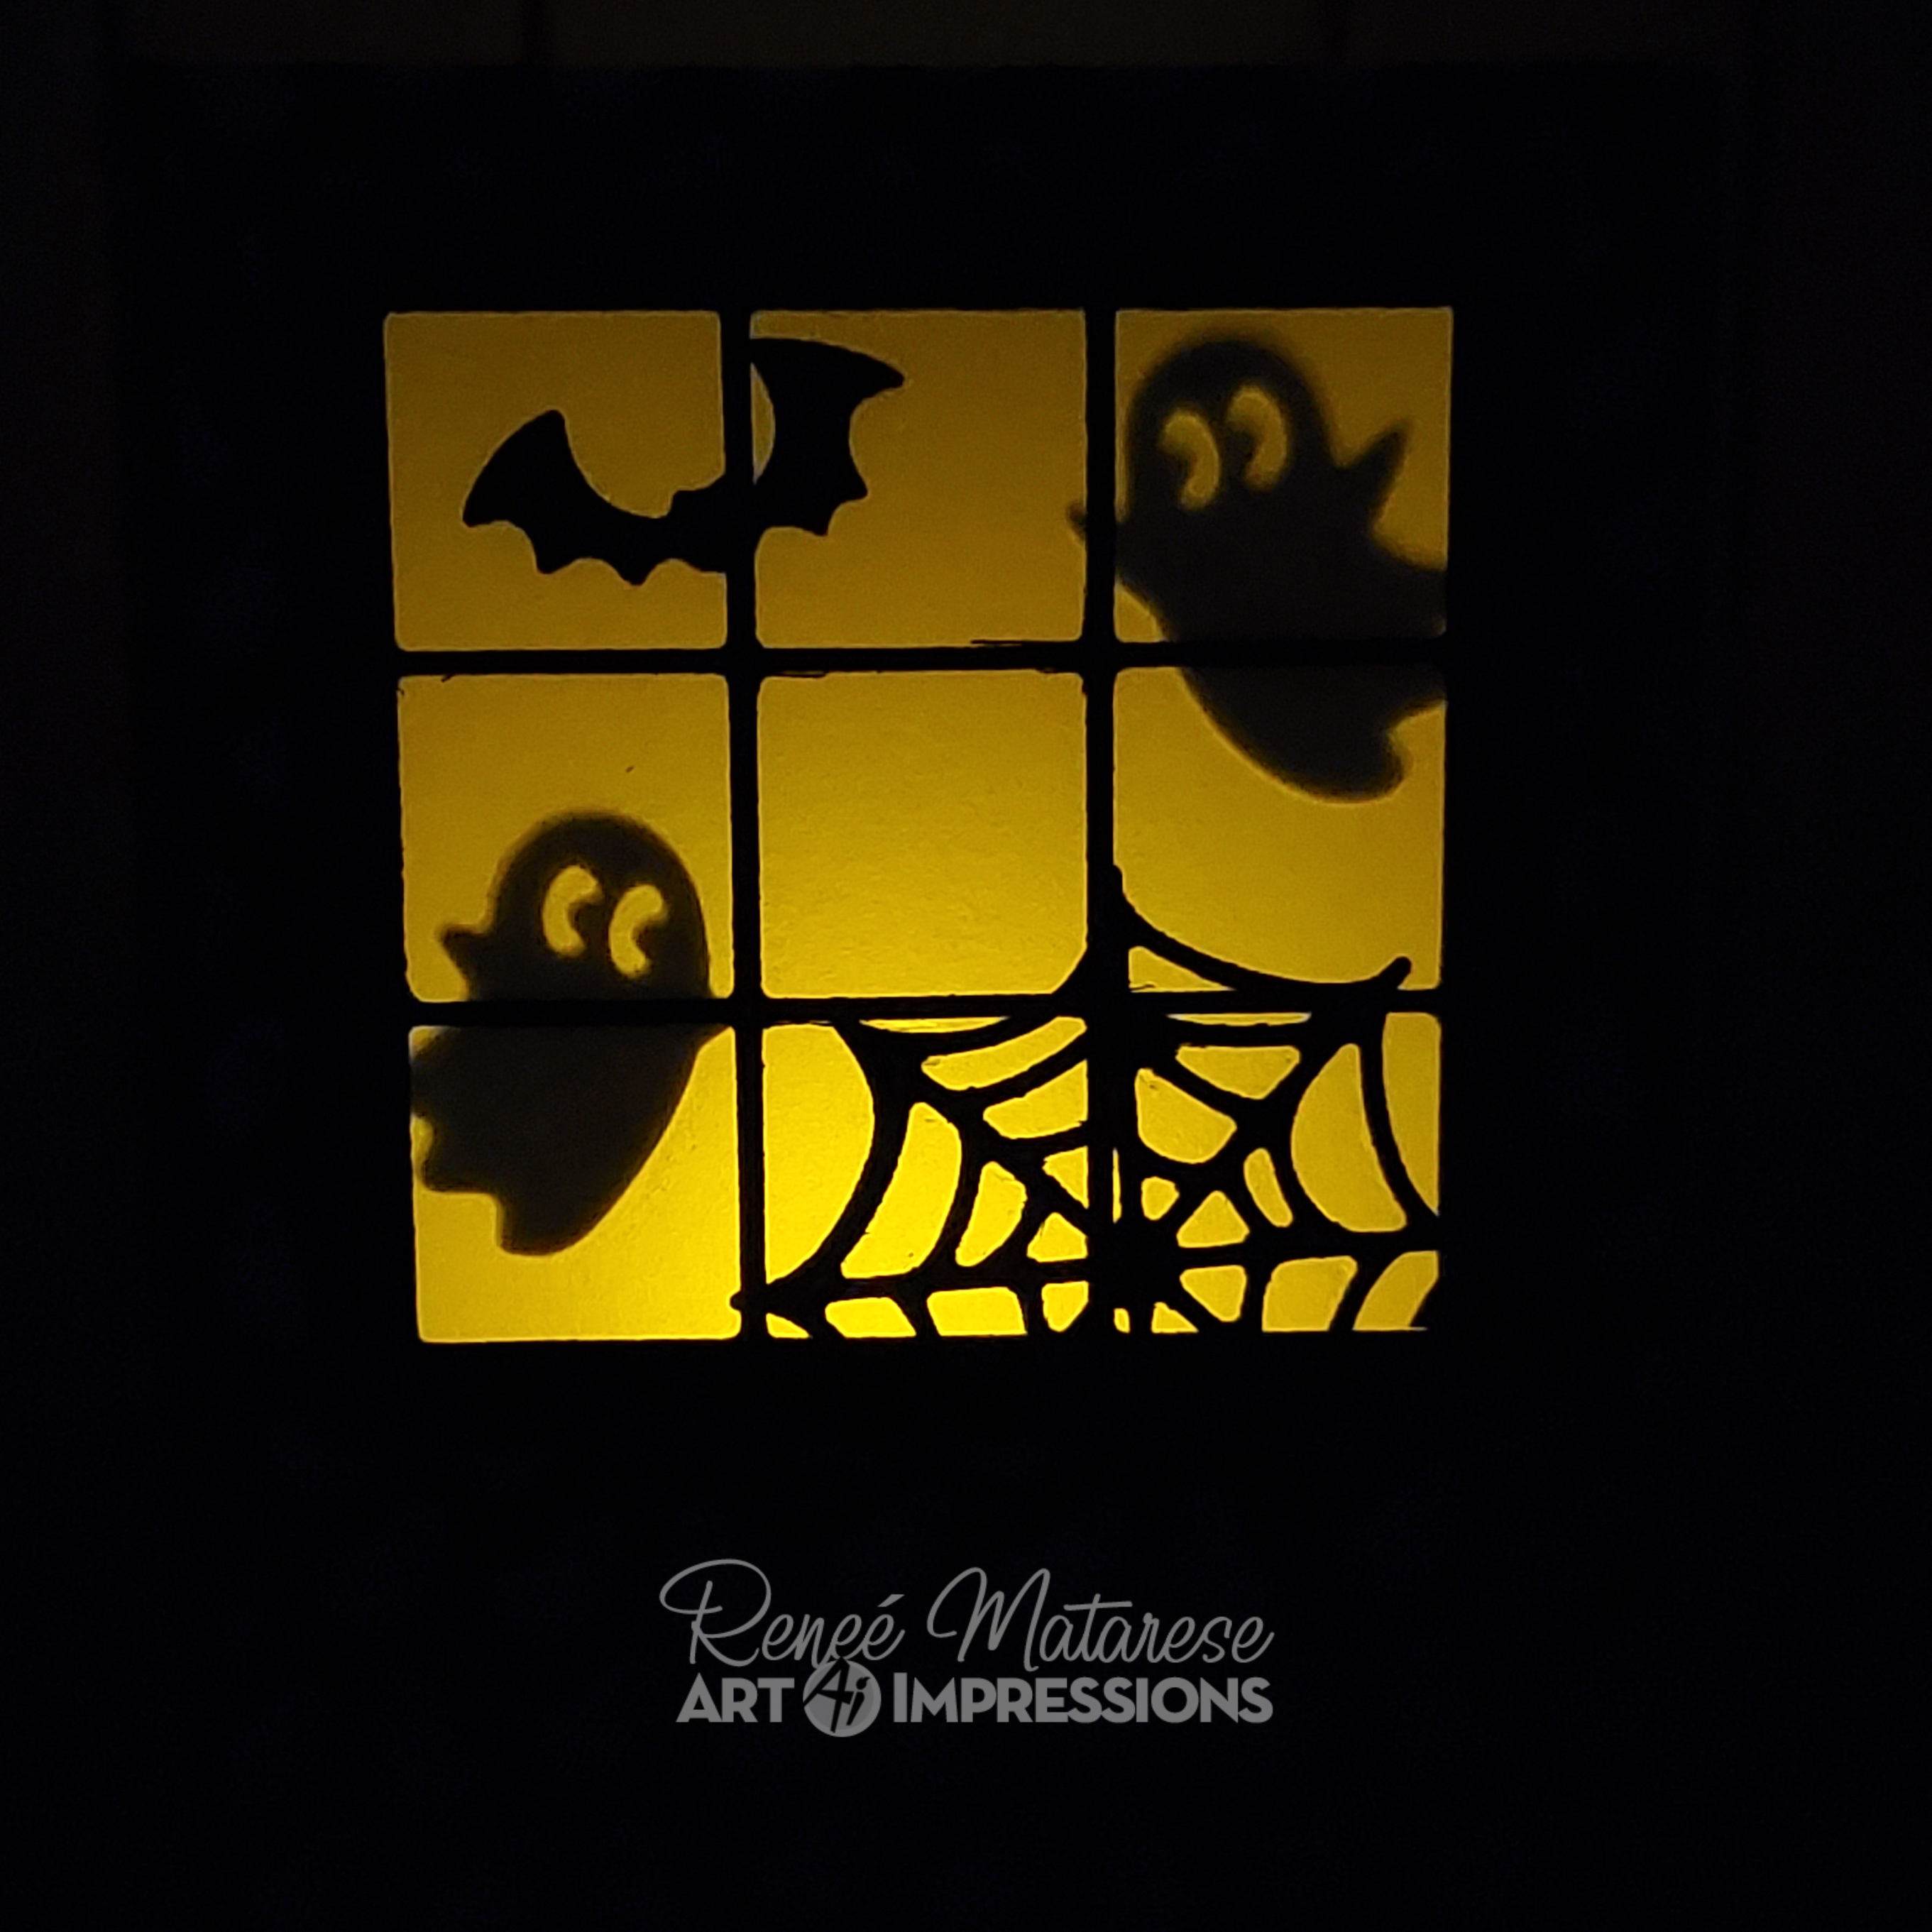


Then I created two more for my daughter and for Art Impressions. I used orange and white paper for Art Impressions and the lighter flip side of the paper that I used on my son's to make my daughter's.


All of the patterned papers are from Art Impressions new 5849 – Halloween S2 Paper Pack except for the black paper with silver stars.


Now...let's light them up.  I just LOVE these so much!
I may need to make another one for myself.


Inside is a little battery operated tea light that can be switched off when you're not using it.




✻ Please make a new card or handmade crafty creation. You can make any item you wish; this is not limited to cards!
✻ Limit two submissions per person. You will receive extra votes if you use Art Impressions stamps!
 ✻Please include your first name and last initial on your submission.
✻We love to comment on your entries, but keep in mind if you use a private group or a platform that you need to sign up for, we probably won't be able to.
✻ The Ai Challenge is open to everyone, international submissions are welcome!
✻ Include a link back to the Ai Blog or grab our button on the top right of our sidebar!
✻ Share the Ai love if you can, by clicking and commenting on your fellow crafters.
✻ Make sure to get your link up by the deadline to enter your creations.
✻ Good luck and happy stamping!

We want to see your handmade Halloween cards and crafty items!

You are invited to the Inlinkz link party!

Thursday, September 21, 2023

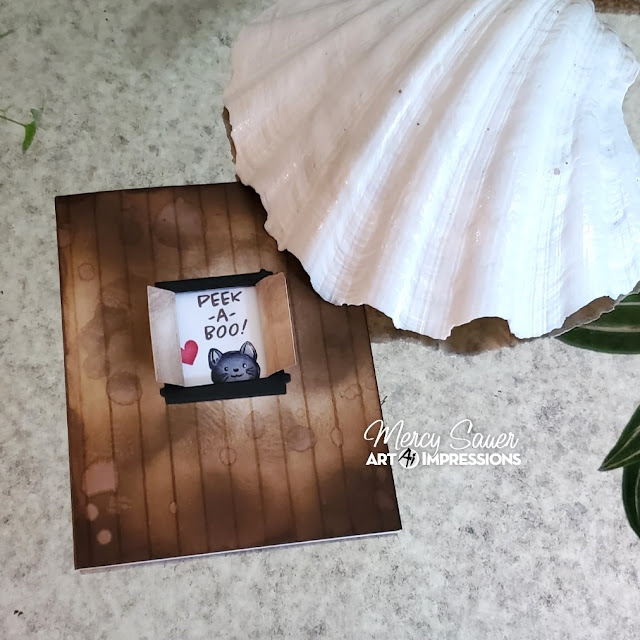
Peek-A-Boo by Mercy Sauer


Hello Ai friends, I am so happy to be here with you.   I have an announcement to make, I am saddened to report that I will be stepping down as a design team member for Ai.  It has been an amazing opportunity to be part of such a great group of ladies and company.   I will complete my September month responsibilities and hopefully we will be welcoming a new member very soon.   I love Ai products and will always continue to have them in my stash.

For this week I created a cute card which could be used for birthdays, Halloween, or any other occasion.   I used the cat from the 5506 – Peek-a-Boo Set, a great example of using a small element from a set as the main character.   Let's take a look.

I used the window die to create the opening.   In addition, I die cut from black cardstock the same window and removed the window panes and used them as frames for the front and back of the card panel.  I used oxide ink to distress the front panel and sprayed water to create the spots.   I did want to add a punch of color to a rather muted color scheme and the red heart did the trick.


Hope you get some inspiration from this card, shop from your own stash, it's always exciting to find new ways to use your product.   I will see you all next week!


Sunday, July 30, 2023

Trio of Halloween Journals by Reneé Matarese

Hello Ai fans!

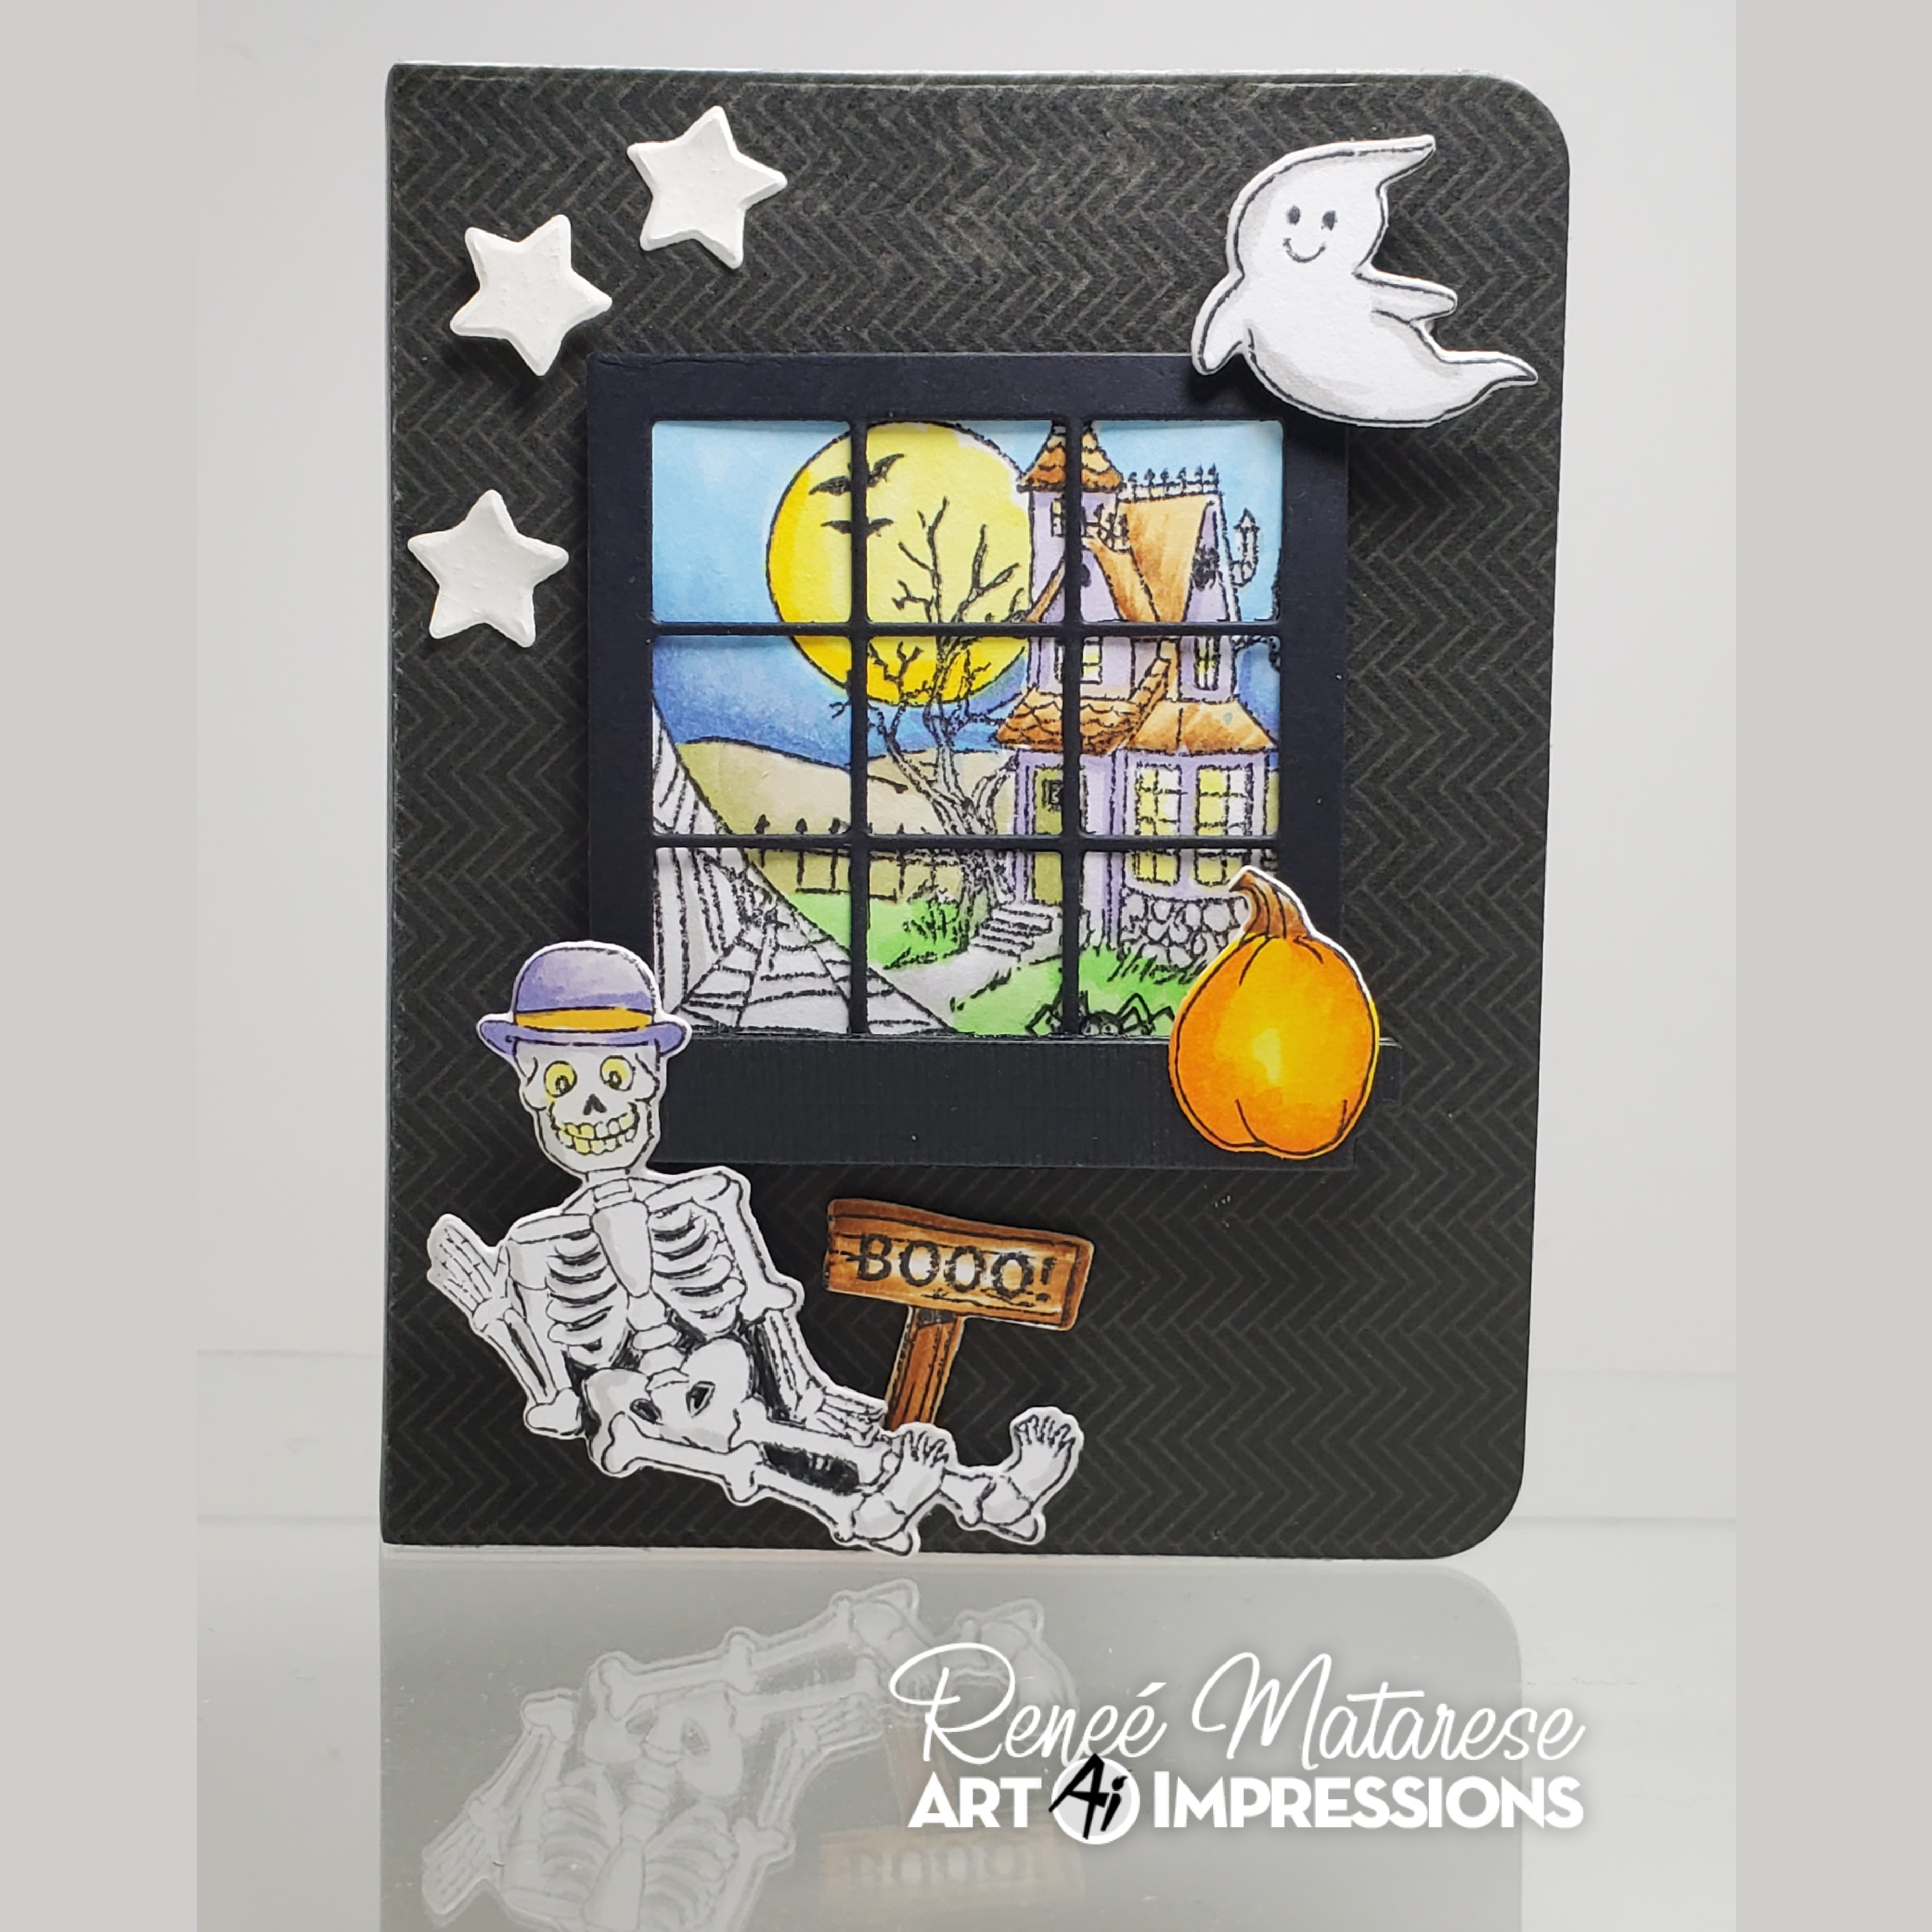
It's almost spooky season and so I'm beginning a little project now because I know it'll take me a while.  I'm making some Halloween journals for my kids.  I'm beginning with the cover but then I'll be skipping around a bit.  When they're finished,  I'll show you them in order from front to back.
There will be 3 journals in all, one for Art Impressions and one for each of my kids. Each one will be very similar and yet completely unique.


For Dominick and Makena's, I personalized them by adding their names with the 5562 – Journal Letter Die Set.  I also added the name Jackson's to the sign post because that's a famous pumpkin farm just down the road from us that they've gone to since they were babies.


My kids are grown now, but they've loved Halloween since they were little.  My plan is to put a GC and a little cash in here for them.  They're also each getting a Halloween Tea Towel and probably a favorite candy. Though you can't tell in the pictures, the stars are cut out of glittery white paper.


I colored in the negative space in between the skeleton's bones to make him pop more.
I hope you're inspired to give the Ai Journals a try.  They're so fun and can be personalized for any theme or person that you wish.  The possibilities are endless.

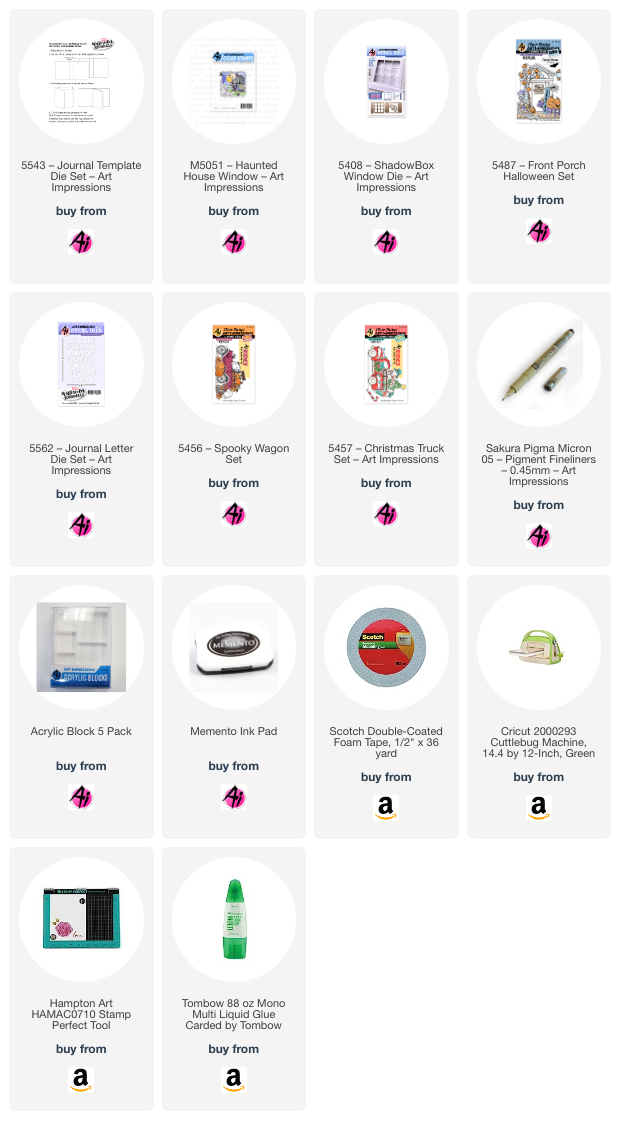
5408 – ShadowBox Window Die (window frame)
M5051 – Haunted House Window (under window frame)
5456 – Spooky Wagon Set (pumpkin, ghost and BOO sign)
5457 – Christmas Truck Set (blank sign "Jackson's" and star die)
5562 – Journal Letter Die Set (for names)
5487 – Front Porch Halloween Set (skeleton)
Sakura Pigma Micron 05 – Pigment Fineliners – 0.45mm (to write Jackson's and fill in space between skeleton bones)
Memento Ink Pad (to stamp all images)
4773 – Acrylic Block 5 Pack (Variety) (to stamp smaller images, larger images were stamped on my Stamp Perfect)

Copics used:
100, Y02, Y19, Y23, YR16, E35, T2, YG06,
YG91, YG93, B12, B95, BV00, BV11, BV13

Sunday, May 28, 2023

Hello Friend! by Reneé Matarese

Hello Ai fans!

It's May so we have flowers!
Fabulous Flowers
That's the current challenge here on the blog.


I used several Art Impressions products on my cards.
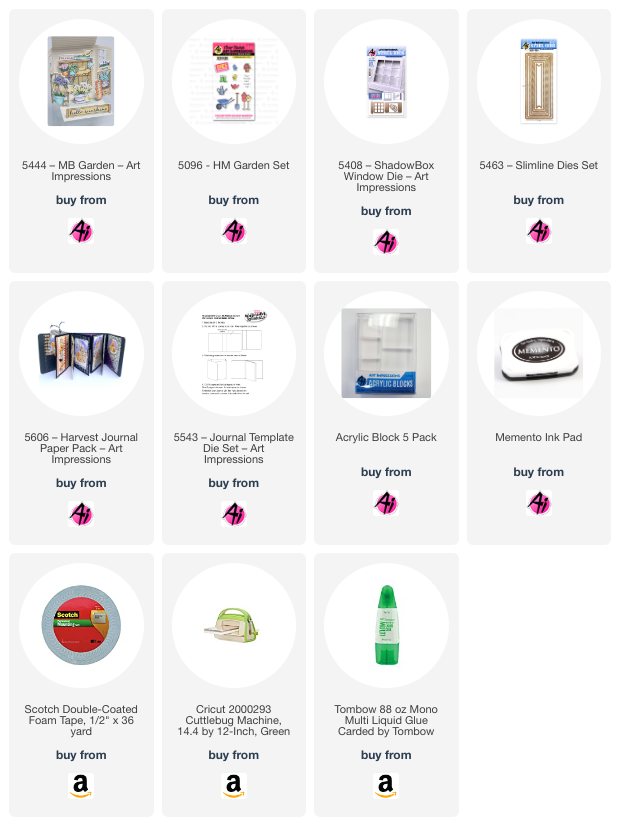
5444 – MB Garden for the bucket of tulips and sentiment
5096 – HM Garden Set for the little birds
5463 – Slimline Dies Set to cut the designer paper
5408 – ShadowBox Window Die to create the 3-D window
and


I just love how you can mix and match all of the Ai sets.
Their versatility makes them so useful.
I think my card is so cheerful.
One of them will be my friend Rhonda's birthday card.


I colored my birds bright yellow because at this time of year, our goldfinches have just turned back from their winter mustard brown color to their brilliant yellow.  We love to see that because it means the weather is turning nice again.


Copics used:
BG02, G20, G82, YR21, R81


Saturday, January 21, 2023

Thinking of You - Stretching Your Christmas Stamps

Hello everyone! I'm back again this week to offer further inspiration for a Windows to the World stamp set. If you missed our challenge post, check it out. Included is my tutorial for using a Windows the to the World stamp and dies designed just for it. Here's the card I made to kick of our newest challenge. The post can be found HERE.

The weather has definitely turned colder and I wanted to a card featuring a winter scene. Most winter stamps in my collection are about the Christmas season. However, I realized that this Christmas stamp, M4691 - With Love Window could be used for a winter themed card. All I had to do was eliminate the sentiment around the window which mentions Christmas. I love when you can get multiple seasons out of one stamp set! Here's a close up of the finished stamp on the card. The snowman is so cheerful. Just what we need in the middle of January!

In today's card I decided to create mats with graduating window sizes. Each layer underneath is slightly smaller until the window is the perfect size for the stamp. To do this, I picked my papers and cut them all to fit an A2 sized card base. I used three 5061-Square Double Stitched Dies to create a gradual reduction to the die I used from the 5408-ShadowBox Window Die that perfectly fits the Windows to the World stamps. If you don't have this die, you can simply fussy cut it out.

I highly recommend using paper pads when choosing to use multiple patterns on a card. Doing so makes sure the colors go together. In my case, I also chose a pattern that had a tree pattern at the bottom of it. I used it to my advantage as part of the design on the card. All I needed to add was a sentiment to finish it! 

Thanks for joining me today. I hope you enjoyed my project and that you have been inspired to enter our Windows To The World challenge! Can't wait to see what you create.

Janet YouTube - Blog - Facebook - Instagram - Pinterest


Thinking of You - Stretching Your Christmas Stamps

Hello everyone! I'm back again this week to offer further inspiration for a Windows to the World stamp set. If you missed our challenge post, check it out. Included is my tutorial for using a Windows the to the World stamp and dies designed just for it. Here's the card I made to kick of our newest challenge. The post can be found HERE.

The weather has definitely turned colder and I wanted to a card featuring a winter scene. Most winter stamps in my collection are about the Christmas season. However, I realized that this Christmas stamp, M4691 - With Love Window could be used for a winter themed card. All I had to do was eliminate the sentiment around the window which mentions Christmas. I love when you can get multiple seasons out of one stamp set! Here's a close up of the finished stamp on the card. The snowman is so cheerful. Just what we need in the middle of January!

In today's card I decided to create mats with graduating window sizes. Each layer underneath is slightly smaller until the window is the perfect size for the stamp. To do this, I picked my papers and cut them all to fit an A2 sized card base. I used three 5061-Square Double Stitched Dies to create a gradual reduction to the die I used from the 5408-ShadowBox Window Die that perfectly fits the Windows to the World stamps. If you don't have this die, you can simply fussy cut it out.

I highly recommend using paper pads when choosing to use multiple patterns on a card. Doing so makes sure the colors go together. In my case, I also chose a pattern that had a tree pattern at the bottom of it. I used it to my advantage as part of the design on the card. All I needed to add was a sentiment to finish it! 

Thanks for joining me today. I hope you enjoyed my project and that you have been inspired to enter our Windows To The World challenge! Can't wait to see what you create.

Janet YouTube - Blog - Facebook - Instagram - Pinterest