Showing posts with label 5726 Nested Circle Die. Show all posts

Tuesday, June 16, 2026

I Love Rock & Roll! by Reneé Matarese

Hello Ai fans!

What do you make when you have a request for a birthday card for a 14 year old who loves 80's music? A rock & roll shaker card of course, complete with boom box!


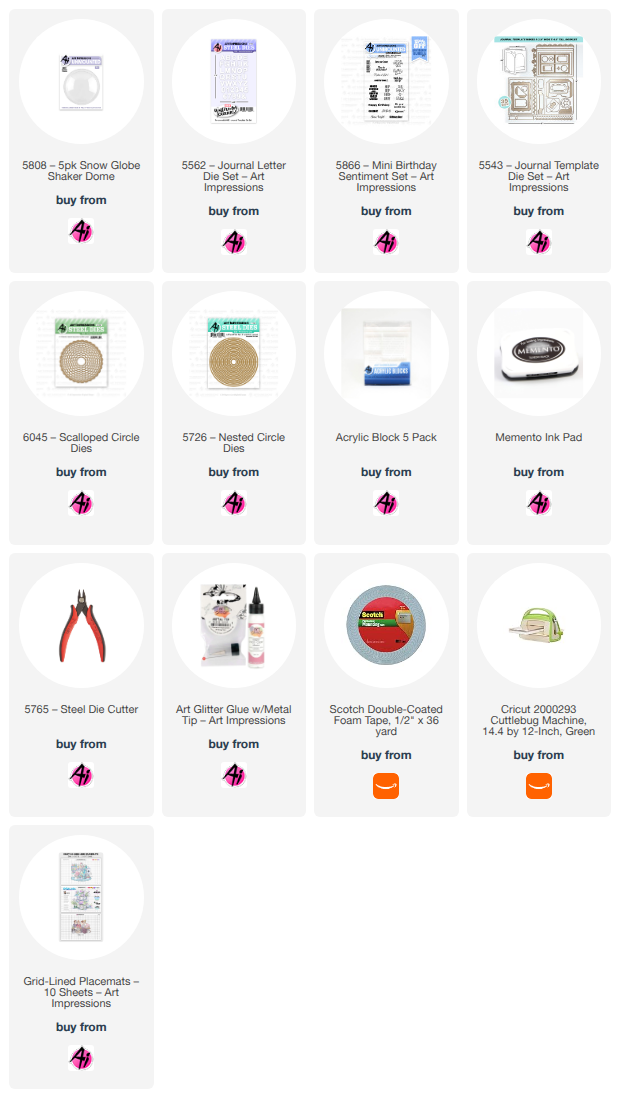
I used the super fun 5808 – 5pk Snow Globe Shaker Dome.
Inside the dome, I used the radio from 4999 Perfect Duet Set (Retired)


On the inside of her card I used 5866 – Mini Birthday Sentiment Set
and 5562 – Journal Letter Die Set to spell out I LOVE ROCK AND ROLL.
Think Joan Jett!

The border die on the front and on the inside is from
5543 – Journal Template Die Set


Monday, April 13, 2026

You're never too old by Sharon Caudle

 Hello AI Fans!

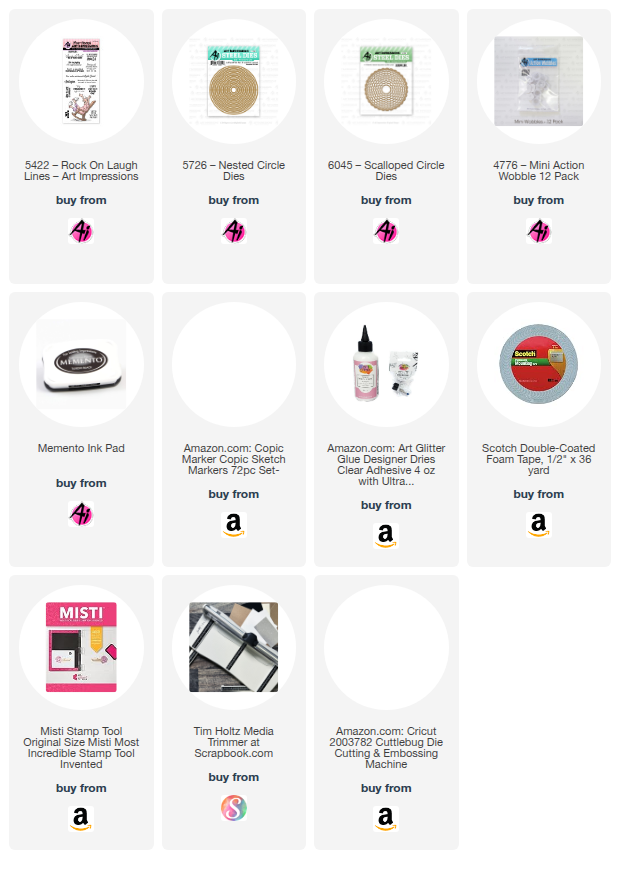
I have a card to show you today that I made for Challenge #425 I See Right Through You. What a fun challenge!!! I want to apologize for the glare on the pictures from the acetate I used. I tried everything and just couldn't remove them. I am NOT very proficient with the tech side of things. LOL! But the card looks pretty cool in person. To make the front, I actually just used one of my cover plates that has a thin frame around it. I cut two of them and sandwiched a piece of acetate between the two pieces. I mean...could it get any easier than that?? I then cut the back of the card making it just 1/4" wider and scoring it at 1/4" to glue to the inside of the front. For the fun Rockin' Granny from #5422 Rock On Laugh Lines, I started by stamping her in Memento Tuxedo Black Ink and coloring her with Copic markers which are listed below. I then fussy cut around her so I could place her onto a mini wobble. I mean...a Rockin' Granny needs to be on a wobble, don't ya think? LOL! In order to place her onto the card, I needed a base panel, so I used #5726 Nested Circle Dies and #6045 Scalloped Circle Dies. I cut a set in the same size for the front as well as the inside. 


After adhering the mat to the front of the card, I die cut another white scalloped circle mat and glued it to the inside to hide the adhesive you could see through the acetate. This just gives a cleaner look. I then took the purple scalloped circle and lined it up with the inside white scalloped circle. I added adhesive to the back of it, then just closed the back of the card on top of the purple mat. That assured it would be aligned perfectly with the front and not show through when the card is closed. 


After adding a cute bow to the front and stamping the sentiment on the inside panel, this one was done. So that is it for me today! Thank you so much for stopping by for a visit, and until next time - stay crafty!! 

Copic markers used:
RV91, 93, and 95
Y32
BV000, 01, and 02
B00
W2, 4, and 6
E000, 00, 11, 13, 15, and 18
R11 and 12


Thursday, March 26, 2026

Chicks Bookmark card by Dori Mendiola

 Happy Thursday AI Friends!

We definitely are getting to enjoy the Spring air here and just in time for Easter.  Yay!  However, I'm hearing that it's suppose to change next week.  Let's hope the weathermen are wrong.  Fingers crossed!  

Maybe my card for today will inspire the nice Spring weather to continue.  🤞

I created a comical corner bookmark that slides over the card.  When removed it reveals the "Spring is in the Air" sentiment from the #5867 - Mini Easter Sentiment set.  This bookmark is sure to give someone a chuckle every time they open their book.  I just love him and the funny saying!  I hope I don't offend anyone with that sentiment, but it just fit this image perfectly.  😁

The polka dots on the egg was a Sharon inspiration.  Thank you Sharon for the cute idea!


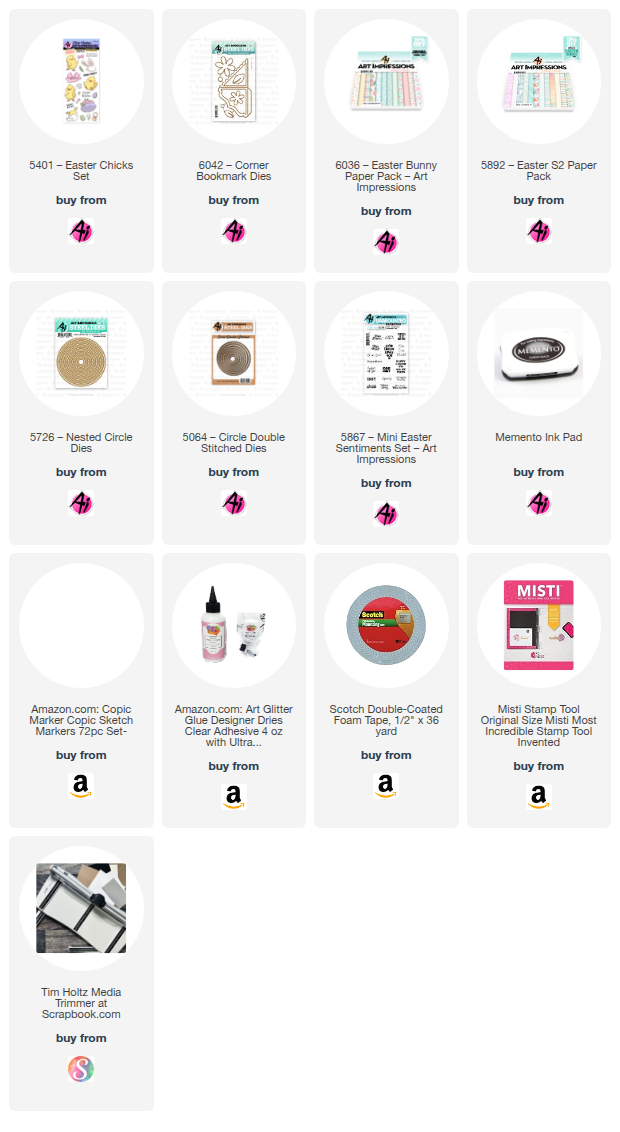
I used the #5401 - Easter Chicks stamp set for the images and the #6042 - Corner Bookmark die set for the detachable bookmark.  I stamped the images onto copic friendly paper and colored with my copic markers listed below.  The images were then cut using the coordinating dies within the set.


For the pattern papers, I used the #6036 - Easter Bunny PP and the #5892 - Easter S2 PP.  The Art Impressions paper packs coordinate well together.   I cut several circles using the #5064 - Double stitched circle dies and also the #5726 - Nested Circle dies.


I started with a base card panel made with heavy cardstock and cut to an A2 size - 5 1/2 x 4 1/4.  I then created a smaller card (size 4 3/4 x 3 3/8) that will be adhered to the front.  I layered the mats and pattern paper panels to the base and also to the front of the card.  I then layered the circle panels and adhered the images to the top layers.  I popped up the bottom chick but not the one on the bookmark.  I didn't want to add any more bulk to the bookmark.  I placed the bookmark onto the card corner and adhered the egg chick panel to the bookmark.  I then adhered the other chick panel to the card base.  The last circle panel was adhered to the card base, lining it up directly under the circle of the bookmark.

I attached the card to the base, lining up to the bottom edge so that the card will stand up on its own.

That's it for me today!  Thanks for joining me and I hope you have a wonderful day!
Keep creating!

Copics used:  Y13, Y15, Y17    R20
YR61, YR65, YR68
G20, G21, G24
R81, R83, R85

Monday, March 9, 2026

Thinking of You by Sharon Caudle

 Hello AI Fans!

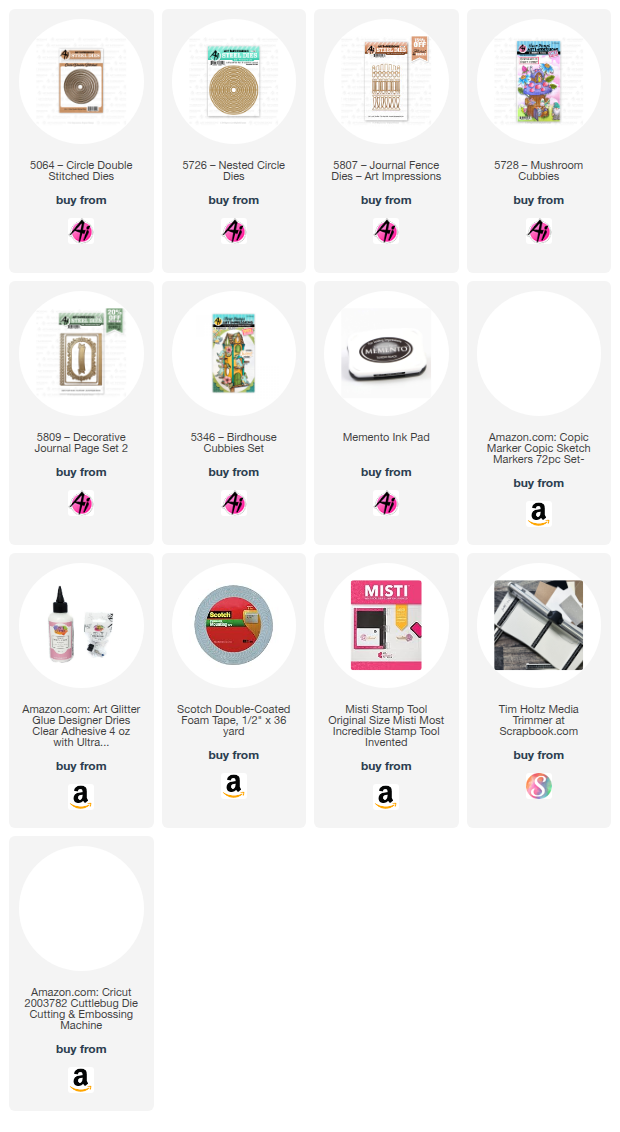
Happy Monday! I think there's only like 11 or 12 days before it is officially Spring - on the calendar anyway! So I've got a card for you today that has flowers and cute little bugs in hopes that Spring arrives soon! I turned this one into a spinner card, so the ladybug spins all the way around the flowers. I wanted to start with some flowers, so I used the flower stamp and die from #5346 Birdhouse Cubbies. I used a grass die from my stash for the center panel, then layered the flowers by popping up the ones in front. The butterfly, dragonfly, and snail are all from #5728 Mushroom Cubbies. Don't forget to look at all your Cubbies sets, Front Door Sets, Matchbook Sets, and so on. They all have such amazing pieces that can be either used alone or combined with other stamps to create amazing scenes!! Isn't that the cutest fence? It's from #5807 Journal Fence Dies. In order to create the open track for the ladybug to spin around, I used both 5726 Nested Circle Dies and 5064 Circle Double Stitched Dies. I had to be careful popping them up to make sure nothing got in the way of the ladybug moving around the track. Lastly, I created the sentiment using one of my very favorite banner dies from #5809 Decorative Journal Page Set 2. I just love the look of the stitching around the edge. 


So that's it for me today! Thank you so much for stopping by for a visit and until next time - stay crafty!


Tuesday, February 10, 2026

Hoppy Spring! by Reneé Matarese

 Hello Ai fans!

I've always loved frogs, possibly because they're green, which is my favorite color.
This newest frog from Art Impressions is just the most darling little creature ever!


I layered up lots of Ai dies to add some fun dimension to my card.
We've been in a deep freeze here in the northeast. I can't wait for spring and flowers
and green grass again.

Thursday, January 15, 2026

Pocket Full of Sunshine Challenge #419 Week #1

Hello Ai fans and welcome to the new challenge here on the Art Impressions Challenge Blog!
This time we have a Pocket Full of Sunshine!


This challenge is pretty flexible.
We want to see SUNSHINE, YELLOW and/or POCKETS.
Show us your interpretation of what a Pocket Full of Sunshine means to you.
Maybe it's a bouquet of yellow flowers?
Maybe it's your favorite yellow Designer Paper?
Perhaps you love making cards or journals with pockets on them.

After viewing my little house, be sure to scroll down to see if you were one of our winners from our Button Up challenge.

I'm the featured artist this week and I chose to create a yellow house with a sunshine to brighten it. Inside of the house is a mini journal that contains pockets. (You'll see that on Tuesday)


For my project, I used the new 6114 – Box Village Template Dies.
Please see the InLinkz below for a complete list of all of the Art Impressions supplies that I used.


This box die set is just the cutest! It comes with a cover and pages to create a little journal or booklet that tucks up inside of it. 


I also love how customizable the house is. It was marketed as a Christmas house to hold the Woodland Scene series but it is so much more than that. Two days ago, I shared it as a Valentine house that I created for my fireplace mantel.


This is the cover of my little journal which you'll see the inside of on Tuesday.
Gail looks so happy tending to her garden.
I hope I've inspired you to enter our Pocket Full of Sunshine Challenge.
You might be the next person to win a free stamp set.
See details below.

Also, be sure to scroll down to see the winners of the previous challenge.

Copics used:
G40, G43, E01, E31, E35, E42, E93,
Y000, Y21, YR12, YR15, YR61

Now let's see who won our Button Up challenge.

For our Top Spot we selected Stephanie S.


Be sure to grab our Top Spot badge and share it on your social media, 
letting people know that you're a winner!


Please contact Leah at Feedback@artimpressions.com
to claim a free stamp set of your choice!!

Our Lucky Random Winner was Terry C.


Be sure to grab our Lucky Random Winner badge and share it on your social media, 
letting people know that you're a winner!


Please contact Leah at Feedback@artimpressions.com
to claim a free stamp set of your choice!!

Congratulations to both artists. We LOVED seeing so many beautiful entries.
KEEP THEM COMING!

 ✻ Please make a new card or handmade crafty creation. You can make any item you wish; this is not limited to cards! (unless specified)

✻ Limit two submissions per person.
 ✻Please include your first name and last initial on your submission. You may include your entire last name, but it's not necessary.
✻We love to comment on your entries, but keep in mind if you use a private group or a platform that you need to sign up for, we probably won't be able to.
✻ The Ai Challenge is open to everyone, international submissions are welcome!
✻ Include a link back to the Ai Blog or grab our button on the top right of our sidebar!
✻ Share the Ai love if you can, by clicking and commenting on your fellow crafters.
✻ Make sure to get your link up by the deadline to enter your creations.
✻ Good luck and happy stamping! 

You are invited to the Inlinkz link party!

Click here to enter

Thursday, January 8, 2026

Button Baby Panda card by Dori Mendiola

 Happy Thursday AI Friends!

Today I have a cute little baby card for the "Button Up" challenge.  Check out the "Bi-weekly Challenge" tab above for the simple requirements to qualify for a chance to win a free stamp set of your choice.  

I created this fun shaped card using the 6017 - Baby Panda set with the 6057 - Baby Girl PP.

I stamped the image onto copic friendly paper with Memento black ink and colored with my copic markers listed below.  I die cut the image using the coordinating die that is included with the stamp set.  As per my usual, I die cut a second image out of basic white cardstock and adhered it to the back of the colored image to give it more strength.  I like to do this because it adds a little extra "pop up" as well.

To create the card front, I die cut a scalloped circle using the largest die from the 6045 - Scalloped Circle die set.  I then die cut two circles (one pink cardstock and one patterned paper) that fit nicely over the other giving it a slight border.   I then die cut the heart scallop from the 5721 - Nested Heart dies and a 1" piece of white cardstock with a slightly smaller strip of patterned paper to fit over the white cardstock.  I layered these all onto the white scalloped circle as shown above.

For the card base, I folded a piece of cardstock in half (approx. 4 x 4 inches) and die cut the second largest circle from the 5726 - Nested Circle die set placing the die over the fold so that approx. 1/2" of the top does not cut.  This will create the fold for the opening of the card.  Glue one side to the back of the scalloped circle card front.  Pop up the image with foam tape.  Add two small black buttons for the wheels (I threaded white string through the button holes for added detail).  Tie a three loop string and adhere to the button bow with glue dots or liquid glue and then adhere just below the sentiment.

After I put this together and took my pictures, I realized that I didn't add shading to the buggy base or canopy.  Oops!  LOL!  Simple coloring works just as well, yet we always think we need to add more.  Maybe we don't!  😀 

Thanks for joining me today!  Make sure to check out the current challenge and play along.  We love to see what you create!  

Have a great day and keep creating!

Copics used:  N0, N1, N3
R20, R81, R83, R85

Thursday, November 6, 2025

You're a Hoot by Dori Mendiola

 Happy Thursday AI Friends!

I have a gate-fold card for you today with a decorative closure.  
I used the newly released #6105 - Fall Keepsake set along with the #5973 - Fall S2 PP.  
I love all of the little critters and accessories that come in this set as well as the coordinating dies.
I began by stamping all of the images with Memento black ink onto copic friendly paper and colored with my copic markers listed below.  I cut each of them using the coordinating dies.  I cut two panels with the leaf paper from the Fall S2 PP using a die from my stash, but any die will do.  I placed one of the panels behind the critters and the other popped up to tuck some of the images behind.  

For the gate-fold closure, I cut two pieces of scrap cardstock approx. 1" x 1/2" and scored both at 3/8" and 5/8".  I folded the scored lines the same direction.  I butted up the scored pieces together and adhered them behind the owl, making sure to place the scored line horizontally behind the owl.  The flap openings should be to the top and bottom on the back of the owl.  I then adhered a circle to the other side.  See picture below.  Sorry that it isn't clearer, but hopefully you can see it well enough.


When you've added the owl and the circle to either side of the scored pieces, it will slide over the opening of the gate-fold to keep it closed.

Thanks for joining me.  I hope you have a wonderful day.  Keep creating!

Copics used:  N0, N1, N2, N4
E00, E11, E50, E51, E53, E55, E95, E97, E99
R20, R24, R27
Y11, Y13, Y15, Y19
YR12, YR14, YR16, YR18
G21, G24