Showing posts with label Flower Cart. Show all posts

Wednesday, November 27, 2019

Watercolor Throwback - Pumpkin Cart Video

Hello Ai Fans!

With turkey and mashed potatoes calling our name this Thursday in the USA, we are bringing you a beloved Watercolor Throwback for Watercolor Wednesday!

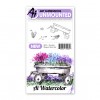
We have LOVED this project for a full year, with colorful pumpkins and a great Thanksgiving image! May you be transported to a field full of a grateful harvest. Watch as Bonnie masks in the single pumpkins from our WC Harvest Set into our Flower Cart and adds vines around the pumpkins still in the patch!

We switched to Tombow Markers in January 2019, and although this video uses Marvy Markers, we have included all the links below for the updated colors! You can also download our Color Conversion Chart to see similar colors from both product lines!

Happiest of Thanksgivings from all of us at Art Impressions! We are grateful for the most wonderful customers over the last 32 years!


View on YouTube: https://youtu.be/ZhPxh0Zqlx4


Saturday, April 6, 2019

Watercolor Weekend Roundup - NEW Inspiration!

Hello, Watercolor Fans! Ready for a dose of Watercolor Inspiration? We are so excited about these beautiful projects from our Watercolor Guest Design Team! We hope you enjoy them as well!

Dot Freel - Instagram - Blog - Pinterest
Hello Friends,

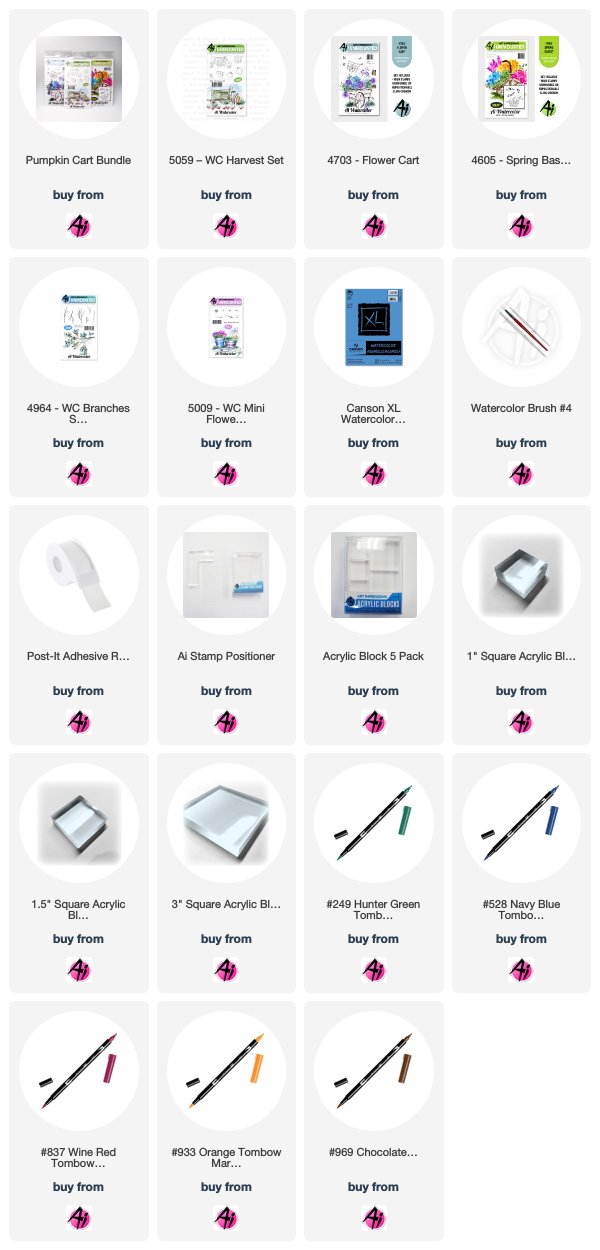
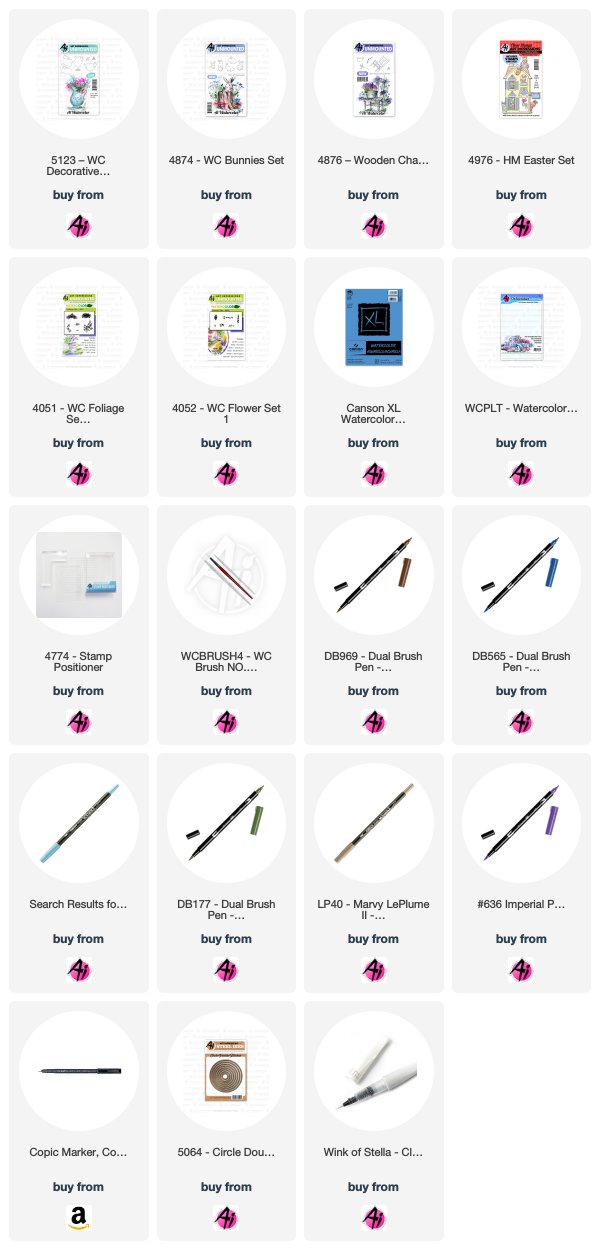
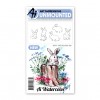
Easter is less than a month away and I need to get busy making Easter cards. I made this card for the Art Impressions Watercolor Weekend using the new 5123 - WC Decorative Jar Set. First I colored the teapot stamp in 696 then in 565 and stamped it off before stamping it on the paper. I then colored it in using 603. I used the stamp positioner to stamp the bunny from 4874 - WC Bunnies Set in the pot using 40 brownish grey, which I also used for the shadow under the teapot. I colored the bunny's ear and cheeks using 67 bubble gum pink and 177. I then stamped the flowers from the 4052 - WC Flower Set 1 in the pink as well. The other flowers are from the 4876 - Wooden Chair Mini Set and they are stamped in the 565 and 177. I added the grass from the 4051 - WC Foliage Set 1 in 177. I used the sign and eggs and bow from the 4976 Holiday Mansion Easter Set, then colored them in using the same colors. I colored the sky using 75 sky blue. I added some glitter using a Wink of Stella glitter pen. I used my Copic pen to sign and date it. I cut it out and framed it using the 5064 - Double Stitched Circular Die Set and a rounded corner punch for the card base.

You can find more inspiration by following me on my Instagram account here.
Karen Day - Blog - Facebook - Pinterest
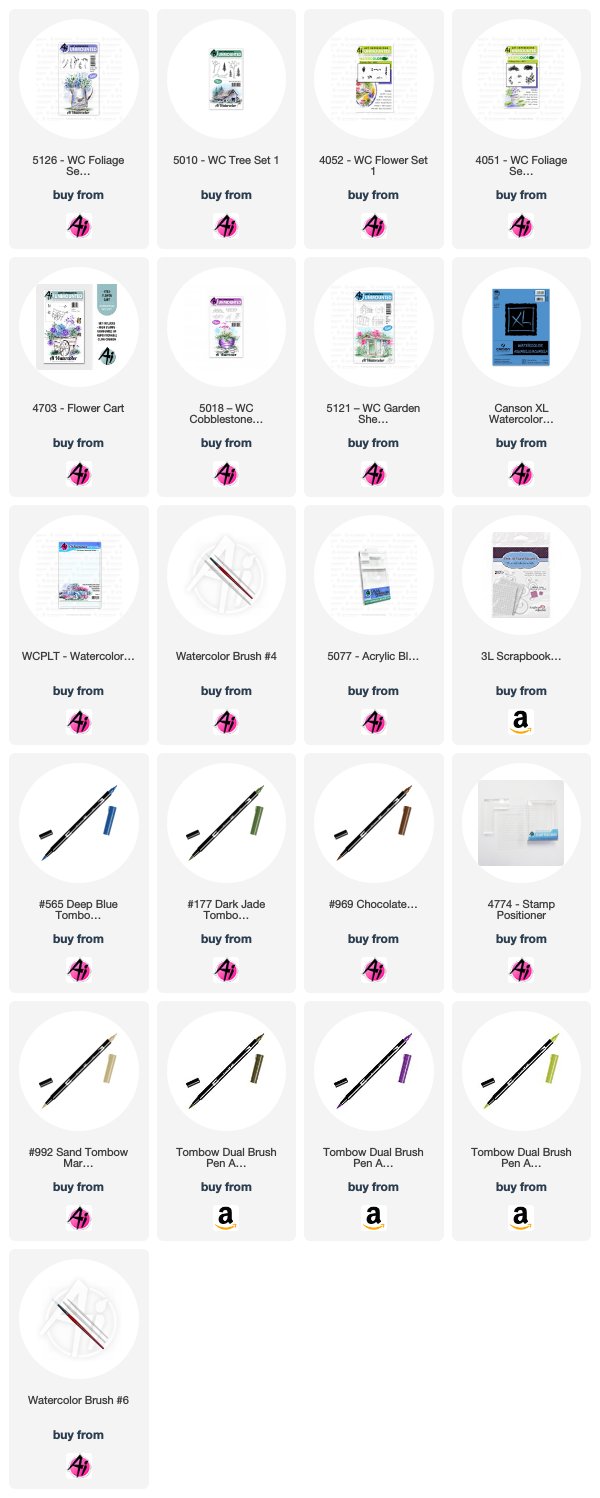
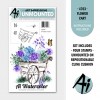
I've used seven stamp sets in my scene today! I started by placing one of the sheds from 5121 - WC Garden Shed Set and the 4703 Flower Cart together on the same block, which allowed me to control exactly where they were placed to achieve the right perspective. I coloured them both with 969 Chocolate, stamped, and softened the lines with a damp #4 paintbrush. I used a combo of 969 and 992 Sand to paint in the roof, shingles and cart. Using N57 Warm Grey, I coloured and stamped 2 of the stepping stone images from 5018 Cobblestone Set, and pulled out the colour to create some texture and shadows. I used the two trailing greenery images from 5126 Foliage Set 4 coloured with 177 Dark Jade to stamp foliage falling out of the cart, and dabbed them with a damp brush to activate the ink. Next I used the floral cluster from 4052 WC Flower Set 1 coloured in 676 Royal Purple to create the pink flowers in the cart, and after masking the shed, I stamped them on either side of it. I coloured 565 Deep Blue onto the tiny bluebell image from Flower Set 1, stamping it three times in an upward direction to create tall stalks of blue flowers. After softening all the flowers/foliage with a damp brush, I went in with the tiny leaf image from 5009 - WC Mini Flower Set (oops! that's an 8th stamp set!!) to fill in around the flowers where needed. I also used it around the shed to create some bushes with the flowers. I used both the small and large grasses from 4051 - WC Foliage Set 1 in 177 as well as 126 Light Olive to add the suggestion of grass around the shed, stones and cart. I pulled out the colour from the grasses, and painted in and around the images to create a wash of green grass. After masking off the shed, I coloured two of the tree images from 5010 WC Tree Set 1 in 177, varying the heights - then softened them with a damp brush. Finally, I scribbled 565 onto my palette, and painted in the sky and the door, and then used it to add shadows to the window, stones and cart. 

Tricia O'Bin - Blog - Instagram - YouTube - Pinterest - Facebook
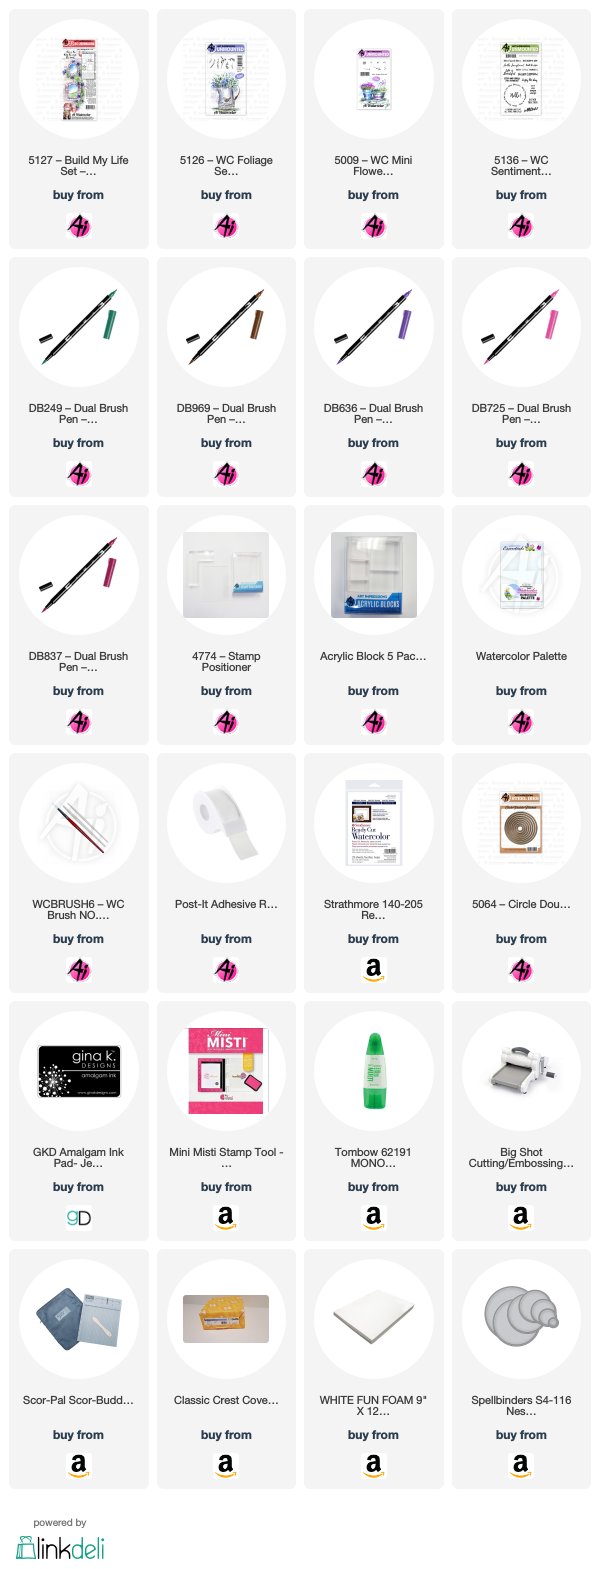
Step 1: Ink the small pot from the Build My Life set in 969-Chocolate. Stamp it and pull the color out of the lines. I added 837-Wine Red to my palette and added it to the pot being sure to leave a highlight in the middle.

Step 2: I masked the top of the pot with a piece of post-it tape. I inked up the tall foliage from the New WC Foliage set with 969-Chocolate and 249-Hunter Green and stamped it several times on the left side of the pot. I removed the mask and softened the leaves with water.

Next, I inked the small vine from the New WC Foliage Set with 249-Hunter Green and stamped it several times along the right and into the top of the pot. I softened the lines.

Step 3: I inked up the small dots from the WC Mini Flowers set in 725-Rhodamine Red and stamped it several times in a circle. I added water to the bloom. I didn't really get a good depth so I inked it up with 636-Imperial Purple and again stamped it in a circle on top of the pink. I added water.

Finally I added some Chocolate underneath the pot to ground it. Finally, I signed and dated it.

Card Details
I placed the watercolor piece into my MISTI and lined up the Dear Friends circle over the pot. I inked it up with Gina K Amalgam ink and stamped it twice.

I used the double stitched circle die to cut the watercolor piece. I used a watercolor background to cut a mat using a Spellbinder circle slightly bigger than the watercolor piece. I cut a piece of fun foam to pop it up.

I die cut the background with Altenew Layered Medallians dies cut from Neenah Solar White 80 lb card stock. I added these to a Neenah Solar White 110 lb card base. I glued the watercolor piece to the top of the card.


If you enjoyed these projects, be sure to leave us a comment below! Have an awesome week!

Happy Stamping!

Thursday, September 20, 2018

NEW VIDEO - Pumpkin Cart Watercolor

Hello Ai Fans!

Did you see our latest Watercolor Wednesday video? It has us so excited for Autumn! This week, Bonnie shares a rustic cart filled to the brim with colorful pumpkins! Watch as Bonnie masks in the single pumpkins from our WC Harvest Set into our Flower Cart and adds vines around the pumpkins still in the patch! Hop over to YouTube to view the full video!


View on YouTube: https://youtu.be/ZhPxh0Zqlx4


Wednesday, May 17, 2017

NEW VIDEO - Bunny on a Stool Watercolor

Hello Ai Fans!

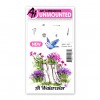
Welcome to a new video for Watercolor Wednesday! This week, Bonnie transforms our Wooden Chair Mini Set to create a sweet stool for one of our WC Bunnies to rest on. Bonnie starts by only inking (or rubbing off with your thumb!) the front sections of the wooden chair, leaving the back line off. Bonnie then takes our Stamp Positioner to perfectly place the bunny on the stool, and then connecting the back lines and darkening the facial features. 

After pulling the color from the lines with a damp brush, she adds the tall grasses from our Garden Wagon Set and our large grass with our new marker color, #32 Laurel Green. Bonnie brushes in some sky with a mix of #17 Steel Blue and #100 Sapphire with the use of our WC Palette. Bonnie then adds the tall flower from our Flower Cart Set and adds the idea of the tree with our large foliage from our WC Foliage Set 1. Bonnie finishes the image by adding color and shadow to the bunny and two butterflies using our heart-shaped flowers from WC Flower Set 2!

We want to see what you're creating! Make sure to share your images with us on Instagram with the hashtag #AiWatercolor! If you enjoyed this and our other Watercolor Wednesday videos, make sure to give us a thumbs up on YouTube and subscribe to be notified of new uploads!


View on YouTube: https://youtu.be/iSlx9WB32gM


Wednesday, February 15, 2017

NEW VIDEO - Birdhouse & Fence Watercolor featuring Molotow Masking

Hello Ai Fans!

Welcome to a new Watercolor Wednesday! Ready for another fabulous video featuring the Molotow Masking marker? This item has been so popular we are currently sold out, but never fear, you can join our 2.0mm or 4.0mm waitlist to be notified by email when it is back in our shop! Today, Bonnie creates another stunning fence so you can keep practicing this new technique. She added a couple birdhouses and lots of extra foliage and flowers to make it look overgrown and full. 

We hope you enjoy this week's video! Make sure to subscribe to our YouTube and give this video a "thumbs up" as well! Have a wonderful week!

Happy Watercolor Wednesday!


View on YouTube: https://youtu.be/XqhUFWOqDCI