Showing posts with label WC Wooden Chair. Show all posts

Saturday, April 6, 2019

Watercolor Weekend Roundup - NEW Inspiration!

Hello, Watercolor Fans! Ready for a dose of Watercolor Inspiration? We are so excited about these beautiful projects from our Watercolor Guest Design Team! We hope you enjoy them as well!

Dot Freel - Instagram - Blog - Pinterest
Hello Friends,

Easter is less than a month away and I need to get busy making Easter cards. I made this card for the Art Impressions Watercolor Weekend using the new 5123 - WC Decorative Jar Set. First I colored the teapot stamp in 696 then in 565 and stamped it off before stamping it on the paper. I then colored it in using 603. I used the stamp positioner to stamp the bunny from 4874 - WC Bunnies Set in the pot using 40 brownish grey, which I also used for the shadow under the teapot. I colored the bunny's ear and cheeks using 67 bubble gum pink and 177. I then stamped the flowers from the 4052 - WC Flower Set 1 in the pink as well. The other flowers are from the 4876 - Wooden Chair Mini Set and they are stamped in the 565 and 177. I added the grass from the 4051 - WC Foliage Set 1 in 177. I used the sign and eggs and bow from the 4976 Holiday Mansion Easter Set, then colored them in using the same colors. I colored the sky using 75 sky blue. I added some glitter using a Wink of Stella glitter pen. I used my Copic pen to sign and date it. I cut it out and framed it using the 5064 - Double Stitched Circular Die Set and a rounded corner punch for the card base.

You can find more inspiration by following me on my Instagram account here.
Karen Day - Blog - Facebook - Pinterest
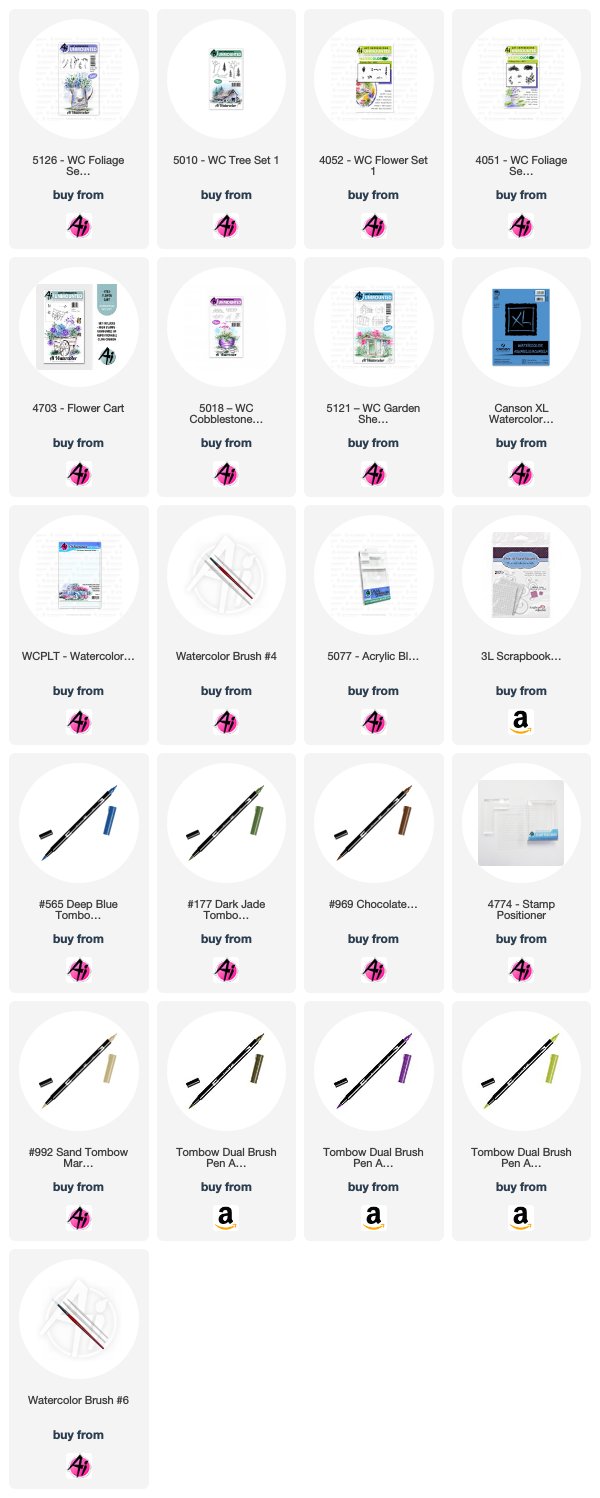
I've used seven stamp sets in my scene today! I started by placing one of the sheds from 5121 - WC Garden Shed Set and the 4703 Flower Cart together on the same block, which allowed me to control exactly where they were placed to achieve the right perspective. I coloured them both with 969 Chocolate, stamped, and softened the lines with a damp #4 paintbrush. I used a combo of 969 and 992 Sand to paint in the roof, shingles and cart. Using N57 Warm Grey, I coloured and stamped 2 of the stepping stone images from 5018 Cobblestone Set, and pulled out the colour to create some texture and shadows. I used the two trailing greenery images from 5126 Foliage Set 4 coloured with 177 Dark Jade to stamp foliage falling out of the cart, and dabbed them with a damp brush to activate the ink. Next I used the floral cluster from 4052 WC Flower Set 1 coloured in 676 Royal Purple to create the pink flowers in the cart, and after masking the shed, I stamped them on either side of it. I coloured 565 Deep Blue onto the tiny bluebell image from Flower Set 1, stamping it three times in an upward direction to create tall stalks of blue flowers. After softening all the flowers/foliage with a damp brush, I went in with the tiny leaf image from 5009 - WC Mini Flower Set (oops! that's an 8th stamp set!!) to fill in around the flowers where needed. I also used it around the shed to create some bushes with the flowers. I used both the small and large grasses from 4051 - WC Foliage Set 1 in 177 as well as 126 Light Olive to add the suggestion of grass around the shed, stones and cart. I pulled out the colour from the grasses, and painted in and around the images to create a wash of green grass. After masking off the shed, I coloured two of the tree images from 5010 WC Tree Set 1 in 177, varying the heights - then softened them with a damp brush. Finally, I scribbled 565 onto my palette, and painted in the sky and the door, and then used it to add shadows to the window, stones and cart. 

Tricia O'Bin - Blog - Instagram - YouTube - Pinterest - Facebook
Step 1: Ink the small pot from the Build My Life set in 969-Chocolate. Stamp it and pull the color out of the lines. I added 837-Wine Red to my palette and added it to the pot being sure to leave a highlight in the middle.

Step 2: I masked the top of the pot with a piece of post-it tape. I inked up the tall foliage from the New WC Foliage set with 969-Chocolate and 249-Hunter Green and stamped it several times on the left side of the pot. I removed the mask and softened the leaves with water.

Next, I inked the small vine from the New WC Foliage Set with 249-Hunter Green and stamped it several times along the right and into the top of the pot. I softened the lines.

Step 3: I inked up the small dots from the WC Mini Flowers set in 725-Rhodamine Red and stamped it several times in a circle. I added water to the bloom. I didn't really get a good depth so I inked it up with 636-Imperial Purple and again stamped it in a circle on top of the pink. I added water.

Finally I added some Chocolate underneath the pot to ground it. Finally, I signed and dated it.

Card Details
I placed the watercolor piece into my MISTI and lined up the Dear Friends circle over the pot. I inked it up with Gina K Amalgam ink and stamped it twice.

I used the double stitched circle die to cut the watercolor piece. I used a watercolor background to cut a mat using a Spellbinder circle slightly bigger than the watercolor piece. I cut a piece of fun foam to pop it up.

I die cut the background with Altenew Layered Medallians dies cut from Neenah Solar White 80 lb card stock. I added these to a Neenah Solar White 110 lb card base. I glued the watercolor piece to the top of the card.


If you enjoyed these projects, be sure to leave us a comment below! Have an awesome week!

Happy Stamping!

Saturday, November 3, 2018

Watercolor Weekend Roundup - Thankful Fall Cards

Happy November, Ai Watercolor Fans! Today the team is here for the first weekend of the month with rustic fall projects, perfect for sending Thanksgiving greetings! Let's take a look! 

Dot Freel - Instagram - Blog - Pinterest
Hello Watercolor Friends,

I love November! I'm a Thanksgiving baby so it's always been a fun month for me. Thanksgiving is my husband Tad's favorite holiday, and we always enjoy cooking together for our family. I made this Thanksgiving card for the Art Impressions Watercolor Weekend using the chair from the 4876 - Wooden Chair Mini Set, the pumpkin and the grass from the 5059 - WC Harvest Set, the bird from the 4966 - WC Bird Bath Set and a pot from the 4869 - WC Small Container Set. The flowers are from the 4963 - WC Fall Set. Let someone know you are thankful for them and wish them a happy Thanksgiving!

Other Supplies: Canson Watercolor Raper

Tricia Kennedy - Instagram
Can you believe it? It’s already November! I thought it only fitting that my Watercolor Weekend project be filled with brilliant fall colors.

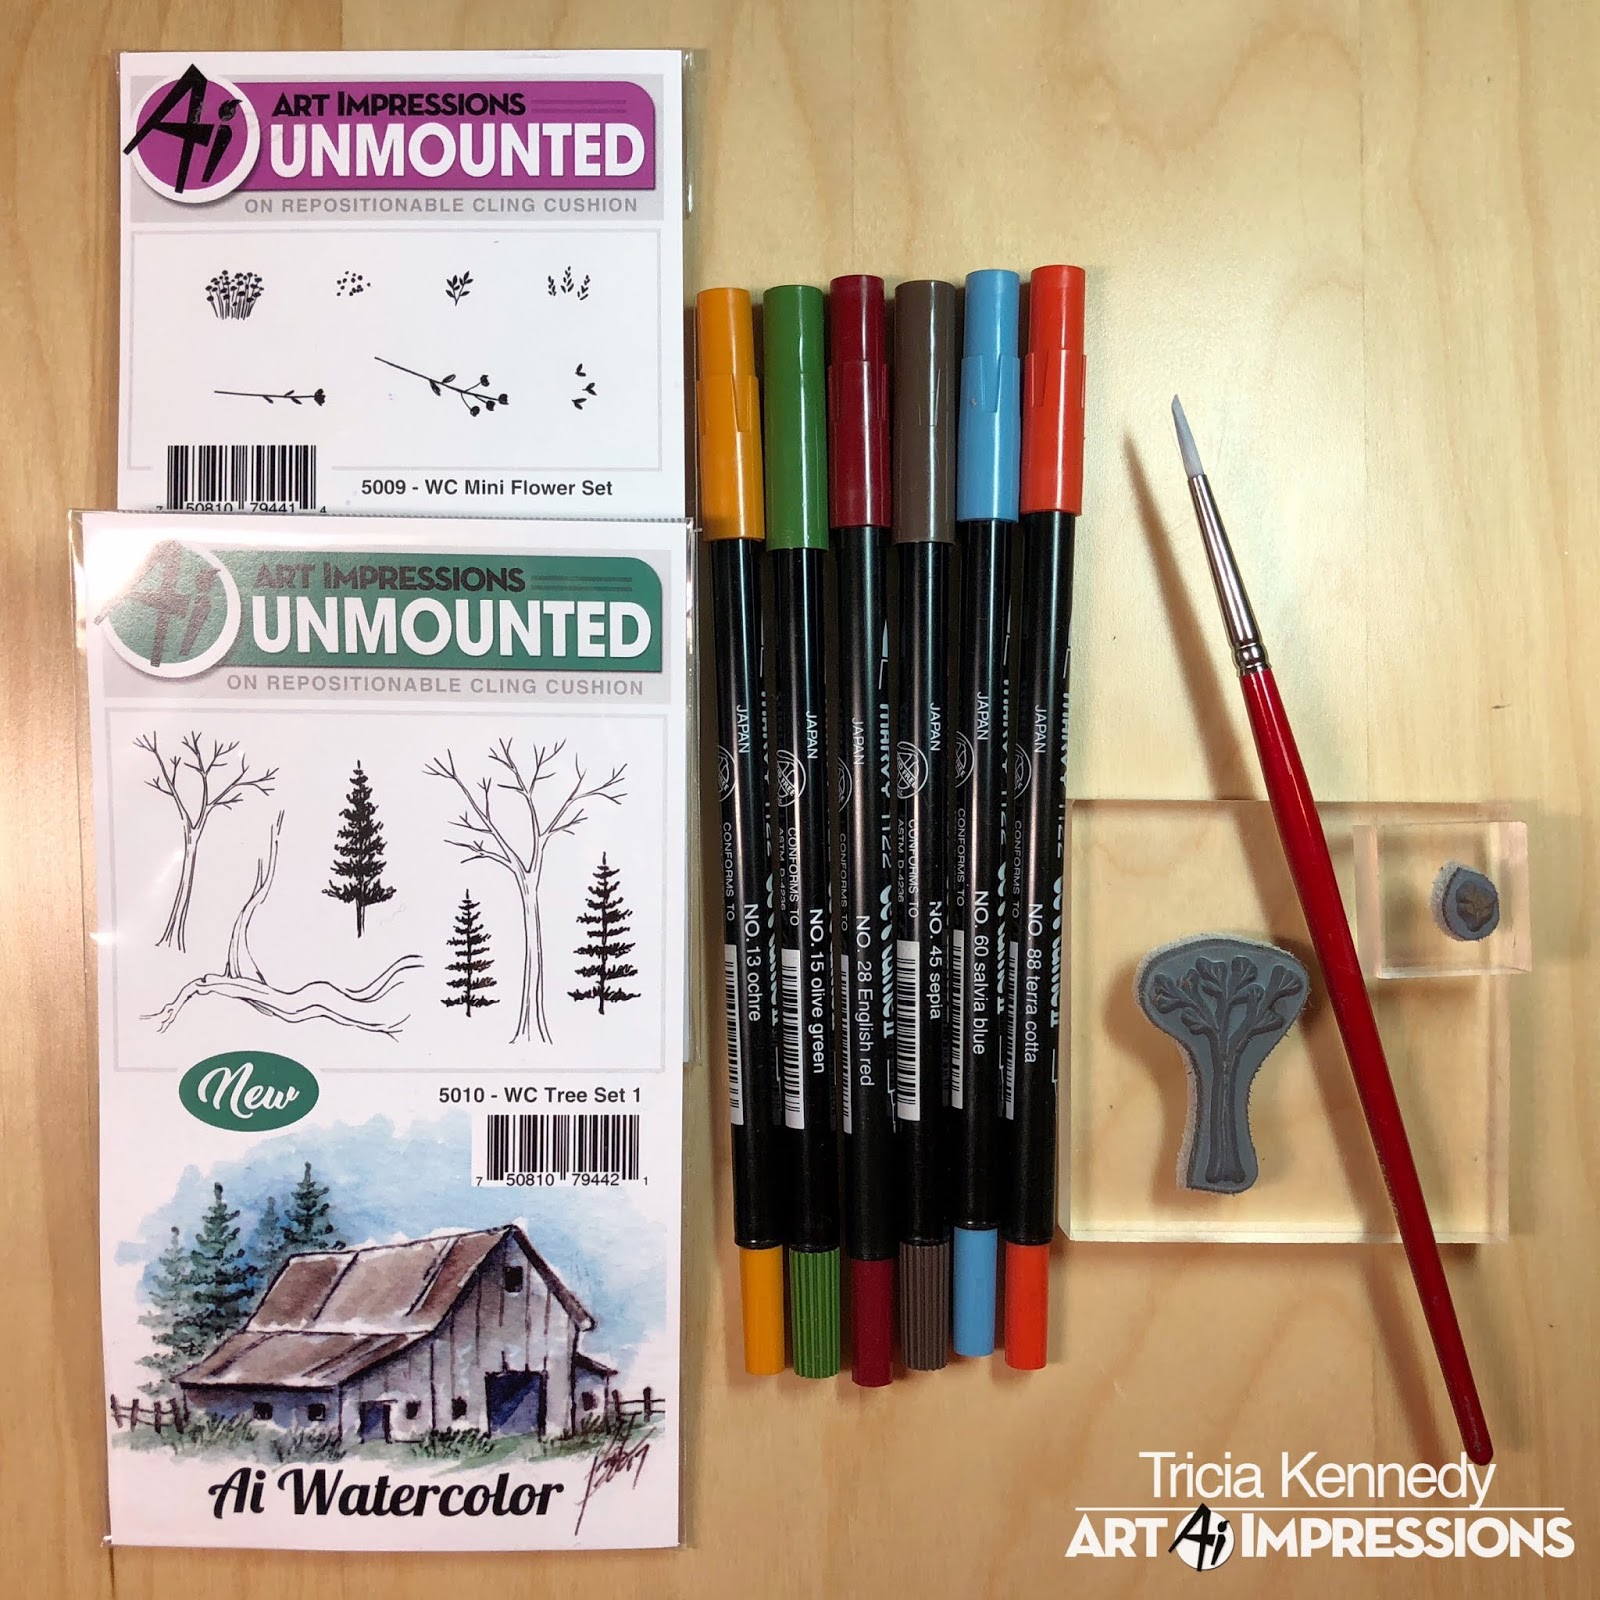
Stamp the small tree from WC Tree Set 1 in 45 Sepia. Next stamp the small leaves from WC Mini Flower Set in 13 Ochre, 15 Olive Green, 28 English Red and 88 Terra Cotta. Watercolor the Art Impressions way by pulling the color from the lines with water and a paint brush. Scribble a little 45 Sepia and 60 Salvia Blue onto your palette brushing in for the ground and sky.

Marvy Le Plume II Markers: 13 Ochre, 15 Olive Green, 28 English Red, 45 Sepia, 60 Salvia Blue, 88 Terra Cotta
Other Products: Spellbinders Lacey Squares Die

Tricia O'Bin - Blog - Instagram - YouTube - Pinterest - Facebook
I started out using my positioner and the square box from the 4871 Rustic Container Set. I used Sepia and stacked the boxes in different orientations. I didn’t ink the wood slats completely in the middle of the box just inked up the outside. This way I could position my items into each box. I inked each of the items in Sepia and again using my positioner stamped them into each box. I added some Olive Green, Brilliant Yellow and Orange to the pumpkins (after I pulled the color out of the lines) and English Red and Olive Green for the apples both from the 5059 WC Harvest Set. I added some of the apples to a small container using some Sepia and a little Steel Blue. Once the objects were dry, I added some details inside the boxes with Sepia and Steel Blue. I masked off the right edge of the boxes and using the small flower from the Mini Flower Set, I stamped leaves randomly using Brilliant Yellow, Olive Green, Orange and English Red. I added some water and softened some of the leaves. 

To finish up, I added some Brilliant Yellow and Violet to the background and some Sepia below the tree and boxes to ground them.

I really love to try to stretch my stamps and use them for unique compositions!

Other Supplies: Classic Crest Cover Solar White 8-1/2x11 110lbScor-Pal Scor-Buddy Mini Scoring Board, 9 by 7.5-Inch, Gina K Designs Heavy Base Weight Card Stock- Edible EggplantConnect Glue- 2 ozGina K Designs Heavy Base Weight Card Stock – Sweet Mango

Thanks, team! These projects are bursting with beautiful oranges, yellows, and greens! We hope these projects inspire you to use your stamps for fall projects this month! If you do, be sure to tag us on social media with #aiwatercolor and #aistamps so we can see! Have a great weekend!

Happy Stamping!

Saturday, August 18, 2018

Watercolor Weekend Roundup - Doors of Possibilities!

It's time for another Watercolor Weekend! Come check out these three amazing projects from our Watercolor Design Team, created to inspire your weekend projects! Let's take a look!

Dot Freel - Instagram - Blog - Pinterest
Hello Watercolor Friends,

I made this card for the bi-monthly Art Impressions Watercolor Weekend Roundup using the truck from the 5011 - WC Truck Set and I used the quail family from 4207 - Feathers TF. As you can see from the pictures, I have quail that travel through my back yard, every spring. Do you see the little baby chick on the log? They make the cutest sounds and I just love how protective the parents are of their sweet little chicks. The flower stamps I used are from 4868 - WC Flower Set 2 and the grass is from 4051 - WC Foliage Set 1. The sentiment is from the set 4903 - WC Sentiments.

Other Supplies: Ranger Watercolor Paper

Tricia Kennedy - Instagram
My “Dimensional Door” project for today’s Watercolor Weekend is a tiny 3D delight. So get out your X-Acto knife and foam tape! Lets get started. 

Stamp the door from the Door Set on your watercolor paper using a combination of Sepia and African Violet which creates a lovely grey. Stamp the foliage from Foliage Set 3 in Olive Green near the base of the door and around the top. Add in the long stem flower from Mini Flower Set in Scarlet and Olive Green. Watercolor the Art Impressions way by pulling the color from the lines with your paint brush and water. Next, stamp in the tiny dot flowers Mini Flower Set in Scarlet. Using the fine tip of African Violet, darken the hinges on the door and the key hole. On a separate piece of watercolor paper, paint in a line of Sepia, free-hand a small vase sitting on top in African Violet, then stamp the long stem flower from Mini Flower Set in Scarlet and Olive Green and foliage from Foliage Set 3. Watercolor the Art Impressions way by pulling the color from the lines with your paint brush and water. And finally, it’s time to get out your X-Acto knife. Using the edge of a metal ruler and your X-Acto knife, cut down the middle, top and bottom of the door. Then cut out the windows. Score at the hinges and bend slightly open. Place foam tape on the backside of the door watercolor paper and align the vase watercolor behind.


Other Products: Post-It Notes, Foam Tape, X-Acto Knife, Metal Ruler, Scoring Tool

Tricia O'Bin - Blog - Instagram - YouTube - Pinterest - Facebook
Hello Art Impressions Fans and welcome to another Watercolor Weekend. I am excited to share my Sleeping Dog project with you. This is a fun summer project that is easy to create! My design team colleagues and I would love for you to join us on Instagram using #AIWatercolor.

I used several sets to create this sleeping dog project. I stamped the sleeping dog from the Mini Critter set. I masked him off and stamped the Chair from the Wooden Chair Set. I masked that off and stamped the bricks from the Cobblestone set. Once these were stamped, I pulled the color out of the lines and added additional color with my watercolor palette. I masked off the dog and stamped some small grass around him and the chair.

I masked the chair off and stamped the Birch Trees from the Covered Bridge stamp set. I pulled the color out from the outside of the trees. I added more leaves with the leaves from the same set. I added the left and right grasses from the Garden Wagon mini set. I then added the flower bunch to the right side of the chair. To finish it off, I added some Blue to the sky.

Check out my blog for more details! Join us!

Marvy Le Plume II Markers: 86 African Violet45 Sepia15 Olive Green8 Violet3 Blue20 Magenta

Thank you for your beautiful projects, team! Comment below to let us know what you most enjoyed about this week's edition! Happy Stamping!

Saturday, May 19, 2018

Watercolor Weekend Roundup - Friendship Blooms!

Hello, Ai Watercolor Fans! Today we have three fabulous projects to share, featuring gorgeous florals. Our friends Dot and Tricia O. have paired a friendship sentiment with their card, while Tricia K. framed her poppies for a perfect gift!

Dot Freel Instagram - Blog - Pinterest
Hello Watercolor Friends,

Spring has surely arrived for most of us and I made a Spring birthday card for the Art Impressions Watercolor Weekend roundup. A friend gave me the heart shaped balloon. I used eight stamp sets and nine markers to create it. See my list of supplies below:

Marvy LePlume II Markers: 45 Sepia15 Olive Green72 Pine Green55 Iris Purple75 Sky Blue, 70 Peppermint, 35 Coral Pink, 52 Yellow Green, 62 Wisteria
Other Supplies: Canson Watercolor Paper

Tricia Kennedy - Instagram

Just three stamps and four markers were used to create my pretty “Poppy Painting” for today’s Watercolor Weekend project. I watercolored the Art Impressions Way by stamping the container from WC Containers in African Violet, then the foliage from WC Foliage Set 2 in Olive Green and finally the long-stemmed flowers from Watering Can in English Red and Olive Green (I added a few more buds by just stamping the single top flower several times). To achieve the “poppy” look, I placed a small black dot with the fine tip of Black into the center of each flower making sure to leave a little white space too.


Tricia O'Bin - Blog - Instagram - YouTube - Pinterest - Facebook
Lately I have really been into creating watercolor projects that have a frame of some kind in the design. I decided to share one for Watercolor Weekend that is really simple to achieve. It only requires 3 stamps and 3 markers. You can use a shaped die or really anything you have around the house to use as a template. This project can also be used for any occasion, just stamp the sentiment you need. Don’t have an occasion yet, leave it blank until you need one, then you will have a card ready to go at a moment’s notice.

I traced a square lightly on my watercolor paper using my stitched square die with a pencil. Then, I used 2 flowers from the new 5008 – WC Flower Set 3 inked with 20 Magenta and 15 Olive Green and the small leaves from the new 5007 – WC Foliage Set 3 also inked with 15 Olive Green. I used the square as a guide to where I wanted to place my flowers. I used the 40 Brownish Grey on my palette to create the square. 

If you would like to see how I created this card, come check out the video on my YouTube channel. I hope you will join us for Watercolor Weekend and share your projects with us using #AIWatercolor. 
Marvy Le Plume II Markers: 20 Magenta15 Olive Green40 Brownish Grey
Other Supplies: VersaFine- Onyx Black Ink PadHeartfelt Hydrangea- ClearHeavy Base Weight Card Stock- Bubblegum PinkSimon Says Stamp SHAPES WITH STITCHES SetSS160 In Stitches

Thank you for your beautiful cards, ladies! We are celebrating our gal pals this week with our newest Girlfriends release, and a hand-stamped and painted card is a wonderful way to share some love. We hope you'll get a chance to make and mail a card to one of your friends this weekend! Happy Stamping!
Thursday, March 9, 2017

Challenge 203 Let's Watercolor Week 2!

Hello, Ai Fans!


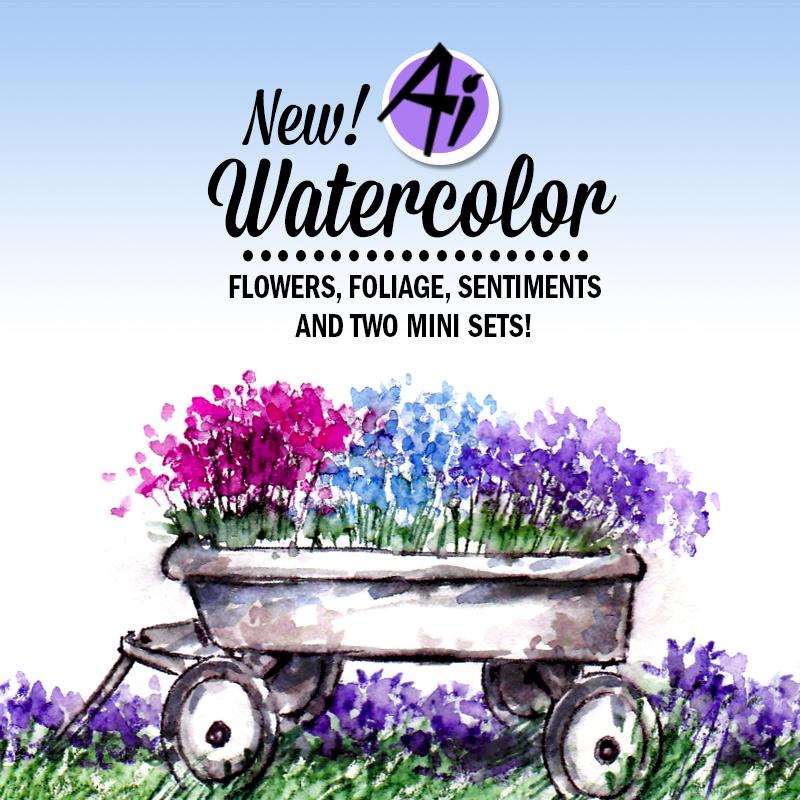
This is the last week to join our Let's Watercolor challenge! We're featuring 5 new additions to our Watercolor line, our design team is here to show what they have created with our new releases!

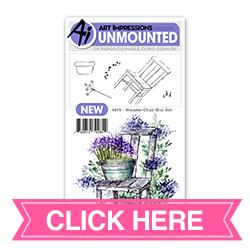
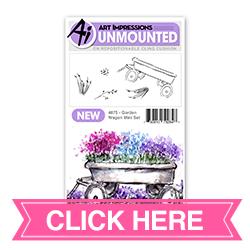
In case you missed it last week, we launched our new Foliage Set 2Flower Set 2Wooden ChairGarden Wagon Mini Sets, and our first ever WC Sentiments Set!

*By the way, we will be releasing even MORE watercolor on March 16th! Stay tuned!

New WatercolorFoliage Set 2 New Flower Set 2
Wooden Chair Garden Wagon WC Sentiments 

View more details for each card on the designer's blog (click the designer's name), and check out the sets they used artimpressions.com!

Cheri with Garden WagonFlower Set 2WC Sentiments Set

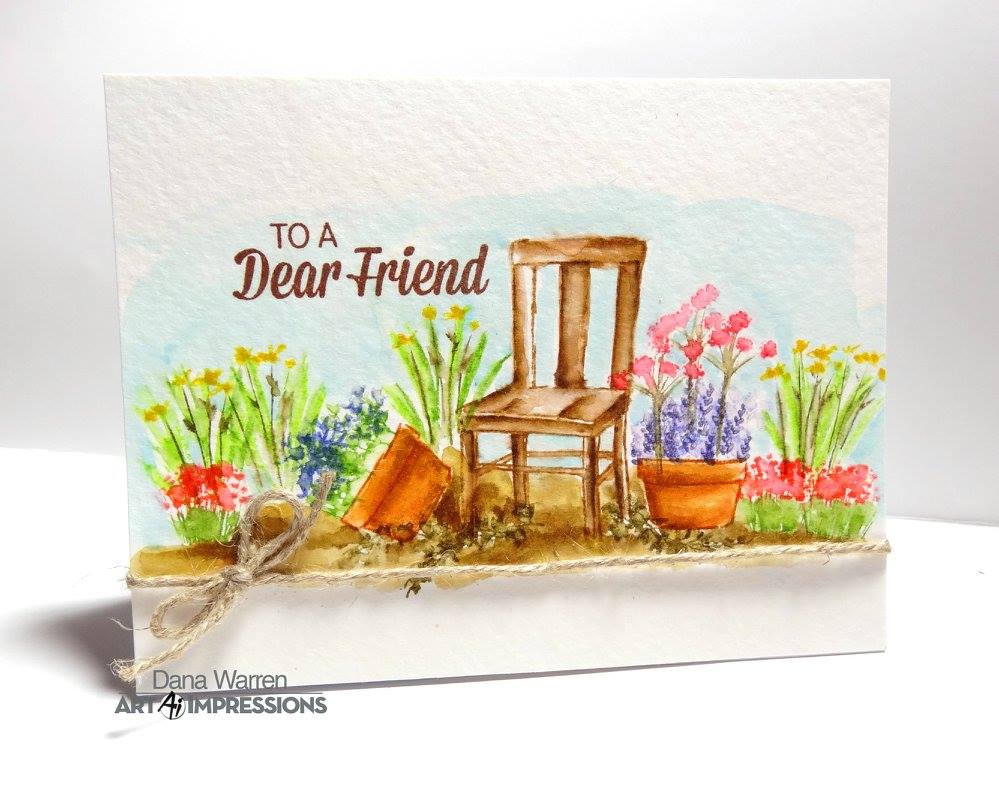
Dana with Wooden ChairFoliage Set 2Flower Set 2, WC Sentiments Set
Diane with Garden WagonFoliage Set 2Flower Set 2WC Sentiments Set, Foliage Set 1

Karen with Wooden ChairFlower Set 2, WC Sentiments SetFoliage Set 1

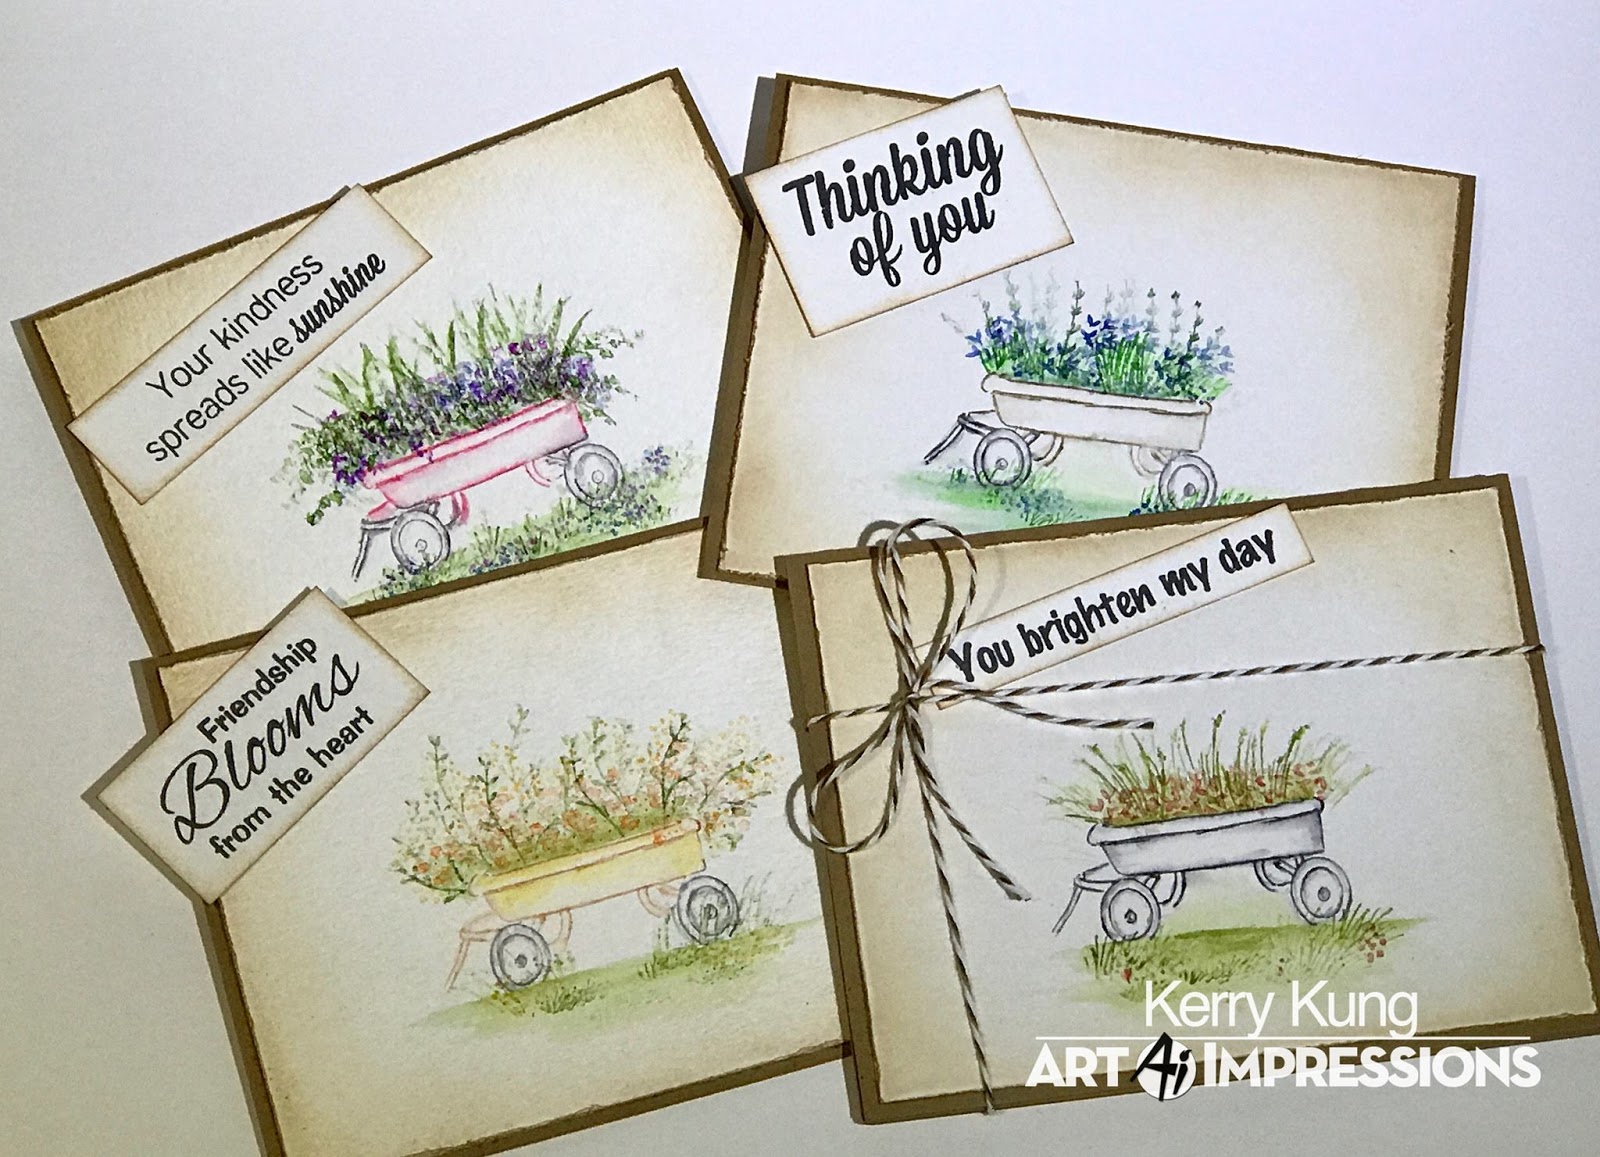
Kerry with Garden WagonFlower Set 2WC Sentiments Set, Foliage Set 1

Renee with with Wooden ChairFlower Set 2, WC Sentiments SetFoliage Set 1

Sharon with Garden WagonFlower Set 2WC Sentiments SetFoliage Set 1

Great work, designers! See how everyone has their own watercolor style? Plus, there are endless combinations with our watercolor sets!


This week, we want to see YOUR watercolor style, whether it's with your Ai Watercolor stamps, or how you use watercolor for images, backgrounds, or other aspects of your card! It's easy to join our challenge, plus, you just might win a prize!

Here are the challenge rules …
✻ Please make a new card or creation. You can make any crafty item you wish; this is not limited to cards!
✻ Limit two submissions per person. You will receive extra votes if you use Art Impressions stamps!
✻ The Ai Challenge is open to everyone, international submissions are welcome!
✻ Include a link back to the Ai Blog or grab our button on the top right of our sidebar!
✻ Share the Ai love by clicking and commenting your fellow crafters.
✻ Make sure to get your link up by Wednesday, March 15 at 5:00 p.m. PST to enter your creations.
✻ Good luck and happy stamping!