Showing posts with label Molotow. Show all posts

Sunday, July 3, 2022

Succulent Mini Critter Pots by Reneé Matarese

 Hello Ai fans!

Today I have the two cards that I made for the Zoo Crew challenge going on right now here on the blog.  Just go to the bar above and click current challenge to be taken to the post and enter your project!

I used two new sets for my cards and two other sets for my sentiments.

The images are from 5519 – WC Mini Critter Pots and 5528 – Desert Succulent Set.


I'm a little worried that my cactus in the dog planter look a little like cucumbers but oh well...lol!
I used a brick embossing folder because I wanted a sort of Bojo exposed brick vibe with open shelving. 
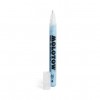
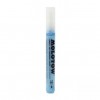
I used my 2.0 MM Molotow Marker and my 4.0 MM Molotow Marker to make the dots on the owl and frog.  I put the liquid down, let it dry, colored my markers over the dots and then used my white eraser to rub them off.


Hello Friend is from 5444 – MB Garden and was cut using 5132 – Tag Stitched Dies.
There's still time to enter the challenge.


These little pots and plants were so fun to color.  I used my Brother Scan and Cut to cut all the little shapes out so that I didn't need to fussy cut them. They're actually a watercolor set so no cutting necessary if you prefer to WC.

My second card was for our daughter's birthday.  She loves succulents and also loves her Crocs so I added a pair from a retired set.  The Always Among the Blooms verse on her card is from 5028 – Potting Shed MTF.


Markers used:
Le Pen technical drawing pen 0.05
Marvy no. 5 Yellow
Tombow 228 and 992
Copics:
V0000, V01, V06. RV55, B34, W00, W3, C1, C3,
G14, G20, G21, G6, G82, E31, E41, E59, E74, E99

Tuesday, April 7, 2020

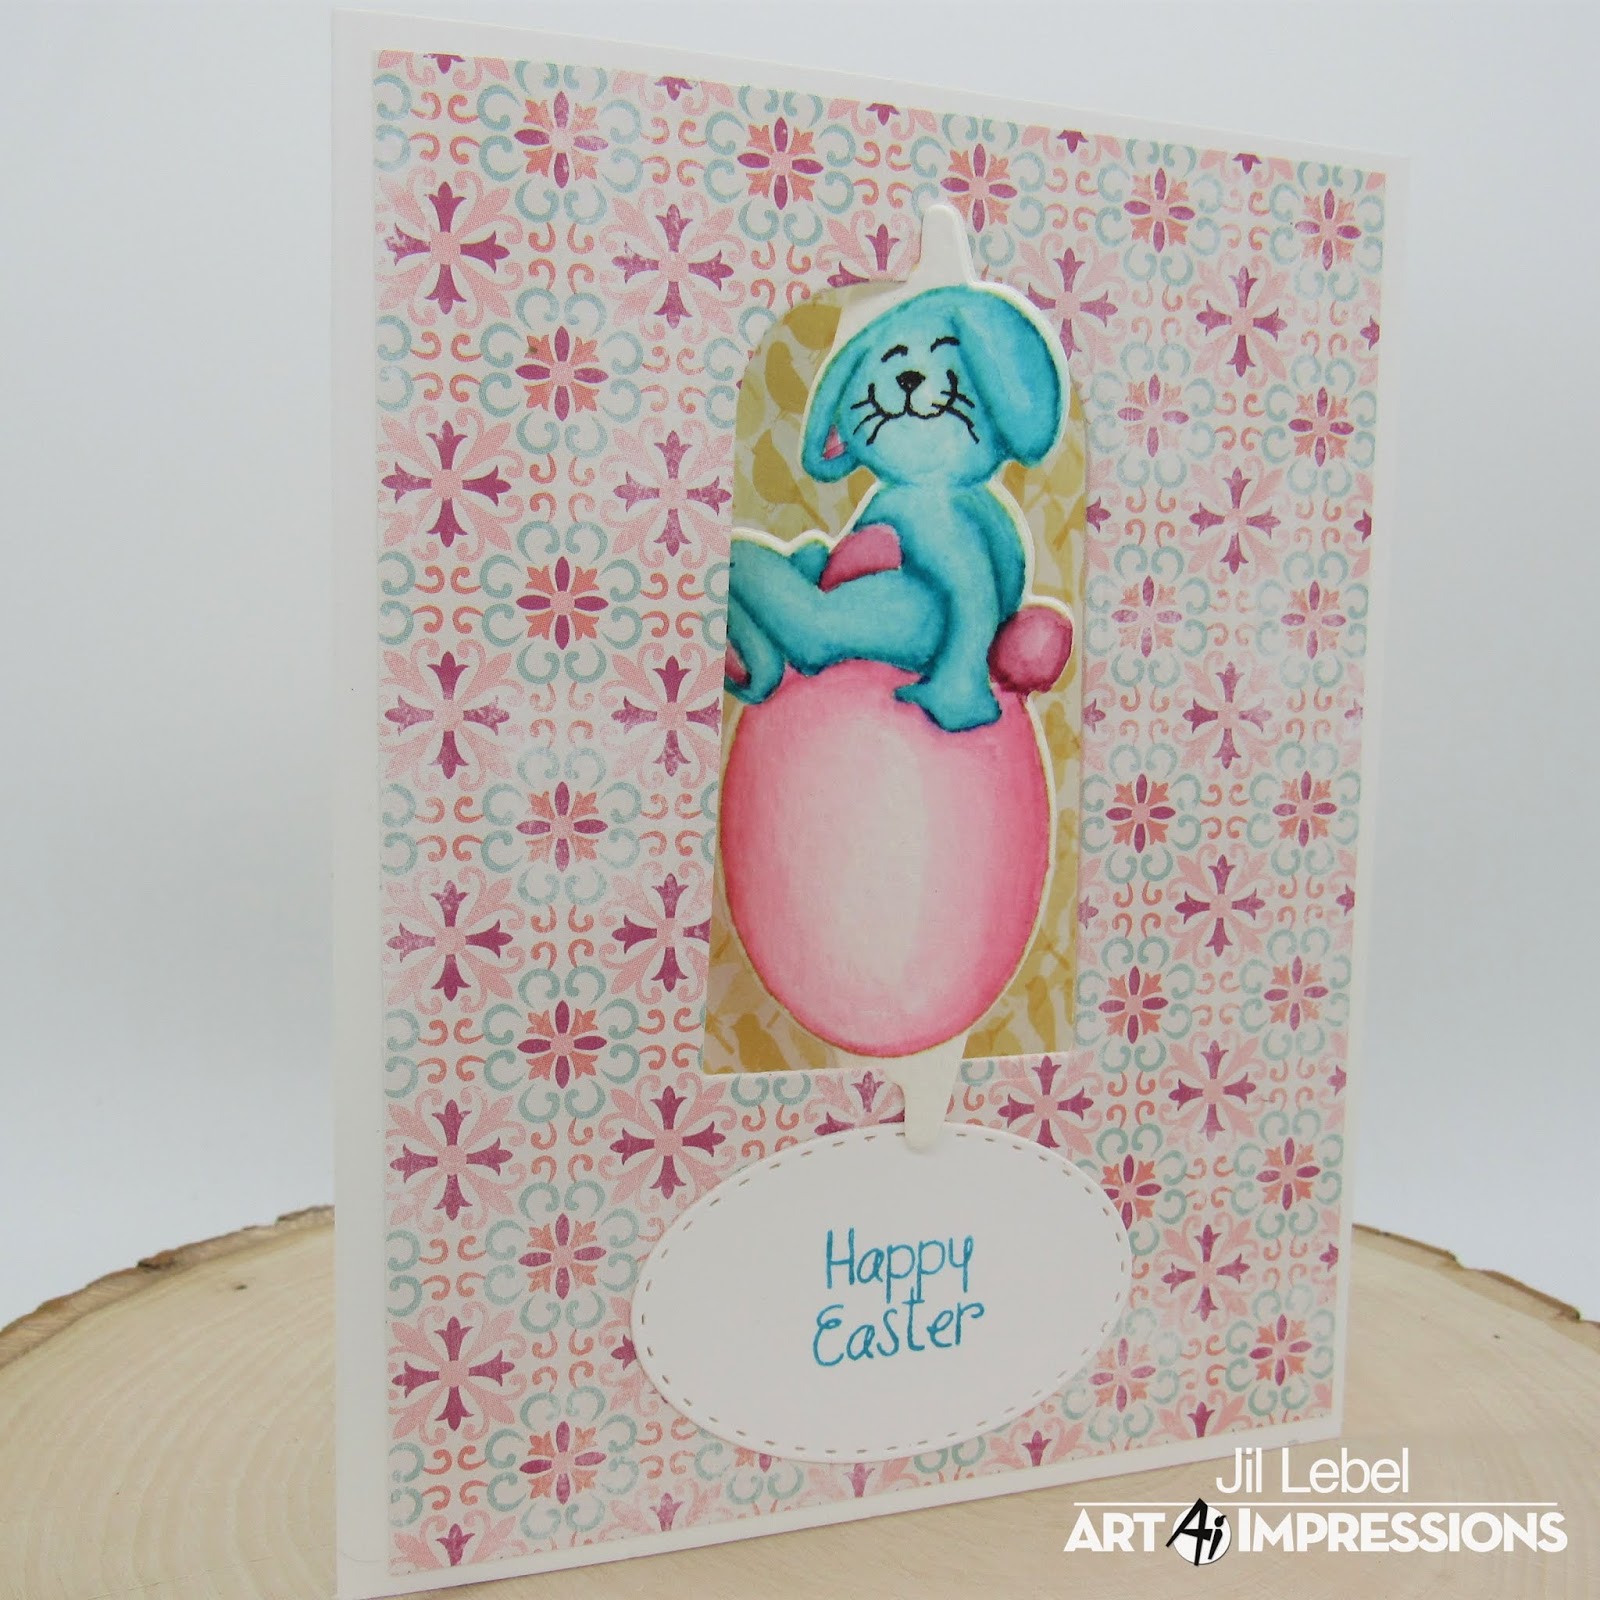
Easter Twist Card by Jil Lebel

Hello Ai fans!

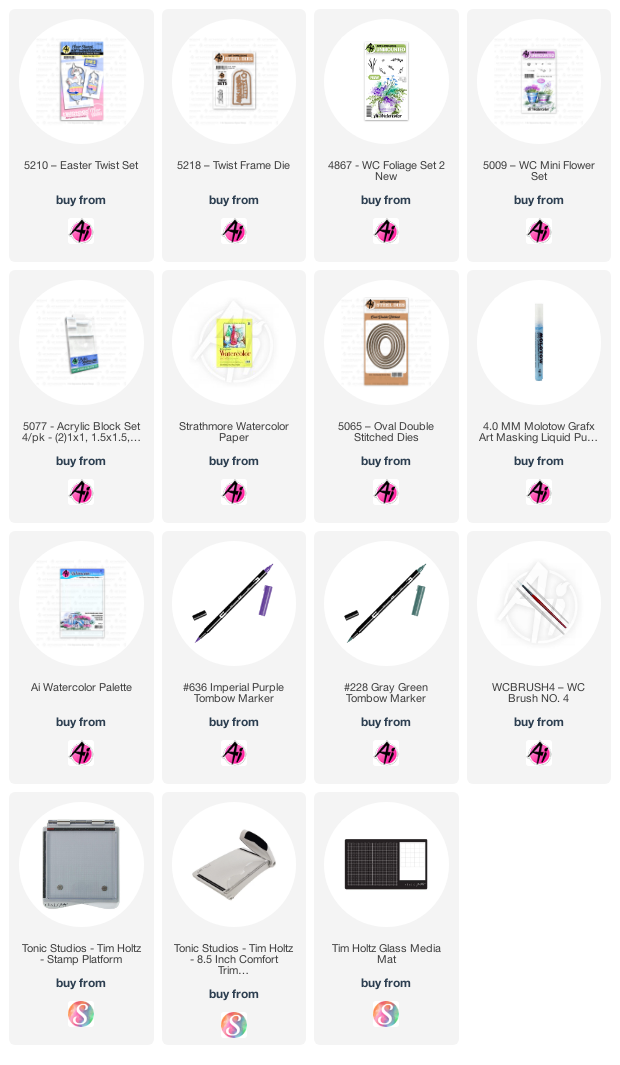
I used the Easter Twist Set to make two different Easter cards.  I enjoyed adding in my Watercolor stamps to make one of the eggs patterned.  They were both fun to make, but even more fun to play with once they're finished.

I started by stamping the images onto Strathmore Cold Pressed paper with Antique Linen Distress Ink and colored them with  Tombow Dual Brush markers .  The colors used are listed at the end of this post. I added in the full strength marker where I wanted it darker and used a damp brush to spread the color into the lighter areas.  I also used some marker scribbled onto my Watercolor Palette to add color.  I drew the faces on with a extra fine black Sharpie pen.
To make the floral egg I masked off the bottom of the bunny and the edges of the egg with a Molotow masking pen. Once it was dry I stamped the heart flowers from the WC Mini Flower Set in small clusters with the Tombow 636 Imperial Purple markers and used my damp brush to soften the color.  I then added the tiny leaves from the WC Foliage Set 2 with the 228 Gray Green marker and softened the color with my damp brush. Once everything was dry, I used a white eraser to remove the masking fluid.  I then colored the bunny the same was that I did for the other card. 
I stamped the Happy Easter greeting onto a piece of white card stock with the Bright Blue Tombow marker. I used the Twist Frame Die to cut an opening into the card base that was covered with paper from the BoBunny Early Bird 6" x 6" paper pad. 

Tombow Dual Brush Markers Used:
Bunny - 403 Bright Blue
Tail - 817 Mauve
Egg - 723 Pink
Thanks for stopping by and Have a Great Day!

Wednesday, October 30, 2019

NEW VIDEO! Winter Swing with Cat Watercolor

Hello Ai Fans!

Welcome back! We missed you so much we came out with another Watercolor Wednesday! 😉

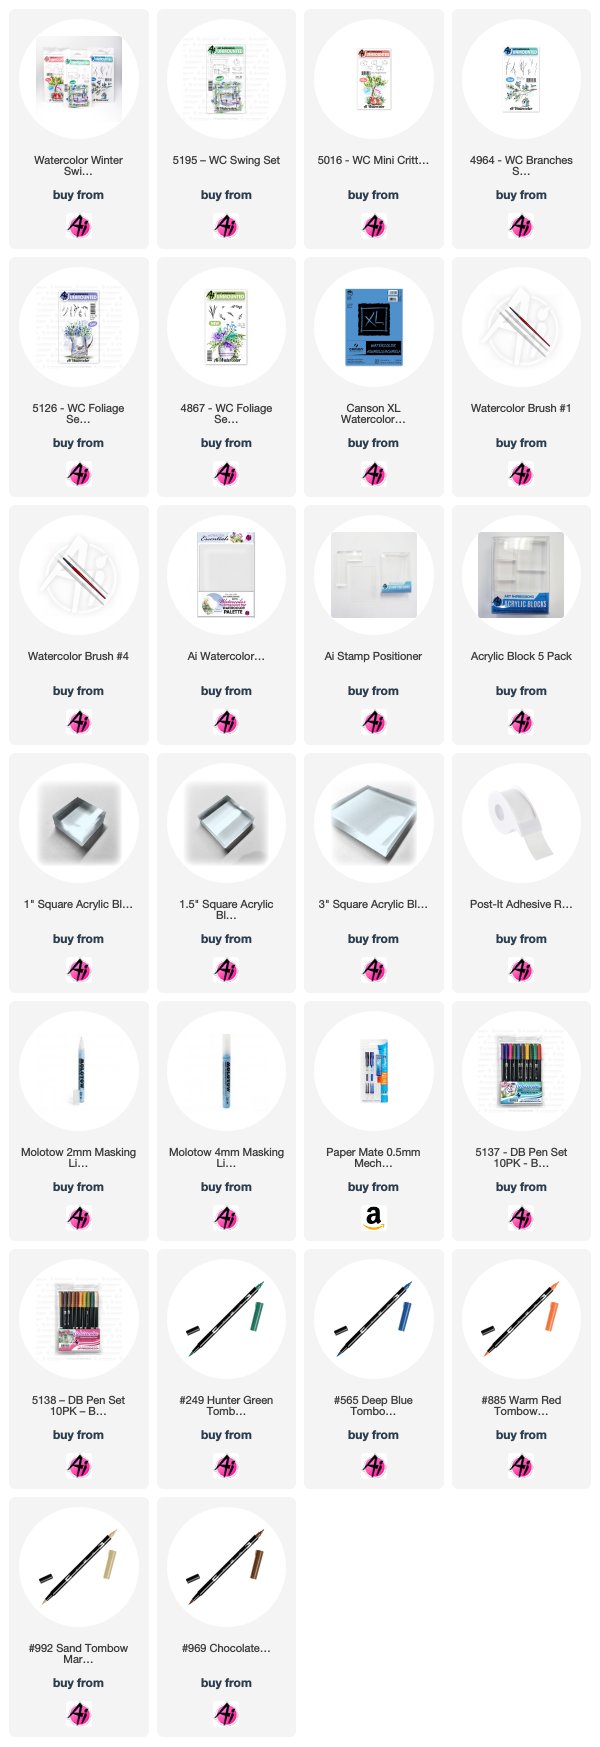
We are excited about a special launch with this new video! We will now offer Bundle Discounts with every new Watercolor Wednesday! How does it work? We will offer 2-3 of the sets shown in our latest YouTube tutorial at a 20% discount for the full week after the video launch! Occasionally, we will offer add-on items at a 10% discount when you purchase the bundle!

For example, this week you can purchase the WC Swing Set, WC Mini Critters, and WC Branches Set together for $48.26 (normally $60.32 on our website!). If you buy the bundle, you can click the checkboxes on the product listing to add on the WC Foliage Set 2 or WC Foliage Set 4 for $16.51 each (normally $18.34)!

Once the week is up, our video bundles will still be listed at a 10% discount! Just another way you can view our videos and get started on this fun technique! Such as this tutorial, where Bonnie creates a square scene with a wooden swing and sleepy kitty, surrounded by a snowy, winter landscape!

We are excited for the holiday season and this video is now added to our Winter Watercolor playlist! Hop over to YouTube to watch all 23 videos and find inspiration for the most cardmaking time of the year!


View on YouTube: https://youtu.be/o2gXyFvuE1U


Wednesday, August 14, 2019

NEW VIDEO! Nighttime Silhouette Watercolor by Kendra Krebs

Hello Ai Fans!

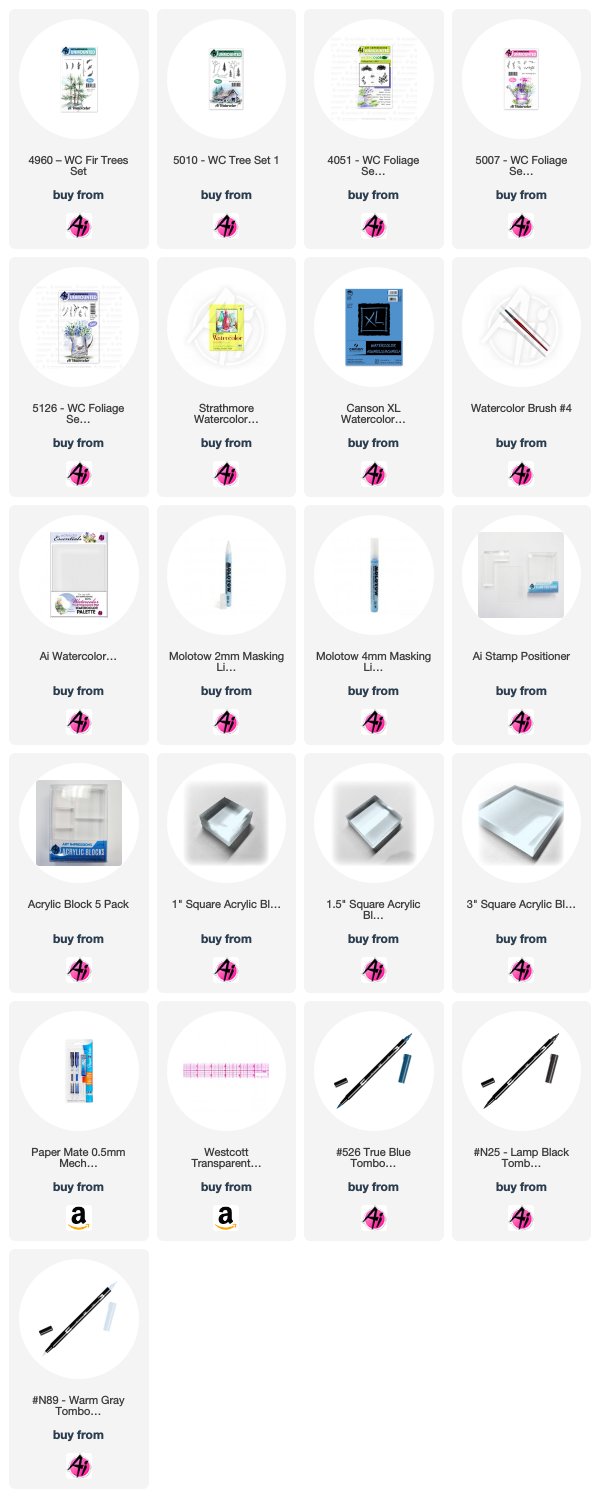
We are excited to have guest artist Kendra Krebs back this week for a NEW Watercolor Wednesday! Kendra always brings a new perspective and today she shows us how to create a whimsical forest scene, creating a dark foreground and lighter background, and uses a Molotow marker to create dots of light. Kendra simply used a couple tree sets and a few foliage sets to design this scene with three markers! At the end, Kendra asks what your favorite part of the video was, so hop over to YouTube to leave her a comment!


View on YouTube: https://youtu.be/U0IpJL06UeY


Wednesday, December 19, 2018

Watercolor Throwback - Potted Christmas Tree

Hello Ai Fans!

Welcome to a special Watercolor Throwback to one of our favorite Christmas videos! You have heard us talk about our Winter Watercolor Playlist and we thought we would feature one of the most popular videos!

This throwback is a quick and easy Potted Christmas Tree! Bonnie used the pot from our Southwest set and made it festive with a candy cane stripe. To create the tree shape, simply draw a triangle above the pot with a pencil. Bonnie then used our Molotow Masking pen to mask a white garland, after stamping her foliage, flowers, and buds from our Clay Pot set. She finished the image with an adorable bow, a small shadow under the tree, and a little Wink of Stella clear glitter!

This is our last Watercolor Wednesday for 2018! We are wishing you and your family a blessed holiday season and many Christmas memories to be made! And all the best as we ring in 2019! 

As always, Happy Stamping!


View on YouTube: https://youtu.be/Px65zp7FzvA


Wednesday, August 29, 2018

NEW VIDEO! Night Sky Watercolor by Kendra Krebs

Hello Ai Fans!

This week, we have our last video for August mini series with guest designer, Kendra Krebs. Kendra wows us again with this stunning start sky using a Molotow Masking pen to create this nighttime scene. She simply put some of the Molotow liquid on a piece of acrylic and splattered the sky with the masking fluid to create a sparkly galaxy look. Watch the full tutorial below and hope over to YouTube to leave some comment love all the wonderful projects Kendra brought us this month!


View on YouTube: https://youtu.be/IKV_og1W-nw


Wednesday, July 11, 2018

NEW VIDEO! Mountainside Cottage Watercolor

Hello Ai Fans!

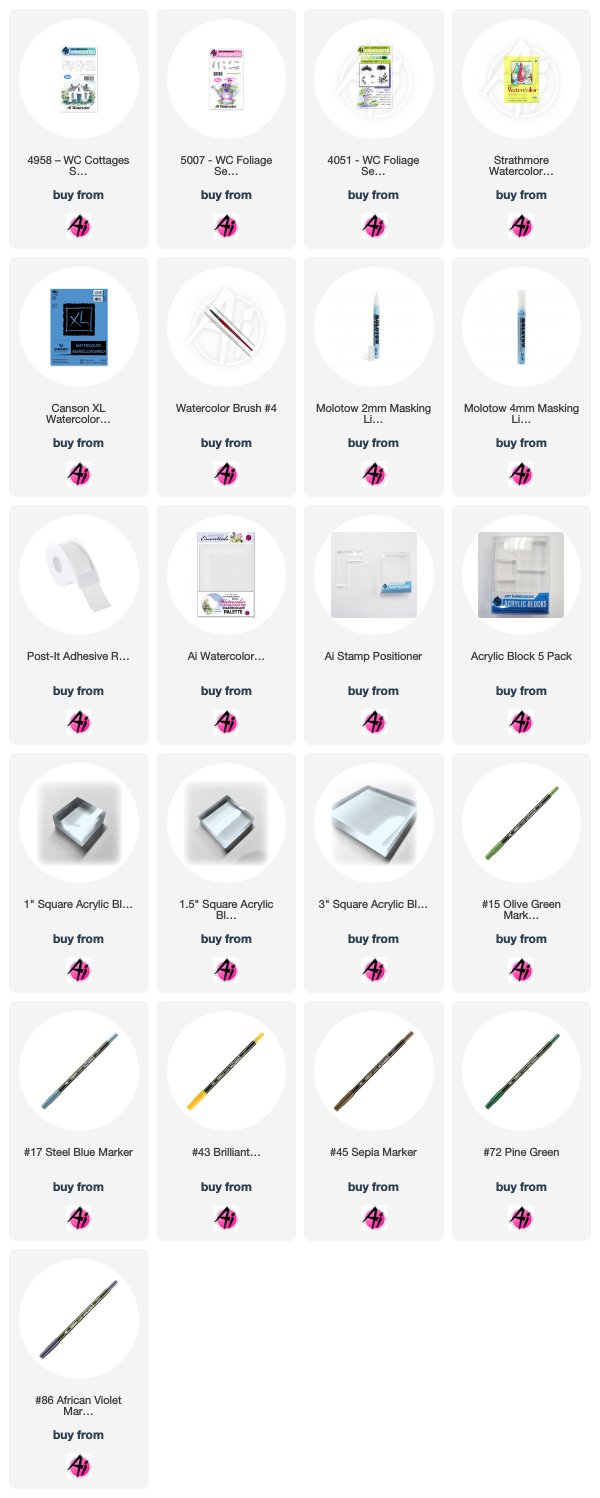
Welcome to a NEW Watercolor Wednesday video! This week, Bonnie creates a beautiful mountainside cottage with blooming, wild daisies near a pond. Bonnie simply stamps the top half of our WC Cottages Set image and surrounds it with dots from her Molotow Masking pen. She completes the image with mountains in the background, distant bushes, tall daisies, and a simple water feature in front. She removes the masking fluid and adds tiny yellow dots to the daisies.

Don't forget to subscribe to our YouTube channel for all the latest watercolor videos, plus new release previews coming soon!

Happy Watercolor Wednesday!


View on YouTube: https://youtu.be/vx2R2nvEZNw


Saturday, December 16, 2017

Watercolor Weekend Roundup - Christmas Inspiration

Happy Saturday, Ai Fans! Our design team has been busy working on more wintery inspiration for you this holiday season! Please enjoy these fabulous, snowy projects from our Watercolor Guest Design Team! See something you like? Don't forget to "follow" them on social media to see more beautiful projects in your feed!

Dot Freel - Instagram - Blog - Pinterest
Hello Watercolor Friends, I'm busy making and sending Christmas cards. I made this one using the new 4961 - WC Mini Cottages Set. I used the new 4964 - WC Branches Set to make the trees. For the pinery I used the new 4867 - Foliage Set 2 and the bushes are from 4604 - the Chest of Flowers set. I used some Zig Wink of Stella to add glitter to the snow which doesn't photograph well but it is so pretty in person! I hope you have tried it. I used a Uni-ball Signo pen to add the snow to the sky and the smoke to the chimneys. Our next Watercolor Weekend will be in January so happy holidays to you all!


Tricia Kennedy - Instagram
I’d like to wish every a Very Merry Christmas and Happy Holiday Season from Arizona! My project for today’s Art Impressions Watercolor Weekend represents a little piece of where I live.

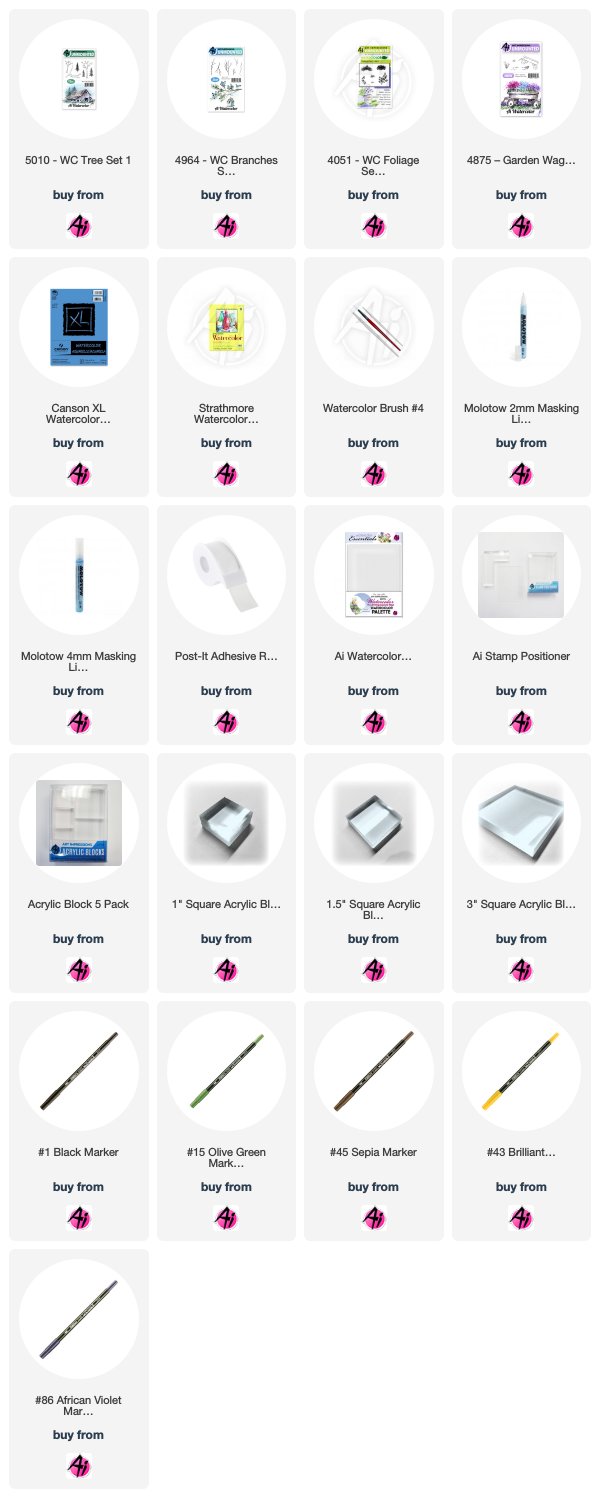
I wanted a tall saguaro-type cactus to feature Christmas lights, so I modified the barrel cactus from 4763-Southwest. Start by inking up about two thirds of the right two lines of the barrel cactus from 4763-Southwest and stamp near the top of your watercolor paper. Clean off the stamp and ink up the left two lines of the barrel cactus from 4763-Southwest and stamp next to the previous impression using your stamp positioner. Now you have the top of a tall saguaro-type cactus. You will complete the cactus in a bit. Next stamp the clay pot from 4763-Southwest roughly 1 ½ inches below the top of the saguaro-type cactus. Place a post-it note to mask off the pot and stamp the prickly pear cactus then the agave cactus from 4763-Southwest. At this point you can draw in the lines of the saguaro-type cactus down into the pot. Pull the color from the lines using your brush and water. Scribble a little 8 Violet and 72 Pine Greenonto your palette and add to the prickly pear cactus. Draw in the lines for the Christmas lights in a zig-zag pattern down the saguaro-type cactus using the fine tip of 18 Dark Brown. Draw little circles for the Christmas bulbs with the fine tip of 2 Red. Add shadow detail and needles to the cacti with 15 Olive Green and 72 Pine Green. Scribble 45 Sepia on your palette to add shadow detail to the pot. And on the pot, add line detail with 45 Sepia and 86 African Violet. Brush in the clouds using 60 Salvia Blue. The final step is to add glossy accents to each red bulb.
Marvy Le Plume II Markers: 2 Red, 8 Violet, 15 Olive Green, 18 Dark Brown, 45 Sepia, 60 Salvia Blue, 72 Pine Green, 86 African Violet
Other: Glossy Accents, Post-It Notes

Tricia O'Bin - Blog - Instagram - YouTube - Pinterest - Facebook

I stamped the snowglobe with African Violet. I used the Molotow art masking fluid to the snowglobe to create snow. Once the masking fluid was dry, I then pulled the color out of the lines along the outside of the globe. I stamped the base in Sepia. I added additional Sepia from the color palette. 

I stamped the snowy tree from the WC Tree Set inside the snowglobe with Pine Green. I pulled the color out of the lines. I added African Violet from the palette around the tree to create the snow shadows and over the masking fluid. 

Using the fir trees large fir top I stamped it a few times at the top in Pine Green. I added berries with the fine tip of the English Red marker. I also added a base underneath the globe with English Red from the palette.

Once the entire piece was dry, I removed the masking fluid and added some Wink of Stella to the white areas of the snow. I added some white gel pen to the tree for some additional snow.

I used the rectangle stitched die to cut the piece out and adhered it to a Pine Green card base.
Marvy Le Plume II Markers: 86 African Violet, 45 Sepia, 28 English Red, 72 Pine Green

Great work, team! Makes us want to get watercoloring our own cards right now! These are beautiful ideas for this year's Christmas cards - and beautiful for New Years or other occasions, too! Did you know you can share your projects with us on our Facebook Page, and also on Instagram with #AiWatercolor? We would love to see your cards any day of the year! That's a wrap for our last Watercolor Weekend of 2017, we can't wait to see you again with fresh ideas for 2018! Happy Stamping!