Showing posts with label HM Valentine Set. Show all posts

Friday, January 24, 2020

Valentine Bear Mountain Scene | By Jessica Shier

Hello Ai Fans!

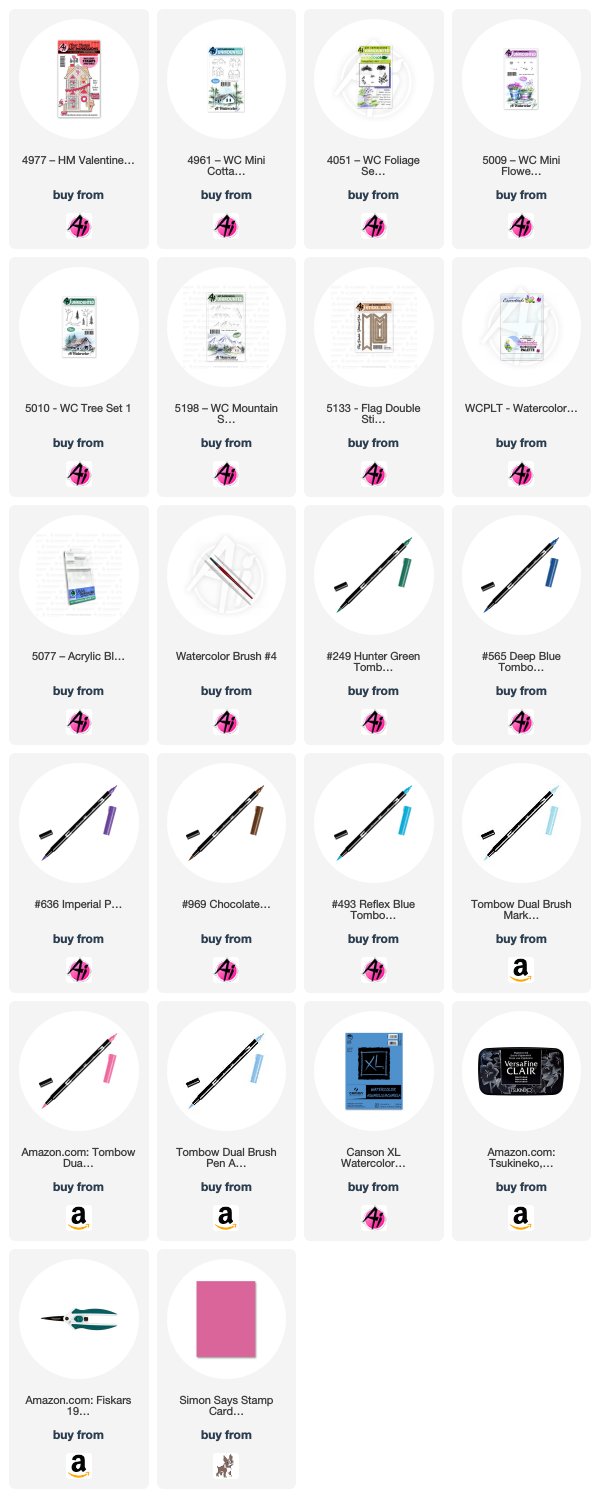
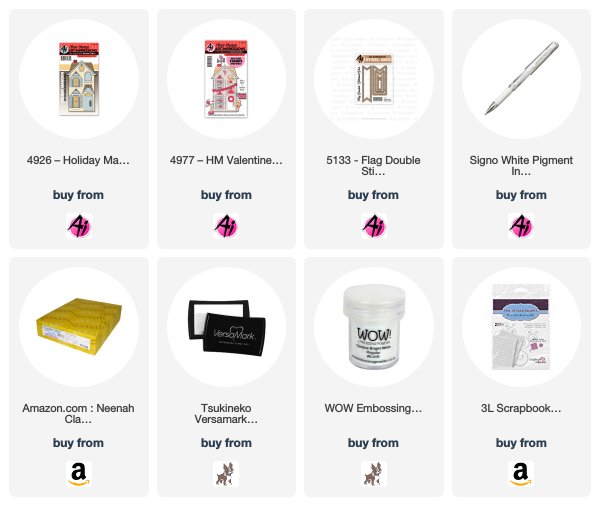
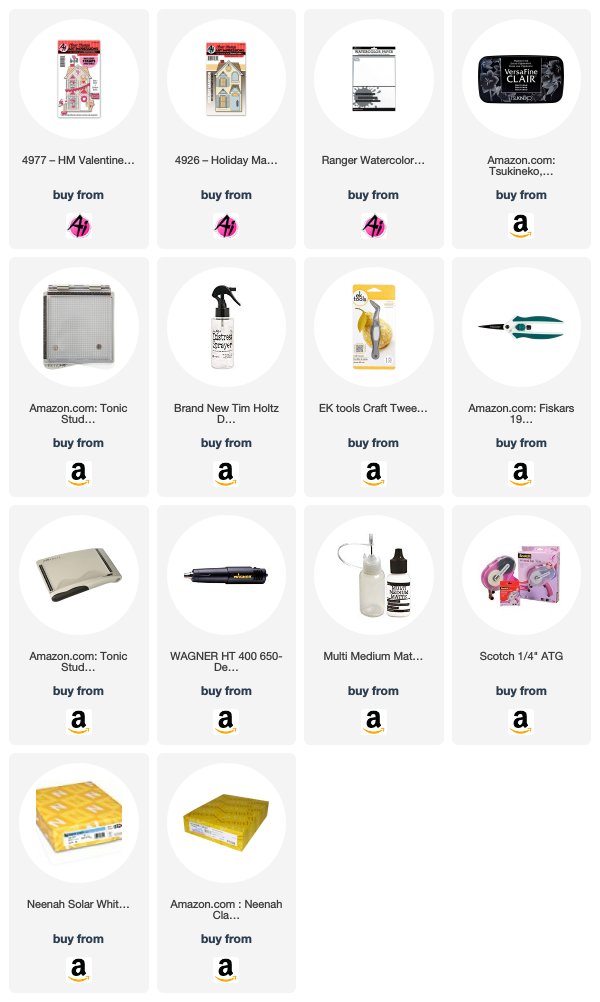
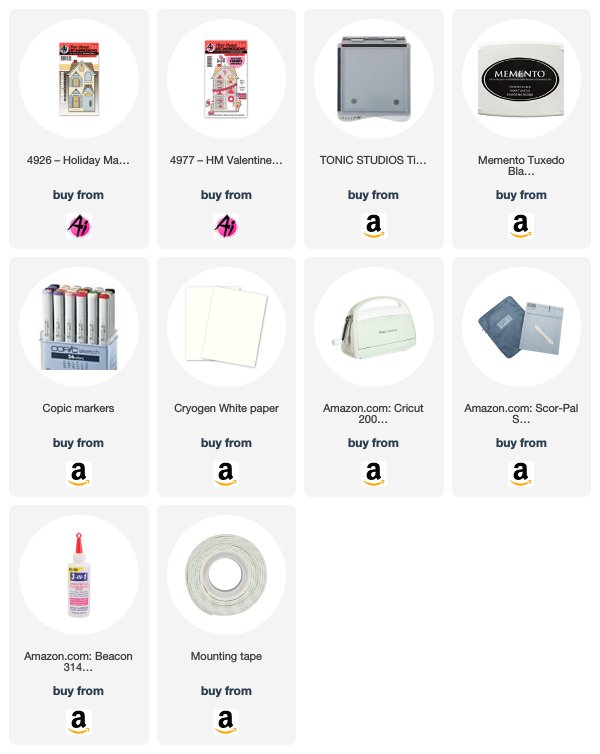
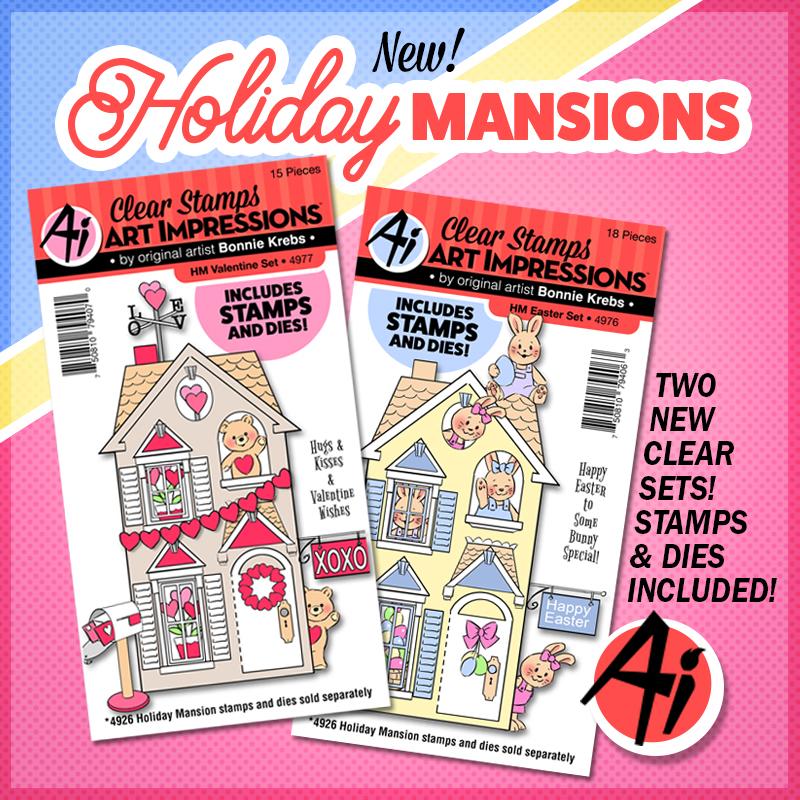
It's Jessica! This week I'm back at practicing some water coloring. I had this mountain scene panel floating around which I made during the Art Impressions Warehouse Sale watercolor class with Kendra. I decided to pair it with the HM Valentine set, specifically the bear, mailbox and sentiment. I thought it would make for a cute whimsical card.

HM Valentine, WC Mountains, WC Cottage, Tombow Markers

Since I already had the background done from the class it was pretty easy and fast adding in the little bear, mailbox and sentiment. How fun would it be to do a bunch of the watercolor backgrounds and then later on pair them with other Art Impression stamps.

There was just enough room between the flower beds that I could stamp the bear with Versafine Clair Nocturne ink. I stamped the bear directly on to the watercolor background. I also used a piece of Ranger Watercolor paper and used the same Versafine ink to stamp the mailbox. After water coloring those two images I used the coordinating die on the mailbox but I didn't have it centered correctly, so it did cut a bit crooked. To fix this I used a pair of scissors to trim off the rest of the white border, up to the black line.

I also used the sentiment that came in the HM Valentine set, stamping that on to a piece of pink card stock and die cutting with the Art Impressions Flag Double Stitch Die.

HM Valentine, WC Mountains, WC Cottage, Tombow Markers

I did add a bit more detail to the watercolor panel with the mountains and cabins, using the Tombow Markers that I have. Basically deepening the ground line under the trees and house and adding some more shading to the mountains. You can find a similar tutorial using the WC mountains and cottage stamp sets here from Bonnie.

I cut down the background piece to and added one of the colored card stocks from the class behind it, which is a beautiful Navy blue color. Then adhered the banner and the mailbox, making sure to overlap the scene and blue card stock to draw your eye across the entire card front. 

HM Valentine, WC Mountains, WC Cottage, Tombow Markers

Tombow Markers HM Valentine: 969, 451, 493, 553, 743 
Tombow Markers Background: 249, 565, 696, 969

I can't wait to try a scene card like this again. If you have any questions I'm available in the comments! 
Thanks so much for joining me today!
Happy Stamping.


Monday, January 20, 2020

Valentine Wishes by Carol Hintermeier

Happy Monday Ai fans!  Today I have a fun Valentine's card using the Holiday Mansion set and the HM Valentine set.  These are so fun and easy to create.  Love is in the air and all around this house!


As usual, I stamped the images from both set in Copic safe ink and colored with the markers listed below.  For the house, I used a brick stencil, a tiny ink blending brush and Worn Lipstick Distress Ink.  I just used pieces of Post-it Tape to mask off the areas I didn't want stenciled.  Next, I fussy cut the house out.  I used the coordinating dies to cut out the other images.


For the background of the card, first I used a cloud stencil, an ink blending brush and Spun Sugar Distress Ink.  Then, keeping the cloud stencil in place, I placed a heart stencil over it and inked some Worn Lipstick Distress ink over that.  I repeated those steps for each cloud layer.  I used a grass stencil and Mowed Lawn Distress ink at the bottom.  I glued this layer to a top-folding A2 card base.


I adhered the bear, flower pot, sign, and weather vane to the house.  Then I added foam tape strips to the back of the house and applied a scrap piece of white card stock so that the clouds won't show through the house openings.  Next, adhere the piece to the background.  I arranged the other pieces and attached them with either liquid glue or foam squares.

I stamped the sentiment onto red card stock with Versamark ink, added white embossing powder and heat set it.  I used a Flag Double Stitched die to cut it out.  To make the flag die fit the sentiment better, I did some partial die cutting as shown in this next photo.  I popped it up onto the card with foam squares.


For the finishing touches (because I just think Valentine cards can be all about the sparkle and shine) I added sparkle with a clear glitter pen and some shine with Diamond Glaze.  Before adding the Glaze, I used a white gel pen to add accents on the hearts.


Thank you so much for stopping by!  Have a wonderful, crafty week!


Copic markers:
C3, C2, C0, E39, E25, E23, 
R39, R37, R35, RV25, RV23, RV21, RV13,
T5, T3, T2, T0, YG25, YG03

Friday, January 17, 2020

Valentine House with Holiday Mansion | By Jessica Shier

Hey everyone!

It's Jessica! Today I have a super cute little Valentine's Day house to share with you using two stamp sets. The first one is the main image with the Holiday Mansion and the second is an accessories set, HM Valentine.


For the coloring of the house and details, I used Copic markers. I wanted a mint green mixed with a light pink, coral, light brown with gold and dark brown accents. I have the colors I used listed below. I decided to mix up the background with some watercolors. For that I used a few Tombow Dual brush pen markers. I wanted something bright, flowy and happy and these bright blue colors made it super easy. I used a piece of Ranger Watercolor paper that is trimmed to an A2 panel (4 1/4in x 5 1/2in). I scribbled each blue color on the paper. Using the lighter on top and the darker towards the bottom. Then spritzed with a sprayer filled with clean water. Then simply dried the mixed ink with a heat gun. I was quick and didn't let the markers sit on the paper. Though I've had great luck using these pens straight to the paper without issue, I also don't want to let the ink sit on the paper while I go do walk the dog or something.   

Tombow Dual Brush Markers:
452
493

Here are the Copic Markers I used:
R14, R02
R83, RV11
643, 640, YG41, YG61
W3, W1
E31, E81
E35, E13
Y35, Y15


There are several other accessory sets for the Holiday Mansion with different holidays and themes. Here are a few more examples the Design Team has done in the past.  I like the fact that they come with the coordinating dies to easily make the doors open and cut out all of the accessory items. I did however fussy cut the house out. There is no die for it but it is really easy to trim out using your favorite fussy cutting scissors. 

I adhered the background and house to a Neenah Solar White 110lb card base and started placing my decorative items. The house looks great with our with out shutters. I like to add a bit of vellum and colored card stock behind the windows. You could also add one of the accessory items like the potted hearts or a waving critter behind those windows too. I decided to just add a warm light yellow and tuck the bears behind the to doors that are scored and cut to open. 


For the inside I colored and die cut a second heart banner (I stamped and cut it along with everything else, so it was pre planned) and stamped the sentiment that comes with the Holiday Mansion set. I made a frame by layering a dark brown cardstock underneath and added my second banner of hearts. I like the sentiment used with the Valentine's theme. It is something simple and easy to send to a friend, especially those crafty friends but still has a cute holiday theme. 


Alright that is it for me today everyone! Thank you so much for joining me today. Happy stamping.


Saturday, March 23, 2019

Holiday Mansion Sets by Sharon Caudle

Hello AI Fans!

This is something I colored up before Valentine"s Day this year and didn't get to finish it up and post it before the holiday.  I used the Holiday Mansion Set and the HM Valentine Set! But I think you can use love themed cards any time of the year, don't you? I mean, how cute would this be to mail to someone you love no matter what time of year it is! This would be perfect for my Grandkids! I would just use a different sentiment with it! I just made a simple easel card.  


Thanks so much for stopping by for a visit today!  Until next time - stay crafty!!


Copics used:
R20, R22, R24, R27, R81, R83, R85
G21, G24
E33, E35, E41, E43, E51, E53, E55
C1, C2, C3, C4, C5


Sunday, January 28, 2018

Valentine Holiday Mansion by ReneƩ Matarese

Hello Ai fans!

Today I'm sharing a couple more Holiday Mansion cards with you.  These are featuring the 4977 – HM Valentine Set.  I decided to go pretty ornate with these.  After all, Valentine's Day only comes once a year right?


I love how the little doors and windows open and close.
I also love how you can rearrange the little accessories in any way you like. The possibilities are endless.


This is the inside of both cards. 


Here's my other version all in pink.


What surprises are hidden behind the doors??
Peek inside and see.


The little teddy is so cute!  And that weather vane!  And mailbox!!  As I said...the possibilities are endless.


Thursday, January 25, 2018

Challenge 224 Feel the Love WEEK 2!


New Holiday Mansions New Holiday
February is just around the corner, and the Art Impressions Design Team has you covered with some lovely inspiration! We are still celebrating our new Valentines and Holiday Mansion sets, so if you haven't checked those out yet, now is a great time to see how they look in a card!
HM Valentine HM Easter
Critter Cups Valentine Bears Set
Click the designer's name for some more inspiration for your Valentine or love cards! You can find the stamp sets they used at artimpressions.com!

Cheri with Valentine Bears Set

Dana with HM Valentine and Holiday Mansion

 Diane with HM Easter and Holiday Mansion


Renee with HM Valentine and Holiday Mansion


So stinkin' cute, right?! Our hearts just go pitter-patter when we make cute critter love cards!
There is still time to enter our challenge! This challenge is perfect for jump-starting your Valentine cards, but any card with a love theme is welcome! We can't wait to see what you craft up! Joining the challenge is easy when you add your project link to our InLinkz below - and invite your friends to join, too! Besides, you just might win a PRIZE!

✻ Please make a new card or creation. You can make any crafty item you wish; this is not limited to cards!
✻ Limit two submissions per person. You will receive extra votes if you use Art Impressions stamps!
✻ The Ai Challenge is open to everyone, international submissions are welcome!
✻ Include a link back to the Ai Blog or grab our button on the top right of our sidebar!
✻ Share the Ai love by clicking and commenting your fellow crafters.
✻ Make sure to get your link up by Wednesday, January 31 at 5:00 p.m. PST to enter your creations.
✻ Good luck and happy stamping!

Happy Stamping!

Thursday, January 18, 2018

NEW Valentine and Holiday Mansion Sets! PLUS, Challenge 224 Feel the Love!


New Holiday Mansions New Holiday

Feel the love as we reveal our FIRST NEW release of 2018! We have four new sets perfect for the early 2018 holidays that are sure to share a smile with a loved one! In our Holiday Mansion line, we added both Valentine's and Easter sets, filled with bears, bunnies and accessories to make this house a home! Our Valentine's Bear Set features some "bear-y" big sentiments to share the love with your "best-tea!" Plus, for a new interactive design, we are releasing Critter Cups to create adorable place cards, candy cups, or an egg cup character for Easter! Order today at artimpressions.com!

HM Valentine HM Easter
Critter Cups Valentine Bears Set

Jil is here to show a fabulous example of our Critter Cups! This set is too cute and so versatile for many designs! Let's take a closer look!

Hello Ai fans!

I am so excited to bring you this new stamp set and dies, Critter Cups.  You have everything you need to stamp and cut countless animals.  This set is designed to cut out a bunny, kitten, raccoon and a fox.  As I was looking at the faces I saw many other animals.  I'm excited to see what all of you can come up with. Here are the main four images you can do finished.  Because Valentines day is coming up, I'm going to walk you through the a Valentine Kitten Critter Cup.


Stamp out your main images.  I stamped out one body with a black alcohol marker safe ink onto the center of a piece of 6" x 1 1/2" piece of Spectrum Noir Ultra Smooth Premium White Paper.


 Stamp the face onto a piece of paper that is at least 3' x 3".  There are four faces to choose from.  I used the kitten face and a tail from a white piece of paper.  Then I cut them out.


Then do all of the die cutting. I'd rather get it out of the way just in case I make any mistakes with the coloring. I line up the dies for the left and right foot and cut them out. I also line up the middle front paw die cut and tape it down. 


Now you just need to cut out the right side front paw die cut on the body. Also cut out two ears from white paper along with a tail. Cut the bow tie from a scrap of the Echo Park I'd Rather Be Crafting 6"x 6" paper pad. 


 Now for the fun part! You get to start coloring. I colored  the perimeter of the Valentine label and the inner parts of the ear and the pads on the paws with a RV10 Copic.  I colored the tummy and the front paws with a RV30 Copic.


I used a very simple technique to color the calico spots onto my kitty.  No blending was needed!  First, I used The Cool Grey Copic's. I just squiggled on the C7 at the center. I went around it with the C3 and C1.  Sometimes they overlapped, sometimes they didn't.  I just keep them irregular. Next, I added the Brown's  the same way.  For those I used E30, E35 and E37. The cheeks and pads of the paws were added with the RV10 Copic.  


The head was attached to the body with Tim Holtz Collage Medium.


Now you want to very gently curl the body around a roll of Washi tape that is around the size of the finished treat bag.  Tip: Be very careful around the feet. The first few times you bend it are important because you want to be sure they curve and don't crack.  I attached the tail with the collage medium at this point.  I added red line sticky tape to the inside to close up the back..  It is very sticky and you don't have to wait for it to dry.


I added extra detail to the eyes and nose. I first used a black Sakura Glaze pen.  It's different than a gel pen because it looks like it was embossed because it is raised.  I set it aside to dry. Once it was dry, I added a dot of the white Sakura Gel pen. This brings life back to the  image.   I added the bow tie and then add an enamel dot to the middle.

The last thing to do is add the treat bag and close up the back of the body.  Now it's finished!


Thanks for stopping by and Have a Great Day!

Thanks, Jil! What an adorable way to send some treats this Valentine's Day, or for any Holiday or party!

We are kicking off a new challenge! But first, let's recognize the winners of last week's Anything Goes challenge!

Top spot goes to...

Shari!
Congrats, Shari! We LOVE your brilliant coloring and fantastic use of patterned paper! Our Quilt Set ladies look quite cozy! Email annelise@artimpressions.com with your address to claim your prize pack!

Honorable Mentions go to...

Helen!

Katrin!

Congrats, you two! Helen, what an inventive arrangement of images from our Reel Great Guys set! What a perfect masculine card! And Katrin, we are stunned by your fabulous watercoloring! Please email annelise@artimpressions.com with your address and select a stamp set of your choice for a prize!

Thank you to everyone who joined our first challenge of the year! The second one is going to help you get ready for your Valentine cards! This challenge theme is "Feel the Love" - so show us your love cards! They can be Valentines, friendship or anniversary, or anything to do with L-O-V-E!

✻ Please make a new card or creation. You can make any crafty item you wish; this is not limited to cards!
✻ Limit two submissions per person. You will receive extra votes if you use Art Impressions stamps!
✻ The Ai Challenge is open to everyone, international submissions are welcome!
✻ Include a link back to the Ai Blog or grab our button on the top right of our sidebar!
✻ Share the Ai love by clicking and commenting your fellow crafters.
✻ Make sure to get your link up by Wednesday, January 31 at 5:00 p.m. PST to enter your creations.
✻ Good luck and happy stamping!

Happy Stamping!