Showing posts with label treat box. Show all posts

Saturday, February 7, 2026

Small Box, Big Love: A Handmade Valentine’s Treat Box by Janet

Valentine’s Day is all about those "little something" gifts that show someone you’re thinking of them. Today, I’m sharing a project that proves great things really do come in small packages! This handmade treat box is perfectly sized for a trio of chocolates and uses some of my favorite versatile dies.

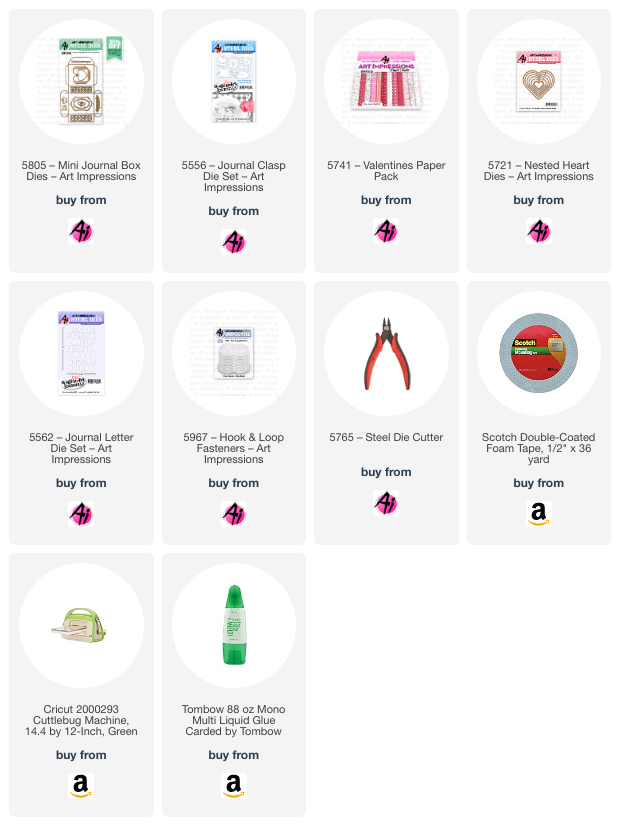
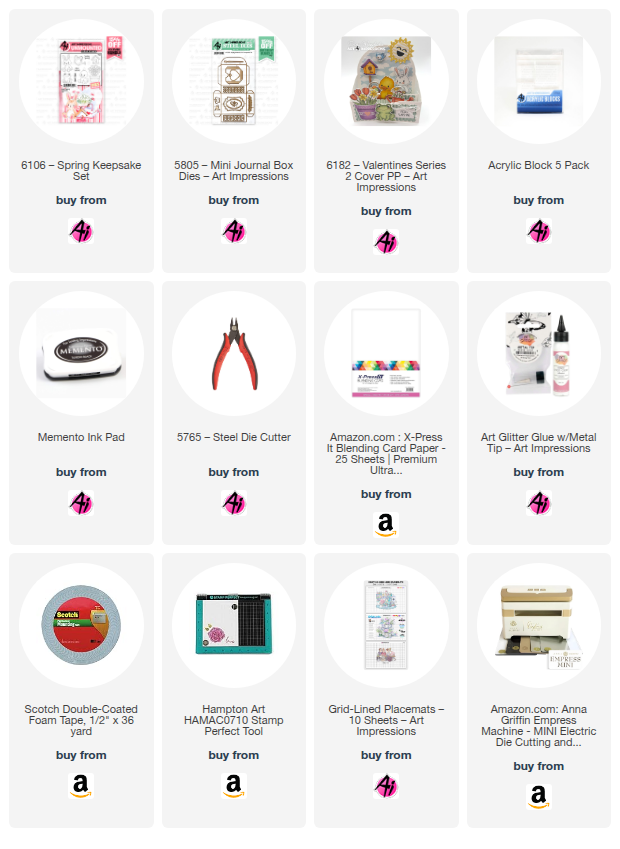
The base of this project is the 5805-Mini Journal Box. While this die was originally designed to house mini journals, it’s a total craft-room chameleon! It measures 2 5/8" x 2 1/4", which happens to be the ideal footprint for three decadent chocolates.

To give a sneak peek of the goodies inside, I used one of the dies from the set to cut a window in the top of the box. There’s something so professional about a window box—it instantly levels up the presentation.

I used a stunning rose pattern from the 6182-Valentines Series 2-Cover PP to form the box. It provides that vintage, elegant vibe that Valentine's Day deserves. I decorated the sides of the box with pink cardstock border patterns cut with the die set. It adds a lovely structural contrast to the floral paper.

No gift is complete without a tag! I cut a matching pink cardstock tag (another gem from the die set) to feature a feathered friend. I perched the adorable little duck from the 6106-Spring Keepsake Set right on the front.

Pro-Tip: Every Valentine needs a heart! I added a tiny red pearl heart to the duck’s chest for that essential pop of festive color.


 Once the box was glued together and the chocolates were nestled inside, I went for a bit of shimmer. I wrapped the entire box in thin silver cording, threading the tag through as I went. I finished it off with a multi-looped bow in the same silver cord to give it some height and "wow" factor.

This project turned out so sweet, and it’s a wonderful way to use your journal dies in a fresh, sugary  sweet new way.

Thanks for joining me on the blog today. As always, find your favorite stamps, dies, papers, and accessories at the Ai Store!

Happy Crafting!

Janet YouTube - Blog - Facebook - Instagram - Pinterest  
Thursday, September 25, 2025

In the Navy! Challenge #413 Week #1

 Hello Ai fans and welcome to the Art Impressions

In the Navy challenge!

We want to see your projects using navy blue.

This week, I'm the Featured Designer, and I put together a matching Halloween
card and goodie box with a photo tutorial for you.

After you check out my feature, be sure to scroll down to see 
if you were one of our winners from the last challenge.

For my feature I created a matching card and treat box.
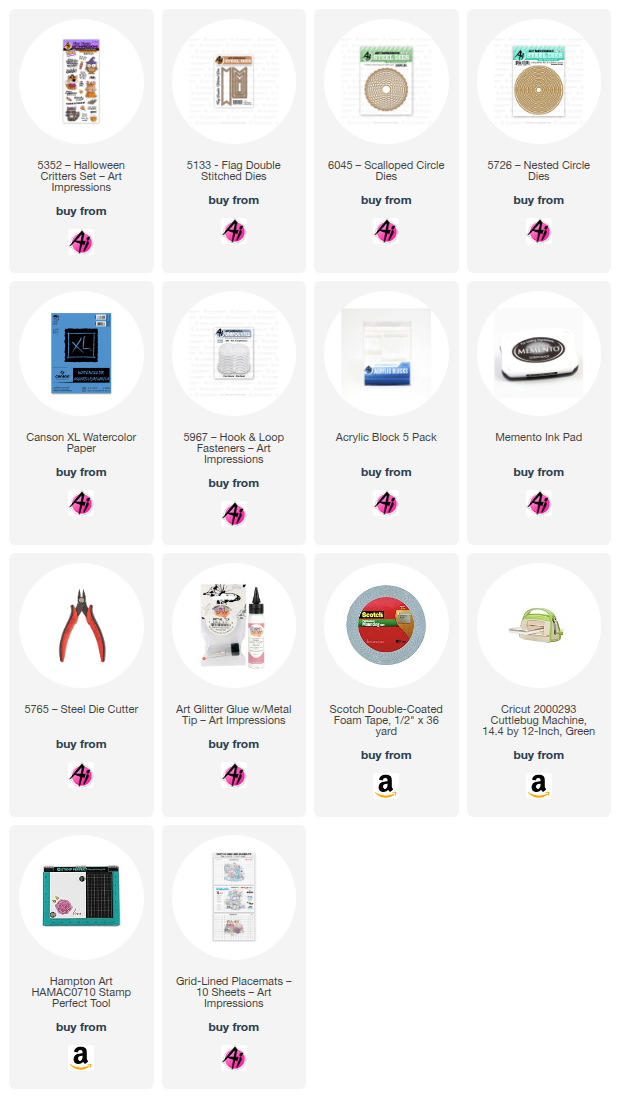
My images and sentiments are from 5352 – Halloween Critters Set.


I've put together a photo tutorial for the treat box.
Here's how I created it.

Start with a 6"x6" piece of heavier weight cardstock.

Score it at 1 1/2" and 4 1/2".
Rotate the paper 90 degrees and score at those measurements again.

On opposite sides, cut a little "V" to form the flaps that will fold up.


Bend on all of the score lines to prepare it to become the base of the box.
Glue the tabs to the inside for a neater look.


Now begin to create the panels that will act as the lid for the box.
Cut 2 pieces of cardstock that measure 3"x5".
Score both of the panels at 1/2" and 2".
I embossed one of the panels (see photo) to use as the inside flap
 and I cut a navy blue piece that 
measured 2 7/8" x 2 7/8" and I embossed that as well.


Now we're ready to adhere the box top panels to the base.
Be sure to only apply glue to the piece scored at 1/2".
You many glue the other part to the side but I felt it opened
neater if only the bottom was glued.


Next, you'll see that you can close these panels over the box base.

 
I added a Velcro tab to keep it closed using 
5967 – Hook & Loop Fasteners.

 
I closed it up and added a circle cut from 6045 – Scalloped Circle Dies.
Now I'm ready to decorate it.


After coloring and die-cutting the little bunny and bat I mounted the bunny
to a circle from 5726 – Nested Circle Dies.


Open it up to find a sweet treat.


Here's the card that goes with the treat box.
The sentiment was cut using 5133 – Flag Double Stitched Dies.


I don't normally think of navy blue as a Halloween color but it goes so well with orange
that I decided I wanted to make a Halloween themed project for my feature.


I love all wildlife but red foxes are one of my favorites. We are lucky enough to see them
in our yard once in a while.


I colored my images using...

TT Turquoise Blue
Copic Markers: T1, T2, C4, YR00, YR14, YR24, YR27

I hope you enjoyed my projects today and will join in our In the Navy challenge.


Now let's see who won our Wild About You challenge.

For our Top Spot we chose:

Please contact Leah at Feedback@artimpressions.com

to claim a free stamp set of your choice!!
Be sure to grab our badge to display on your social media too!

Our Lucky Random Winner was:
Debbie H.

Please contact Leah at Feedback@artimpressions.com
to claim a free stamp set of your choice!!
Be sure to grab our badge to display on your social media too!

Congratulations to our winners!

We hope you had fun with that last challenge and that you enjoy this one. We always LOVE seeing what you create and treating a couple of people to a shiny new stamp set!

Be sure to enter your creation for the chance to win a free stamp set from Art Impressions. 
We award one Top Spot and one Lucky Random Winner, and each will win a free stamp set from Art Impressions.

✻ Please make a new card or handmade crafty creation. You can make any item you wish; this is not limited to cards! (unless specified)

✻ Limit two submissions per person.
 ✻Please include your first name and last initial on your submission. You may include your entire last name, but it's not necessary.
✻We love to comment on your entries, but keep in mind if you use a private group or a platform that you need to sign up for, we probably won't be able to.
✻ The Ai Challenge is open to everyone, international submissions are welcome!
✻ Include a link back to the Ai Blog or grab our button on the top right of our sidebar!
✻ Share the Ai love if you can, by clicking and commenting on your fellow crafters.
✻ Make sure to get your link up by the deadline to enter your creations.
✻ Good luck and happy stamping! 

You are invited to the Inlinkz link party!

Click here to enter

Tuesday, March 11, 2025

Personalized Treat Boxes by ReneƩ Matarese

 Hello Ai fans!

At work I have a "Soup Group." There are 7 of us and every Thursday one of us makes lunch for the other 6 members. We do soups, stews and chili in the fall and winter, and switch to salads and things like pulled pork sandwiches with slaw in the warmer months.


 It was my turn last Thursday and I made Italian Vegetable Beef soup.
It was DELIOUS! I didn't have cabbage so I added some spinach and diced zucchini. I also use pink beans instead of kidney beans.


We always plan a little something sweet for dessert and I wanted to present my treats in a special way. I made a little treat box for each teacher with 3 chocolate squares inside. I thought maybe they could store paper clips or something inside when the candy is gone.


Each member had their initial on the top of the box for a little personal touch.
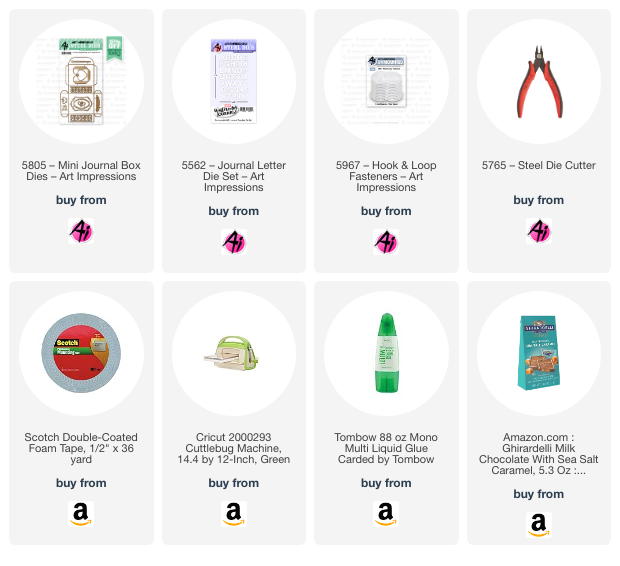
I used 5805 – Mini Journal Box Dies for the box, frame and butterfly. The letters are from 
5562 – Journal Letter Die Set and I held the little boxes closed with 5967 – Hook & Loop Fasteners.
The pretty little leaves and flowers are an old freebie die set from Art Impressions.
Everyone thought these were just the cutest thing!

I hope you're inspired to do something a little sweet for someone that you care about.
Enjoy your day and do something kind or crafty!


Tuesday, January 28, 2025

Mini Journal Box Tutorial with 6x6 paper by ReneƩ Matarese

Hello Ai fans!
I have loved this little box since the moment I saw it.

This is the first time that I've created it using Art Impressions paper. The reason? The template is larger than 6"x6" which most Ai paper measures. But, where there's a will, there's a way! I figured out a way to make the template work using two sheets of Ai paper.


I wanted to create a cute little Valentine's Day treat box and this is what I came up with.


To make the template dies fit on a 6x6" piece of paper to create the box, I used two sheets of paper. The first piece cut the top and back flap.


The second piece of paper cut the base of the box.


Then, I overlapped the back panel from the top, with the back panel from the base, to create a full box.


Though this die set was designed to hold the mini journal, it makes the absolute cutest little gift box or treat box. I filled mine with Hershey Kisses.


Doesn't someone in your life deserve a little something sweet?


If you share something made with Art Impressions products be sure to tag them or use #artimpressions so that we see. We LOVE seeing all of your creations.
 

Saturday, May 14, 2022

Sweet Wishes Treat Box by Janet Axtman


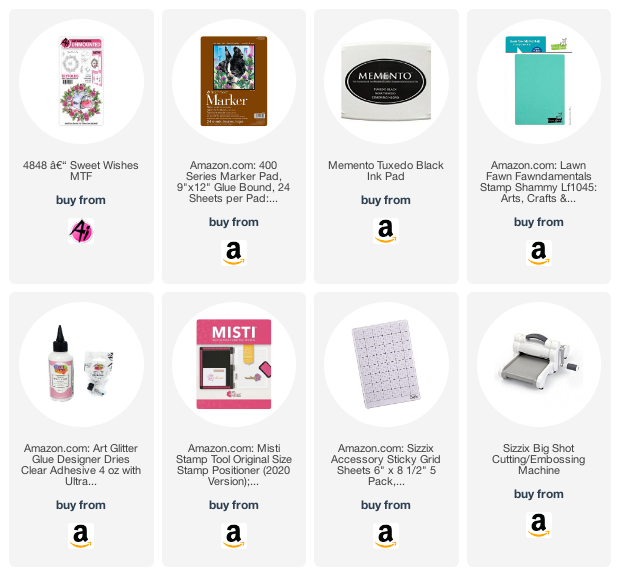
Hello Ai fans! I have a sweet project for you today! I created a mini treat box using the 4848 Sweet Wishes Mini TryFold set. This is a great way to use any of the TryFold sets at the store. 

Steps for Creating this Card:

  1. First cut out the treat box using a Cricut file. 
  2. I cut the first TryFold layer into the front with the included die and placed acetate behind the window on the inside of the bag and then assembled the box. 
  3. I stamped, colored and fussy cut all the images in the set. 
  4. I cut a green hill from a die in my stash and glued the mailbox on it. 
  5. I folded tabs on the left and right side of the hill and attached it to the interior of the bag so that the mailbox would show through and have a pop-up layered look. 
  6. I adhered the wreath and the bird with mail on the outside of the bag. 
  7. I cut a small tag and stamped it with the sentiment in the set. I attached the tag with some twine and ribbon to the bag's handle. This also helps to shut the bag so there's no peeking!   
  8. I finished by using a little Wink of Stella on the roses and some bumpy clear bling. 
Thanks for stopping by today. I hope you enjoyed this little treat box! It's a fun way to give something sweet, a small gift or even a gift card. Anything small is perfect for this unique way to present a gift.  

Wishing you a crafty weekend!
Janet YouTube - Blog - Facebook - Instagram - Pinterest 

Saturday, April 16, 2022

**NEW RELEASE** Tool Man's Treat Box by Janet Axtman

Happy Saturday everyone!

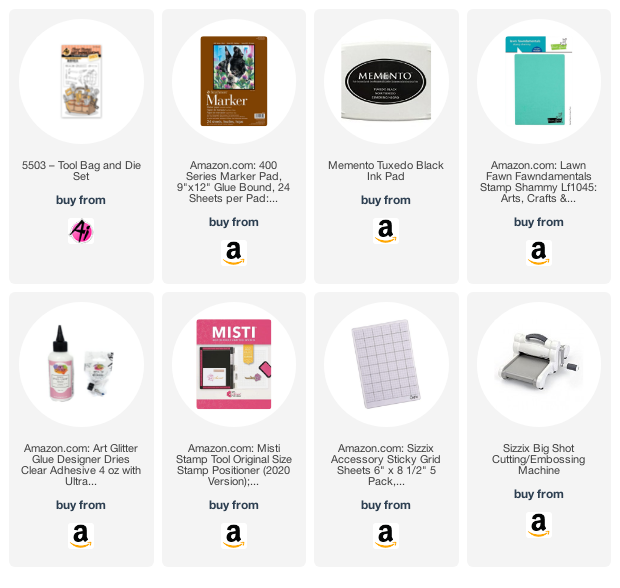
Today I have the great pleasure to show off a new release stamp and die set called 5503-Tool Bag & Die Set! This is a super fun interactive set that allows you to stamp color and cut out the bag and its tools. The die also cuts slots in the bag so you can insert some or all of the tools. If you don't want them in the bag, the slits cannot be detected so you're good either way!

This bag includes all the must have items any handyman or handywoman would need. It even includes a level! Each tool is a full image so there are so many possibilities for this set. I chose to put this on a gift box for a lucky Dad. The stamps can be used on tags as shown here or they could be used to make an awesome background either as stamped images or heat embossed. This bag goes really well with many of the Ai People Character sets too. 

If you're on the hunt to make a fun masculine card, I really recommend you pick this set up. There's nothing else like it and the options for it are endless!

Thanks for joining me today to take a look at the new Tool Bag & Die Set.

Have yourself a crafty weekend!
Janet YouTube - Blog - Facebook - Instagram - Pinterest