Showing posts with label Signo White Pen. Show all posts

Thursday, January 30, 2025

Highlights! Challenge #396 Week #1

 Welcome to week #1 of our Highlights Challenge.

We want to see you use either a white gel pen or Dr. Ph Martin's paint to add some highlights to your projects. We all know that a little highlight here or there can add so much dimension to a project. Let's see what you've got!

Before we see what our Featured Artist Tasha has in store let's see who won our Monochromatic challenge.

For our Top Spot we selected


Please contact Leah at Feedback@artimpressions.com
to claim a free stamp set of your choice!! ***Leah is out of the office until further notice***
but someone is covering for her. Please be patient if there is a slight delay.
Also, be sure to grab our badge to display on your blog, Facebook or Instagram!

Our Lucky Random Winner was #13
(who says 13 is unlucky...lol!)


Please contact Leah at Feedback@artimpressions.com
to claim a free stamp set of your choice!! ***Leah is out of the office until further notice***
but someone is covering for her. Please be patient if there is a slight delay.
Also, be sure to grab our badge to display on your blog, Facebook or Instagram!

Congratulations to you both! Enjoy your new stamps.

Tasha is our Featured Artist and for those of you who don't know, she is the QUEEN of white gel pens. 
I just know that you're going to love what she created. I learned something from her. I didn't know that white gel pens come in different sizes like Microns or other markers. Cool!

--------------------------------------------------------------------------------------------------------------------------------------------------------


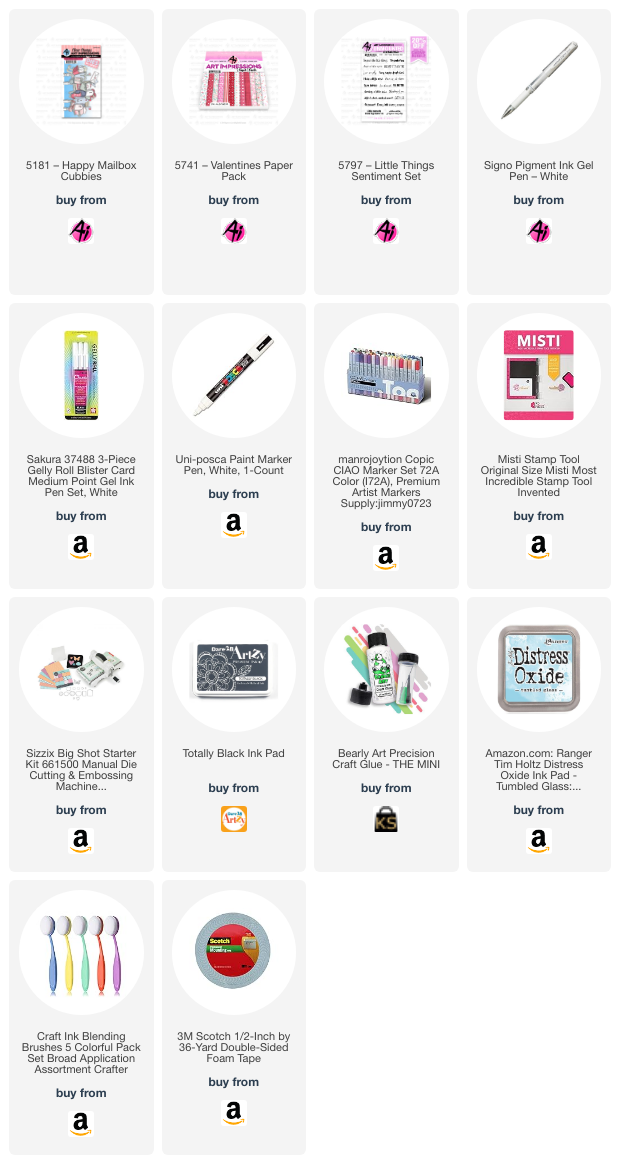
Hi everyone, Tasha here sharing a new card created with the fun Happy Mailbox Cubbies Set. I love all the mailboxes and it was so much fun customizing the envelopes with my white paint/gel pens!

I started by stamping all the images with black hybrid ink and used the included coordinating dies to cut everything out. The dies cut everything perfectly and makes the mailbox openings, so all you need to do is decorate!

After I had all the images cut, it was time to start coloring. I used Copic Markers and my white gel pens for my project. I am a big fan of adding white accents to my cards and this challenge is the perfect time to get really creative with white details!

I used different types of white ink pens to make my designs. My favorites include a fine paint pen and the #5, #8, and #10 sized white gel pens, I usually mix and match these on my cards. the #5 is really small and is great for eyes, or adding cute details to small critters or floral stamped images. 


For the background, I made puffy clouds with Distress Oxide Ink and a cloud stencil. I just used one color of ink for the sky and love the soft blue and white color combination.


For the ground, I used a slimline grass die and green polka dot pattern paper. The dots add so much detail and go with the highlights theme.

For the greeting, I stamped "Sending a Little Hello" on to white paper and added layers of glitter paper and pink card stock to bring in more color and sparkle. I also attached the greeting to the card with foam tape to raise it up a bit. 

Lastly, I added a pretty pastel pink scalloped frame and attached additional layers of silver glitter paper, deep pink card stock, and a piece an Art Impressions heart pattern paper. I love the tiny hearts and the colors coordinate well with the shades used on the mailboxes. 

I hope you enjoyed todays project and are inspired to join in the "Highlights" Challenge!


You are invited to the Inlinkz link party!

Click here to enter

Wednesday, June 12, 2019

Watercolor Throwback - Glass Vase with Flowers

Hello Ai Fans!

As you probably know, Art Impressions premiered on HSN yesterday (you can watch a replay here)! So we are throwing it back to one of our most popular videos from 2018! Bonnie created a translucent glass vase, showing the submerged stems of her beautiful bouquet of wildflowers. We LOVE this technique and hope you enjoy this tutorial, whether it's new to you or and old favorite!

Don't forget to subscribe to our YouTube challenge for the latest notifications of new uploads! And you can check out all our Watercolor Throwback favorites on our special YouTube playlist!

Happy Stamping!


View on YouTube: https://youtu.be/GnLVJeRrqfY


Wednesday, November 28, 2018

NEW VIDEO! Fox on a Snowy Bench Watercolor

Hello Ai Fans!

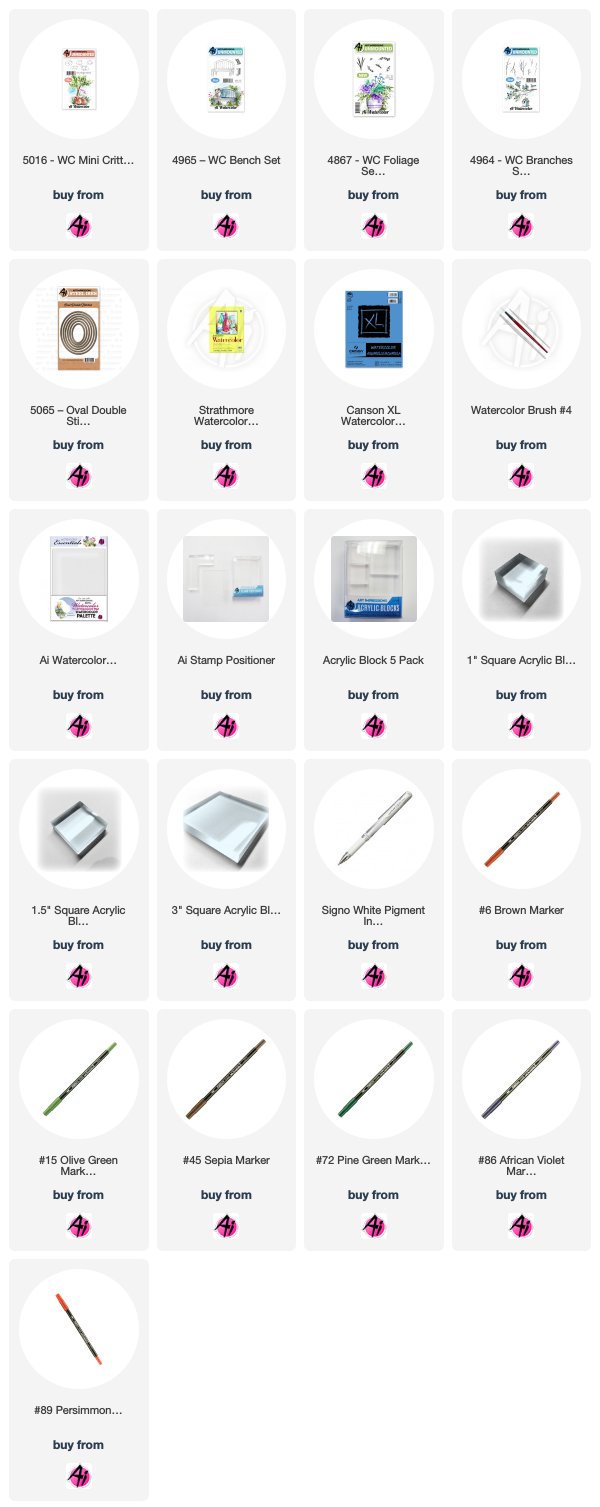
It's Watercolor Wednesday time! We are continuing with our winter series and loving all the snowy scenes! This week, Bonnie creates a sleepy little fox resting on a snow-covered bench, surrounded by a pine tree and holly branches. We love this sweet scene, great for any recipient!

We know you have holiday cards on your mind, so we've made creating unique watercolor cards even easier with our Winter Watercolor Playlist! With almost 20 videos, you can create special designs to send warm greetings to your friends and family! Make sure to leave a comment on your favorite video of the bunch!


View on YouTube: https://youtu.be/fIQm_4lg51w


Wednesday, November 14, 2018

NEW VIDEO! Little Girl in the Snow Watercolor

Hello Ai Fans!

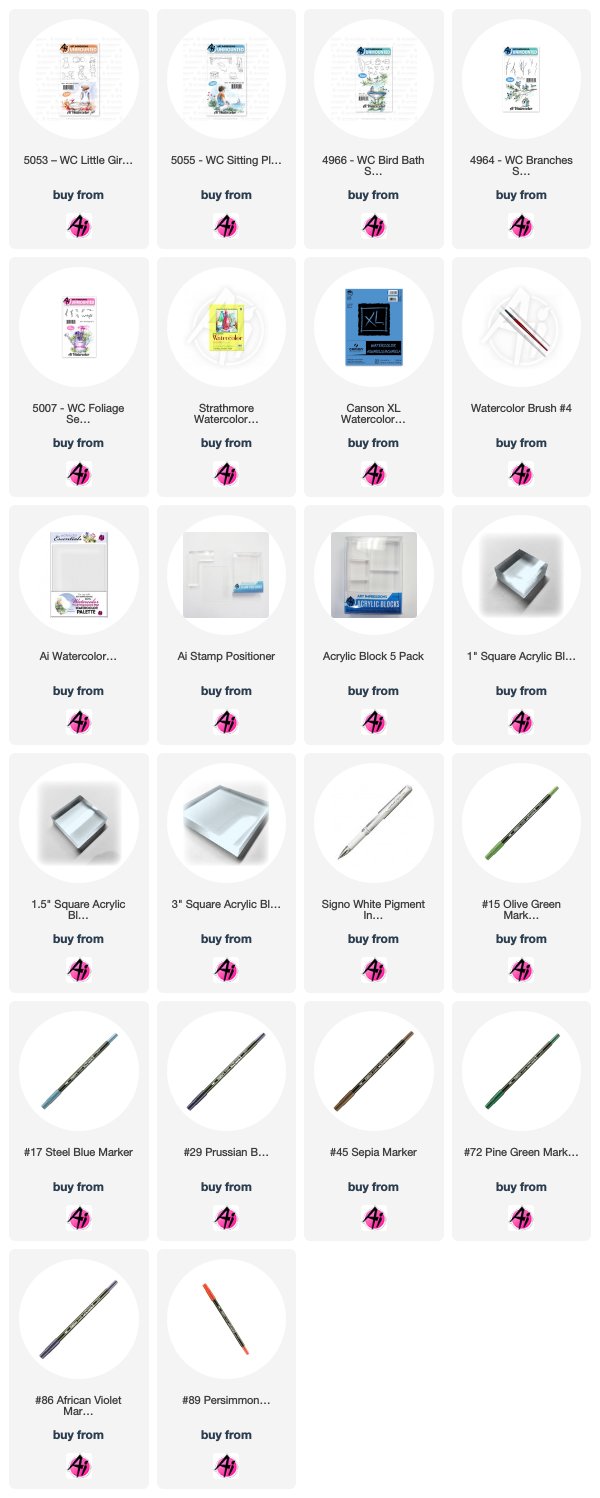
Welcome to another Winter Watercolor Wednesday (say that five times fast!). This week, Bonnie creates a little girl in a snowy field and an adorable blue jay with holly in its beak. This winter scene can be easily changed to one of our Little Boy images.

We love to always hear from you, leave a comment on the video and make sure to subscribe to our YouTube channel for notifications of our newest uploads!


View on YouTube: https://youtu.be/Gqkw6_nNFpQ


Wednesday, May 9, 2018

NEW VIDEO - Glass Vase with Flowers Watercolor

Hello Ai Fans!

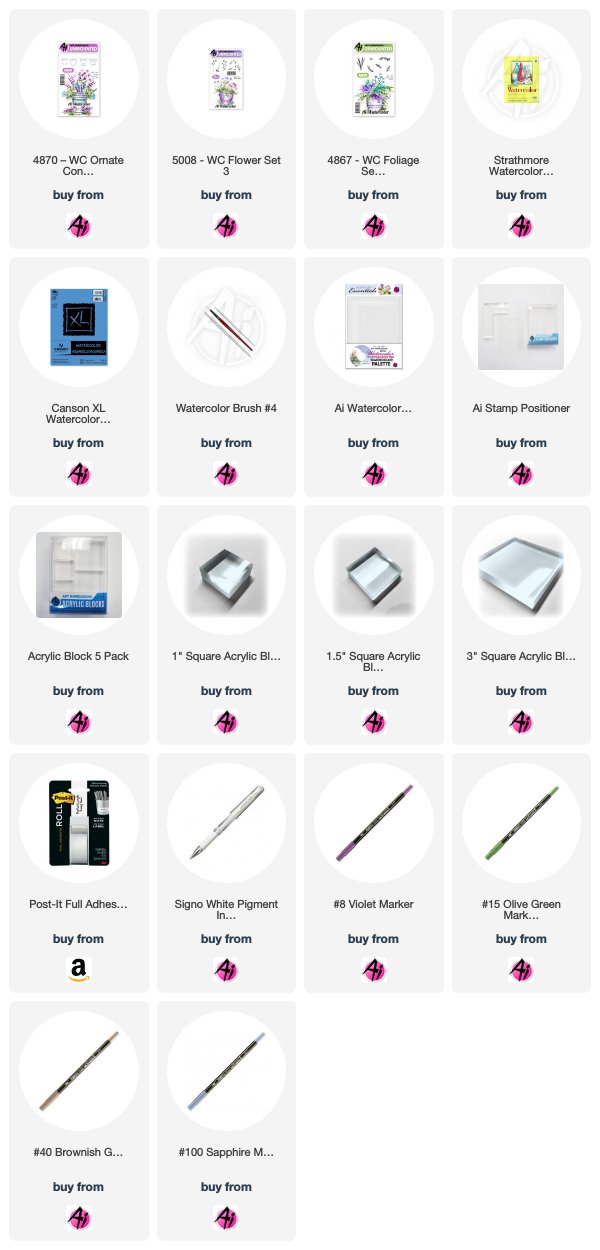
Welcome to a new Watercolor Wednesday! This week, Bonnie creates a translucent glass vase, showing the submerged stems of her beautiful bouquet of wildflowers. She starts by stamping part of the left side of the container in Brownish Gray, and then uses her Stamp Positioner to stamp part of the right side to create a smaller vase. Bonnie masks the top of the vase and stamps her flowers and some foliage, then switches her masking to add some stems on the inside. Next, she adds some blue to the glass and a wash of purple on the outer edges. For the final touch, Bonnie adds some white pen details to give the glass a sheen and a highlight on the flowers.

We hope you like this new project and how you can extend the use of your stamps with this cool technique! Don't forget to subscribe to our YouTube challenge for the latest notifications of new uploads!

Happy Stamping!


View on YouTube: https://youtu.be/GnLVJeRrqfY


Saturday, December 16, 2017

Watercolor Weekend Roundup - Christmas Inspiration

Happy Saturday, Ai Fans! Our design team has been busy working on more wintery inspiration for you this holiday season! Please enjoy these fabulous, snowy projects from our Watercolor Guest Design Team! See something you like? Don't forget to "follow" them on social media to see more beautiful projects in your feed!

Dot Freel - Instagram - Blog - Pinterest
Hello Watercolor Friends, I'm busy making and sending Christmas cards. I made this one using the new 4961 - WC Mini Cottages Set. I used the new 4964 - WC Branches Set to make the trees. For the pinery I used the new 4867 - Foliage Set 2 and the bushes are from 4604 - the Chest of Flowers set. I used some Zig Wink of Stella to add glitter to the snow which doesn't photograph well but it is so pretty in person! I hope you have tried it. I used a Uni-ball Signo pen to add the snow to the sky and the smoke to the chimneys. Our next Watercolor Weekend will be in January so happy holidays to you all!


Tricia Kennedy - Instagram
I’d like to wish every a Very Merry Christmas and Happy Holiday Season from Arizona! My project for today’s Art Impressions Watercolor Weekend represents a little piece of where I live.

I wanted a tall saguaro-type cactus to feature Christmas lights, so I modified the barrel cactus from 4763-Southwest. Start by inking up about two thirds of the right two lines of the barrel cactus from 4763-Southwest and stamp near the top of your watercolor paper. Clean off the stamp and ink up the left two lines of the barrel cactus from 4763-Southwest and stamp next to the previous impression using your stamp positioner. Now you have the top of a tall saguaro-type cactus. You will complete the cactus in a bit. Next stamp the clay pot from 4763-Southwest roughly 1 ½ inches below the top of the saguaro-type cactus. Place a post-it note to mask off the pot and stamp the prickly pear cactus then the agave cactus from 4763-Southwest. At this point you can draw in the lines of the saguaro-type cactus down into the pot. Pull the color from the lines using your brush and water. Scribble a little 8 Violet and 72 Pine Greenonto your palette and add to the prickly pear cactus. Draw in the lines for the Christmas lights in a zig-zag pattern down the saguaro-type cactus using the fine tip of 18 Dark Brown. Draw little circles for the Christmas bulbs with the fine tip of 2 Red. Add shadow detail and needles to the cacti with 15 Olive Green and 72 Pine Green. Scribble 45 Sepia on your palette to add shadow detail to the pot. And on the pot, add line detail with 45 Sepia and 86 African Violet. Brush in the clouds using 60 Salvia Blue. The final step is to add glossy accents to each red bulb.
Marvy Le Plume II Markers: 2 Red, 8 Violet, 15 Olive Green, 18 Dark Brown, 45 Sepia, 60 Salvia Blue, 72 Pine Green, 86 African Violet
Other: Glossy Accents, Post-It Notes

Tricia O'Bin - Blog - Instagram - YouTube - Pinterest - Facebook

I stamped the snowglobe with African Violet. I used the Molotow art masking fluid to the snowglobe to create snow. Once the masking fluid was dry, I then pulled the color out of the lines along the outside of the globe. I stamped the base in Sepia. I added additional Sepia from the color palette

I stamped the snowy tree from the WC Tree Set inside the snowglobe with Pine Green. I pulled the color out of the lines. I added African Violet from the palette around the tree to create the snow shadows and over the masking fluid. 

Using the fir trees large fir top I stamped it a few times at the top in Pine Green. I added berries with the fine tip of the English Red marker. I also added a base underneath the globe with English Red from the palette.

Once the entire piece was dry, I removed the masking fluid and added some Wink of Stella to the white areas of the snow. I added some white gel pen to the tree for some additional snow.

I used the rectangle stitched die to cut the piece out and adhered it to a Pine Green card base.
Marvy Le Plume II Markers: 86 African Violet45 Sepia28 English Red72 Pine Green

Great work, team! Makes us want to get watercoloring our own cards right now! These are beautiful ideas for this year's Christmas cards - and beautiful for New Years or other occasions, too! Did you know you can share your projects with us on our Facebook Page, and also on Instagram with #AiWatercolor? We would love to see your cards any day of the year! That's a wrap for our last Watercolor Weekend of 2017, we can't wait to see you again with fresh ideas for 2018! Happy Stamping!


Saturday, December 2, 2017

Watercolor Weekend Roundup - Winter Wonderland

Happy December, Ai Fans! We are welcoming the first weekend of the month with another roundup of our favorite watercolor projects from our Watercolor Guest Design team! Let's get into the swing of winter with these snowy projects. Check them out!

Dot Freel - Instagram - Blog - Pinterest
Hello Watercolor Friends,

I've made a Christmas card for this Watercolor Weekend using a cabin from the new 4962 - WC Rustic Cabins Set. I also used the tree from the WC Tree Set - 4269 and the fence from the 4807 - Old Barn Set. I used some Zig Wink of Stella to add glitter to the snow. I used Glossy Accents on the lights and Nuvo Crystal Drops on the trees to add sparkle. I used a Uni-ball Signo pen to add the snow to the sky.

Tricia KennedyInstagram
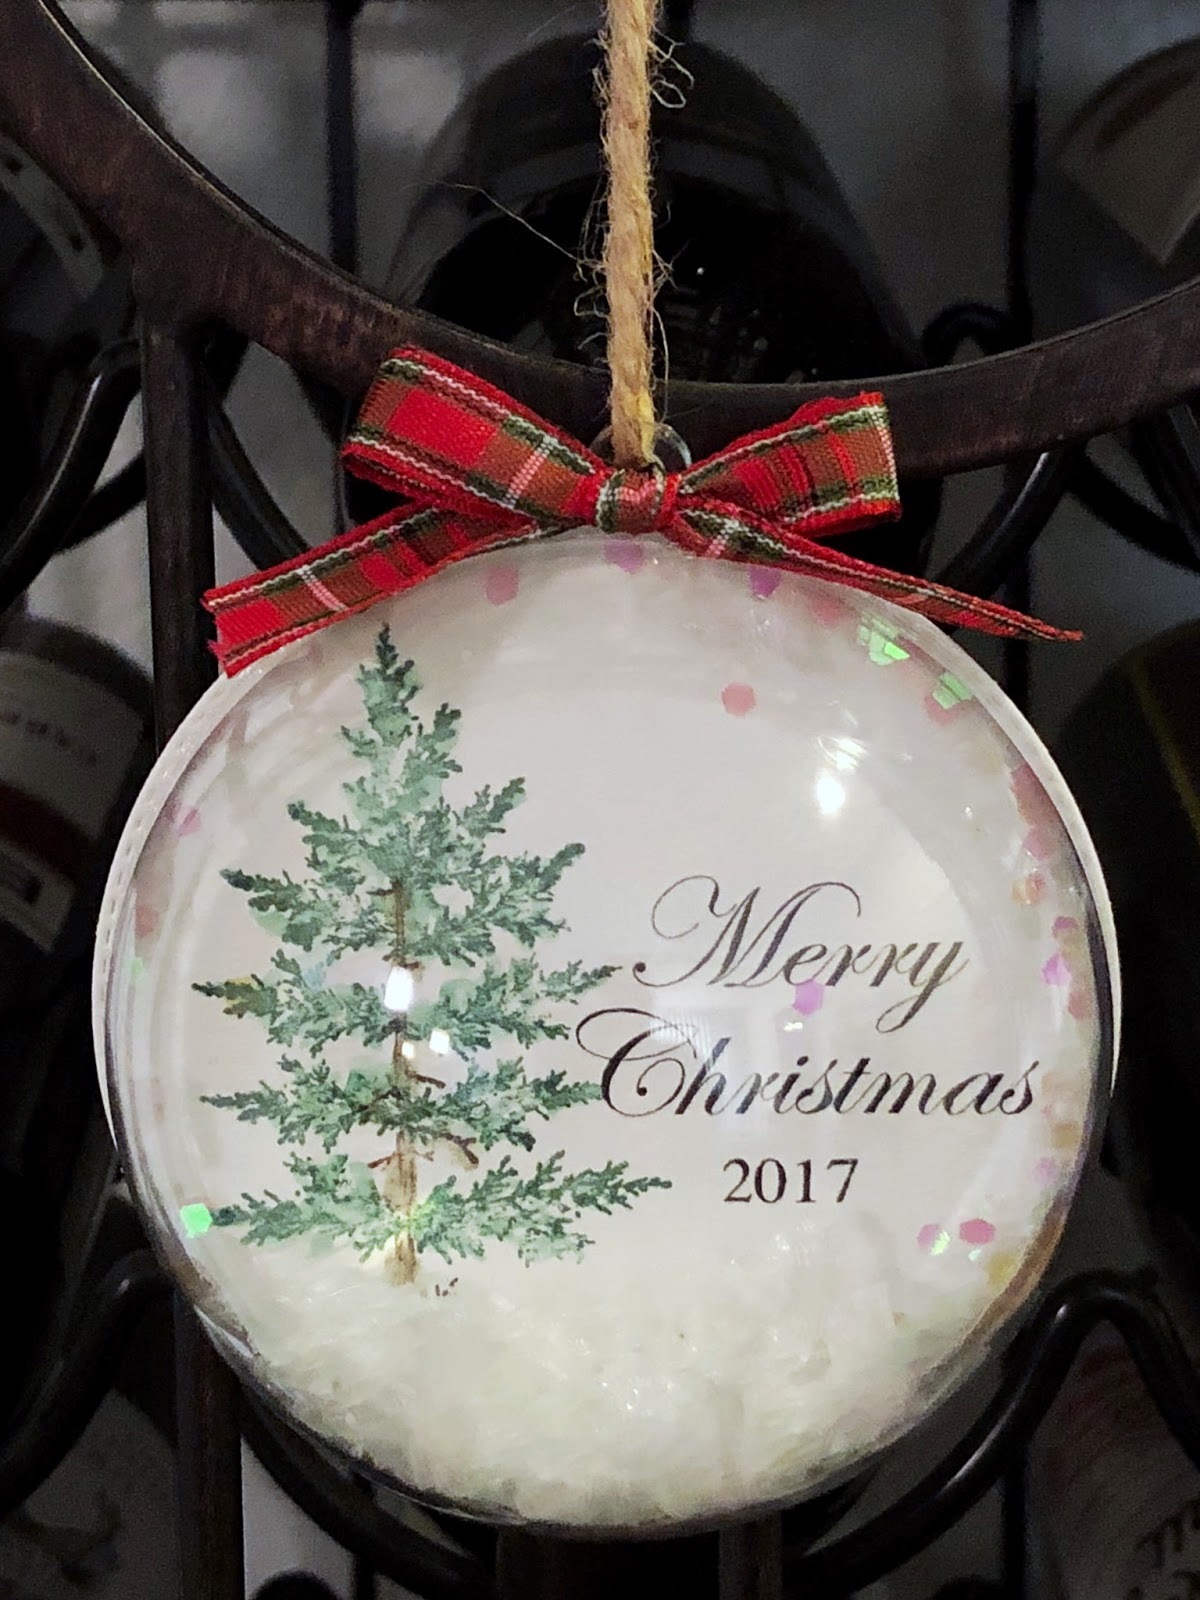
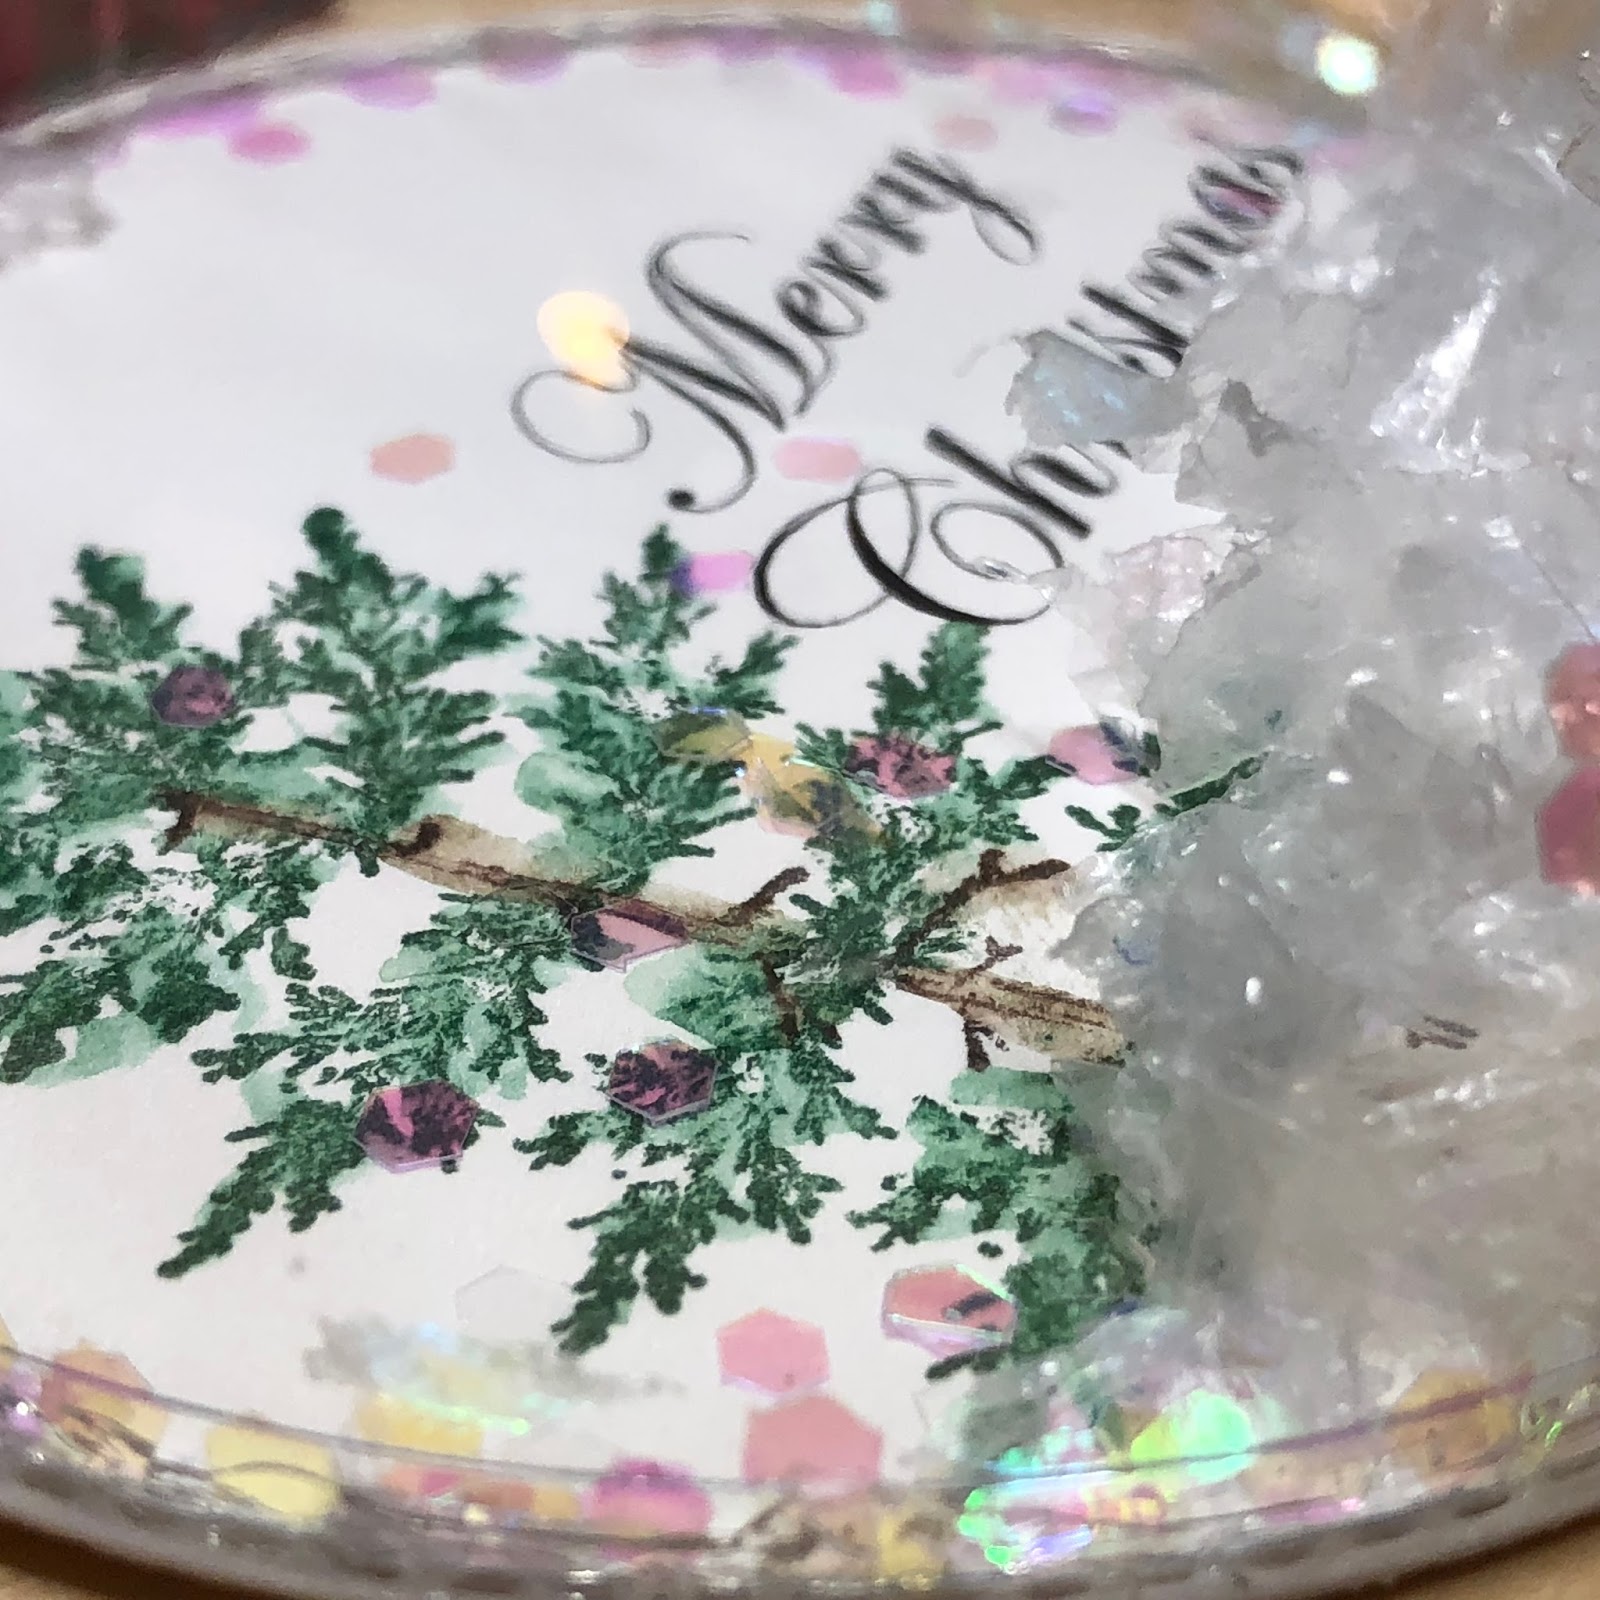
My “Merry Christmas Ornament” for today’s Art Impressions Watercolor Weekend is a perfect gift to make this holiday season.

To begin, either hand write, stamp or print Merry Christmas 2017 on your watercolor paper. I opted to print it. Cut out a 3” circle with Merry Christmas 2017 to the right, leaving room to stamp to the left. Stamp about ¾ of the tree trunk from the WC Fir Trees Set in 45 Sepia. Build the tree using the two straight fir boughs from the WC Fir Trees Set in 72 Pine Green. Stamp the large bough straight up on the top of the tree trunk then the small bough four times below on each side of the tree trunk and then the large bough at the very bottom on both sides of the tree trunk. Pull the color with your watercolor brush and water. Place about a tablespoon snow flakes and about a ½ teaspoon jumbo glitter in the ornament. Run a thin line of strong liquid glue on the edge of the ornament. Attach the watercolored piece to the ornament. Run another thin line of liquid glue where the ornament and paper meet. Let dry. Tie a piece of the Christmas plaid ribbon into a bow and glue on the top and let dry. Finally attach a piece of jute into the ornament and tie for the hanger. Shake the ornament to get the glitter and snow to move around.

Marvy Le Plume II Markers: 72 Pine Green, 45 Sepia
Other: Art Minds 3” Plastic Craft Ornament (comes in two pieces, each ornament requires only one piece), Celebrate It 3/8” Christmas Plaid Ribbon, Jute, Buffalo Frosty Snow Flakes, Tree House Jumbo Disco Glitter, Edwardian Script Font and strong liquid glue.

Tricia O'Bin - Blog - Instagram - YouTube - Pinterest - Facebook
I started out stamping the puppy (which I used a stamp positioner to get him straight) with Sepia. I pulled the color out of the lines. I added some color to my palette and filled him in. I darkened in his ears, eyes and nose with the fine tip of the marker. I decided to draw in a color and cuffs to make him look like he was wearing a sweater. I added some white gel pen dots to jazz it up. I created a mask and used it to protect him.

Using my stamp positioner, I stamped the bench over the masked puppy. I didn't ink up the area where the snow is on the bench. I pulled the color out of the lines and added some squiggly lines with my Sepia and darkened some areas. I drew in a wavy line for the lights and added some English Red, African Violet, Brilliant Yellow and Pine Green circles to make them look like lights.

I inked up the tree trunk with Sepia and the small top of the Fir tree and stamped it to the right of the bench. I added the light to the left leaving off where the wreath would be. I added Brilliant Yellow to the lamp and on a few areas on the snow. I added some masking fluid where the wreath would be to be able to add some ornaments. I then used the positioner to stamp the wreath in Pine Green. I added African Violet and English Red ornaments to the wreath.

Using the fine tip of my African Violet I drew in some the snow and pulled the color above the line to leave the snow white but it creates a shadow. I used African Violet to create the sky.

I cut the picture out with the stitched rectangle die and mounted it on a piece of Gina K Designs Cranberry Tart cardstock. I added the Season's Greetings sentiment which is also from Gina K.
Art Impressions Products: 4034 WC Series 8 Set 14959 WC Dogs Set4965 WC Bench Set

Such beautiful winter cards from three talented artists! Do you like what you see? Be sure to comment below! When you have a craving for more sweet inspiration like this, look up our designer's personal blogs for even more projects! Plus, you can find them on Instagram or other social media and follow them there, too:

Dot Freel - Instagram - Blog - Pinterest
Tricia Kennedy - Instagram
Tricia O'Bin - Blog - Instagram - YouTube - Pinterest - Facebook

We hope these wintery projects have inspired your creations this weekend! Happy Stamping!

Wednesday, November 29, 2017

NEW VIDEO! Winter Cottage in Wreath Watercolor

Hello Ai Fans!

Welcome, welcome to a new Holiday Watercolor Wednesday! This week, Bonnie challenges us with a beautiful winter cottage sent inside a Christmas wreath. Bonnie starts by drawing a 3" circle with a pencil on her watercolor paper and stamps the mini cottage in the center. Next, she adds some small shrubs near the cottage, creates a snowy roof, and adds brown to the siding. With a little free hand and the fine tip of her African Violet marker, she creates snow piles and a driveway up to the cottage. She adds a small tree in the front right and builds the wreath with sprigs, vines, and berries. Next, Bonnie adds Molotow to her sky backdrop and lets it dry, then creates a wash of color for the night sky, leaving a space for the smoke coming out of the chimney. For the final touches, she uses her white gel pen to add extra snow and Wink of Stella to add some shine to the snow.

Another great watercolor project to inspire your holiday crafting! If you like this video, we would love it if you gave it a thumbs up over on YouTube and we always appreciate when you hit that subscribe button! See you next week!

Happy Watercolor Wednesday!


View on YouTube: https://youtu.be/GsZYV-lM1Xs