Showing posts with label Easter Bunnies Set. Show all posts

Sunday, April 3, 2022

Here comes the Easter Bunny! by Reneé Matarese

 Hello Ai fans!

Today I'm sharing my card for the current challenge at Art Impressions.

It's Here Comes Peter Cottontail.

Any crafty Easter project.

My cards feature the 5274 – Easter Bunnies Set.

This is the inside of my card. I always love to decorate
the inside as well as the front of my cards.
I also used two dies to make my banners.  They're from 5132 – Tag Stitched Dies and 5133 – Flag Double Stitched Dies.


These bunnies are just the sweetest things!


My second card is almost identical except that I used a blue background.


These bunnies are great because they can be used alone to
create a great card or together to make a fun scene.


I used one of the verses from the set on the inside of the card.


Copics used:
BG000, BG02, C0, N2, G20, G24,
R0000, R20, Y0000, Y23

Tuesday, March 16, 2021

Easter Bunnies Interactive Card by Jil Lebel


Hello Ai fans!

I used the Easter Bunnies stamp set to make this card that has a surprise. When you pull the tab, a bunny hops across the top of the card.
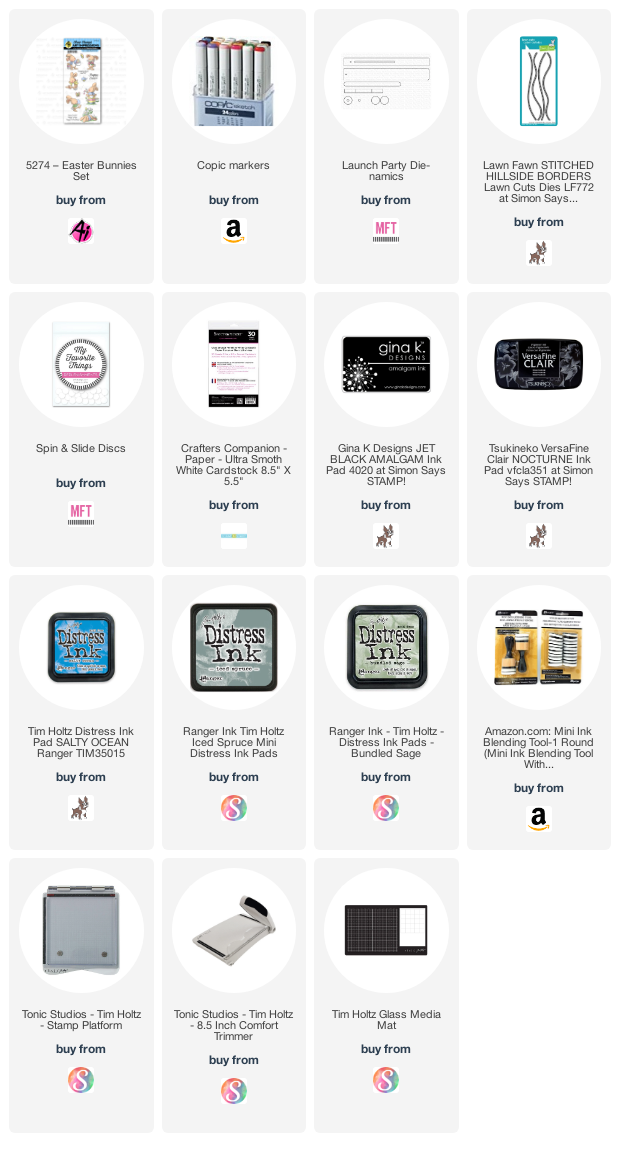
I started by stamping the images onto Spectrum Noir Ultra Smooth card stock with Gina K Black Amalgam ink and colored them with Copic markers.  The colors I used will be listed at the end of this post.  I then cut the images out with Cutterbee Scissors.  I stamped the greeting onto a piece of white cardstock with Versafine Claire Nocturne ink and cut it into a rectangle.  I then edged it with Wilter Violet Distress ink.
I used the My Favorite Things Launch Party Dies for the interactive element.  I watched a video that is in the resources section of their website.  I cut a layer of patterned paper with the Iced Spruce and Bundled Sage Didtress inkk.  The background is a piece of white cardstock that Lawn Fawn Stitched Hillside dies to hide the bunny that pops up.  It's colored with Stormy Sky Distress ink.  I added water splatters to it.  I also added  some splatters of the Stormy Sky ink with a tiny paint brush.  Once everything was dry, I put the card together following the MFT video.
Copic Colors Used:
Tan Bunny - E43, E42, E41, R81
Gray Bunny - W3, W1, W0, R81
Yellow - E41, Y13, Y11
Blue - B95, B91
Green - Y63, Y61
Rose - R83, R81
Lavender - BV11, BV000

Thanks for stopping by and Have a Great Day!


Thursday, April 9, 2020

Happy Everything... by Crystal


Hi Ai fans! Easter is this weekend it looks like it will be different then other years.  This week I played with the Easter Bunnies stamp set.  

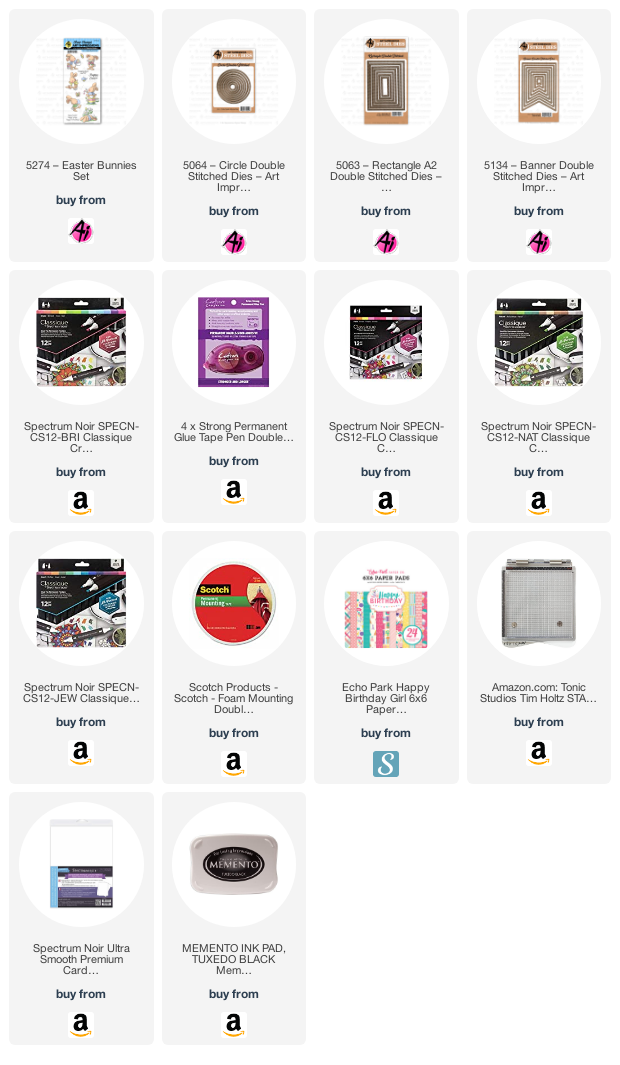
This whole bunny stamp set was so adorable. I stamped the bunny with Memento black ink and colored it in with alcohol ink markers. I stamped the sentiment onto a die cut stitched banner. "Happy Easter Happy Spring Happy Everything!" with Versafine black ink. 


I die cut the image out with a stitched circle die. I kept the stamped image simple but adhered it to strips of pattern paper to make it interesting. 


Spectrum Noir Markers: IG2, CT3, PP4, LG1, LG3, LG5, TN1, TN2, TN4, PL2, PL3

Happy Stamping!


Monday, March 30, 2020

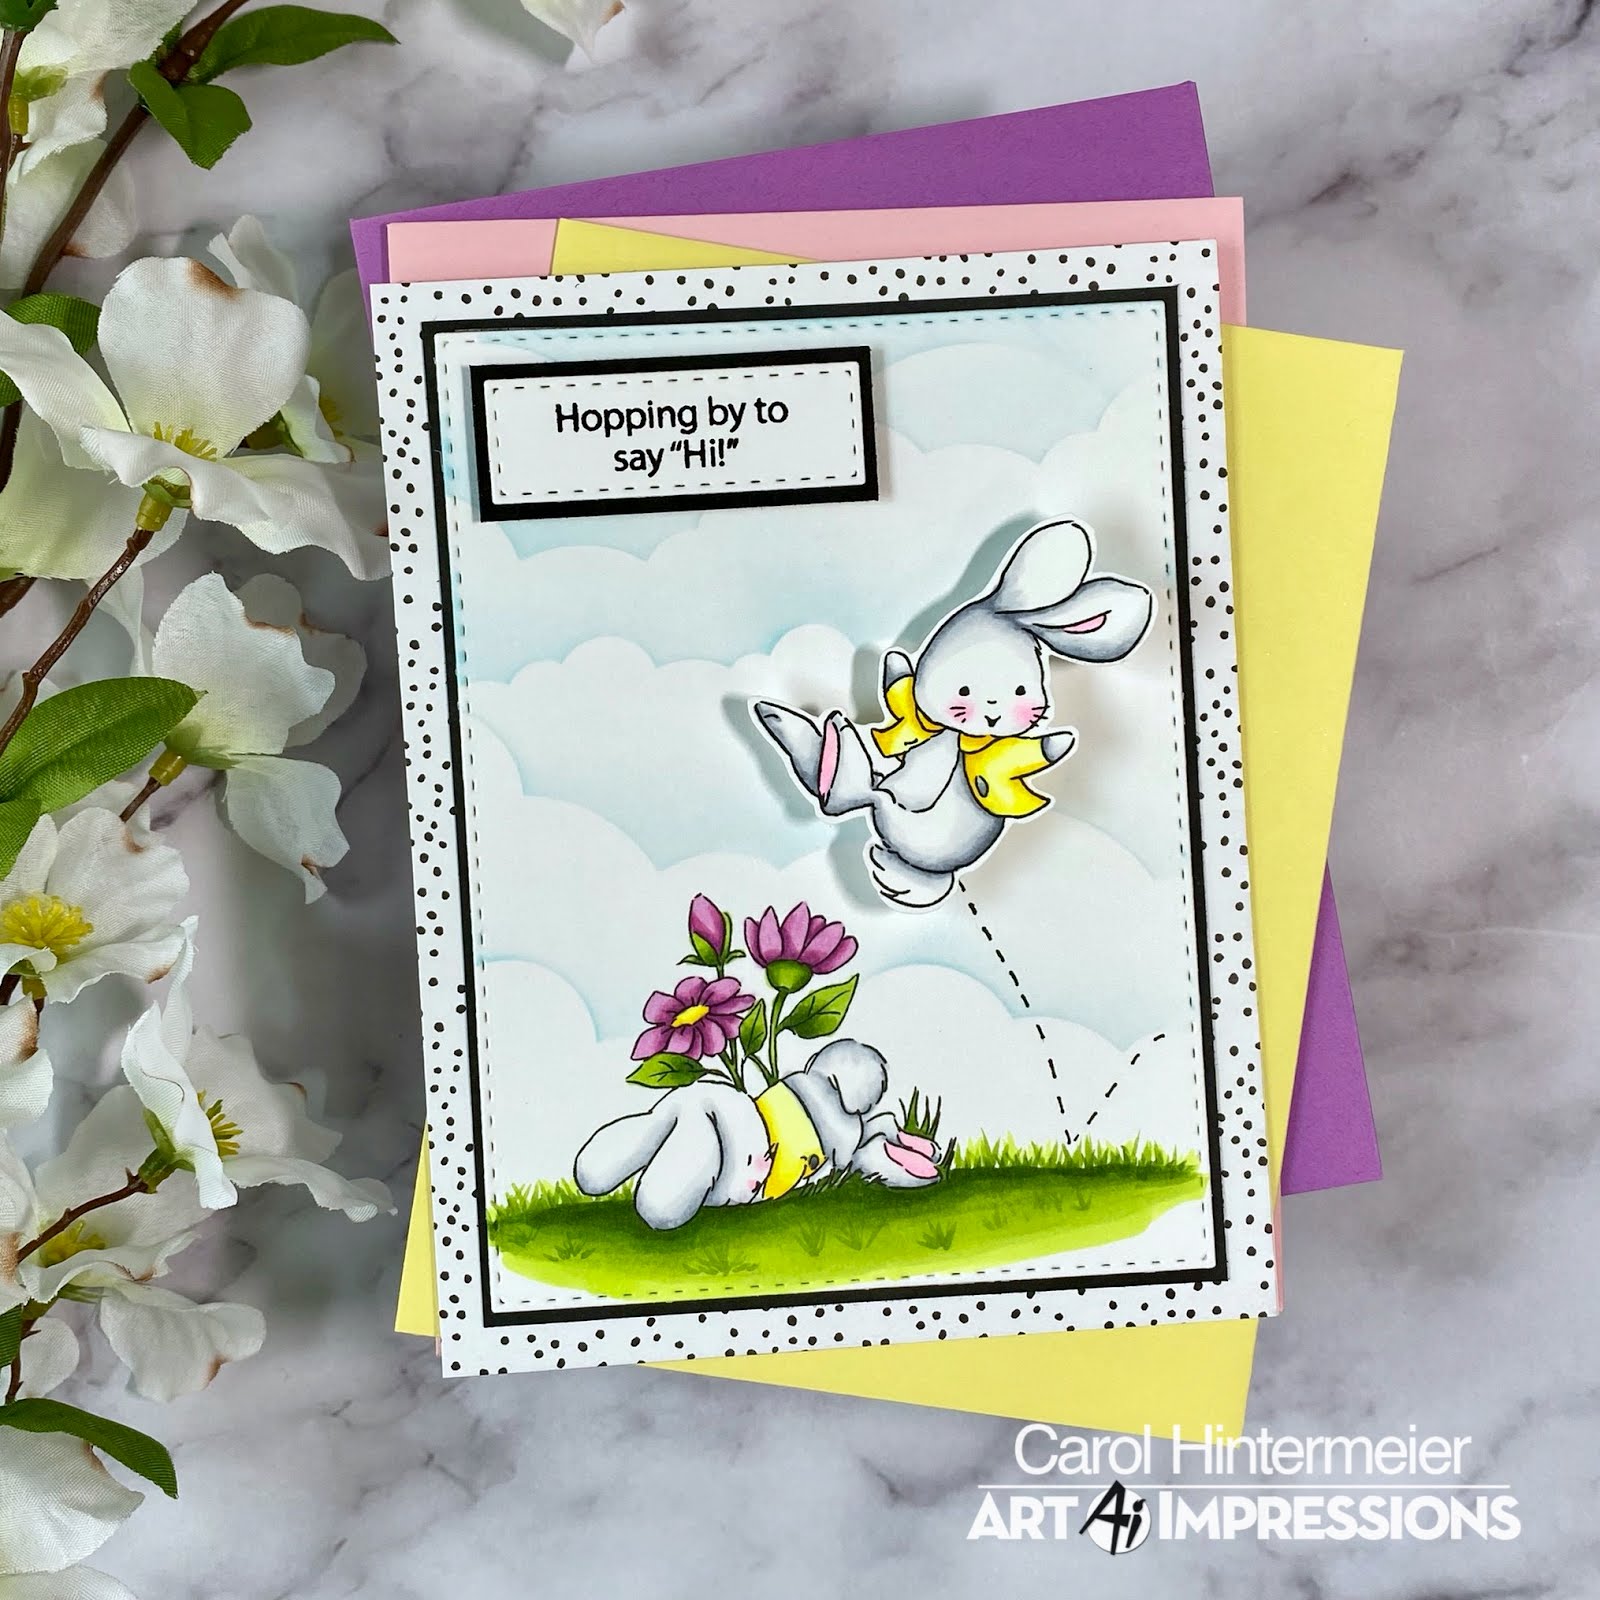
Just Hopping By! by Carol Hintermeier

Happy Monday Ai friends!  I am sure hoping you all are well and adjusting to our current "normal".  I hope my card for  today using the new Art Impressions Easter Bunnies set will bring you a smile and some cheer.  This is an adorable set that has several images so you can use it for many more occasions other than Easter!  Also, as I write this post, this is one of the new release sets that are on sale!  Be sure to check out the new release 20% off sale and the up to 30% off sale of so many other awesome sets!


Here are the steps for my card:
  1. Stamp, in Copic safe ink, the bunny that's laying down on an A2 piece of white card stock.
  2. Stamp the jumping bunny onto a separate piece of card stock.
  3. Color with the Copic markers listed below.
  4. I used a cloud stencil and some Tumbled Glass Distress ink to add clouds to the background.
  5. Die cut this panel with a Rectangle A2 Double Stitched die and adhere to a black card stock layer.
  6. Fussy cut the jumping bunny.
  7. Adhere polka dot paper to a top-folding A2 card base and then the layered panel to that.
  8. Affix an mini action wobbler to the back of the jumping bunny and add it to the card front.
  9. Use a black pen to draw the dotted line.


I created a short little video clip to show the fun action of the bunny!


I stamped the sentiment in black ink and used a small Rectangle A2 Double Stitched die to cut it out.  I layered it onto some black card stock and popped it up with foam tape.


I really had a lot of fun making this sweet interactive card!  Thanks so much for stopping by! Crafting is such a wonderful stress reliever and we hope to see your creations!  Be sure to tag Art Impressions on Instagram with #aistamps so will won't miss you!  


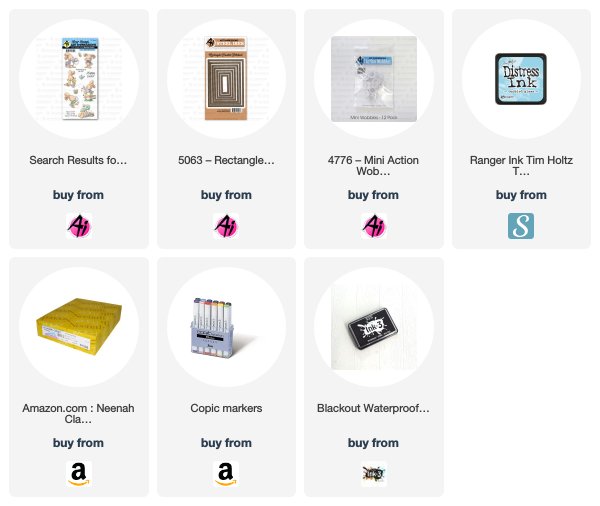
Copic markers:
C3, C1, C00, Y08, Y04, Y00,
YG67, YG17, YG25, YG03, YG01,
V05, RV55, RV63, RV02, RV10