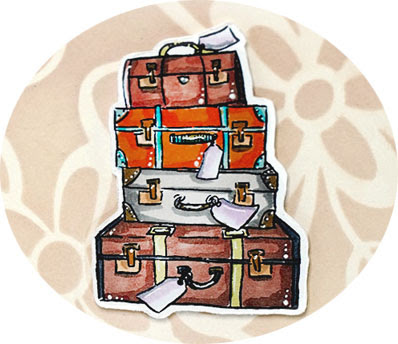
To create this card, I stamped the stacked luggage and cruise ticket with black ink and colored them with Copic Markers. I normally use the traveling couple when working with this set, but thought it would be fun to create with the included accessories and love how this turned out!
To add more color, I stenciled a floral background on to cream paper and added layers of bright colored cardstock. I also used a die to create a flap that revealed "Bon Voyage" when you lift the flap panel.
Lastly, I stamped the greeting "Go see the World!" and another stacked suitcase image on the inside to complete the design.
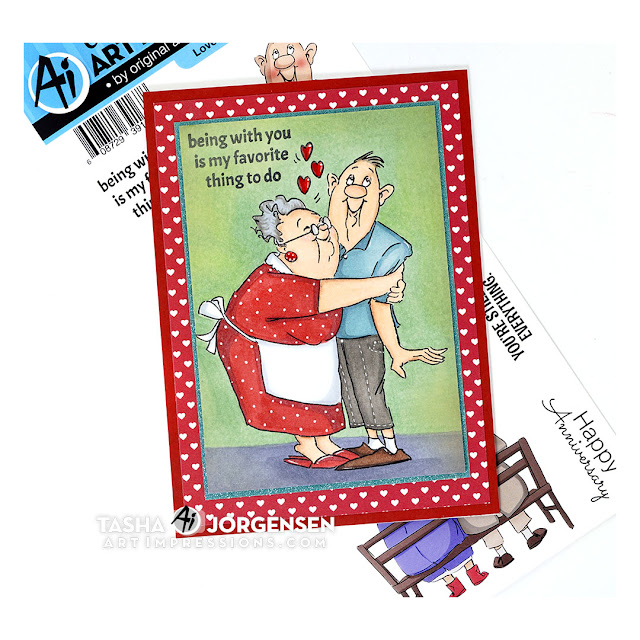
Tasha here sharing a new card created with the AICS27-Love Birds Set! This stamp set is great for Valentine's Day, anniversary cards, or to send to someone special anytime of the year!
The cute couple was stamped with black ink and colored with Copic Markers. I used a white gel pen to add little accents to their clothing and I love the polka-dot dress! I also added Glossy Accents to the floating hearts for extra shine!
After coloring the background, I used the same black ink to stamp the greeting. This sentiment is so special and works perfectly with this sweet pair!
Lastly, I added layers of teal glitter paper, heart pattern paper, and a coordinating piece of red cardstock before attaching it to a white card base.
Thank you so much for checking out today's project and I hope you have a wonderful day!
I used the Snowman Wheelie stamp and die set to make an interactive Christmas card. There is a lever inside that moves the front wheel and the snowman's legs. .
I started by stamping the images onto Spectrum Noir Ultra Smooth card stock with Gina K Black Amalgam ink and colored them with Copic markers. The colors I used will be listed at the end of this post. I then cut the images out with the matching dies that come in the set.
I stamped the greeting onto a thin strip of white card stock using Versafine Clair Nocturne ink.
To finish the card I put together the snowman following the directions on the packaging. I added a piece of patterned paper to a white A2 card and cut the hole for the wheel. I added the snowman layer and attached the inside piece to the foam tape on the back of the wheel.
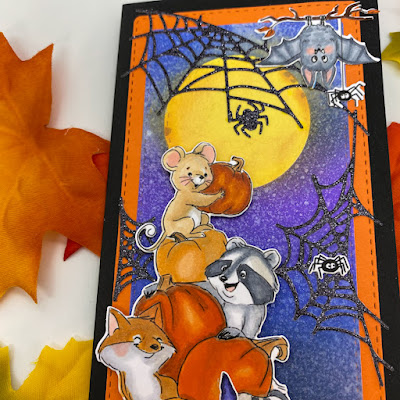
Have you seen the new Halloween releases yet? Oh my goodness! They are adorable! Today's project uses the new Halloween Slimline Set, the Slimline Dies Set and the Web Dies Set. These little trick or treaters are way too cute to spook!
I am so happy that Ai has added a slimline die set. This has 6 stacked dies. As a bonus, it includes a long flag die too. For today's card, I used the 3rd largest die for the main panel and stacked it on top of an orange panel cut with the 2nd largest die. I love the stitching and it matches all the other stitched die sets from Ai.
I haven't done a construction video for a while but I have one today! Click on the thumbnail below to see how I created this card.
One of the great things about the new Halloween Slimline Set is that it comes with matching dies for every stamped image except for the skinny Halloween letters. However, I did notice that the flag in the Slimline Dies Set would cut that phrase out perfectly.
I colored the images with Copic markers and then created a background panel using several Oxide inks in Forest Moss, Black Soot, Chipped Sapphire and Blueprint Sketch. I created the moon by cutting a mask with a die from the Round Double Stitched Die set. The negative of the cut was used like a stencil to fill in the moon with Squeezed Lemonade and Spiced Marmalade. Then the circle itself was used as a mask to protect the moon while I blended the much darker sky around it.
Water and Dylusions Spray in White Linen was used on the inked panel before I arranged all the pieces on it. The critter wagon (as I like to call it) was mounted with double sided foam tape. I cut the webs out of black glitter cardstock and attached them and the other images to the panel with Art Glitter Glue. I have to say that I adore the hanging bat from the set. I think he could carry a card all by himself, he's so cute! He even has tiny little fangs. The last thing I did was stamp the sentiment Trick Or Treat on the bottom of the card using a phrase from the Halloween Critters Set.
Thank you for stopping by today. I hope I've encouraged you to check out all the new releases from the past two weeks at the store. There's more coming so keep your eyes and ears on! You're going to love the new designs. In the meantime, join us in the slimline card challenge going on now through Wednesday next week. You could win up to three sets of your choice!
I used the Easter Bunnies stamp set to make this card that has a surprise. When you pull the tab, a bunny hops across the top of the card.
I started by stamping the images onto Spectrum Noir Ultra Smooth card stock with Gina K Black Amalgam ink and colored them with Copic markers. The colors I used will be listed at the end of this post. I then cut the images out with Cutterbee Scissors. I stamped the greeting onto a piece of white cardstock with Versafine Claire Nocturne ink and cut it into a rectangle. I then edged it with Wilter Violet Distress ink.
I used the My Favorite Things Launch Party Dies for the interactive element. I watched a video that is in the resources section of their website. I cut a layer of patterned paper with the Iced Spruce and Bundled Sage Didtress inkk. The background is a piece of white cardstock that Lawn Fawn Stitched Hillside dies to hide the bunny that pops up. It's colored with Stormy Sky Distress ink. I added water splatters to it. I also added some splatters of the Stormy Sky ink with a tiny paint brush. Once everything was dry, I put the card together following the MFT video.
I used the Loads of Fun Stamp set to create this interactive card. As you pull the pink tab, the lady surfs across the card to reveal a hidden image. I'm going to break down the steps for you in this post.
I started by stamping the images onto Spectrum Noir Ultra Smooth card stock with Gina K Black Amalgam ink and colored them with Copic markers. The colors I used will be listed at the end of this post. I then cut the images out with Cutterbee scissors.
I used Mermaid Lagoon Distress ink over a Tim Holtz stencil for the blue piece of paper. It's cut to 51/4" x 4" I used a MFT Brick stencil on a smaller piece of paper with Fired Brick Distress ink. It is cut to 51/4" x 11/4". They will fit on top of an A2 card.
The blue piece of paper is 5"1/4" x 4". Working on the back mark a half inch from the bottom and a half inch from the side.
Add a slit to each side at the middle of both marks. I used an old Stampin' Up! punch. You can use a craft knife or a die.
Cut a strip from a storage bag so that it fits into the slits you made. Add a piece of double stick tape to one end and pull the other side over it. Don't make it too tight. Then pull the piece that you used to join the plastic all the way over to the right hand side of the paper back. Add another piece of double sided tape right over the joint.
Attach a piece of cardstock over the double sided tape. The cardstock is cut to 51/4" x 3/4".
Apply foam tape all over the back of the card. Be sure to leave a gap for the pull tab. Attach everything to an A2 card.
Flip the card over and attach the main image to the far right side of the slider. Add foam tape to the bottom and sides of the card where the brick will cover. Do not add any foam tape to the top of the slider or the image wont move. Hide everything with the brick paper. Then add your other images flat to the card.
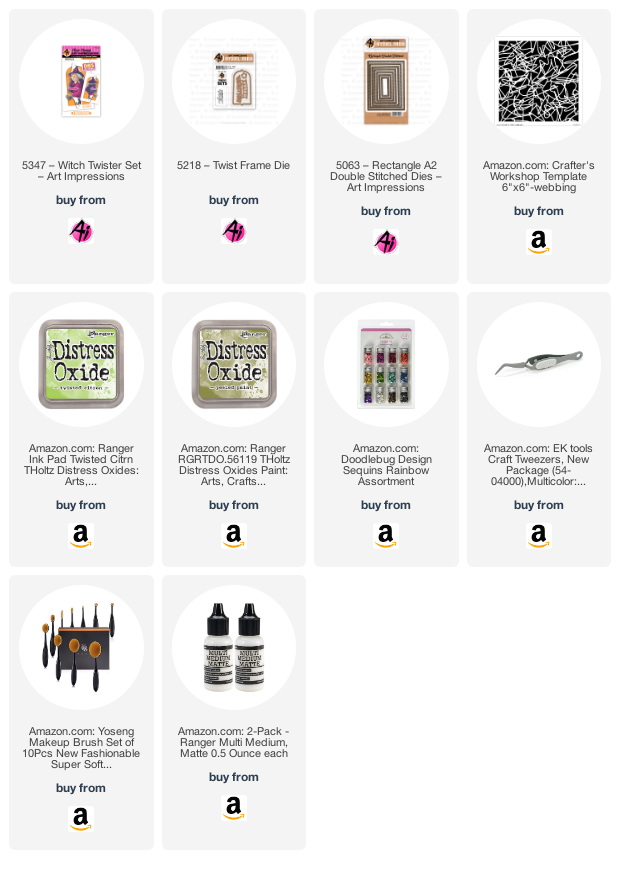
New release new Twisters! This makes me so happy. The twisters are fun to color and have a cool interactive twist (hehe) to them. This little green witch is so cute and easy to pair with fun stencils.
First thing to do is die cut a A2 side fold card base. An easy way to prevent the lines on your cutting plate from embossing on to the inside of the card, is by layering a piece of copy paper in between the cut plate and the card stock. I like to use a side fold card base for the twister stamps and dies. That way the image isn't twisting upside down when the participant opens it.
I colored the witch with copic markers and then used the coordinating die to cut her out. For the stenciling I used a Crafter's Workshop stencil and two colors of Distress Oxide ink; Twisted Citron and Peeled Paint. I also used another piece of scratch paper to place inside the card before ink blending. For the frame I used black card stock and the largest and second to largest Rectangle double stitch dies.
I added sequins, in coordinating purple colors, to the front. Last few things to adhere is the sentiment on the front and orange cardstock adhered to the inside.
Thank you so much for joining me today. Happy Stamping.
It's Jessica on the blog today and I have a cute little mash up card design using the Greenery Invites and Frog stamp sets. If you haven't checked out the new challenge for this week head on over and see what Niccole created. The challenge prompt is animals and nature, I hope this card gives you some inspiration to participate in the challenge!
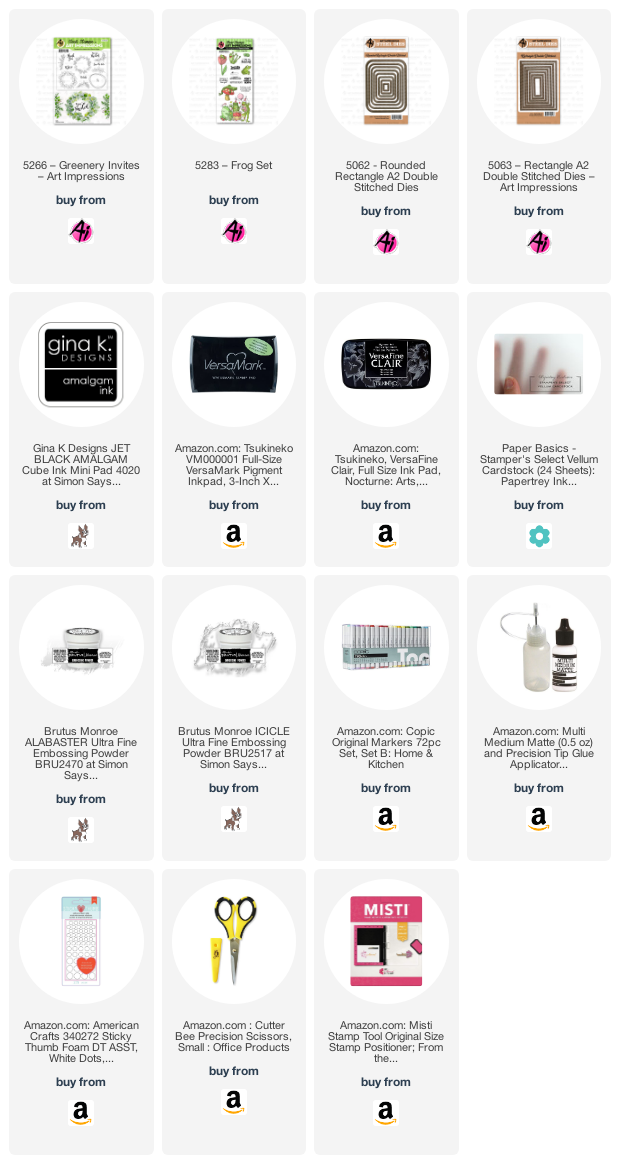
These stamps do not come with dies so I did fussy cut everything. It really didn't take long! I stamped the frogs and greenery wreath on to Neenah 80lb Solar White card stock. I used Copic markers to color these images in. The Copic list is down below.
After fussy cutting my images I also did some embossing with embossing powder. I used clear embossing powder on the corner foliage after die cutting a piece of blue card stock with the second to largest Rounded Rectangle die. I also used clear embossing powder on the fly. This time stamping that image onto vellum with Versafine Clair Nocturne ink and then embossing. The last thing I embossed was the sentiment, no surprise I used white embossing powder on black card stock.
For the inside I used the "thank you" sentiment ( I love the font ) and the circle scribble from the Greenery invites. I also stamped the little fly form the Frog set again. I love how this turned out and I had a blast using both of these fun stamp sets together.
Thank you so much for joining me today! Happy Stamping.
Well Easter is fast approaching so I decided to make an Easter card for this week's post. Today I am using the image called Kate (sku 4113). Kate is so cute and makes a really adorable Easter card.
I made 2 versions of Kate using paper from the Bella Blvd. Simply Spring Collection and the Doodlebug Easter Parade collection. Kate looks so cute coloured and paper pieced with the bright colours in these collections!