Showing posts with label friendship card. Show all posts

Saturday, June 18, 2022

Your Secret's Safe With Me! by Janet Axtman


Hello friends! It's Saturday already and time for me to share my weekly project. Today I made a mini slimline card featuring the new #5517 Sassy Laugh Lines stamp set. This lady is a adorable and there are so many sentiments included that can tell her story for you. I chose this one because recently a new friend trusted me with a secret. It's kind of a big deal when someone trusts you to keep something to yourself so I celebrated it by making this card.

I colored her with Copic markers (list of colors used is at the end of this post). I decided to make her jacket a faux leopard print using black squiggles. I had a leftover piece of an iridescent panel I had made months ago so I used it as a background for the lady. I pulled out #5223 Bookmark Dies to cut the long flag and hole. It also has a feather die so I cut one out of pink and black glitter cardstock. The Sassy stamp set doesn't have a coordinating die so I used my Brother ScanNCut to cut the lady and the sentiment out. You can easily fussy cut this image also. 

I finished the card by mounting the panel on a pink mat and I added a few pink glass bubbles. Then I glued the panel on a black mini slimline card base. Voila!  

Copic Colors:
RV17, RV55, RV20
C0, C1, C3, C5, C7, C9
E00. E0, E11, E21

Thanks so much for stopping by today. I hope you consider adding Sassy to your stash. She's so much fun to make cards with.

Wishing you a very crafty weekend!

Janet YouTube - Blog - Facebook - Instagram - Pinterest 

Saturday, September 11, 2021

Simon Says Stamp - Stamptember 2021 - Hug in a Mug by Janet


Hello everyone and thank you for stopping by today. If you've been following along this week, you know that Ai had another super smash success with this year's Simon Says Stamp Stamptember exclusive set called Hug In a Mug. The Design Team had a lot of fun with this set and you can see many of their creations in the Blog and Instagram Feed. As expected, the set has sold out. For those lucky enough to nab it, I hope I can provide a little inspiration so you create something as soon as it arrives! 

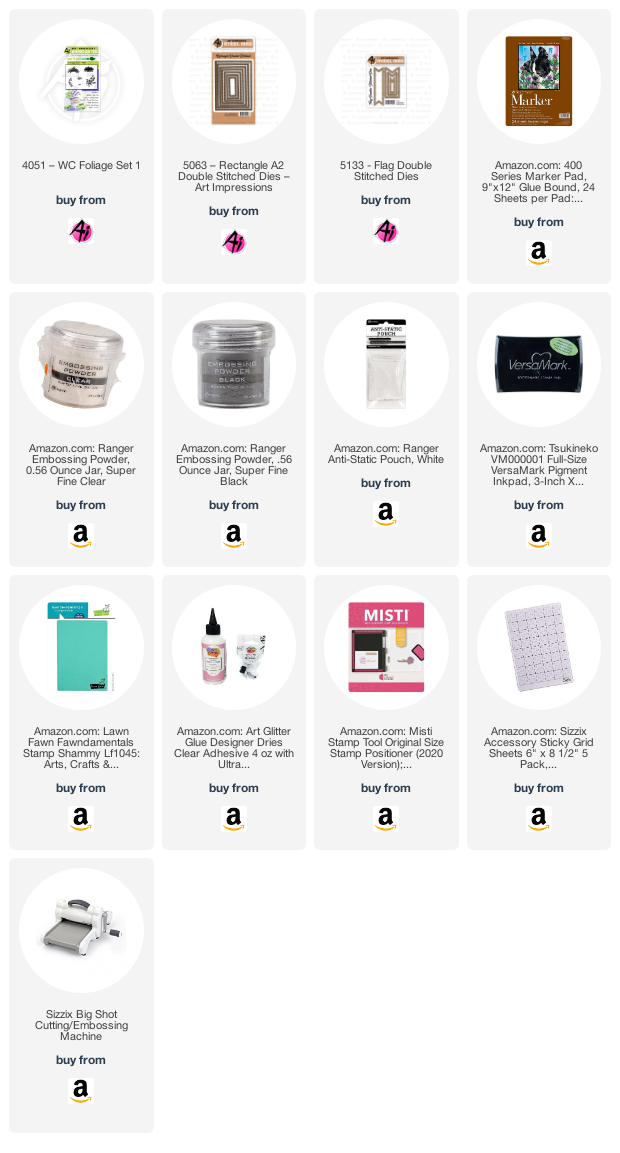
This set has several adorable sentiments but the one that I used at the bottom of this card makes me laugh out loud! I used Copic markers and sketched in the sidewalk to set the scene. The grass in the back is the Ai Water Coloring Foliage Set 1. I try to remember to use this set for grass sprigs because there are two grass stamps in it that look organic but are much nicer than I can do myself. 

I decorated the blue sweater with white gel pen hearts. On the pink sweater, I tried to create a look of bulky knitting. I wanted the scarf and hat to be bulky and fuzzy with several pink and white yarn strands. It was easy to do by flicking and dabbing several pinks and leaving some of the area white. Rather than create a full sky background, I highlighted the figures with a narrow halo of light blue. 


I used the Rectangle Double Stitched Die set to create two mats in copper and pink shimmer cardstock. They are mounted on a dark brown 5' x 7' card base which gave me the room I needed to put the main sentiment at the bottom on vellum. The sentiment was cut using a die from the Flag Double Stitched Dies. I have to say that I use this set absolutely constantly. It's a must have for any card maker. 

If you picked up this set, you can play in the Shaken, Not Stirred Challenge that runs through Thursday next week. If not, you can post anything with a drink included. We love seeing what you make!
Happy Creating!

Janet YouTube - Blog - Facebook - Instagram - Pinterest

Saturday, September 4, 2021

Women of Wine!


We have started a new challenge on the blog. Shaken not Stirred is about anything with a drink. Here's my first card for this challenge. It's the ladies from the Wine Divas stamp set. Be sure to enter your masterpiece in the challenge. We love to see what you create!

To make this, I used Copic markers to color the image and then I fussy cut it out. There are a few areas that don't really work for scissors so I used a finger blade to cut out those sections. I trimmed it very close to the lines so that the image looks almost stamped onto the specialty card stock I used.

I cut the cardstock and embossed it with a grape embossing folder. I stamped and heat embossed the sentiment with black detail embossing powder and then cut it out with a Circle Double Stitched die. I used a wine colored A2 sized card base and used a matte silver piece of cardstock as a mat.

These ladies are a lot of fun and remind me of the group of ladies I hang out with. We enjoy our beverage of choice and have a great old time with each other. So cheers ladies! We are better with age!

Thanks for stopping by and spending a little time with me here at the Ai Blog. See you next week!

Happy Creating!

Janet YouTube - Blog - Facebook - Instagram - Pinterest

Friday, May 14, 2021

Girls Night Out!

 Happy Friday Ai Fans!

Tasha here sharing a new card created with the Crazy Friends Set! I love these fun outfits and could not wait to create a Girls Night Out scene!


The images were stamped with black ink and colored with Copic Markers. For the clothing, I used bright colors and added Glossy Accents to the boots and glasses to give them some shine. The glasses with the dots would definitely be a pair I would wear!


The background was created with a brick stencil and I used scrap paper and yellow Distress Oxide ink for the spot light. I wanted it to look like there was a light shining down on these two friends! I also used scrap paper to block off the brick wall to color the floor. These two are camera ready and look like they are having a great time!


Lastly, I stamped "What does "Age Appropriate" mean anyway?" with black ink and attached layers of purple glitter paper and bright green card stock to complete the design.

Thank you for stopping by and I hope you enjoyed today's project!


Monday, May 4, 2020

Best Friends Forever! by Carol Hintermeier

Happy Monday Ai friends!  Today I have a fun card that would be perfect for sending to all of our friends that we miss so much!  I've used the new and so fun We're Here Set for this card.


I began by stamping the image onto white card stock that I die cut with a Rectangle Double Stitched die.  I also stamped it onto some masking paper and fussy cut it out.  I used the Copic markers listed below to color the image.  I found a "Home" stamp in my stash and stamped it onto the door sign.


For the background, I put the mask over the image and taped off the die cut edges.  I used a rectangle masking stencil and a blender brush to add Squeezed Lemonade Distress Oxide ink.  I used a black pen to draw a line to separate the floor and wall and used some Post-It Tape to mask the floor.  Next I used a brick stencil to ink on more Squeezed Lemonade ink.  I blended a bit of Mustard Seed Distress Oxide around the edges.

After removing the masks, I layered the panel onto some blue card stock and some black/white patterned paper.  I adhered these layers to a top-folding A2 card base.  I stamped the sentiment onto some of the blue card stock and die cut it with the smallest Rectangle Double Stitched die.  I shifted the die cut piece in the die and ran it through my machine again to make it shorter.  I repeated this for the other end.  I popped the sentiment up with some foam tape.


Thanks so much for stopping by today!  Have a wonderful, crafty week!


Copic markers:
BG000, BG01, BG11, BG13, BG15, BG18,
C00, C1, C3, E07, E08, E13, E15, E21, E23,
E25, E27, E31, E39, E50, E51,
N5, N7, N9, R20, R35, RV02, RV04,
T3, T5, T9, Y00, Y06, Y13, Y15, Y28,
YR20, YR21, YR23, YR24,
YG17, YG25, YG67

Monday, April 13, 2020

Sweet Friendship by Carol Hintermeier

Happy Monday Ai friends!  Today I have a sweet card using the Art Impressions' for Scrapbook.com Exclusive Cherry Set.  This beautiful set is available only at Scrapbook.com.  I used just one of several of the beautiful images you get in this set and can't wait to use the others sometime soon.


I stamped the image in Copic safe ink and colored it with the Copic markers listed below.  Then I fussy cut it out.  


Next I used the largest die from the Rectangle Double Stitched die set and cut out a panel of white card stock.  I layered that onto some red card stock and added it to a top-folding A2 card base.  I cut a piece of black card stock to 2-¼" x 5-¼" and added a piece of gingham patterned paper to that.  I added a thin strip of the red card stock to the right. 

Next I used a sentiment from the set (there are four more in this set!) and stamped it in Versafine Onyx Black ink.  I added foam tape to the back of the cherry image and adhered it to the card.


I love how the black and white gingham sets of the bunch of cherries!  I sure appreciate YOU, sweet friends, for stopping by today!  I hope you are safe, well, and that you have a great week.  Stay crafty!


Copic markers:
R39, R27, R24, R22, R20,
YG97, YG95, YG93, YG67,
YG17, YG25, YG23, YG03, YG01

Monday, March 30, 2020

Just Hopping By! by Carol Hintermeier

Happy Monday Ai friends!  I am sure hoping you all are well and adjusting to our current "normal".  I hope my card for  today using the new Art Impressions Easter Bunnies set will bring you a smile and some cheer.  This is an adorable set that has several images so you can use it for many more occasions other than Easter!  Also, as I write this post, this is one of the new release sets that are on sale!  Be sure to check out the new release 20% off sale and the up to 30% off sale of so many other awesome sets!


Here are the steps for my card:
  1. Stamp, in Copic safe ink, the bunny that's laying down on an A2 piece of white card stock.
  2. Stamp the jumping bunny onto a separate piece of card stock.
  3. Color with the Copic markers listed below.
  4. I used a cloud stencil and some Tumbled Glass Distress ink to add clouds to the background.
  5. Die cut this panel with a Rectangle A2 Double Stitched die and adhere to a black card stock layer.
  6. Fussy cut the jumping bunny.
  7. Adhere polka dot paper to a top-folding A2 card base and then the layered panel to that.
  8. Affix an mini action wobbler to the back of the jumping bunny and add it to the card front.
  9. Use a black pen to draw the dotted line.


I created a short little video clip to show the fun action of the bunny!


I stamped the sentiment in black ink and used a small Rectangle A2 Double Stitched die to cut it out.  I layered it onto some black card stock and popped it up with foam tape.


I really had a lot of fun making this sweet interactive card!  Thanks so much for stopping by! Crafting is such a wonderful stress reliever and we hope to see your creations!  Be sure to tag Art Impressions on Instagram with #aistamps so will won't miss you!  


Copic markers:
C3, C1, C00, Y08, Y04, Y00,
YG67, YG17, YG25, YG03, YG01,
V05, RV55, RV63, RV02, RV10

Monday, March 23, 2020

Some Bunny Loves You by Carol Hintermeier

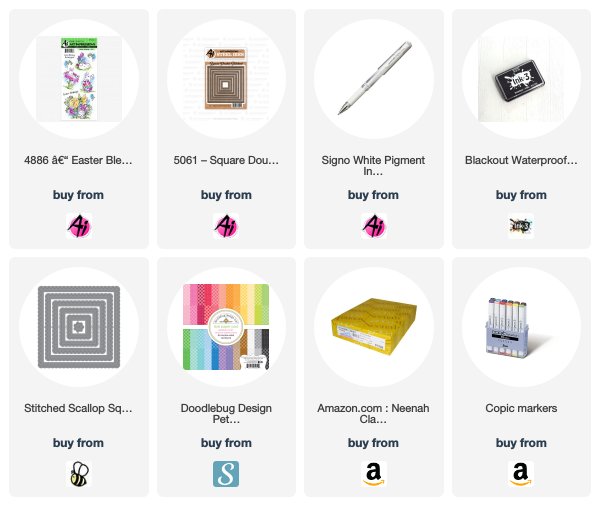
Happy Monday Ai fans!  Today I have a sweet square card that would be great to send to a family member or a friend.  I've used the so sweet Easter Blessings Set for my card today.  There are three other images in the set, two of which could be used for any other occasion besides Easter!


I stamped the image in Copic safe ink and colored it with my markers.  I used a white gel pen to add dots to the flower stamens and centers.  Next I die cut it with a Square Double Stitched die and layered it onto some blue gingham paper.  This was adhered to a die cut scallop square.


I stamped the sentiment with black ink in the upper left corner.  I adhered the panel to a top folding 4-1/8" top folding card base.  The overall size of this sweet card is 4-½" square.


Thank you very much for stopping by today!  Have a wonderful, craft week!


Copic markers:
background: B000, B0000
blue flowers:  B79, B66, B63, B60
yellow flowers:  Y19, Y08, Y13, Y11, YR23
leaves:  YG67, YG17, YG25, YG03, YG01;
G28, G17, G07, YG09, YG05, YR18
bunny:  N4, N2, N0, RV21, RV10

Monday, August 26, 2019

Let's Talk Soon! by Carol Hintermeier

Hello Ai Fans!

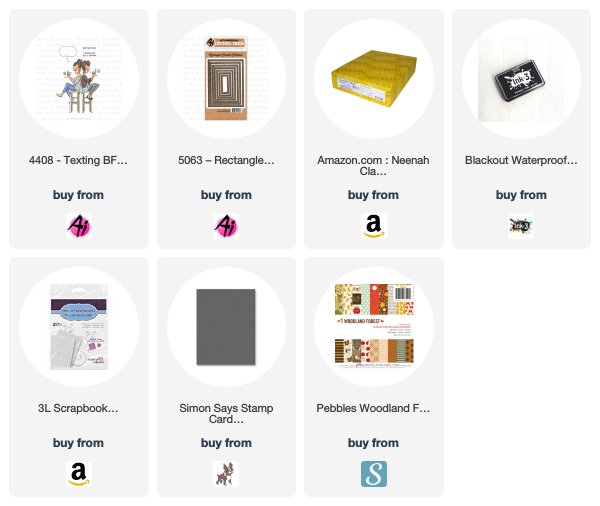
Today I have a card using the adorable Texting BFFs set.  This is just perfect to send to a friend to let them know you're thinking about them!


I stamped the image and the sentiments in Copic safe ink.  I colored the ladies with the Copics listed below.  I then used a Rectangle Double Stitched die to cut it out.  


I layered the die cut image onto some gray cardstock, a piece of patterned paper and then onto the A2 top-folding card base.


I fussy cut the sentiments out and popped them up with foam squares.


This card was so fun and quick to make and I hope it's given you some inspiration to give this cute set a try!  Happy crafting!


Copic markers:
B93, B95, B97, C1, C2, C3, E11, E21, E30, E34, E53, E55, E57,
N0, N2, N5, N7, N9, R14, R20, R21, R22, W0, W1,
YR21, YR23, YR32, YG63, YG67

Monday, August 19, 2019

Hello Sunshine! by Carol Hintermeier

Happy Monday Ai Fans!

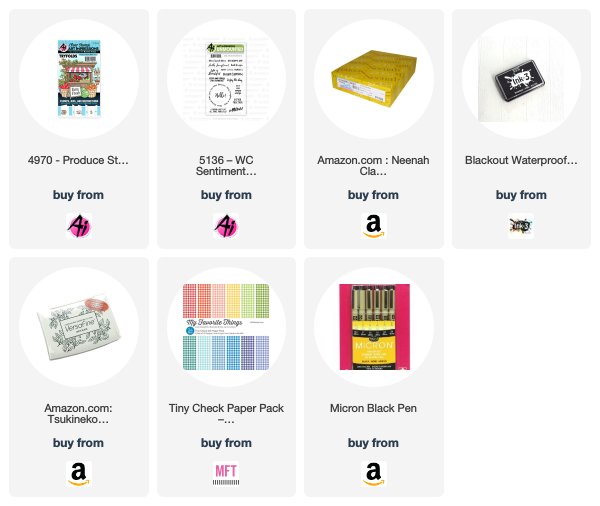
Today my card features the fun Produce Stand MTF (mini TryFold) set.  It is definitely summer here in Texas with the temperatures over 100º!!  Who is ready for fall?!!  I've only used this set once before--it was last summer!--so I thought I'd pull it out and make this cute notecard to send to a friend.  This is an easy set to use that doesn't need a lot of instructions, so I have a lot of photos.


As with all of Art Impressions' TryFold card sets, the instructions for the card size, scoring, and where to place the stamps are on the back of the packaging.  Makes it so easy!  I stamped everything using my new favorite Copic-safe ink: Ink on 3 Blackout Detail ink.  This ink stamps the lines a nice and crisp black and is quick to dry.  I haven't had any smudging at all with my markers!  

I colored the images with my Copic markers (listed below--I was shocked at how many I used! LOL!).  I used a black Micron 005 pen to draw some lines on the front of the produce stand.  And also, to create a frame on the final image, in the photo below.


If you use alcohol markers, you know that they will bleed through to the back of your cardstock.  To hide that, I used some gingham paper on the two inside panels.


To finish up, I stamped the greeting included with the stamp set on the inside panel using Versafine Onyx black ink.  (I need to do a comparison of that and the Ink on 3!)  I used a sentiment from the Art Impressions Sentiment Set 2 and stamped it on the card front.  I thought it fit perfectly with the one on the inside.  


Thank you, as always, for stopping by and taking a look.  Have a wonderful, and crafty, week!


Copic markers:
B21, B23, BG0000, BG000, C0, C1, C3, C5, 
E31, E33, E37, E53, E55, E57, E70, E71, E74, E77,
N0, N2, N4, N6, N8, 
R14, R17, R21, R22, R24, R27, R35, R37, R39, 
Y02, Y13, Y15, Y17, Y19, YG0000, YGG01, YG11, YG13,
YG17, YG21, YG23, YG25, YG61,
YG61, YG53, YG67, YR01, YR02, YR07, YR65, YR27