Showing posts with label Exclusive Hydrangea Set. Show all posts

Tuesday, July 7, 2020

Blossom Border Card by Jil Lebel

Hello Ai fans!

My friend Char had a birthday last week. I used the Blossom Border stamp set to create this clean and simple Birthday Card. 
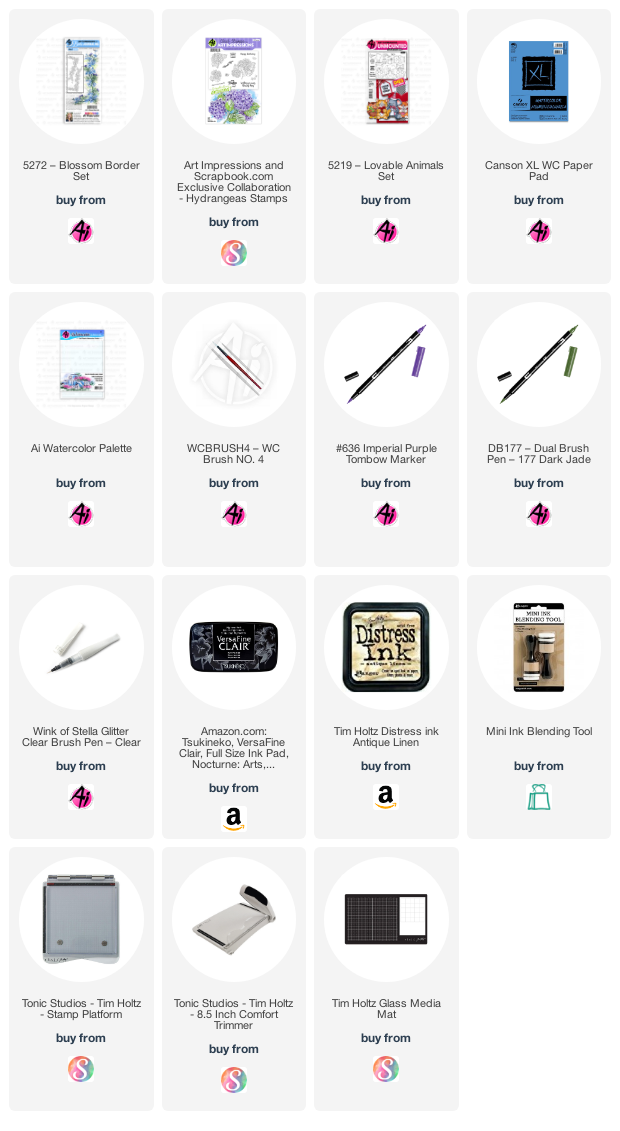
I started with a piece of white cardstock and some washi tape.  I added the washi tape onto my cardstock using the grid on my glass mat.  I then added Antique Linen Distress ink with a mini ink blender.  I removed the washi tape to reveal a striped background.  I then cut out a heart using a die from the Lovable Animals set.
I put the border stamp into my stamp platform.  I placed the stamp so it would fit into the die cut heart.  I then colored the blossoms with the 636 Imperial Purple Tombow Dual Brush marker.  I stamped it onto a piece of Cansom 140 lb. watercolor paper.  Next, I colored the leaves with the 177 Dark Jade Tombow Dual Brush marker.  I used a damp brush to spread out the color.  I colored just the centers with the fine tip of the imperial purple marker. I used my Clear Wink of Stella pen to add some shimmer over the flowers. I then stamped Happy Birthday from the SBC Exclusive Hydrangea stamp set with Black Versafine Clair ink right over the flowers. I also added some splatter by scribbling some imperial purple marker onto my palette and picking it up with my brush.

Thanks for stopping by and Have a Great Day!

Monday, June 1, 2020

Just A Note! by Carol Hintermeier

Hello Ai fans!  Today I have a sweet card to just say, "Hi!" to that someone special that may need some happy mail!  I've used the beautiful Exclusive Hydrangeas set by Art Impressions that's available at Scrapbook.com.  My hydrangeas are pink with green in the middle because, in my part of Texas, we have alkaline soils and water, not acidic that makes them a blue shade.  Keep reading to see a photo that I took a few days ago of my hydrangea in my backyard.  I love hydrangeas and my photo was my inspiration!


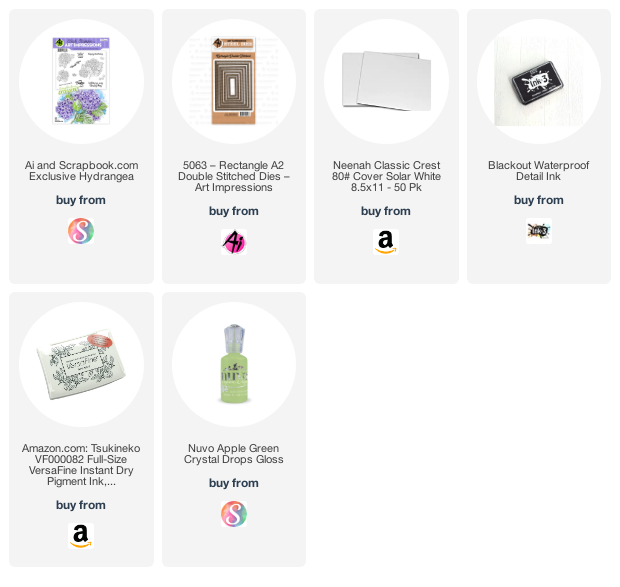
I stamped the hydrangeas in my favorite Copic safe ink--Inkon3 Blackout Detail ink onto some Neenah Solar White 80# card stock.  I've listed my marker colors below.  (Make a note of how few markers I used--LOL!)  When I finished my coloring, I used a Rectangle Double Stitched die to cut it out.  I added some Apple Green Nuvo Crystal Drops to the flower centers and set it aside to dry.


Here is my backyard photo!  It's an older bloom, therefore, not as much green in it as what I colored.


So, onto finishing my card!  I started with an A2 card base and added a black card stock and pink gingham layer and adhered it to the card base.  I added another black layer to the die cut hydrangeas panel.  I stamped one of the several sentiment from this set at the bottom of this panel in Versafine Onyx Black ink.  I added foam tape and adhered it to the card.


Thanks for stopping by today!  Now you know about my love for hydrangeas and also, this beautiful stamp set!  Happy crafting!


Copic markers I used:
G85, YG63, G43, RV21, RV10, RV00

Tuesday, April 14, 2020

Poppy Watercolor Card by Jil Lebel

Hello Ai fans!

I used the Poppy Border Set to make two cards.  I love how the stamps are the same, but the cards have a completely different look. These cards were really fast to create.  I really love the new flowers from the Bible Journaling Collection.

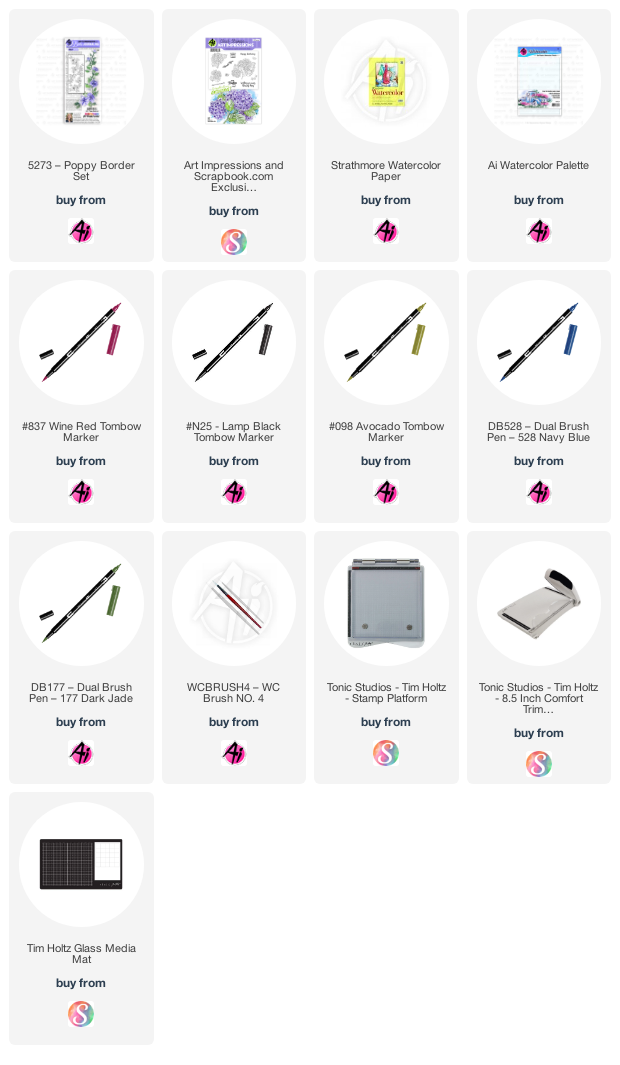
I started by attaching the Poppy image to the door of my stamping platform.  I used the 098 Avocado marker to add color to the leaves and stamped them.  I then added color to the flowers with the 885 Warm Red marker before I stamped them. I was able to ink them up the stamp in two stages using my stamping platform.  You could do it all at once and used a stamp block.  I turned the paper in my platform and stamped the image another time using the same method. I then used my damp brush to soften the lines of the images.  I added more color to it using markers scribbled onto my stamp palette and painting it on with my brush.  I added 177 Dark Jade to the leaves and more 885 Warm Red to the flowers.  Once it was all dry, I used the N25 Lamp Black marker to add color to the center of the flowers.  Then I added 528 Navy Blue marker as a background. The last thing I did was stamp the greeting from the SBC Exclusive Hydrangea set using the 885 Warm Red. 
I did the second card the same was and stopped at just one flower.  I pulled the color from around the stamped edges using a damp brush.  Both images are cut out using the Rectangle A2 Double Stitched Dies.

Thanks for stopping by and Have a Great Day!

Tuesday, February 11, 2020

Twist and Pop Hydrangea Card by Jil Lebel

Hello Ai fans!

This birthday card has a secret.  When you open it, it pops out at the recipient. I used the SBC Exclusive Hydrangea Set to create this Twist and Pop card. The Hydrangea Set is only available on Scrapbook.com.  They now have five exclusive Ai flower sets.
I used just three colors of Tombow Dual Brush markers on all of the images.  I placed the stamp onto my stamp platform and colored directly onto the flower portion of the stamp with 703 pink and 636 Imperial Purple  markers and stamped it onto a piece of Strathmore 140 Lb. cold pressed watercolor paper. I then colored onto the leaf section of the stamp with 228 Gray Green and stamped it again.  I then spread the color around with my #4 brush and very little water.  Because the stamp was still on my stamp platform, I was able to add more color to any areas that didn't stamp properly.  I stamped the greeting with the purple marker.  Then I splattered the image with the purple and pink markers and edged them with the purple marker. I made one large piece for the front and four small pieces for the inside of the card.
I used the Amazing Paper Grace Elegant Swivel and Sashay Card Dies from Spellbinders to create the twist and pop element.  It was an easy way to make this fun element.  You can look it up on YouTube if you want to make this card without any dies.


Thanks for stopping by and Have a Great Day!

Thursday, January 16, 2020

Just a note to say hi

Hi Ai Fans!


This week I played with this fun Scrapbook.com exclusive stamp set Hydrangeas.  


I stamped the image onto white card stock with VersaFine black ink.  I scribbled the color from the water color markers onto my glass matte then color the image with a water brush


I fussy cut out the images and adhered them to the card with foam tape to add dimension. 


Happy stamping!


Monday, January 13, 2020

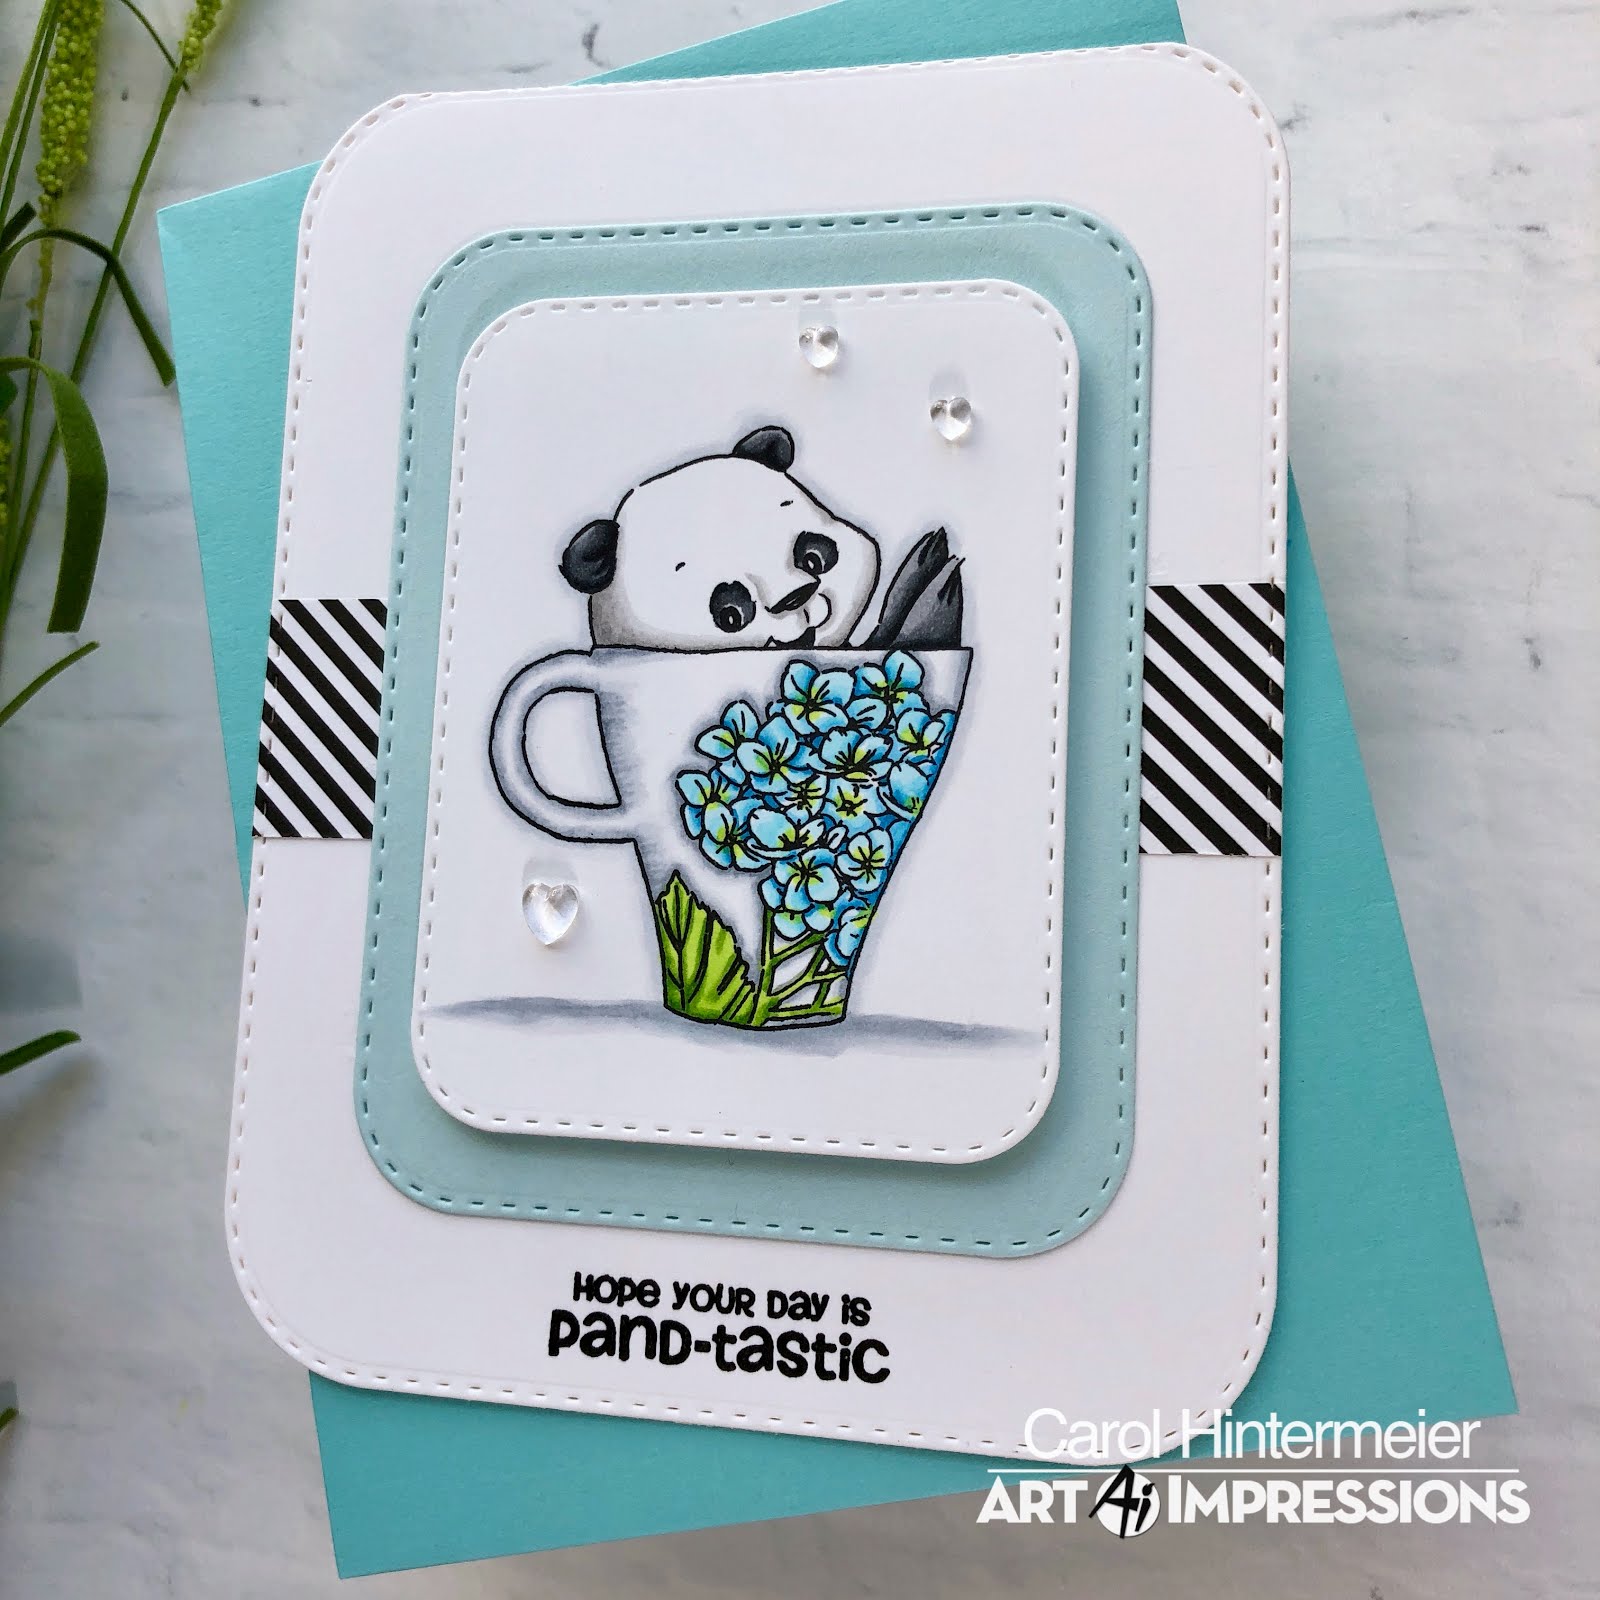
Hope Your Day is Pan-tastic by Carol Hintermeier

Hello Ai friends!  Today I have a sweet card using the Pand-tastic Set along with the exclusive Art Impressions and Scrapbook.com Hydrangeas set.  I love pretty coffee mugs and I decided to make this one with some pretty hydrangeas!


I started out by stamping the panda in the cup onto a Post-It Note and fussy cutting it out as the photos below show.  (The oval mask is there because I originally thought I might do a bit of inking, but changed my mind).  I then stamped the panda onto Neenah 80# card stock in Copic safe ink.  I placed the masks and stamped a portion of the hydrangea onto the cup.  I removed the mask and colored it all with the Copic markers listed below.


I used the Rounded Rectangle Double Stitched Dies to create my shaped card.  I took a top-folding A2 card base and placed the largest die over it with the top edge of the die just beyond the fold.  This way when you run it through your machine, everything cuts except for the very top edge.  Next I added a strip of black and white striped paper to the center.  I used some black ink and stamped the sentiment that's included in the set.


I adhered the layers to the card base.  I also added foam tape to the back of the main image and popped it up onto the blue panel.  I added a few crystal clear hearts to embellish it a bit.


I think this little panda is totally adorable and love how he looks in the pretty floral cup!  Thank you for stopping by today.  Have a wonderful, crafty week!


Copic markers:
B000, B00, B12, B14, C00, C1, C3, 
N2, N5, N7, N9, T0, T2, T3,
YG01, YG25, YG17

Tuesday, January 7, 2020

Poinsettia Thank You cards by Jil Lebel

Hello Ai fans!

Art Impressions and Scrapbook.com have joined up to create exclusive watercolor flower stamp sets.  So far, they have put out two sets, but they will be coming out with more set in the future.  I used the Poinsettia set along with the thank you from the Hydrangea set to make my Christmas Thank You cards.  I just love how they came out. These beautiful floral sets are only available at Scrapbook.com.
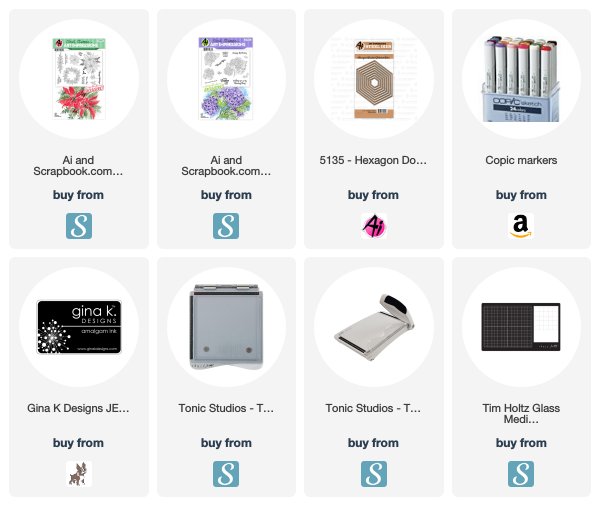
I started by stamping the image from the Scrapbook.com Exclusive Poinsettia Set onto Spectrum Noir Ultra Smooth paper with Gina K Designs Black Amalgam Ink and colored them with my Copic markers.  The colors used are listed at the end of this post. I then cut the image with the second largest Hexagon Double Stitched Die.  I cut the largest die out of matte gold paper and attached both to the card base with foam tape.  I used the BoBunny Father Christmas 6x6 paper collection on the card front.  I stamped the Thank you sentiment from the Scrapbook.com Exclusive Hydrangeas Set onto small piece of white paper and attached it over the colored image. 
Copic Colors Used:
Poinsettia - YR21, R81, R83, R85
Leaves - YG61, YG63, YG65
Sprigs - BG72
Berries - R05, R37, YG17

Thanks for stopping by and Have a Great Day!

Sunday, January 5, 2020

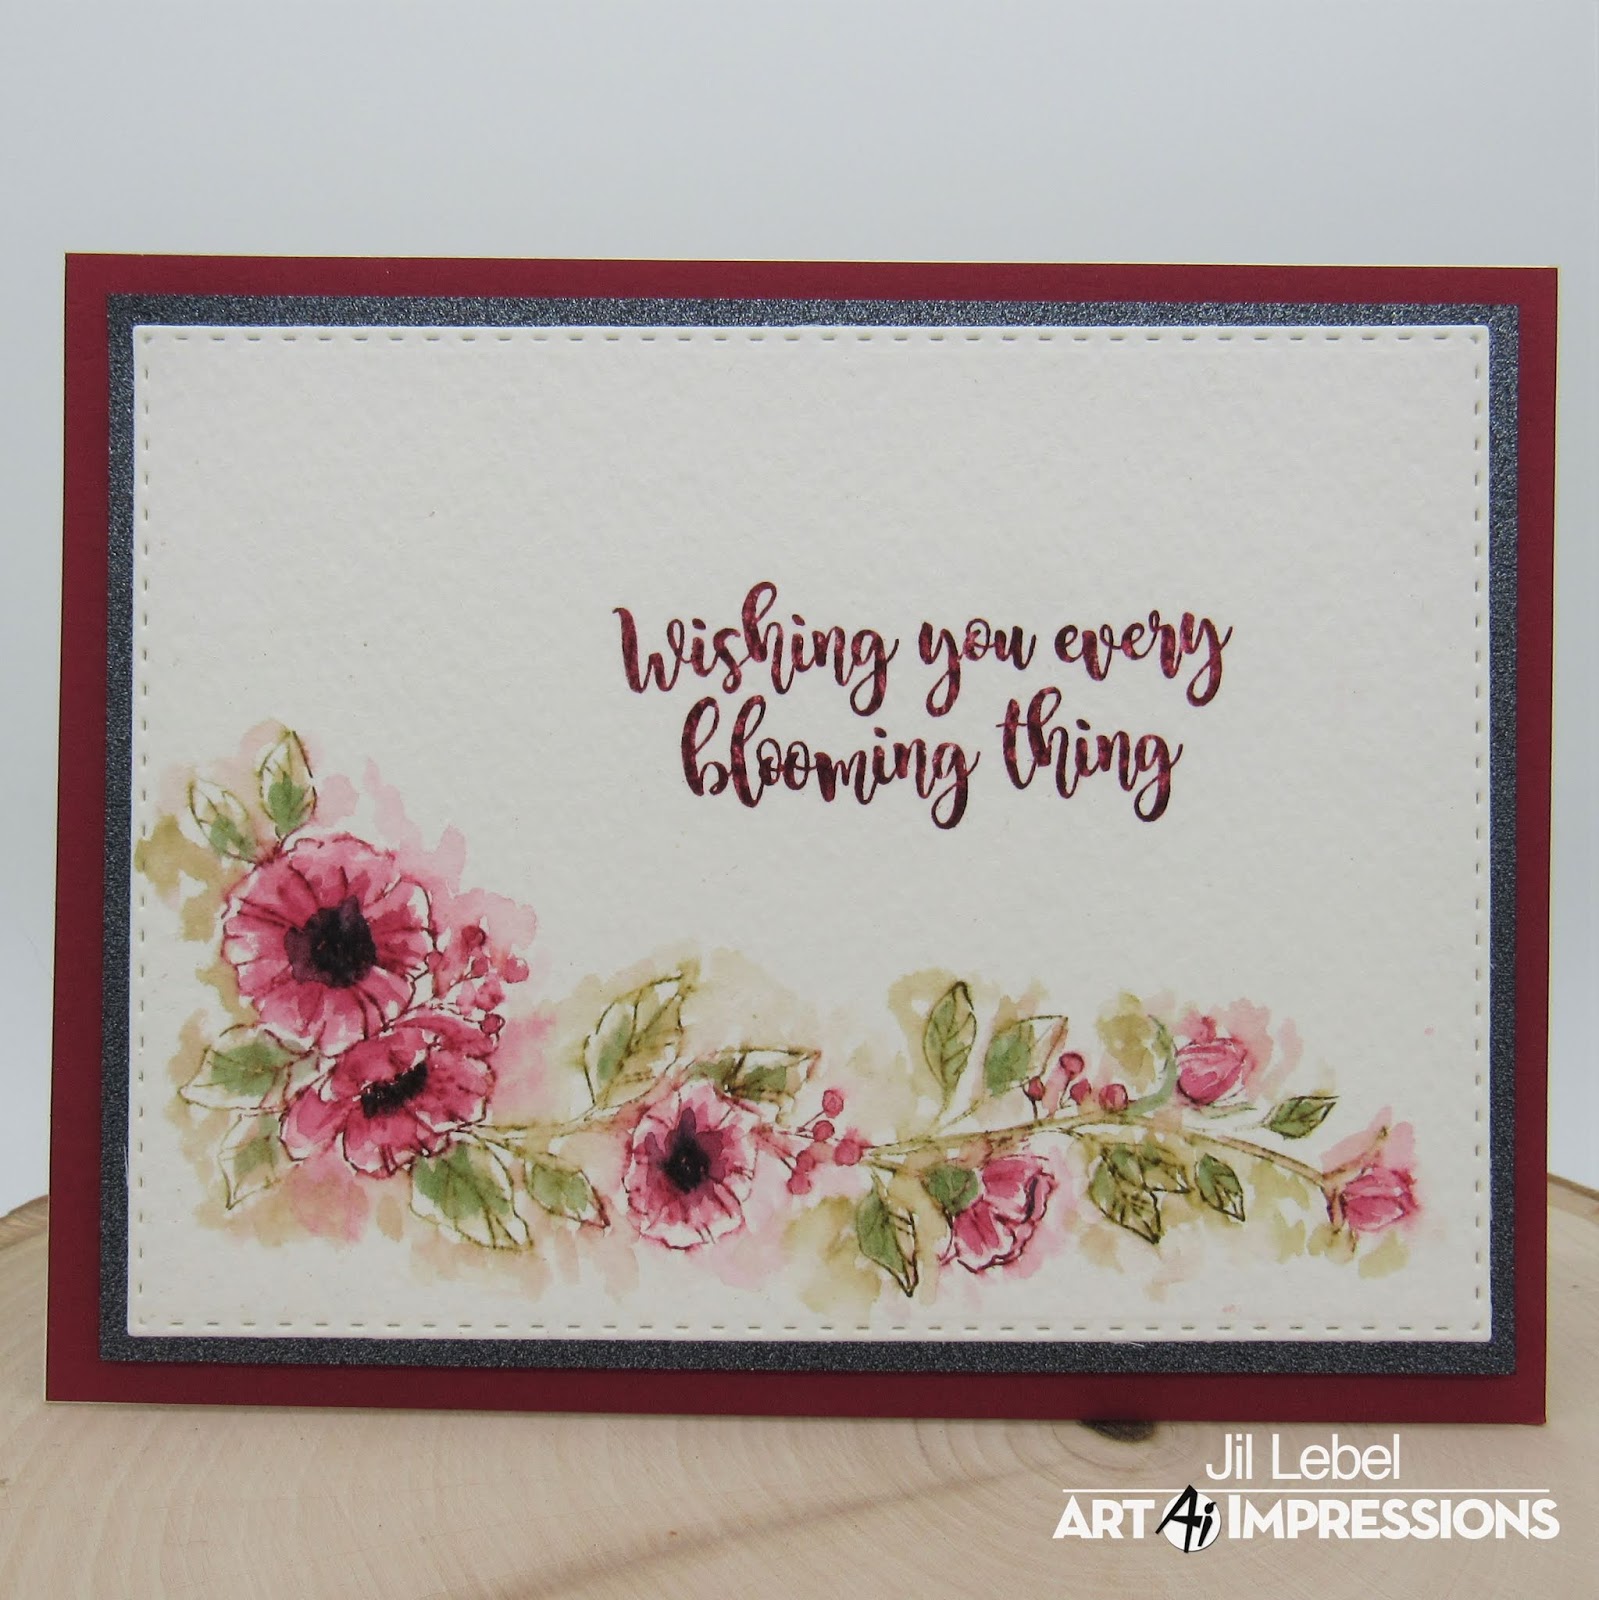
Wishing you every blooming thing in 2020! by ReneƩ Matarese

Hello Ai fans!

Today I'm sharing Art Impressions - Clear Photopolymer Stamp Set - Hydrangeas.  If you love flowers then you should follow this series.  Every two months there will be a new flower set released.


This is such a pretty set with 6 images and 6 verses.  It's very versatile and could be used for so many different occasions.
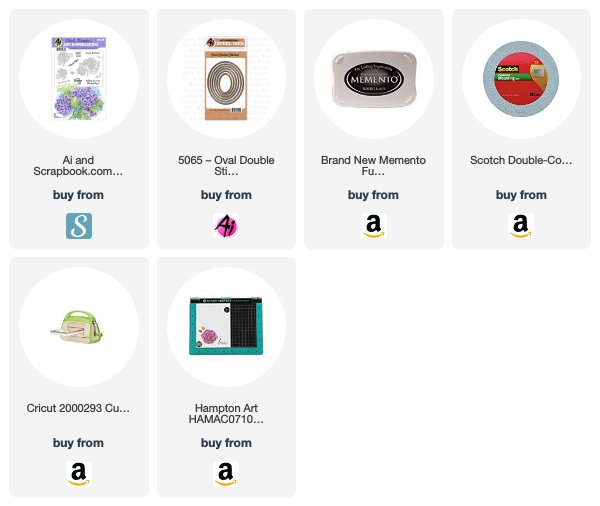
I used the 5065 – Oval Double Stitched Die from Art Impressions to frame the verse.


Happy New Year everyone!!
Happy Stamping in 2020!

Copics used:
YG41, YG63, B52, BV01, BV34


Saturday, January 4, 2020

Watercolor Weekend Roundup - Exclusive Hydrangea Set! Available Only at Scrapbook.com!


Hello, Ai Fans! Happy Watercolor Weekend!

If you loved our last feature with our Poinsettia Set, you are sure to adore our new Hydrangea Set, now available exclusively at Scrapbook.com! This 6"x 8" set is filled with a variety of hydrangea bunches and individual images, plus six sentiments to match! It is perfect to stamp with water-based ink to pull the color from the lines like our watercolor technique, or stamp with a permanent waterproof ink (like Staz-On) and watercolor. It can also be stamped and colored with your favorite coloring technique, be it colored pencils or markers, and looks fantastic embossed! This set is extra special because it is exclusively available at Scrapbook.com! Be sure to grab yours here (or sign up for notifications if it is out of stock!).

Without further ado, let's take a look at what our Watercolor Guest Design Team created with this stunning set!

Dot Freel - Instagram - Blog - Pinterest
Hello and Happy New Year!

I made this card with the 5229 - SBC Exclusive Hydrangeas Set created by Bonnie Krebs, owner/creator of Art Impressions Stamps for Scrapbook.com. I buy from them for many of my crafting supplies. I stamped and watercolored these hydrangeas like Bonnie showed us how on her Watercolor Wednesday tutorial. Check it out here. I also stamped a butterfly from the 5067 - Gates of Righteousness Set in N25 then I watercolored it with pink and purple. The sentiment is from the Hydrangeas set and I stamped it in Versafine black ink. I cut it out with the largest square die from the 5061 - Square Double Stitched Dies set. You can't tell from this picture but I also used my Sakura Glitter Gelly Roll pen to outline the sentiment then added glitter to the centers of the flowers and the butterfly.  It's so pretty in person.


Thank you for checking out my blog! You can find more of my cards on my Instagram account here. 


Karen Day - Blog - Facebook - Pinterest

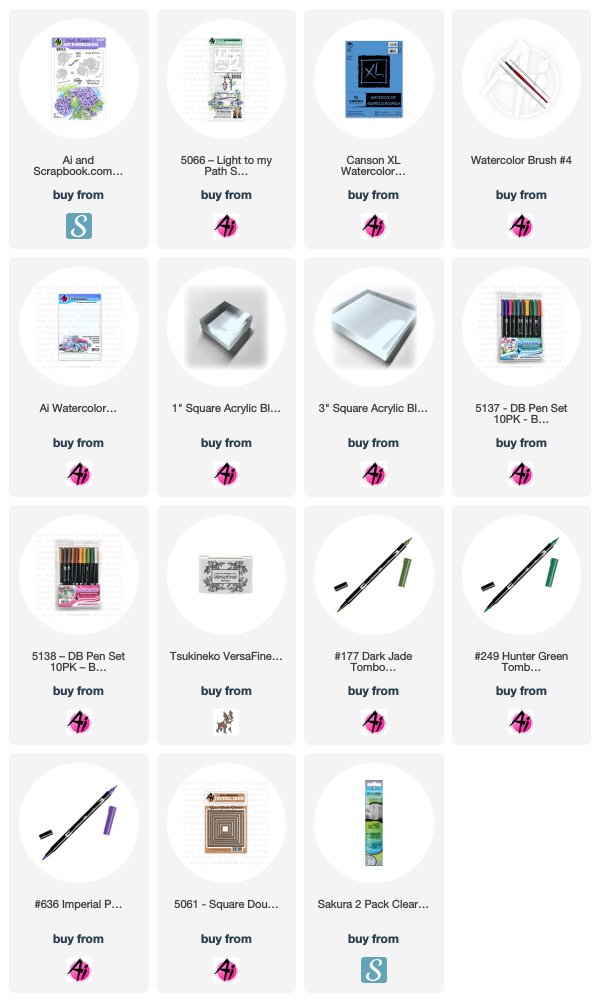
I started by putting some Bristol Smooth cardstock in my Misti, and put the largest image in as well.  I started by colouring directly onto the leaves of the image with my Tombow Dual Brush Marker in #126 Light Olive, and did the veins and base of each leaf in #177 Dark Jade.  After stamping it onto my cardstock, I was able to see any areas that I'd missed, or wanted to be darker, and (thanks to the Misti!) went over those areas again.  Without removing the cardstock from the Misti, I used my damp #4 paintbrush to pull out the colour, filling the leaves in with the #126, and using the #177 for shadows.   Once the leaves dried, I used #533 Peacock Blue to colour all of the blossoms, and stamped it several times, again making sure all of the areas were covered.  I picked up my paintbrush again to soften the lines and pull out the colour.  I scribbled my #565 Deep Blue marker onto my palette, and picked it up with a wet #1 paintbrush - and I used this to add dots to the middle of each bloom - this helped to define each blossom.  I also used the #565 to add shadows to areas where blooms were under leaves, or recessed behind others.  The shadows really help to make the image less 2 dimensional, and more realistic looking.  I mixed a bunch of the colours that were on my palette with water and used it to paint a wash around the image, then splattered a little black paint on the whole image.  After die cutting the image with the large rectangular die, I put it back in my Misti, picked one of the sentiments from the set, and stamped it in the top corner with Versafine Onyx Black Ink.  I mounted it on a periwinkle blue piece of cardstock that shows through the cutouts on the die, and then onto a piece of black. 


Tricia O'Bin - Blog - Instagram - YouTube - Pinterest - Facebook

I am so excited to share my projects this weekend using the new Exclusive Hydrangea set made by Art Impressions for Scrapbook.com.  This set is so awesome because you can literally use any medium to color these beautiful flowers.  I decided to use my Tombows to create some really cool layouts. I watercolored them and used several different watercolor techniques.
Project Details
To begin I placed a piece of 4.5 x 6 inch watercolor paper into the MISTI.  Next, I placed the large hydrangea stamp into the top right side of the watercolor paper.  This enabled me to turn my paper 180 degrees and stamp it again.
I inked the leaves with my 177-Dark Jade and the flowers with my 565 - Deep Blue and spritzed them lightly with water.  I stamped it down on the watercolor paper.  I re-inked any spots where I wanted the color to be a little darker and continued to stamp it until I was happy with the results.
Using my #1 watercolor brush, I started adding water to the leaves pulling the color of the lines.  In order to make the leaves a little more interesting, I added some 133-Chartreuse to my palette and added some additional color to the leaves.  
Next, I added water to the Hydrangea blooms using my #1 brush.  I really just jumped my brush around.  It was a really quick layout.
Card Assembly
To create the card, I cut my project out with the medium stitched rectangle die.  I added this to a Gina K Designs Christmas Pine mat cut down to 4 x 5.5 using Gina K Designs connect glue (my favorite!).  I then cut .5 x 3.75 inch piece of matching card stock.  I stamped the sentiment in versamark ink into the middle of the card stock (after using my embossing magic bag) and covered it with white embossing powder.  I heated the embossing powder with my Heat It Craft Tool.  I added it to the middle of my project piece using Connect Glue.  I added this piece to a side folding Neenah Solar White 110 lb card base.
I loved working with this set and created a lot more pieces just by spritzing my stamp with water.  This allowed me to get so many pieces without re-inking my stamp.  Check out my blog for more inspiration.
I hope you have gotten some inspiration this weekend and as always we look forward to seeing your projects.  Tag us on Instagram!  Use #AIWatercolor so everyone can see your beautiful cards!


WOW! We love the stunning dimension our team added to these beautiful florals!

If you love this set, you can hop over to Scrapbook.com to buy it, as it is only available at Scrapbook.com! 

Happy Stamping!