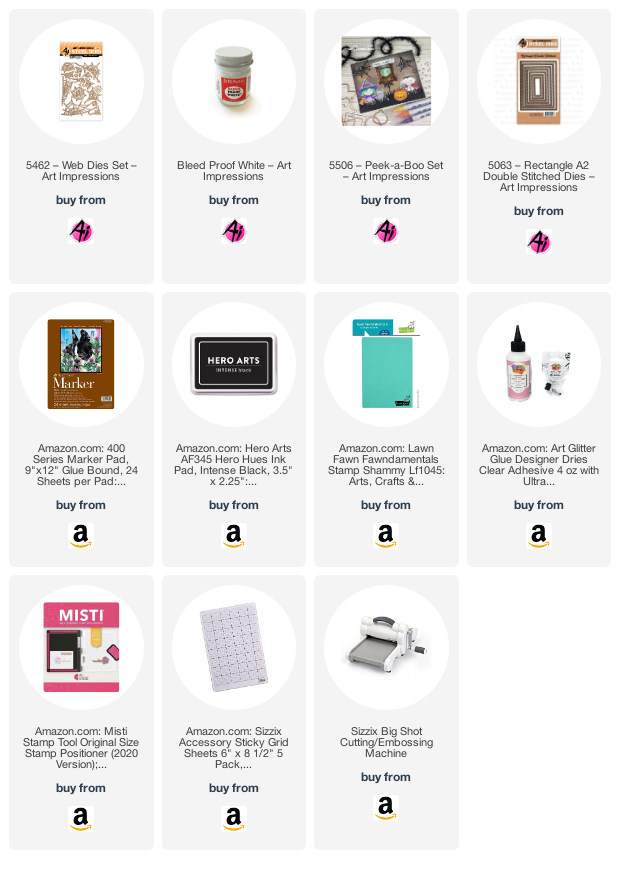
Showing posts with label Rectangle A2 Double Stitched Dies. Show all posts

Saturday, February 18, 2023

A Colorful Birthday Card with a Surprise Inside! by Janet


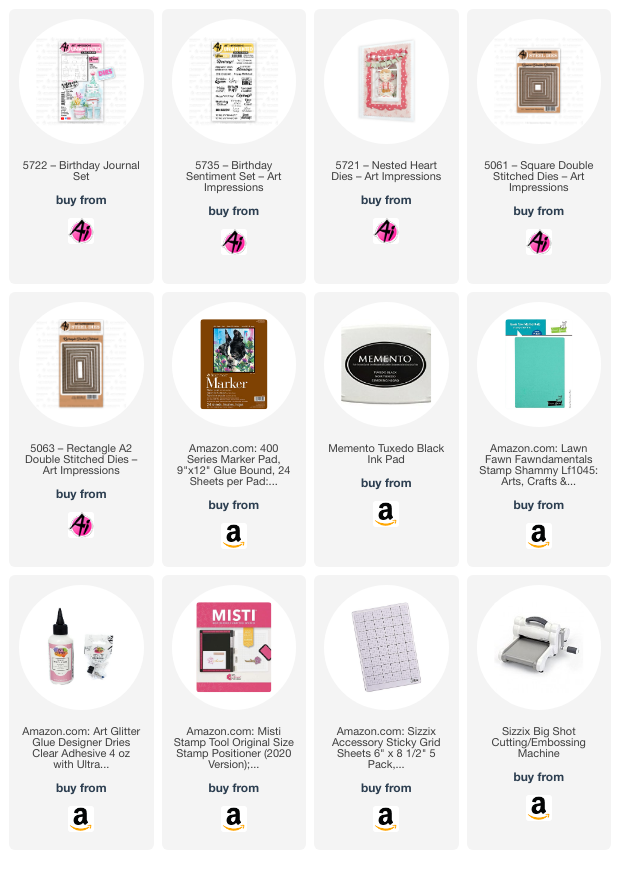
 Hello and happy Saturday! I am so excited to share this colorful birthday card with you. It features several of Ai's newest releases in the store. Here I'm featuring the new 5722 Birthday Journal Set which has stamps and dies with this adorable dog, yummy cake, and the pretty Celebrate word die. I just love the little dog's expression. He's so adorable!

To make this card, I started by using a 5063 Rectangle A2 Double Stitched Die to cut a mat for the card front. Then I used 5061 Square Double Stitched Dies to cut a window and a frame. I also used the new 5721 Nested Heart Dies to cut red and white heart shapes. I stamped, colored and cut the images out and placed them on the white heart. The smaller red heart is also from a die included in the heart die set. I placed the finished heart image over the cut window and secured it with glue where the heart overlaps the window. The stars are birthday table confetti shapes which I glued to the card using liquid glue.

The fun of this card is revealed when it's opened! There's a party in it! I colored and cut the cake, candles, balloons and banners from the Birthday Journal Set. It's so fun to see all of this inside the card. It's unexpected because you think you're seeing through the card because there's a window cut in it. It's all done by strategic placement so that none of the shapes show through the window. There are three super balloons in the 5722 Birthday Journal Set. You can cut these out of colored cardstock or you can color them. Either works well. The banner is also a lot of fun to work with. I made mine very colorful with several Copic marker colors. And how great is that cake? I love the height and size of it which is wonderful in a card but also in the journal pages. The sentiments in the card are from another new set of birthday phrases - 5735 Birthday Sentiments Set.


Thanks so much for stopping by today. I hope you are enjoying all the new releases. Visit the store to see everything that's new.

Wishing you a very crafty day!

Saturday, October 1, 2022

Frankly, I Think You're Awesome!

 If you're a fan of Halloween and over the top cuteness, then you will love the new 5506 Peek-a-Boo Set. The images in this set just make you smile.

This is a pop-up card style that creates lots of dimension but still allows the card to be flat and put in a card envelope. The minute the card comes out of the envelope, it pops up so that the background is about 1/2" from the front of the card. It's really cool in person because the webs and bats cast a shadow on the background. Sharon Caudle created a similar pop-up card style this past Thursday. We were inspired by Jennifer McGuire and her recent video showing this technique. The acetate window makes it a little hard to photograph without a lot of glare but I managed to get this view of it.

I inked up the A2 background panel using Oxide Inks in Wilted Violet with Black Soot on the edges. I added stars by splattering Dr. Ph. Martins Bleed Proof White ink on the panel. I cut an A2 sized front panel in black and cut a rectangle into the center of it it using the 5063 Rectangle A2 Double Stitched Dies. I cut the green scalloped frame and added it to the panel. I cut a slightly smaller acetate rectangle from recycled packaging and glued it to the back of the front panel. I used the 6452 Web Dies Set to cut several webs, pumpkin and spiders and glued them to the front panel. Then I attached the front panel to the back by creating accordion-style pop-up mechanisms on each side before connecting the front and back panels with the mechanism. The completed pop up piece was glued to the front of a black A2 card front. The result is a super pop-up card with absolutely no bulk. Here's a peak at the pop-up side mechanism from the side.

In this close-up you can better feel for the height and dimension this card style creates. The spider web and bat shadows are a neat effect.

I colored Frank, the Vampire and cat in the stamp set and cut them out. I also stamped and cut out the sentiment from the set. I arranged the pieces as shown and adhered them with liquid glue.

Thanks for stopping by today. Please visit the Ai Store and check out all the great fall and Thanksgiving sets available.

Wishing you a very crafty day!

Janet Facebook Instagram - YouTube - Pinterest   

Saturday, January 22, 2022

Work Out Interactive Card by Janet
 

Greetings Ai Fans! Today is day 3 of the Shimmy and Shake Challenge on our blog. This challenge is right up my alley. I love making interactive cards. Today I used a Wheelie set 5095 - Workout Gal. Isn't she as cool as a cumber? I love that she's drinking wine instead of water and that she's all glammed up instead of sweated up. Wish all of us could look that good when we're getting in shape!

There are 4 Wheelie cards in the line and you can find them in the store here. They all work identically. They use a mechanism that turns using a tab which moves the character's leg around the wheel of a bike. The turn mechanism goes inside the card and is made of cardstock so it lays flat when the card is closed. It's genius! The inside of my card with the mechanism is shown below.
 

To make this one, I stamped the image on to a piece of alcohol ink friendly cardstock with Memento Black Tuxedo ink and then cut it out using the second largest Rectangle A2 Double Stitched die. I used the largest die in the set to cut a coordinating piece of patterned paper for the mat and set it aside. Separately I stamped the leg pieces, tire, mechanism circle and the hand weight. I also cut the tab for the mechanism using the included die. 

I colored this image with Copic markers. The set comes with the weight so I used it to accent the included sentiment. I stamped it on rose colored shimmer metallic cardstock and then cut it using a flag from the Flag Double Stitched Dies. I do like using coated cardstocks but just remember that you need to use a permanent ink such as StayzOn unless you can let it dry for several hours. I don't have the patience for that so my go-to ink in this case is StazOn Jet Black ink. 

Next I followed the directions in the packaging to attach the leg pieces with brads. After that, I attached the two rectangles together and attached this to the card front being careful not to apply glue where the mechanism would be. This allows the brad attaching the leg to the body to be sandwiched between the image panel and the mat, hiding it from view. You do need to make sure you don't glue around that area and that your brad is loose enough to turn. I glued the mat and image to the front of  pale pink #110 cardstock. The last step is to die cut a circle in the middle of the tire and the card base. Then follow the instructions to connect the very simple mechanism. Test it out to make sure you can turn the mechanism and that the leg moves on the front of the card. Walla!

Copic Colors Used:
R20, R24, R29, R39, RV21
E000, E00, E21, E11, E04, R20
C0, C1, C3, C5, C7


Thanks for stopping by today. Please join us in our new challenge. You might win some swag of your choice and challenge yourself with a new technique. Win, win! Click on the graphic above to link up your card.

Happy Creating!

Janet YouTube - Blog - Facebook - Instagram - Pinterest

Monday, November 1, 2021

Full Moon Window Card by Bri Firth

Hello Ai Fans - Bri Firth here! Even though Halloween was yesterday, I wanted to share one more card featuring the new Spooky Window set. This project is also purrfect Ai's current challenge theme, Feline Crazy. For more details on this week's challenge click here


I colored the Spooky Window scene with my Copic markers. I wanted to incorporate as many Fall colors as I could with this frightful scene. I think my favorite part of this scene is the yellow full moon. 

I used the ShadowBox Window die set to create the black window frame on the card front. This die set also includes the "Hello" word die that I attached to the front of this card. To finish decorating the card front, I used coordinating Halloween papers to create the matted layers. 


Check back next week for more Ai inspiration made by me!

Tuesday, October 19, 2021

Halloween Pumpkins Card by Jil Lebel


Hello Ai fans!
I used the Halloween Slimline stamp set to make an A2 card.  I want everyone to see that these images are perfect for slimline cards and still work well on a standard A2 card.  
I started by stamping the images onto Spectrum Noir Ultra Smooth card stock with Gina K Black Amalgam ink and colored them with Copic markers.  The colors I used will be listed at the end of this post.  I then cut the images out with the matching dies that come in the set and set them aside.  I stamped the greeting onto a piece of white card stock using Versafine Clair Nocturne ink. 
To finish the card I cut layer of teal decorative paper as well as a slightly larger silver layer using the Rectangle A2 Dies.  I attached them to a card base made from Kraft card stock.  The Halloween greeting from the Halloween Critters set. It is cut out using the smallest die from the Slimline Die Set.  I attached the image and the greeting to the card with foam tape. 


Copic Colors Used:
Fox - YR18, YR14, YR12, YR00, YR000
Owl - E74, E71, E70
Mouse - E31, E30
Raccoon - C7, C5, C3, C1, C0
Wagon - BG49, BG13, BG11
Orange Pumpkins - YR18, YR15, YR12
White Pumpkin - W3 E41, E40
Green Pumpkin - G85, YG63, YG61, YG21
Pumpkin Stems - E37, E35


Thanks for stopping by and Have a Great Day!

Monday, September 20, 2021

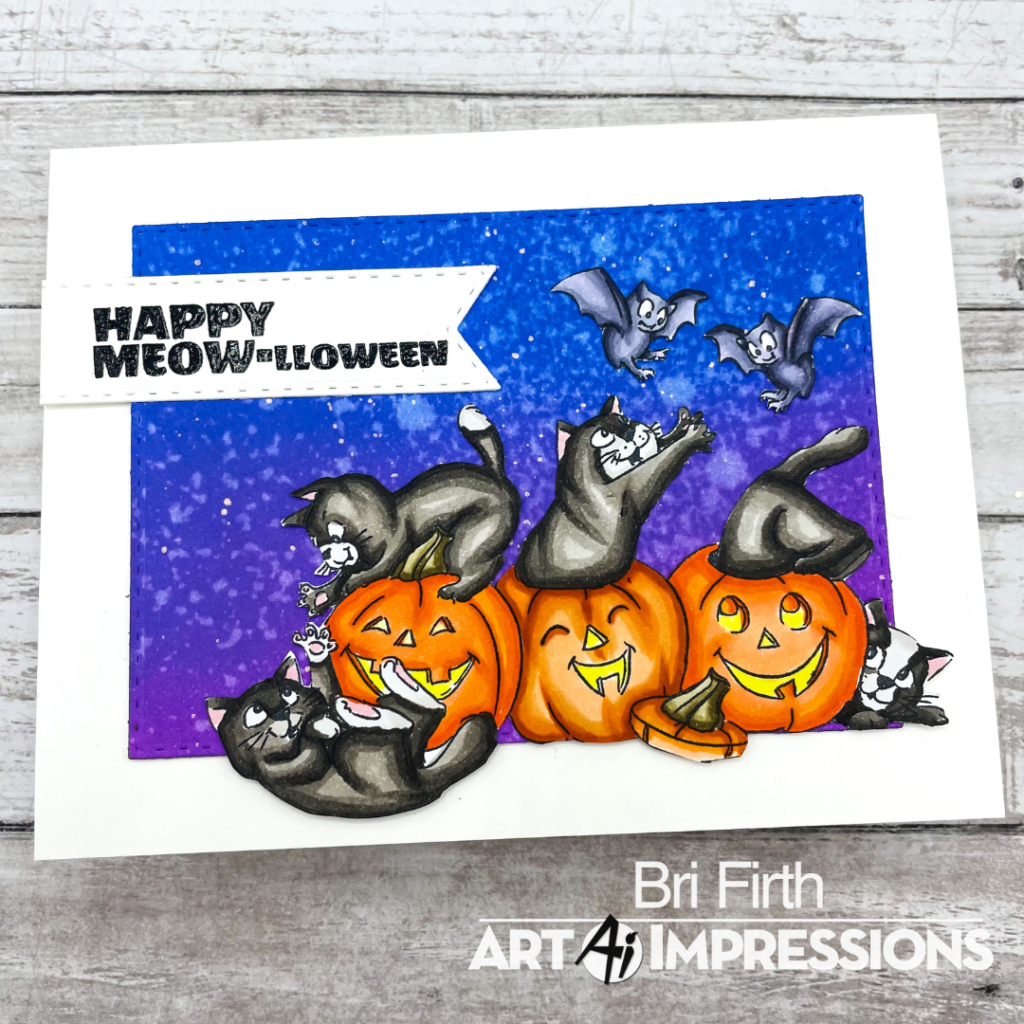
Happy Meow-lloween Card by Bri Firth

Hello Ai Fans - Bri Firth here! Today, I am sharing a spooky card design featuring the Meow-lloween Set. This project is perfect for Ai's current challenge, "Going Batty". Also, this Halloween card is featured on my personal blog today, check it out here

First, I die cut a stitched rectangle panel from the Rectangle Double Stitched dies set and ink blended over it with Wilted Violet and Blueprint Sketch Distress Oxide inks. I used gold paint and the splatter technique to add some shimmer to the ink blended background.

I colored the images with my Copic Sketch markers. The colors I used are listed at the end of this post.

To finish this card front, I stamped the sentiment in pigment black ink into a stitched flag die cut from the Flag Double Stitched dies set. I heat embossed the sentiment with clear embossing powder.
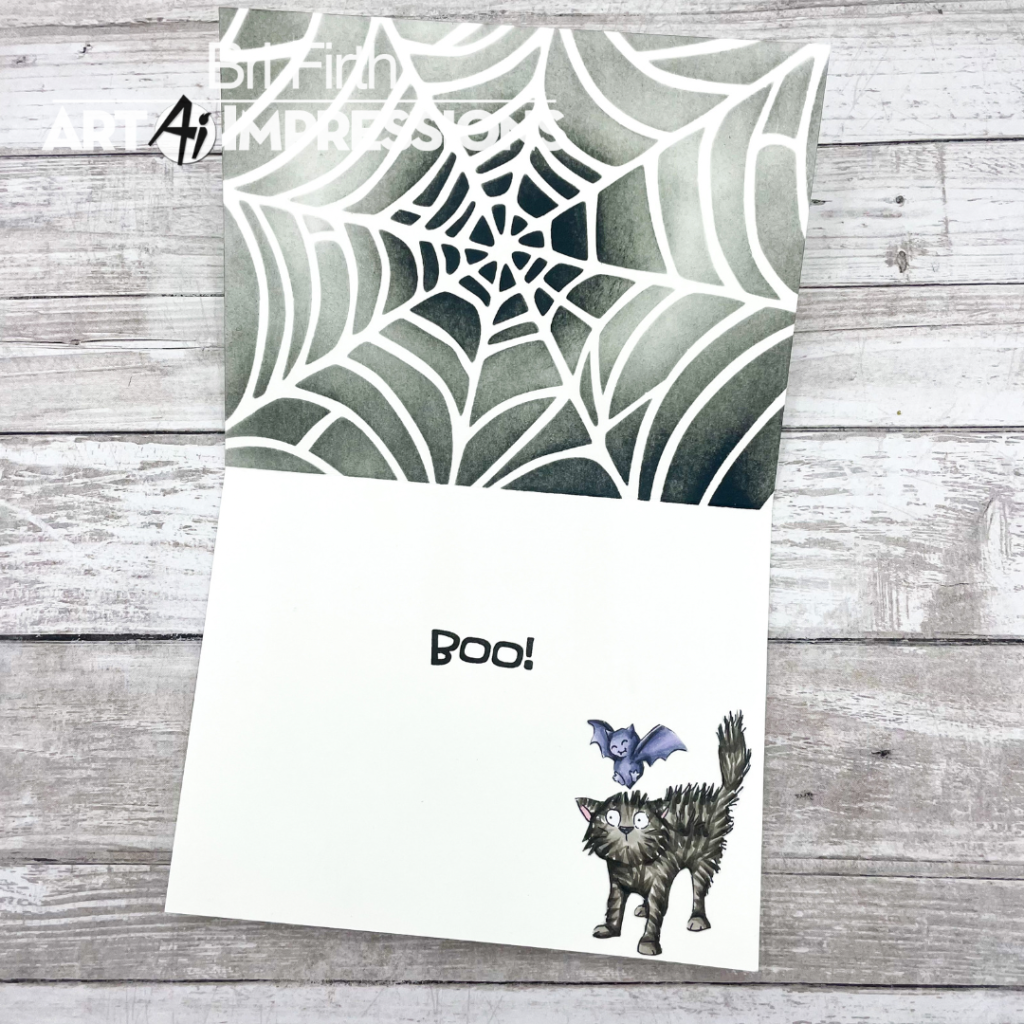
I decided to decorate the inside of this card as well to make this card extra batty! I used a Spiderweb Stencil with Black Soot Distress Oxide ink to decorate the top panel. I stamped the "Boo" sentiment and colored the spooked critters on the bottom panel.

Check back next week for more Ai inspiration made by me!

Ai Products Used

Copic Coloring
Bats: BV20, BV23, BV25, BV29
Cats: W9, W7, W5, W3, W1, RV11
Middle Pumpkin: YR18, YR16, YR12, YR00, Y00, E81, E84, E87
Outer Pumpkins: YR09, YR07, YR04, YR02, YR00, Y00, E81, E84, E87 

Monday, July 26, 2021

Birthday Pheasant by Bri Firth

Hello Ai Fans - Bri Firth here! Today, I am sharing an elegant card design featuring the Miss Set by Art Impressions. The Miss Set is part of Ai's Hats Off collection. Check out the all of the 2021 releases here. This card is featured on my personal blog today, check it out here


I decided for this wacky birthday card to pair the adorable woman with the pheasant hat and the coordinating sentiment. I colored the woman and her hat with my Copic markers. I used the Foliage Leaves stencil to coordinate with the bird theme and to make a feather-like background on the card front and stitched oval. I used Fired Brick and Peacock Feathers Distress Oxide inks to ink blend with the stencil. I used Vintage Photo Distress ink to stain the edges of the edge cuts. To finish the card I added coordinating enamel dots.


Check back next week for more Ai inspiration made by me!

Ai Products Used:

Miss Set

Oval Double Stitched Dies

Tuesday, January 19, 2021

Java Gift Card Holder and Card by Jil Lebel


Hello Ai fans!
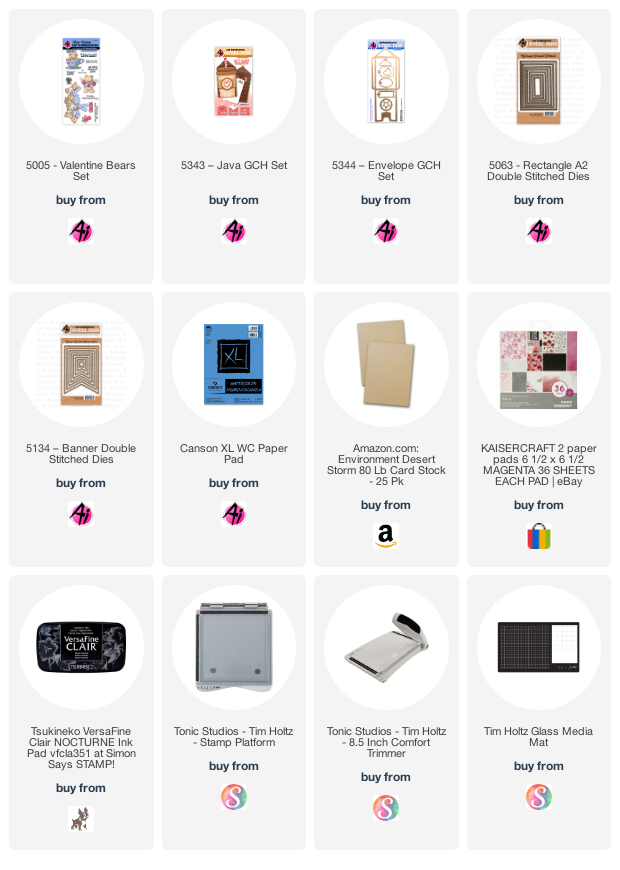
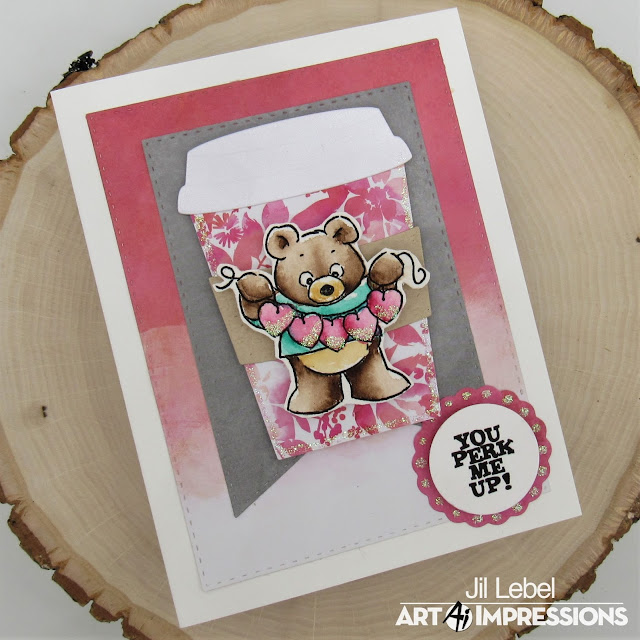
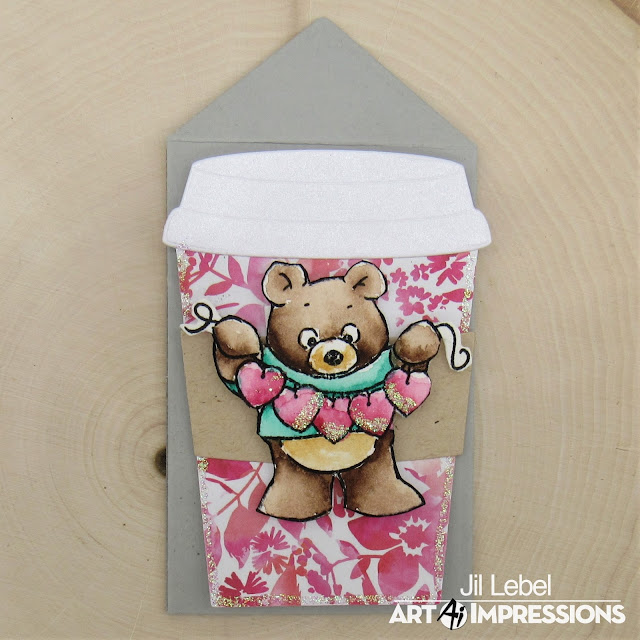
I used the Java Gift Card Holder and the Valentine Bears stamp set to make a card and a gift card holder.  The Gift Card Holder series is great because they look great on a card.
I started by stamping the images onto Canson XL Watercolor paper with Versafine Clair Nocturne ink and colored them with Daniel Smith watercolors.  I then cut them out. I also stamped the sentament and cut it out with the circle from the gift card holder set.  
 I cut out the coffee cup with paper from the Kaisercraft Magenta 6"x6" paper pad.  I cut the lid from white sparkle paper.  The band of the cup is cut from Kraft cardstock.  Once everything was cut, I put the coffee cup together with glue and added the bear with foam tape. For the gift card, I cut out a gray piece of cardstock with the Envelope Gift Card Holder die and attached one of the coffee cups to it.  I cut an ombre layer from the patterned paper using the A2 Rectangle Double Stitched Dies.  I also cut a piece of gray paper with the Banner Double Stitched Dies.  I attached those pieces and a coffee cup to an A2 card.  The final touch ws to add some Crystal Stickles to the coffee cup and greeting.


Thanks for stopping by and Have a Great Day!


Tuesday, January 12, 2021

Birdhouse Cubbie Card by Jil Lebel


Hello Ai fans!
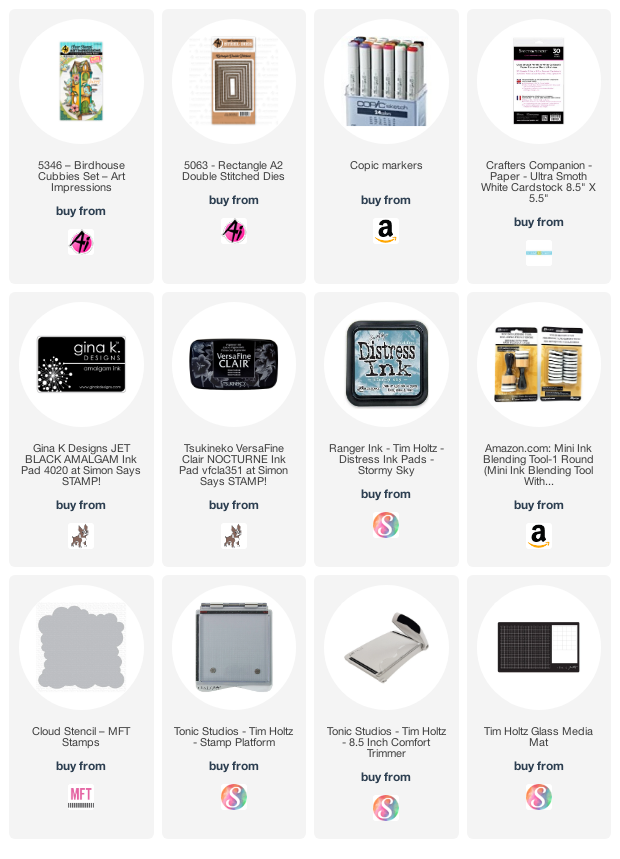
I used the Birdhouse Cubbies stamp and die set.  I love that the birdhouse is interactive with opening doors. It was really fun to color the birds in rainbow colors.  Do you have a favorite color for birds?

I started by stamping the images onto Spectrum Noir Ultra Smooth card stock with Gina K Black Amalgam ink and colored them with Copic markers.  The colors I used will be listed at the end of this post.  I then cut the images out with the matching dies that come in the set. I used the MFT cloud stencil with Stormy Sky Distress ink to make the cloudy background.  I attached the house and birds with foam tape.
Copic Colors Used:
Red - R32, R35, R37, R39
Orange - YR000, YR02, YR07, E15
Yellow - Y11, Y15, Y17, E15
Green - YG03, YG62, YG67, G99
Blue - BG000, BG01, BG05, BG99
Purple - V000, V01, V04, V06, V09
Brown - E31, E33, E35, E37
Gray - C0, C1, C3, C5

Thanks for stopping by and Have a Great Day!

Tuesday, December 15, 2020

Christmas Mailbox Card


Hello Ai fans!
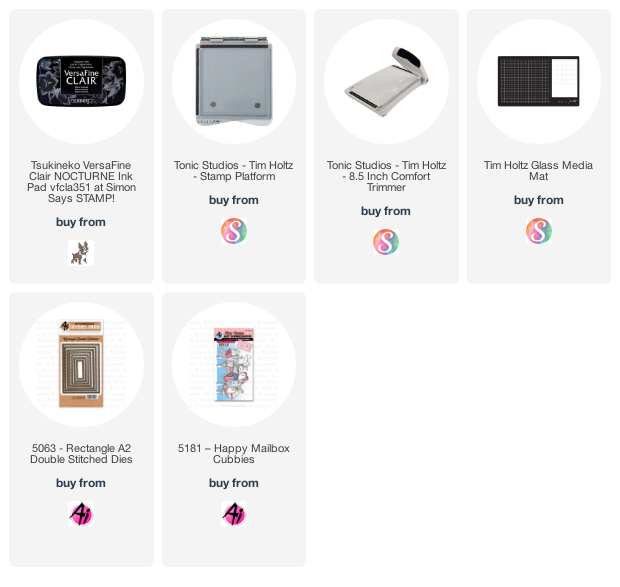
I used the Happy Mailbox Cubbies stamp and die set to make a Christmas card.  I have been meaning to try it for a while.  I miss seeing snow, so I had to add some snow to the card.
I started by stamping the images onto Canson XL watercolor paper with Versafine Clair Nocturne ink and painter them with Daniel Smith watercolors.  I then cut the images out with the matching dies that come in the set. 
I cut an Rectangle A2 Double Stitched rectangle from the Lawn Fawn Perfectly Plaid Christmas paper and attached it to a pearl A2 card.I colored a piece of cardstock with a light layer o Tumbled Glass Distress ink with a Mini Ink Dabber.  I also cut it out with the Rectangle A2 Double Stitched Dies. I attached the images over the background being sure not to glue down the doors that open.  I generously splattered the entire card with white paint. I stamped the greeting into the upper left corner with Versafine Clair Nocturne ink. 

Thanks for stopping by and Have a Great Day!


Friday, June 5, 2020

Frogs and Greenery Wreath | By Jessica Shier
Hello Ai fans!
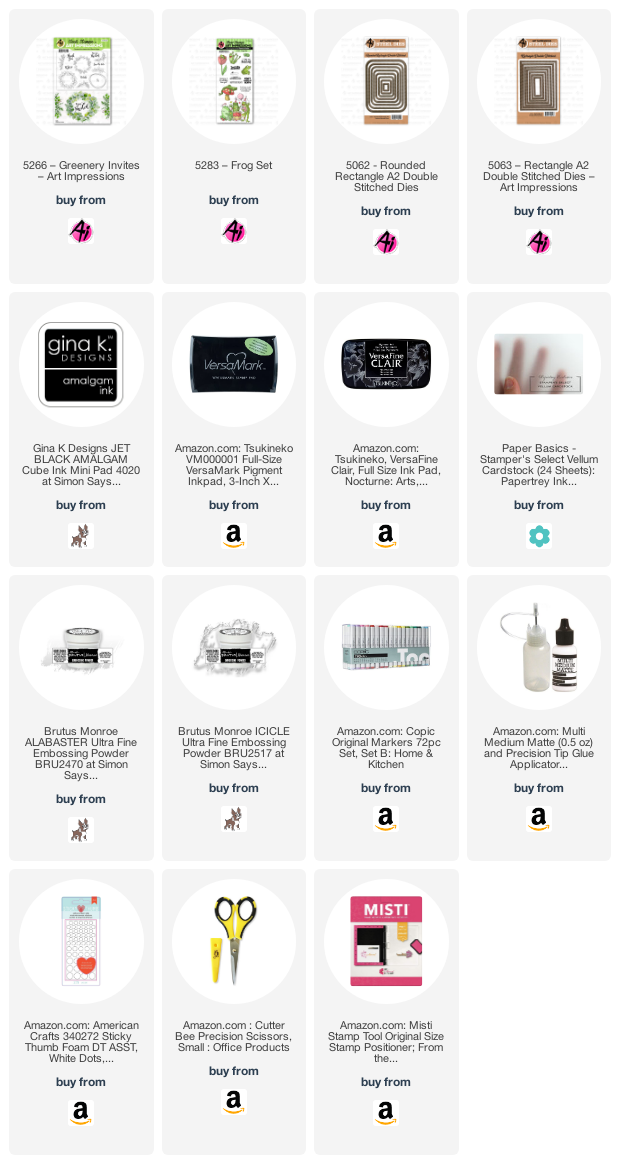
It's Jessica on the blog today and I have a cute little mash up card design using the Greenery Invites and Frog stamp sets. If you haven't checked out the new challenge for this week head on over and see what Niccole created. The challenge prompt is animals and nature, I hope this card gives you some inspiration to participate in the challenge!


These stamps do not come with dies so I did fussy cut everything. It really didn't take long! I stamped the frogs and greenery wreath on to Neenah 80lb Solar White card stock. I used Copic markers to color these images in. The Copic list is down below. 


After fussy cutting my images I also did some embossing with embossing powder. I used clear embossing powder on the corner foliage after die cutting a piece of blue card stock with the second to largest Rounded Rectangle die. I also used clear embossing powder on the fly. This time stamping that image onto vellum with Versafine Clair Nocturne ink and then embossing. The last thing I embossed was the sentiment, no surprise I used white embossing powder on black card stock. 


For the inside I used the "thank you" sentiment ( I love the font ) and the circle scribble from the Greenery invites. I also stamped the little fly form the Frog set again. I love how this turned out and I had a blast using both of these fun stamp sets together.


Thank you so much for joining me today! Happy Stamping. 


Tuesday, April 21, 2020

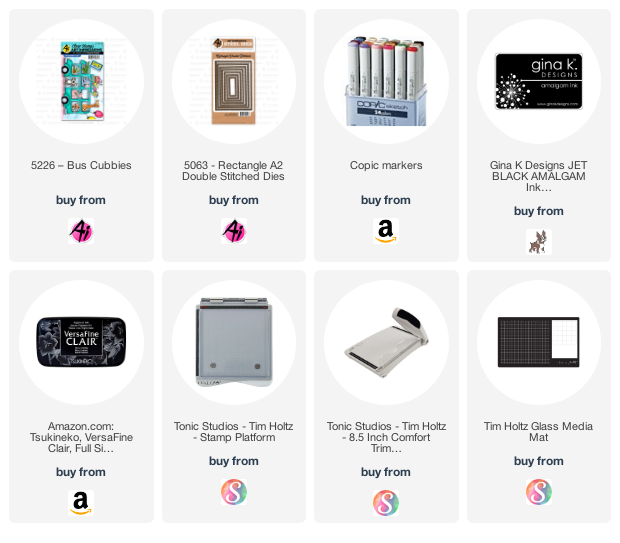
Bus Cubbies Slider Card by Jil Lebel

Hello Ai fans!

I used the New Bus Cubbies Stamp Set for this fun Birthday card.  I combined it with a slider die to make it interactive.
I started by stamping the images onto Spectrum Noir Ultra Smooth paper with Gina K Designs Black Amalgam Ink and colored them with my Copic markers.  The colors used are listed at the end of this post. I then used the matching dies from the set to cut out all of the images. I placed a piece of decorative paper behind the bus and added all of the cute animals in the windows.
I used the Spellbinders Festive Wreaths Slider die to cut a piece of paper from the Pink Paislee Birthday Bash 6" x 6" patterned paper.  I also cut it with the Rectangle A2 Doublke Stitched Dies and taped the paper together. I attached the paper to a piece of 80 Lb. white card stock that was cut with the slider die. I attached it to a white A2 card.  I stamped the greeting onto the card front where the image lifts up.  The last thing I did was attach the bus to the front of the slider with foam tape.
Copic Colors Used:
Elephant - C1, C3, C5, RV21, RV13
Flamingo - RV00, RV13, RV21
Koala - E11, E43, E44, RV00, RV13
Turtle - YG03, YG05, YG09, YG95, YG97, YG99
Monkey - E31, E34, E35, RV13
Alligator - YG03, YG05, YG09
Giraffe - E31, E34, E44
Bus - YR15, Y38, YR24
Tires - C1, C3, C5, C7


Thanks for stopping by and Have a Great Day!