Showing posts with label #4 Brush. Show all posts

Tuesday, August 25, 2020

Freebie Stamps Fish Tank Card by Jil Lebel


Hello Ai fans!

I used the Greenery Invites stamp set with the Freebie Puffer and the Freebie Seahorse stamps to make a fish tank card. I think it would be fun to do this with any of the freebie stamps that get sent with an Ai order right now.
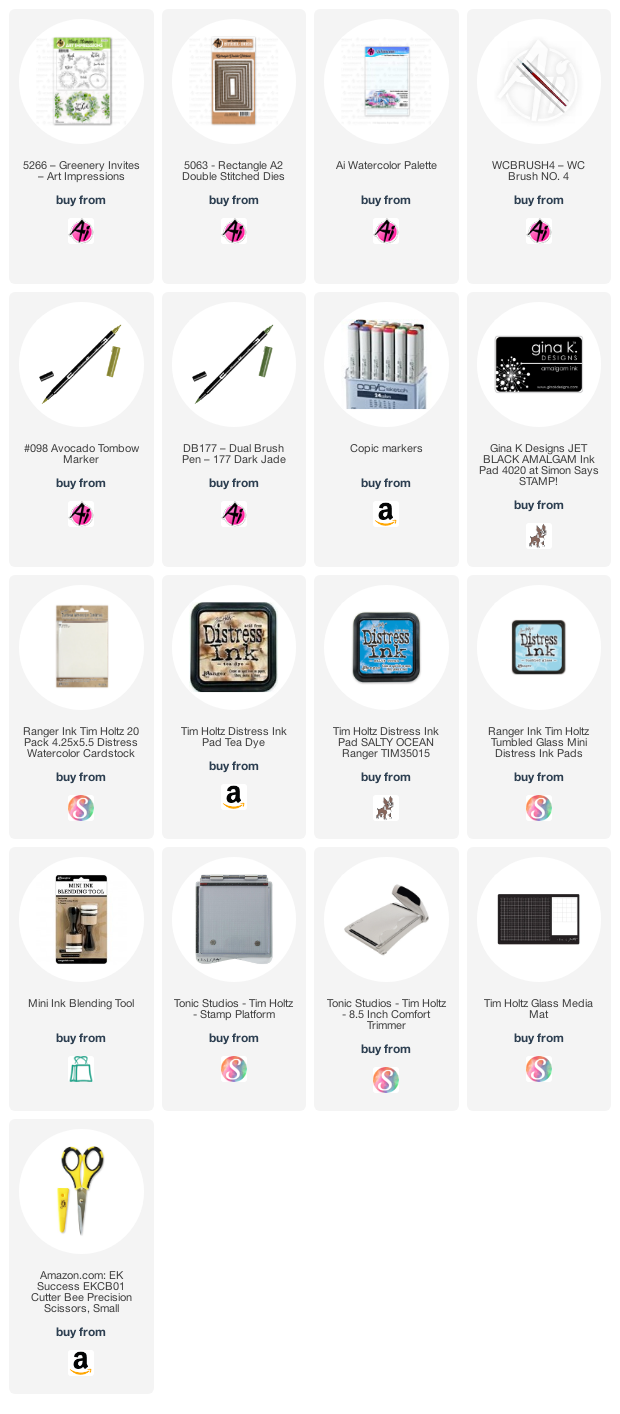
I ink blended the background with Distress Ink onto a piece of Tim Holtz watercolor paper. I made a stencil by cutting some waves onto a piece of paper.  Then I stamped the two images from the Greenery Invites set with Leaf Green Archival ink.  I used water and my brush to bleach out the insides of the leaves.  I then colored them using Tombow Dual Brush Markers.  I scribbled 098 Avocado and 177 Dark Jade markers onto a palette and painted them onto the image from there. I used Perfect Pearl colored Perfect Pearls Mist and splattered it all over the card.
I stamped the Freebie images onto Spectrum Noir Ultra Smooth card stock with Gina K Black Amalgam ink and colored them with Copic markers.  The colors I used will be listed at the end of this post.  I then cut the images out with my scissors. I cut a frame from black paper using the A2 Rectangle Double Stitched Dies.  I attached it over the blended background.  I attached my colored images to the card and used foam tape to attach the panel to a white A2 card.
Copic Colors Used:
Teal - G00, BG13, BG75
Orange- Y11, Y15, Y17
Mouth - RV02

Thanks for stopping by and Have a Great Day!

Tuesday, August 18, 2020

Lovable Animals Birthday Cards by Jil Lebel


Hello Ai fans!

I used the Lovable Animals stamp set to make several cards. I love that this stamp set imcludes the matching dies.  It makes it very easy to make several cards

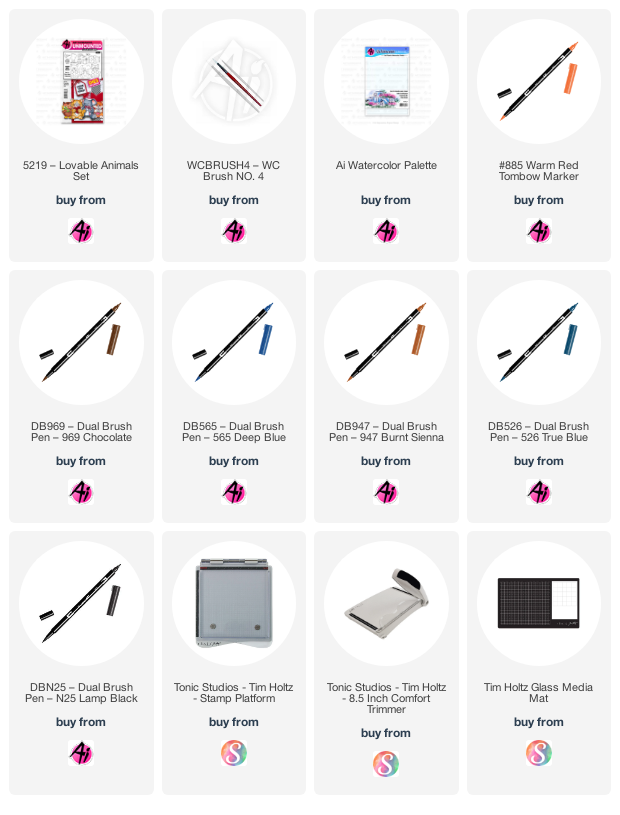
I started by stamping the images onto Canson XL watercolor paper.  They were inked up with Tombow Dual Brush markers.  I then colored them in using the same markers and a #4 brush. I will list the colors used under each image.   I then cut the images out with the matching dies that come in the set. I followed the colors Bonnie gave us on her Watercolor Wednesday on YouTube. I used the Bo Bunny Early Bird 6" x 6" paper collection.
Owl:
N25-Lamp Black + 947-Burnt Sienna, 526-True Blue, 965-Dark Brown, 885 Warm Red
Cat:
969-Chocolate + 565-Deep Blue, N25-Lamp Black, 885-Warm Red
Elephant:
N25-Lamp Black, 526-True Blue, 885-Warm Red
Fox:
965-Dark Brown + 565 Deep Blue, 947-Burnt Sienna, 885-Warm Red

Thanks for stopping by and Have a Great Day!

Monday, August 10, 2020

Cards for Kindness Challenge - Roses for Kindness by Bri Firth

Hi everyone! Today I am sharing my creation for my first Art Impressions Challenge as part of their wonderful design team. Art Impressions is partnering with Scrapbook.com for their event, Cards for Kindness. For more information on this event check out the details here

For this event they request you mail in a minimum of 10 cards so I wanted to make a card design I could duplicate easily. For my challenge project I used the Exclusive Rose stamp set available on the Scrapbook.com website. I love "thinking of you" cards because they are great for variety of occasions.

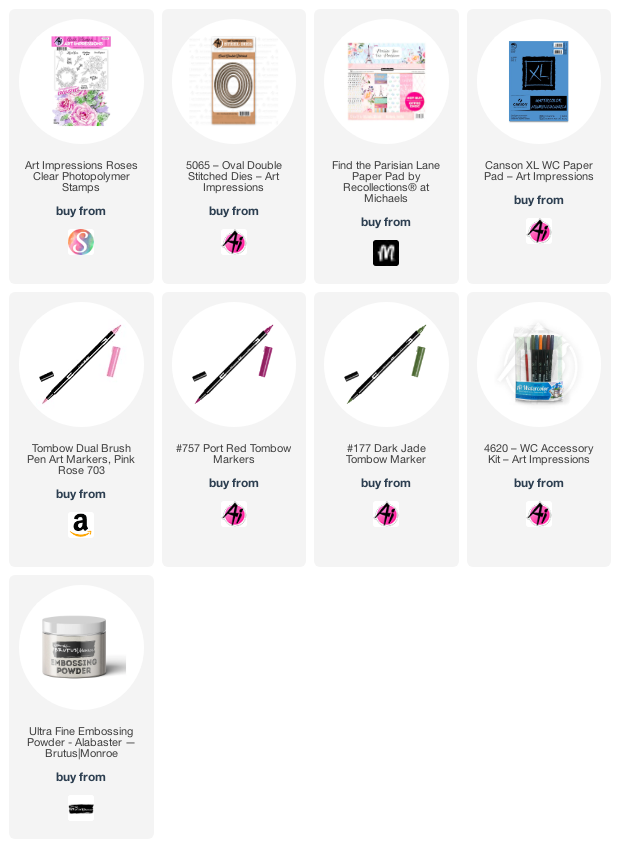
First, I used the Oval Double Stitched Dies to die cut oval shapes out of Canson watercolor paper. I then used my Misti stamping platform and Tombow Dual Brush Markers to color and stamp the rose image onto all of the ovals. I used a waterbrush to spread the color throughout the rose stem images.

For the card background I used a piece of 4" x 5.25" floral cardstock. By trimming the floral cardstock to those dimensions I was able to create a card background for 12 cards out of two pieces of 12" x 12" cardstock! I finished the card background by double matting the floral cardstock with different shades of green solid cardstock.

Next, I heat embossed the "thinking of you" sentiment with white embossing powder. Then I added the rectangular sentiment strip to the card. Finally, I finished the card by attaching the watercolored oval image to the card front.

Thank you for stopping by the blog today. Check back next week for more of my creation inspiration!


Tuesday, July 7, 2020

Blossom Border Card by Jil Lebel

Hello Ai fans!

My friend Char had a birthday last week. I used the Blossom Border stamp set to create this clean and simple Birthday Card. 
I started with a piece of white cardstock and some washi tape.  I added the washi tape onto my cardstock using the grid on my glass mat.  I then added Antique Linen Distress ink with a mini ink blender.  I removed the washi tape to reveal a striped background.  I then cut out a heart using a die from the Lovable Animals set.
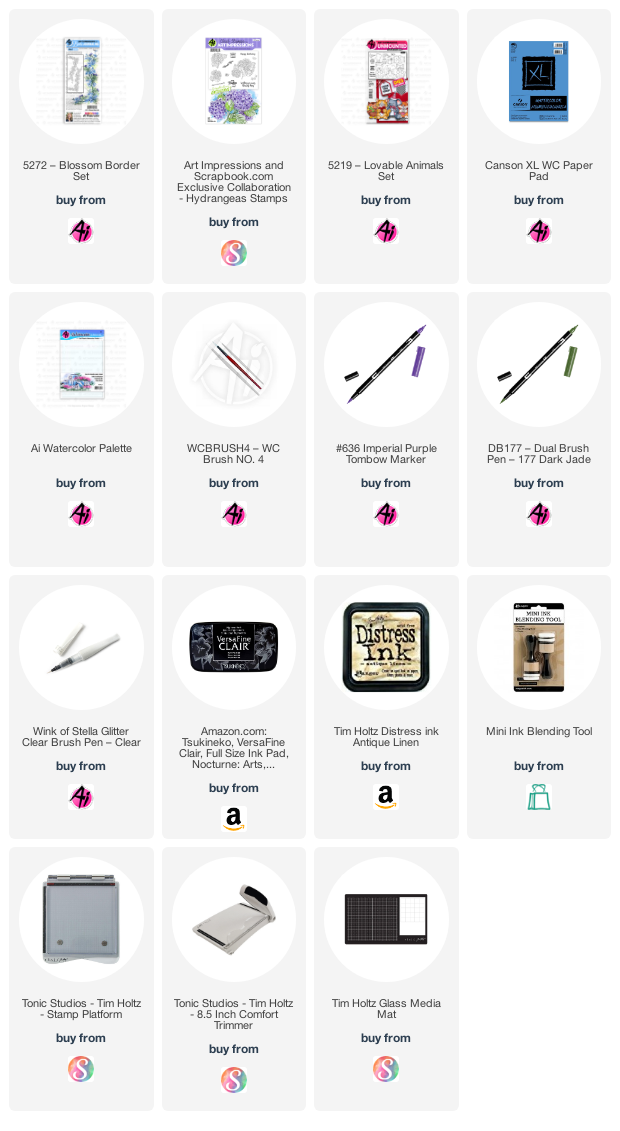
I put the border stamp into my stamp platform.  I placed the stamp so it would fit into the die cut heart.  I then colored the blossoms with the 636 Imperial Purple Tombow Dual Brush marker.  I stamped it onto a piece of Cansom 140 lb. watercolor paper.  Next, I colored the leaves with the 177 Dark Jade Tombow Dual Brush marker.  I used a damp brush to spread out the color.  I colored just the centers with the fine tip of the imperial purple marker. I used my Clear Wink of Stella pen to add some shimmer over the flowers. I then stamped Happy Birthday from the SBC Exclusive Hydrangea stamp set with Black Versafine Clair ink right over the flowers. I also added some splatter by scribbling some imperial purple marker onto my palette and picking it up with my brush.

Thanks for stopping by and Have a Great Day!
Saturday, February 15, 2020

Watercolor Round-Up Spring Feelings


Hello, Ai Fans! Happy Watercolor Weekend!

We this winter season finds you happy and healthy. It has been a pretty busy season, and we are now getting into that time of year where we can slow down and take a breather. Our ladies have made some super cute cards this week that have us dreaming of all the spring flowers!

Be sure to follow these lovely ladies on social media by clicking the link in pink next to their names!

Dot Freel - Instagram - Blog - Pinterest
Hello,

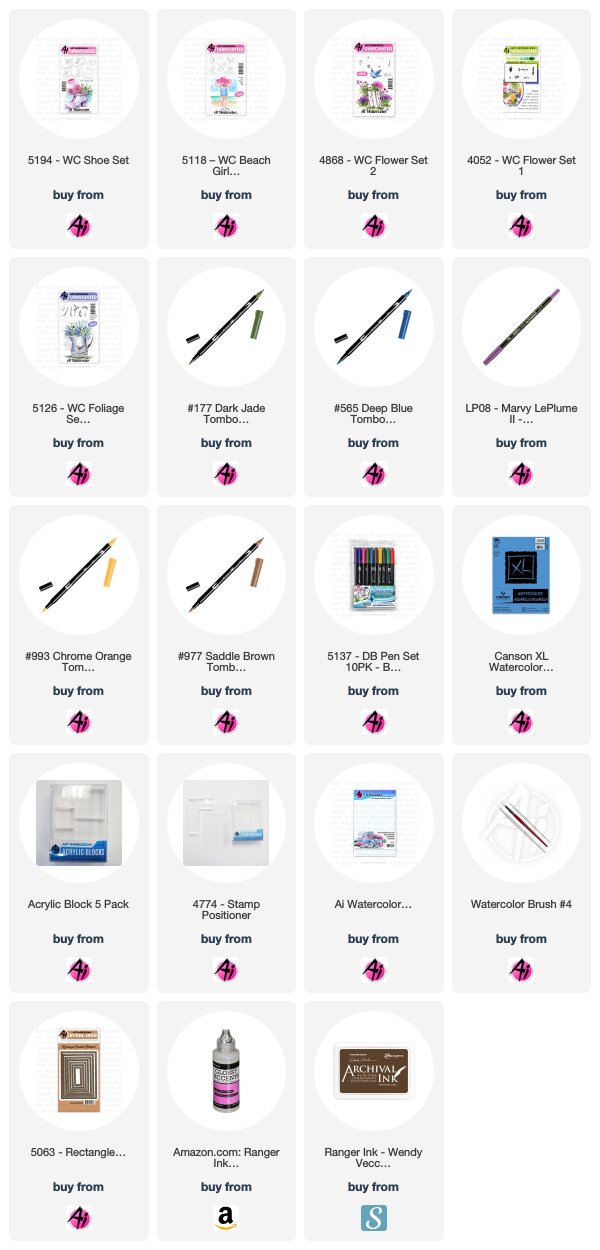
The weather has been wonderful in Las Vegas so I made this Spring-like card for the Art Impression's Watercolor Weekend. I actually used Ranger Archival Ink in Coffee to stamp the boots from the 5194 - WC Shoe Set and the umbrella from the 5118 - WC Beach Girls Set. I knew I was going to put glossy accents on them and I didn't want the lines to blur. The glossy accents really make the boots and umbrella look like they are made of vinyl or rubber. Next, I watercolored them in 993 and 977. To add the shadows, I used 565. I masked off the boots, then stamped in the flowers from 4868 in 177 and No. 6 violet. Then I stamped the flower from the Flower Set 4052 in 177 and 755. The foliage is from 5126 - WC Foliage Set 4 inked in 177. Then, I dabbed at the flowers and foliage with a wet brush. I used 565 to paint the ground shadows and the sky. I used the 5063 - Double Stitched Rectangle A2 dies to cut out my scene and the background pieces. I put it all together and then added the glossy accents. Set it aside, in a safe place for a few hours, so it can dry.  I accidentally dropped mine and ruined my first one.

Thank you for checking out my blog!  You can find more of my cards on my Instagram account here


Supplies used listed below:


Karen Day - Blog - Facebook - Pinterest


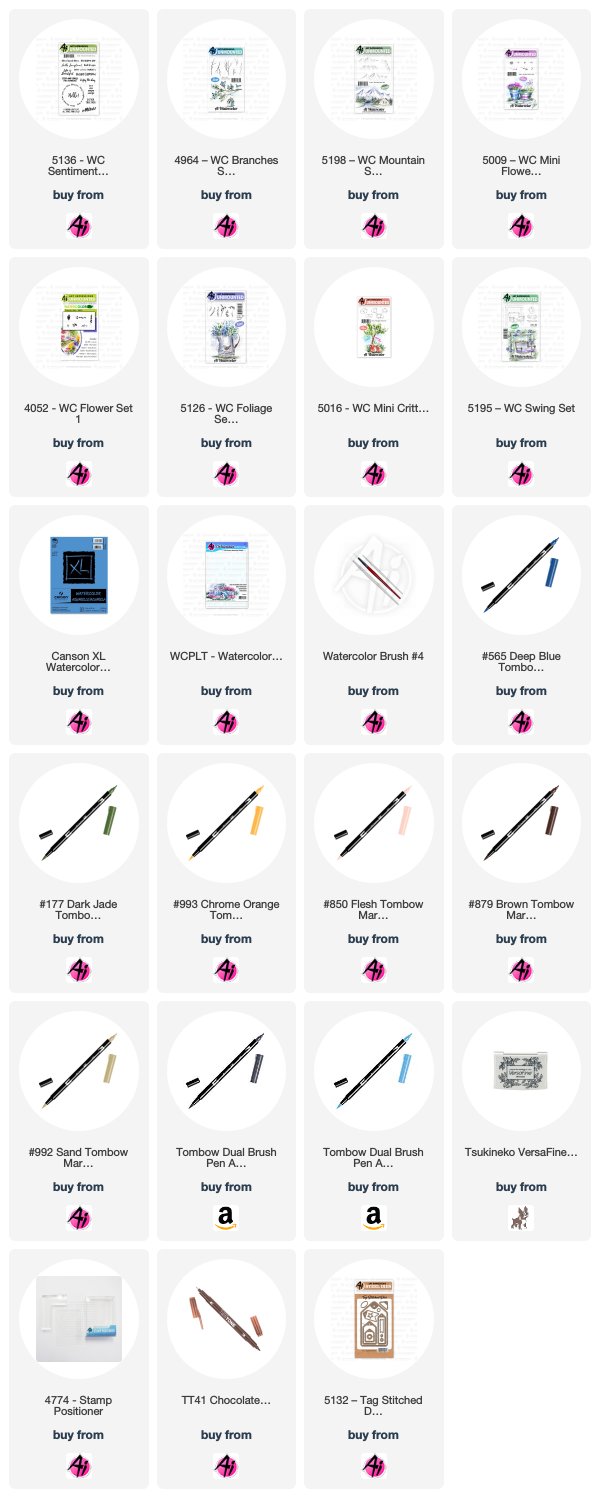
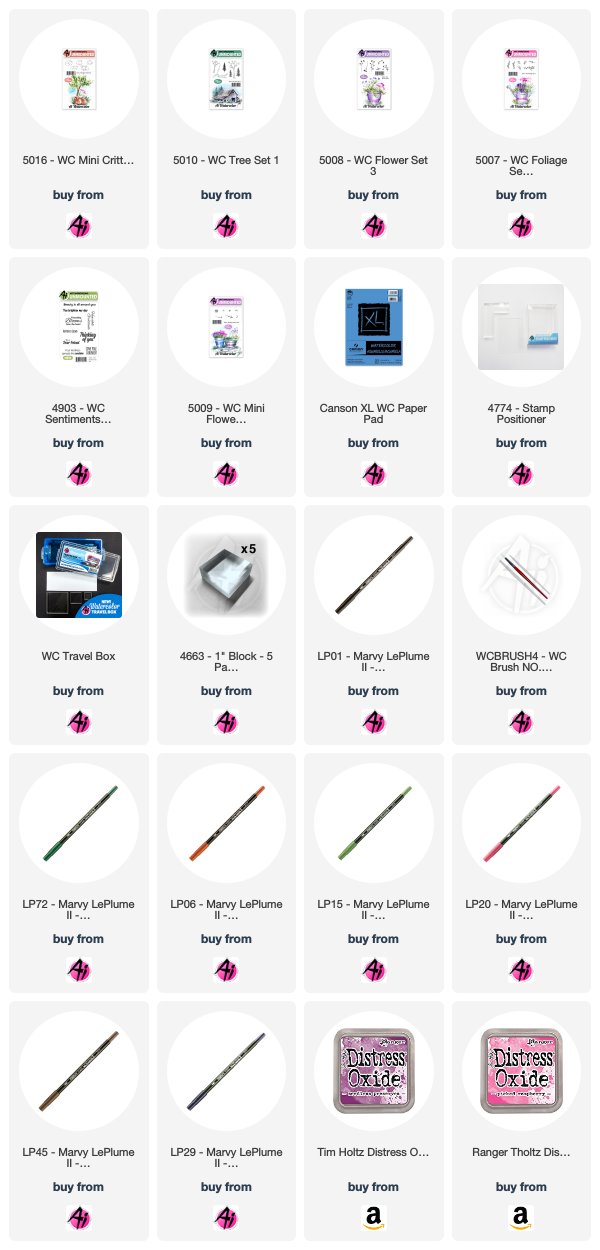
I began using the largest hanging swing image from the 5195 - WC Swing Set, colouring it first in my Tombow Dual Brush Marker #565 Deep Blue, stamping it off on scrap paper, and then colouring it again with #879 Brown.  I stamped it onto my Canson XL Watercolour paper.  *Instead of masking, when I coloured the swing, I left an open area in the corner where I intended my bunny to sit.  I've used the bunny from 5016 - WC Mini Critters Set, coloured him up in #N45, and used my stamp positioner to place him where I wanted him.  With my damp #4 brush, I softened the lines of the swing, pulling out the colour to fill in the shaded areas on the wood frames, and between the cushions. 
 To create my floral vine, I started with one of the smaller twig images from 4964 - WC Branches Set, and colouring it with #879, I stamped it numerous times, in different directions, creating the flow of the vine.  Using the trailing foliage stamps from 5126 - WC Foliage Set 4 coloured in #177 Dark Jade, I stamped the greenery along the same path, winding it around the swing frame in first & second generation.  Before stamping the flowers, I softened the images with my damp brush.  Using the Daisy Bunch from Flower Set - 4052, I coloured a few of the blooms in #993 Chrome Orange, and created the yellow floral sprays around the base of the swing, stamping them in a cluster.  I filled in any open areas with the tiny dot flowers from 5009 - WC Mini Flower Set coloured in #533 Peacock Blue, and then I added clusters of them along the twisting vine - then touched all the flowers with a damp brush.  I used the fine point end of my #993 marker to draw in the stripes on the seat cushions.  The bunny got a touch of #850 Blush in his ear, and I used a fine tip black marker to define & darken his eyes & nose.
On my palette, I scribbled #992 Sand and picked it up with a wet brush to add colour to the wood frames, keeping it streaky to suggest a wood grain pattern.  I did the same with #565 Deep Blue and used this to add shadows where needed to the swing, bunny, cushions and under the swing.  Using the smaller mountain stamp in 5198 - WC Mountain Set, I selectively coloured it in #533, omitting the largest peak, and used my stamp positioner to place it in the background.  Then using my brush and picking up colour from the palette, I used #565 to paint in the mountains and sky, and #177 to add a grassy hillside.  Since some of my twigs were 2nd generation, they were a little too light, so I went in directly with my fine Twintone Chocolate marker to darken them up.  I die cut my scene with a stitched square die and mounted it on dark brown cardstock.  The sentiment is from 5136 - WC Sentiment Set 2, stamped in Versafine Onyx Black ink, and die cut with a small stitched tag from 5132 - Tag Stitched Dies, and it got a small yellow Baker's Twine bow.  I did some zigzag stitching with my sewing machine on my background papers and mounted it all onto a 5 1/2" square card.  

Tricia O'Bin - Blog - Instagram - YouTube - Pinterest - Facebook


Welcome to watercolor weekend AI Fans!  This weekend felt like spring so I thought I would do a quick little spring vase to bring a little color to my life.  This project is so quick and easy and, like most of the projects I do, it is really versatile.

Project Details:
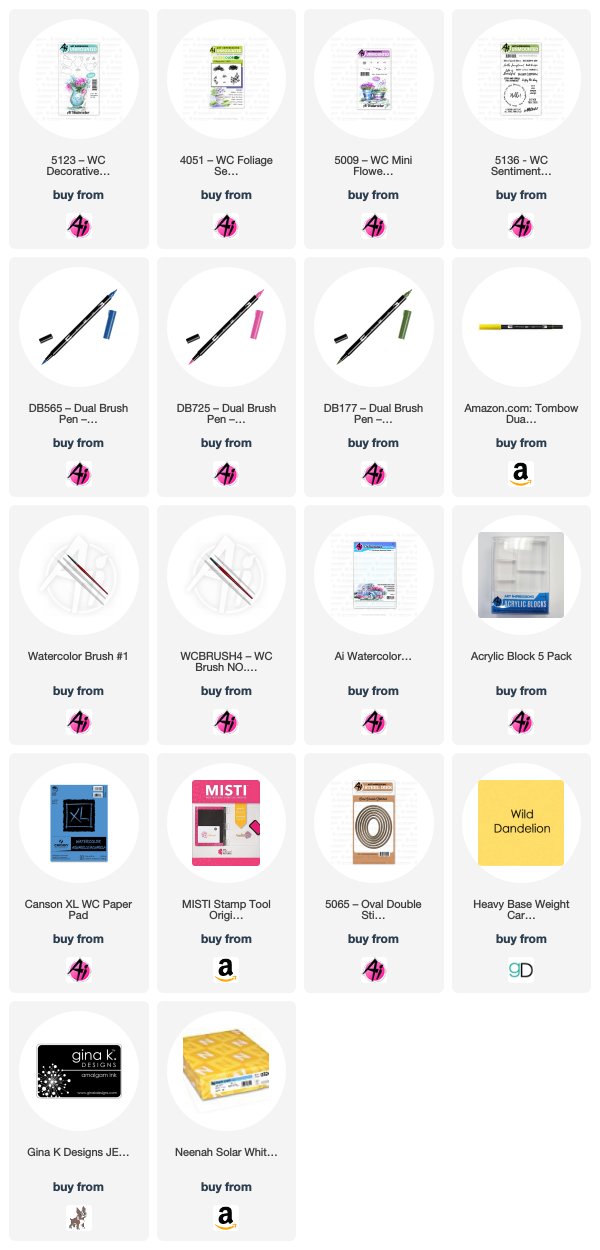
First, I inked the vase from the Decorative Jar set in 565.  I stamped it off so that it would be really light.  I added water to the vase and using my palette added some additional 565 to the left side and bottom of the vase to make it really dark.  I added some 569 to the bottom of the vase to create a shadow and to anchor the vase.
Next, I inked the top of the vine, from the original foliage set, with 177 and stamped it along the top of the vase.  I re-inked it and stamped it several times above the vase.  I added water to the leaves to soften them.  I did this first so that when I added water to the blooms they wouldn’t blend together (and make brown). 
For the flowers, I used the dots from the mini flower set inked in 725 and stamped it several times in a circle inside the vase and around the foliage.  I added water to all the blooms to soften them.
From my palette, I added some 055 to the right and left of the bottom of the vase to create a background that gives the vase depth.  I signed and dated my project.
Card Details:
I cut my watercolor piece out with my oval stitched die.  I also cut a mat out of Wild Dandelion with the next side up of the nested oval stitched dies.   I cut it from the middle of a 4x5.25 piece of Wild Dandelion card stock that I attached to a Neenah card base with Connect Glue.  I then attached a matching piece of patterned paper cut to 3.75x5.  I attached the watercolor piece to the mat with Connect Glue and added some foam tape to the back of the mat and attached it to the card.
I placed the piece into my MISTI and stamped the Hello Sunshine sentiment from the WC Sentiments set using black Amalgam Ink.
And that’s it…easy peasy.  I love the versatility of all of the Art Impressions watercolor line.  I hope you will give this project a try.  We hope we inspired you to create something special this weekend. 

Happy Crafting!


Thank you, ladies, for your continued inspiration! We absolutely love seeing everyone's personal style show through on each card!  
Happy Stamping!

Tuesday, July 16, 2019

Lighthouse Circlet MTF by Jil Lebel

Hello Ai fans!

This Lighthouse Circlet MTF was so fast to color in with my Tombow markers.  It's becoming one of my favorite stamps to use.  I made up two different card for today's post.  The inside portions are the same, but I used different papers for the front.  The second front is the last picture in this post.
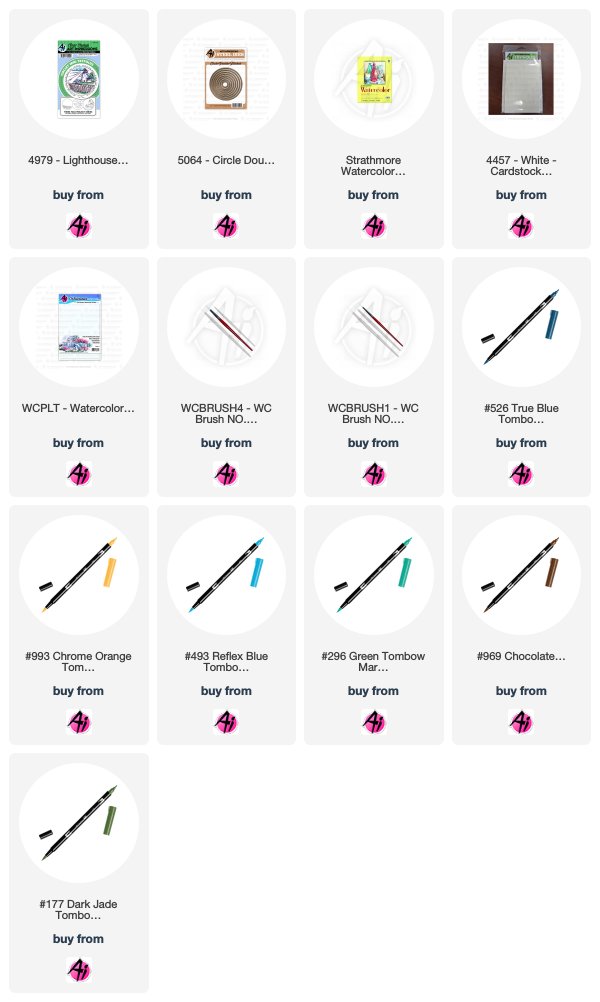
All three images were images were stamped onto Strathmore Watercolor paper with Versafine Clair nocturne Ink and colored with Tombow markers.  The colors used are listed at the end of this post. The images were colored using a combination of a #1 and a #4 paintbrush.  Some of the markers were painted directly onto the image but some of the areas were first colored onto the Watercolor Palette and added to the image with a brush.
 The top two images were cut out with a Circle Double Stitched Die as well as the matching die from the stamp set.  The image witht he words around it was cut out with a Circle Double Stitched Die.
I attached Recollections Seaglass 6" x 6" patterned paper to the front and middle piece of a white Tryfold card.  Then I attached the front Circlet image to the card and used the matching die cut to cut through the card.  I matched up the second image and cut then attached it to the middle piece of the card before using the matching die to cut out the matching window. The last thing I did was cut a circle with the patterned paper and attach it to the center of the card before attaching the last piece of the circlet to the top of it.
Tombow Markers Used -
Sky - 296 Green, 493 Reflex Blue
Water - 526 True Blue
Grass/Bushes - 177 Dark Jade
Ground - 177 Dark Jade, 526 True Blue
Lighthouse - 526 True Blue, 969 Chocolate
Fence - 969 Chocolate
Boat - 969 Chocolate
Lighthouse Beam - 993 Chrome Orange

Thanks for stopping by and Have a Great Day!

Tuesday, April 17, 2018

Sleeping Doe Watercolor by Jil Lebel

Hello Ai fans!

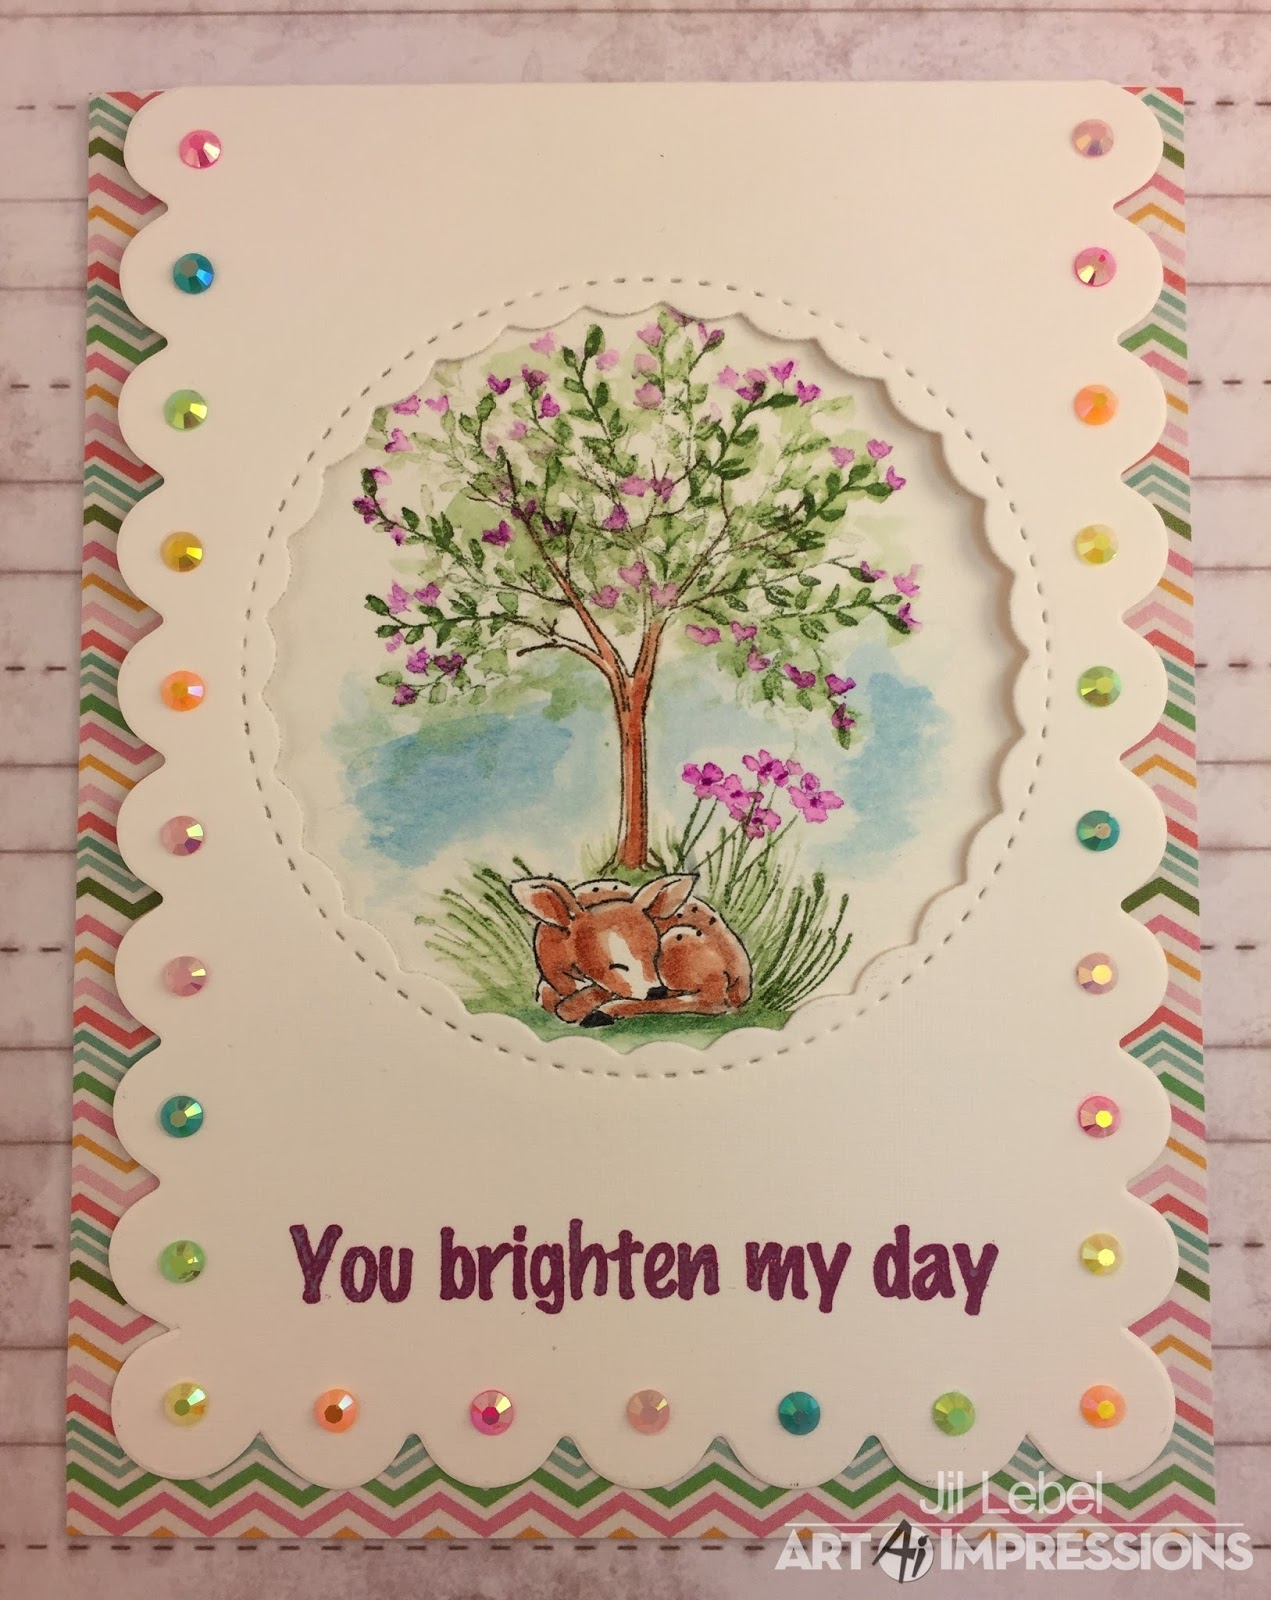
When I first saw this new watercolor release the doe sleeping under the tree image was my absolute favorite.  I knew I wanted to recreate that image from the packaging.  I just needed to think of a way to work it into a card.  My birthday was two weeks ago and my sweet friend, Tere, gave me several pretty card bases.  As soon as I saw them I knew one design would be perfect for my doe scene! I love it when things work out like that.


I started with a piece of Canson XL watercolor paper.  I inked up my tree from the WC Tree Set 1 5010 with Sepia and stamped the tree in the center of the paper and did not pull the color from the lines. I used my Acrylic Stamp Positioner to add the doe from the WC Mini Critter Set 5016 with Black. I used Brown with my Brush that I scribbled onto my Watercolor Palette to add color to the tree and the doe.  Once I'd added enough color to the doe, I used the fine tip of the Black marker to add back any lost features. I used Stamping Mask Paper to create a mask for the doe. Once it was covered, I used the tall grass from the WC Foliage Set 3 5007 with Olive Green to add in the grass around the doe.  I used my brush to pull the color up from the grass. I added leaves to the tree from the WC Foliage Set 3 5007 with Olive Green and used my damp Brush to pull out some color. I inked the three tiny blooms from the WC Mini Flower Set 3 5009 with Magenta and stamped it over the leaves and used my damp Brush to pull out some color.  I used the WC Flower Set 3 5008 and inked up the stem with Olive Green and inked up the bloom with Magenta.  I stamped it a few times below the tree.  I pulled the mask off of to reveal my untouched doe.  I used a circle die cut to cut out the entire scene.


I selected a single piece of pattern paper that would match everything on my card because it would show from the back to the front.  I chose a piece from the Pebbles Garden Party 6x6 paper pad and attached it to the inside of the card. I used a decorative die cut to cut the circle in the top portion of the card front where you would see the scene.  I attached my doe scene to the inside of the card so you could see it through the opening.Then I used Seedless Preserves Distress Oxide Ink to stamp the greeting.  I also added several different colored acrylic gems along the scallops on the card front using my jewel picker.  I selected them to match the paper.


Thanks for stopping by and Have a Great Day!

Wednesday, November 4, 2015

NEW VIDEO! Watercolor Wednesday Series - Ai Watercolor Introduction

Hello Ai Fans!

Just popping by to let you know we have a new video on our YouTube today! We're kicking off a new series called Watercolor Wednesday, where we'll be releasing a new video each week showing tips, tricks and tutorials for our Watercolor Stamping line.

Today's video is a Watercolor Introduction, showing you the basics of building scenes with our Flowers & Foliage stamp sets. These little tricks will help you in creating realistic scenes, as well as texture and depth to your watercoloring!

We hope you enjoy this first video! Happy Wednesday!