Wednesday, January 31, 2018

NEW VIDEO - Three Birdhouses in a Pot

Hello Ai Fans

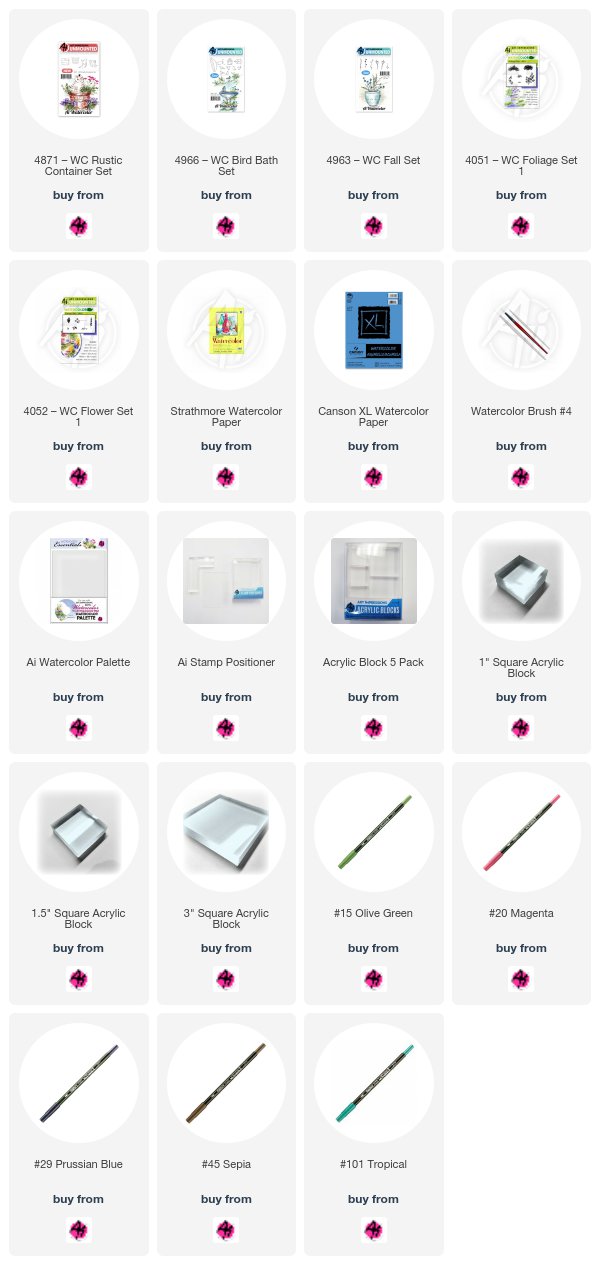
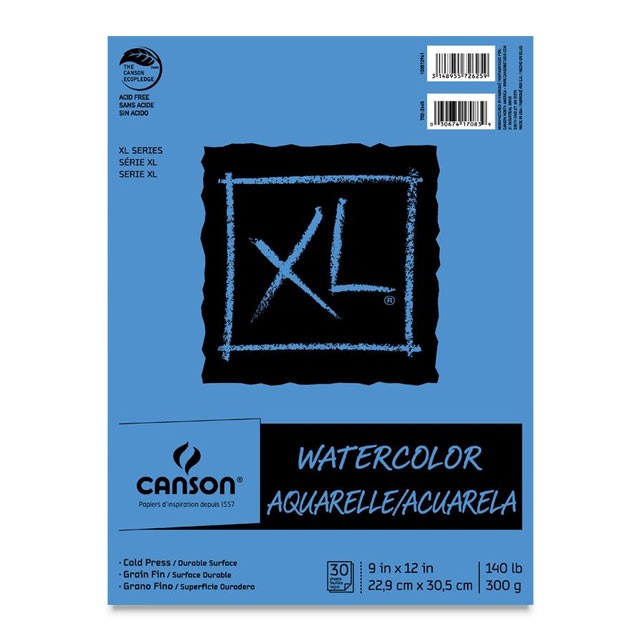
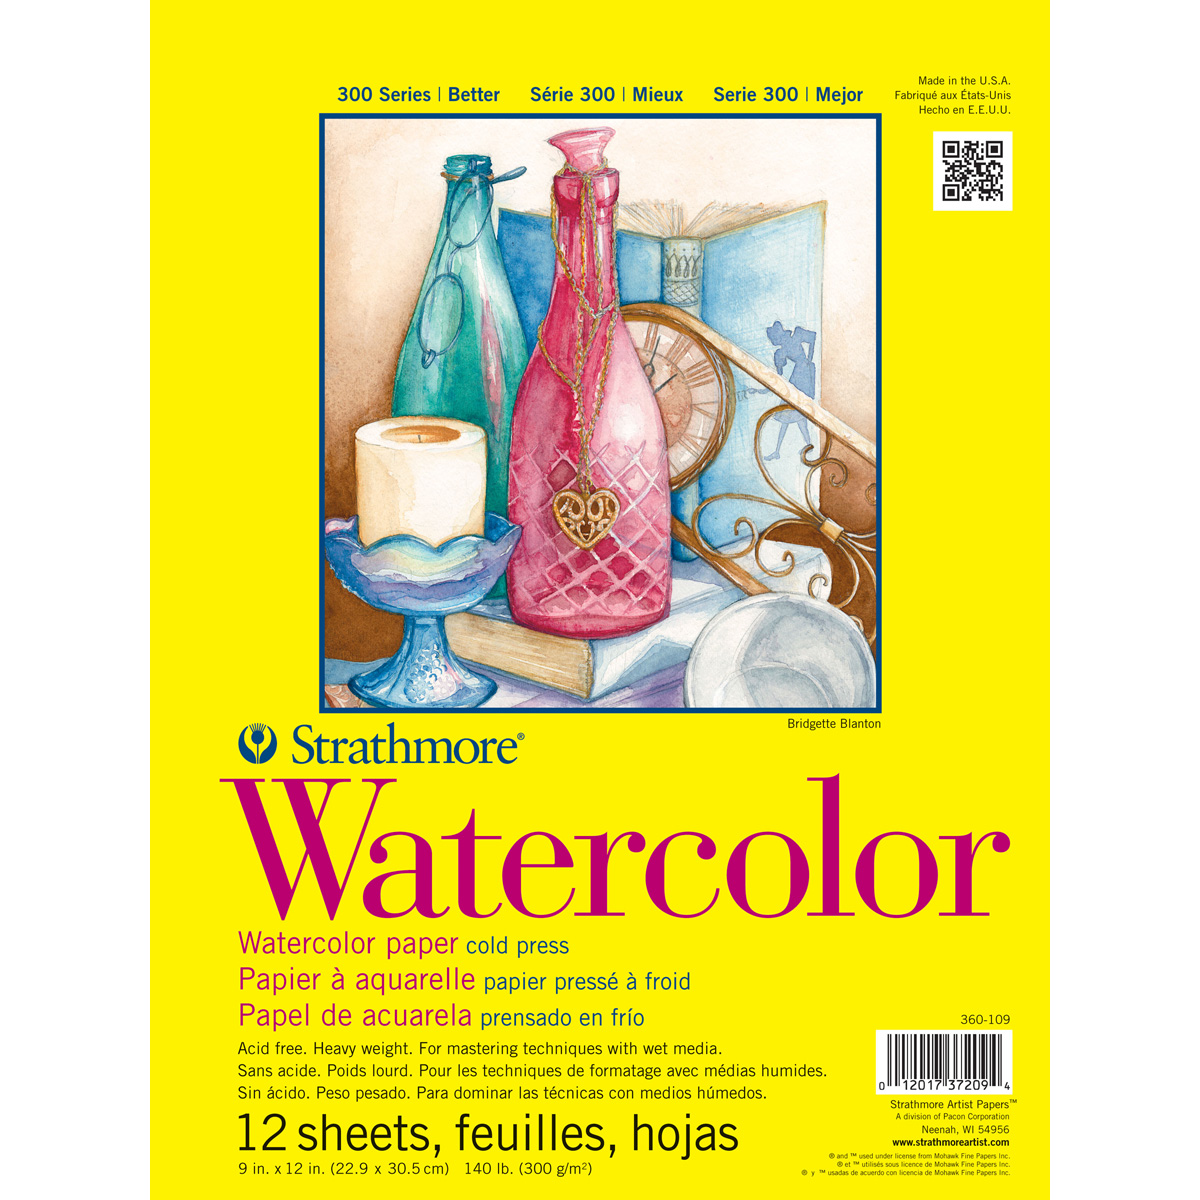
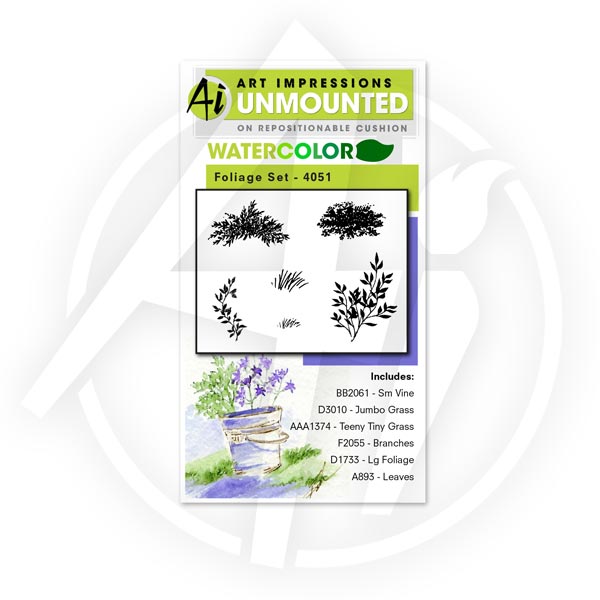
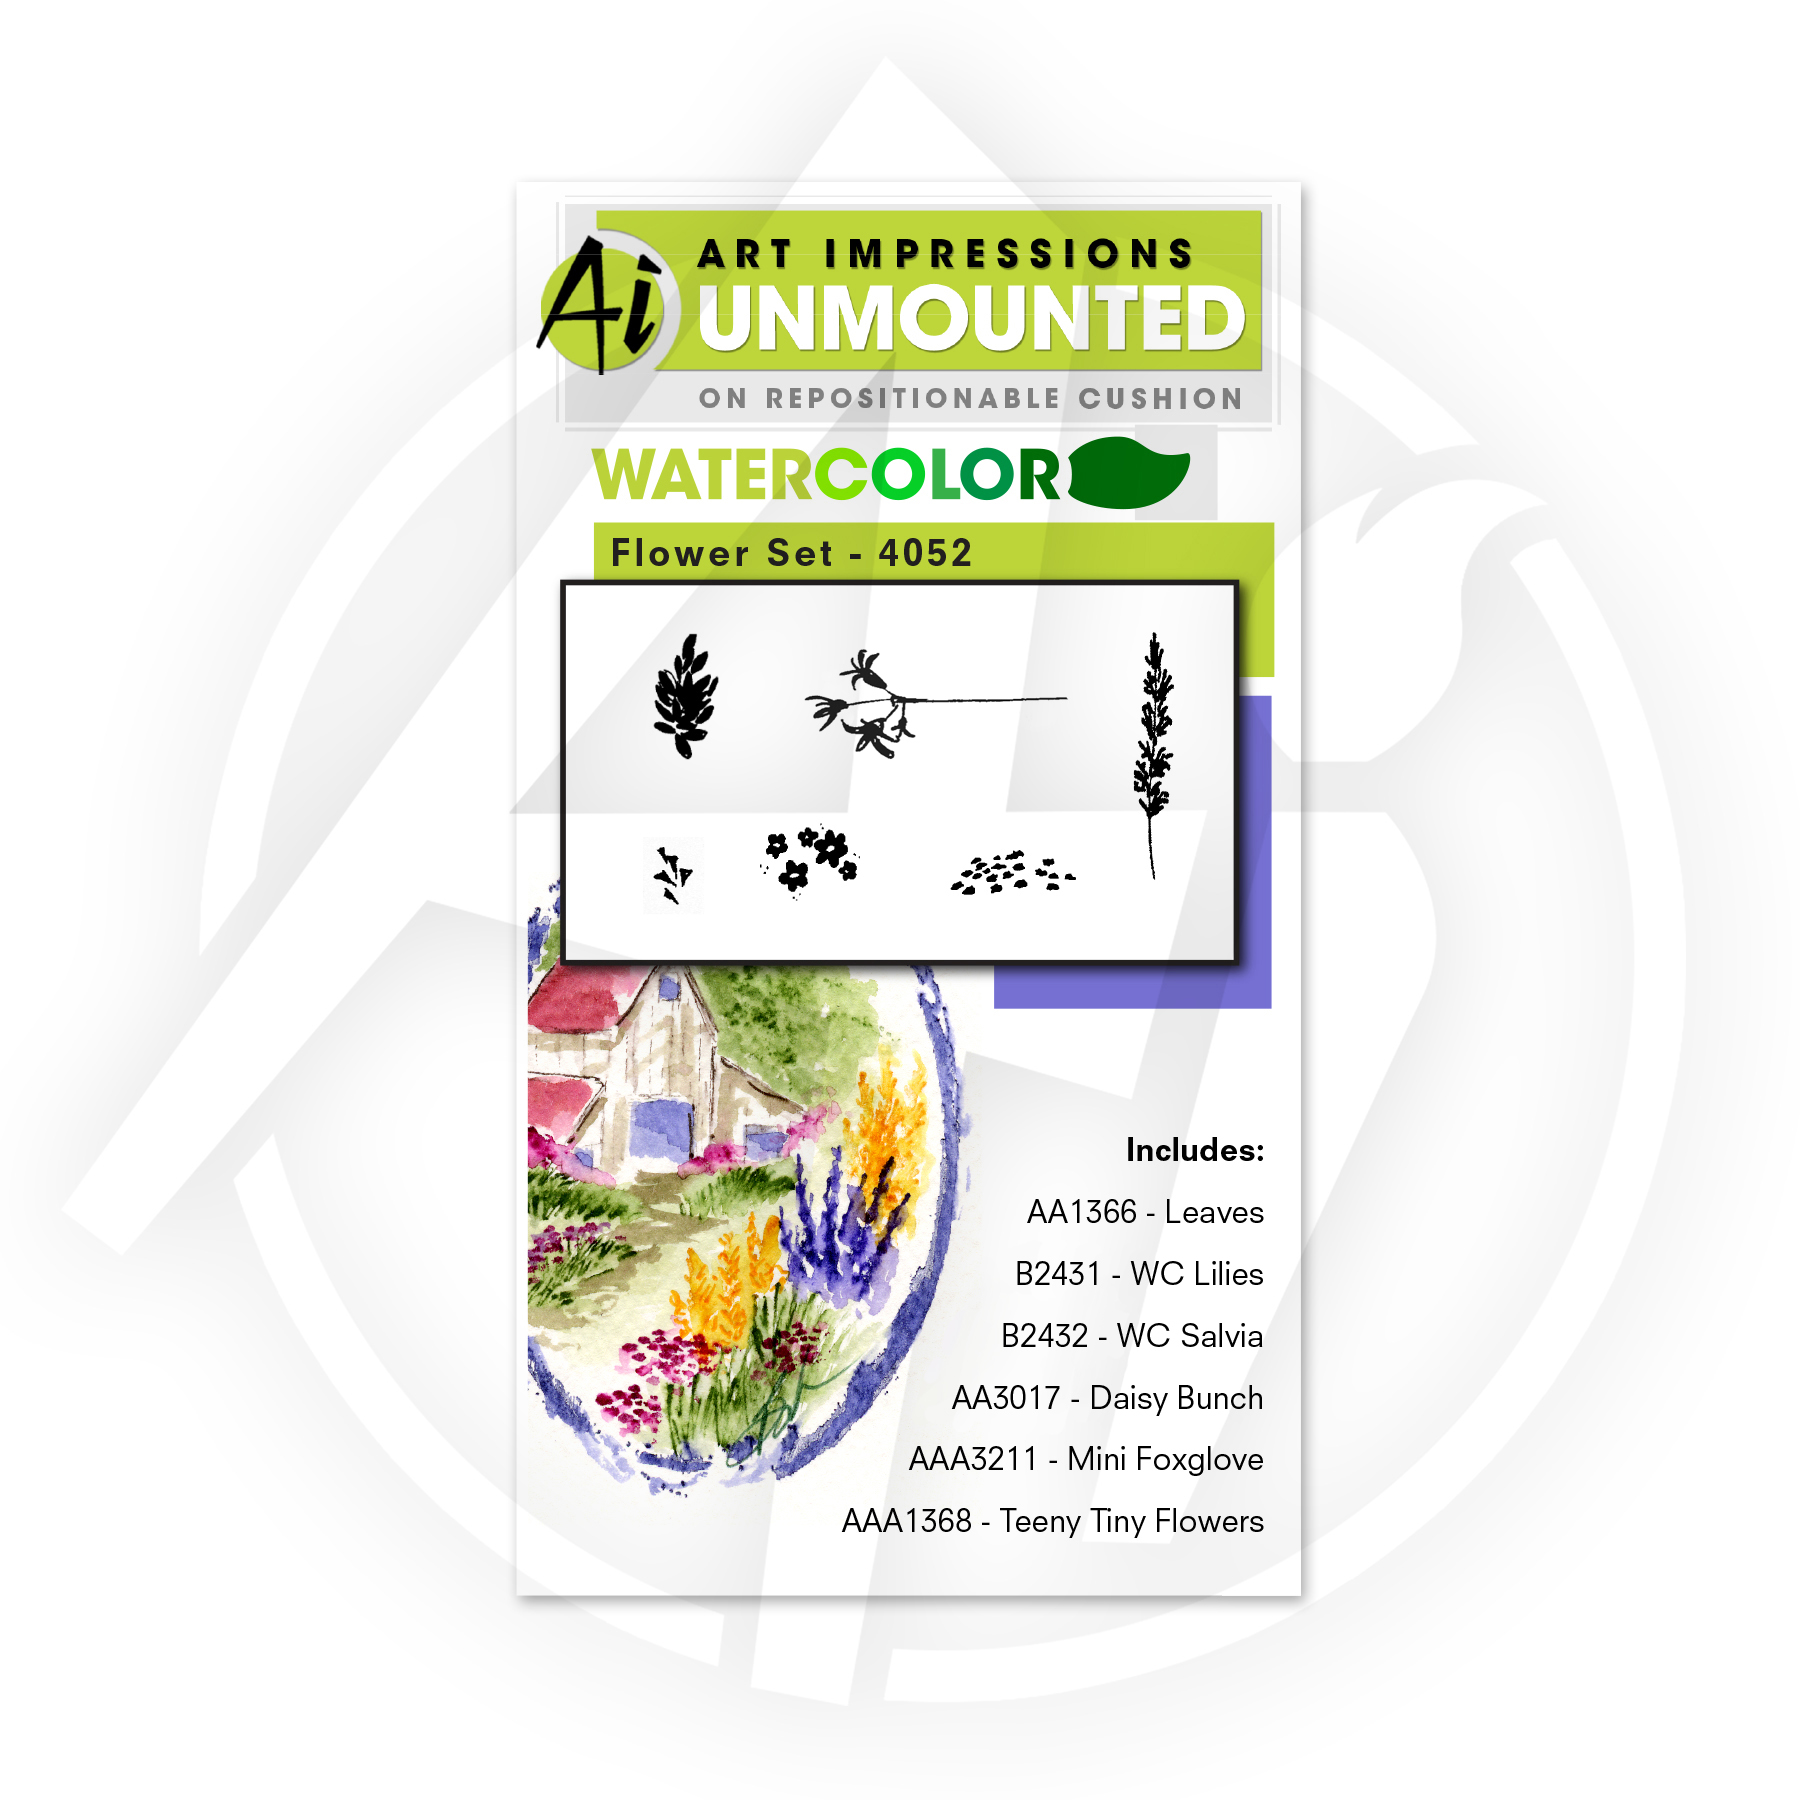
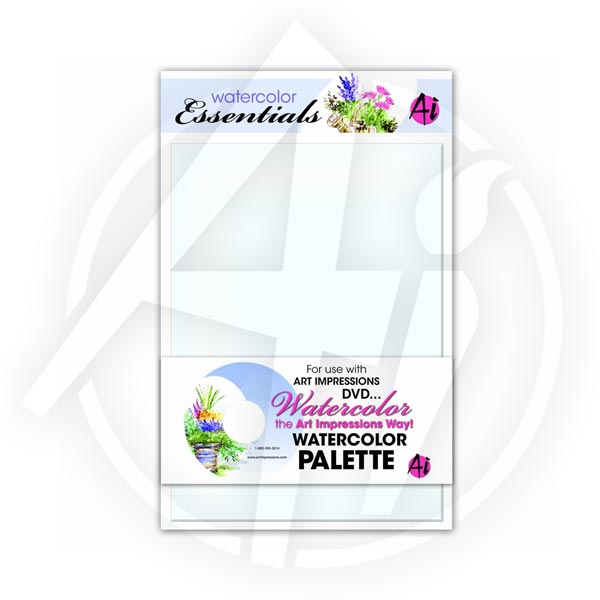
We have another fabulous Watercolor Wednesday this week to push your work to the next level! Bonnie adds three birdhouses hanging on plant hooks into a half-barrel flower pot. Bonnie starts by inking the half-barrel from our WC Rustic Container Set in #45 Sepia marker and stamping it onto her Canson XL watercolor paper. She pulls the color from the lines and then adds three shepherd hooks with her ruler and the fine tip of the Sepia marker. Next, she uses our Stamp Positioner to perfectly place the birdhouses from our WC Bird Bath Set, and adds color to them from her Ai Palette. Bonnie adds vines, grasses, and flower bunches from our staple sets, WC Foliage Set 1 and WC Flower Set 1, and some taller buds from our WC Fall Set. To finish the image, she uses the Stamp Positioner to add a blue jay to the top of the tallest birdhouse.

We are so excited to be back for Watercolor Wednesdays. Don't forget to subscribe to our YouTube channel, or you can sign up for our newsletter for weekly sales emails and Watercolor Wednesday updates sent on Thursdays! We hope you have a wonderful week!

Happy Watercolor Wednesday!


View on YouTube: https://youtu.be/DBS9GztmdqE


NEW VIDEO! Beginning Watercolor - Where do I start?

Hello Ai Fans!

We are back with a new Watercolor Wednesday! Every week, we receive emails and comments asking, "I want to try watercolor stamping, but where do I start?" Look no further than our latest video and this blog post!


For Watercolor Stamping, there are some necessary supplies to get the desired look.

Basic Supplies
1. Watercolor Paper (Canson XL or Strathmore)
2. Synthetic, Round Watercolor Brush #4 (Connoisseur)
3. Water-Based Markers (Tombow Markers - Bonnie's Favorites)
4. WC Foliage Set 1 and WC Flower Set 1
5. A Main Image Set of your Choice
6. Watercolor Palette and Acrylic Blocks

Let's explain these more in detail!


Watercolor Paper is very important for this technique, as when you stamp in water-based ink, it keeps the color on top of the paper, so you can easily move it with a damp brush. Cardstock and alcohol-based markers will not work for this project series. We prefer Canson XL or Strathmore watercolor paper and use the textured side, as it does not oversaturate the paper with color.


Our Connoisseur #4 Brush is a coveted item, as no regular brush will do! One, your brush has to be synthetic, as natural hair brushes will sag and not hold its shape with water on it. The synthetic gives us the 'bounce' we are looking for as we blend and gently tap around the image. This brush is also the perfect size to pull color from your main images and blend your flowers and foliage.


Although any water-based marker will work for this technique, we highly recommend you use Tombow Dual Brush Markers on your projects. First, we like Tombow markers the best because they are very wet, so when stamping your multiple impressions, you can get up to 10 images, where other markers you might get 3 or 4. Second, Tombow has highly pigmented colors, so when you are blending, you do not need to work as hard to blend. Third, we love the bullet tip on the other side of the Dual Brush Pens (or use our TwinTone markers for an even finer tip), which give us the ability to add darker shadows and details to the image to really make areas pop!


To get stamping, we suggest starting with our WC Foliage Set 1 and WC Flower Set 1. These basic sets are what you will carry through all your projects. You will see the grasses, vines, flower bunches, and long stems used in any watercolor we create. We started with these two staple sets because if we created sets with everything for one project, you would end up with a multitude of tiny grasses or flowers! Once you have these two, you can pick and choose whichever scenes you would like to create, such as gorgeous containers, stunning structures, or beautiful landscapes.


We add color to many of our images (washes of the sky, color to main images) and the easiest way to do this is by rubbing the brush tip of your marker onto our Ai Watercolor Palette and pulling the color off with your brush. This gives you great control over the amount of color going to your image, and you can easily shade by adding layers of color. Our palette is a game changer, perfectly white so you can see your color, and you can always reactivate the dried ink with your damp brush.


Another great option to add to your collection are our tiny Acrylic Blocks. We offer square blocks in 1", 1.5", and 3" to offer smaller sizes for your little images, like the teeny tiny grass and daisy bunch. Bonnie is often suggesting to permanently adhere your tiny stamps to our 1" block with super glue so you don't lose them!

Now check out this great introduction to watercolor video with Bonnie, as she shows the step-by-step techniques in building your foliages and flowers, and how to add them together in this urn from our WC Ornate Container Set.

We hope this post has been helpful and answers many of your questions! If you enjoy the video, please hop over to our YouTube and give it a "thumbs up!" For more watercolor videos, make sure to subscribe to our channel and click the bell next to subscribe for new upload emails! We appreciate all your comments and interactions with your videos!

Happy Watercolor Wednesday!


View on YouTube: https://youtu.be/qC4BL-JZDTM


Life One Cup at a Time by Dana Warren

Hello AI fans!!

Are you a fan of coffee? If so you need the Latte Love set! It has a great girlfriend image and a couple different sentiments!


I started my card by stamping the image and then using Spectrum Noir ColourBlend Pencils to color. I used Pumpkin, Nectarine, Denim Blue, Royal Blue, Pink Blush, Vivid Pink, Pewter, Black, Mustard, Saffron, Cherry Red, Saddle Brown, Paprika, Amazon Green, Forest Green, Spice Brown, Bark, Yellow Ochre, Espresso, Admiral Blue, Anemone. After coloring I fussy cut the image out.


If you are strapped for time the Kraft Foil paper pad from Bazzill is great to have on hand! It has Kraft cardstock with gold foil in a bunch of different patterns! A great way to have a cool background without the work!!


I picked out the polka dot pattern and added it to a white card base. From a leftover strip, I flipped it over and stamped the sentiment Take Life One Cup at a Time. Then I added it to the card base and then the ladies with foam tape.


Thanks so much for stopping by! I hope you all have a wonderful and Happy Stamping!!


Tuesday, January 30, 2018

Fuzzy Valentine Bear by Jil Lebel

Hello Ai fans!

As soon as I saw the adorable Valentine Bear stamp set 5005 I knew that I wanted to try to make a bear fuzzy.  I decided I would need to do this with my Prismacolor colored pencils. They would allow me to get the tiny details I needed for fur. It took some patience, but my vision was realized.


I stamped the standing bear onto white paper with Onyx Black Versafine ink. I started coloring the bears head first.  I applied my pencil in tiny flicks working dark to light colors and working my way to the inside of the sections I was working on.  Once I was finished with my first layer, I added a second layer in the same fashion.  I also added fur to the paws and legs.  I added color to the muzzle and tummy in a different way.  I used very light circular strokes starting with the darkest colors and working my way to the inside of the sections I was working on. I also colored the hearts and the shirt using light circular strokes to apply my pencils. Some of the details on the face were lost so I trace them with the black pencil.  I also went over the eyes and nose with the Sakura black glaze pen. Pencil colors will be listed below.


Prismacolor pencils used:
Bear - Black,Dark Umber, Sienna Brown, Brown Ochre, Yellow Ochre, Jasmine, Creme
Shadow - French Grey 70%, 50%, 20% , Warm Grey 100%
Hearts - Nector, Henna
Shirt - Parrot Green

Thanks for stopping by and Have a Great Day!


Monday, January 29, 2018

no bones about it...by Diane Zechman

Hello Ai friends and happy Monday!
 
Today I am sharing my last card (for now!) using the Ai Mouthfuls. This was also created for last year's trade show. Have you seen pics from the January show? Bonnie has so many awesome sets coming soon!


There are several accessory images in this set, with fun options of items to put in his mouth...including the tongue and bone used here. I think I need to try the cookie next!
 
Have a great Monday and… happy stamping!


Sunday, January 28, 2018

Valentine Holiday Mansion by ReneƩ Matarese

Hello Ai fans!

Today I'm sharing a couple more Holiday Mansion cards with you.  These are featuring the 4977 – HM Valentine Set.  I decided to go pretty ornate with these.  After all, Valentine's Day only comes once a year right?


I love how the little doors and windows open and close.
I also love how you can rearrange the little accessories in any way you like. The possibilities are endless.


This is the inside of both cards. 


Here's my other version all in pink.


What surprises are hidden behind the doors??
Peek inside and see.


The little teddy is so cute!  And that weather vane!  And mailbox!!  As I said...the possibilities are endless.


Saturday, January 27, 2018

Ever just have one of those days?

Hello AI Fans!!

Today's card features good ole' Walter from the Front & Backs Collection at Art Impressions.  Poor guy just can't seem to catch a break, but he sure knows how to RRIP things up!! heehee  I used the Art Impressions 4619 Window Die to place him. On the inside I used the HA HA sentiment. I think this is just a great card to send to someone to give them a giggle and brighten their day. 


Hope you're having an awesome weekend! Thanks for stopping by for a visit, and until next time - stay crafty!!


Friday, January 26, 2018

Let's Go To the Movies by Cheri Burry!

Hi Ai Fans!
There is nothing better than going to the movies with some of your best Girlfriends! I mean who better to laugh, cry or be scared with then your Besties? The Art Impressions Girlfriend Line of stamps are my favourite and this one doesn't disappoint! Today I used the "At the Movies" set to create this cute card!
I am using papers from the Simple Stories "Say Cheese III" collection on my card. I just love this sentiment, too funny and oh so true LOL! It's one of the three sentiments that come in the "At the Movies" set.
Copics Used:
Skin: E00, E11, E21/ E00, E21, E95/ E11, E50, E53/ R20, R24
Hair: E43, E44, E47/ YR23, Y26, Y28/ C3, C6, C8
Movie glasses: Y15, Y17, C3, C5
Reds: R22, R24, R27, R29, R37, R39
Blue Greens: BG72, BG75
Gold: Y23, Y26, Y28

Thanks for stopping by!
Happy Stamping!
Supplies:

Thursday, January 25, 2018

Challenge 224 Feel the Love WEEK 2!


New Holiday Mansions New Holiday
February is just around the corner, and the Art Impressions Design Team has you covered with some lovely inspiration! We are still celebrating our new Valentines and Holiday Mansion sets, so if you haven't checked those out yet, now is a great time to see how they look in a card!
HM Valentine HM Easter
Critter Cups Valentine Bears Set
Click the designer's name for some more inspiration for your Valentine or love cards! You can find the stamp sets they used at artimpressions.com!

Cheri with Valentine Bears Set

Dana with HM Valentine and Holiday Mansion

 Diane with HM Easter and Holiday Mansion


Renee with HM Valentine and Holiday Mansion


So stinkin' cute, right?! Our hearts just go pitter-patter when we make cute critter love cards!
There is still time to enter our challenge! This challenge is perfect for jump-starting your Valentine cards, but any card with a love theme is welcome! We can't wait to see what you craft up! Joining the challenge is easy when you add your project link to our InLinkz below - and invite your friends to join, too! Besides, you just might win a PRIZE!

✻ Please make a new card or creation. You can make any crafty item you wish; this is not limited to cards!
✻ Limit two submissions per person. You will receive extra votes if you use Art Impressions stamps!
✻ The Ai Challenge is open to everyone, international submissions are welcome!
✻ Include a link back to the Ai Blog or grab our button on the top right of our sidebar!
✻ Share the Ai love by clicking and commenting your fellow crafters.
✻ Make sure to get your link up by Wednesday, January 31 at 5:00 p.m. PST to enter your creations.
✻ Good luck and happy stamping!

Happy Stamping!