Showing posts with label Kraft paper. Show all posts

Friday, November 27, 2020

Fairy Winter Wonderland | By Jessica Shier

 Hello Ai fans!

Have you seen this Fairy Cubbie set? It is adorable! I thought I would create a little winter wonderland for these magical little fairies. Using kraft paper and copic markers and a few different white materials to really make my frosty vision come through. 

I stamped the fairy house and fairies with a copic friendly ink on to Neenah Desert Storm 100lb cardstock. The Copic colors I used will be listed below. The lovely thing about coloring on kraft paper with Alcohol markers is that you don't need a lot of colors since the pigment will be more muted. To add a highlight I went over areas with a Prismacolor White pencil. For more bright white areas and also the ground I used a White Gelly Roll pen. 


I like to add dimension to these cubbies. To pop up the fairy house I used black craft foam. The leaves are stamped NUMEROUS times with Versamark ink and heat embossed using white embossing powder. Gives the leaves a frosty look! I used a pattern paper (Kaisercraft Magenta paper pad) that has a similar pink to the pink Copic marker I used. I liked the gradient of pink colors from that paper but a solid cardstock would work well too.


The sentiment is from the Chubby Snowman set. I also popped up the sentiment and a few of the leaves with some black adhesive foam dots. This panel is mounted on a Bazzill Peanut Cluster card base. 


Thank you so much for joining me today. Happy stamping!

Friday, November 20, 2020

Santa is Coming to Town | By Jessica Shier

Hello Ai Fans!

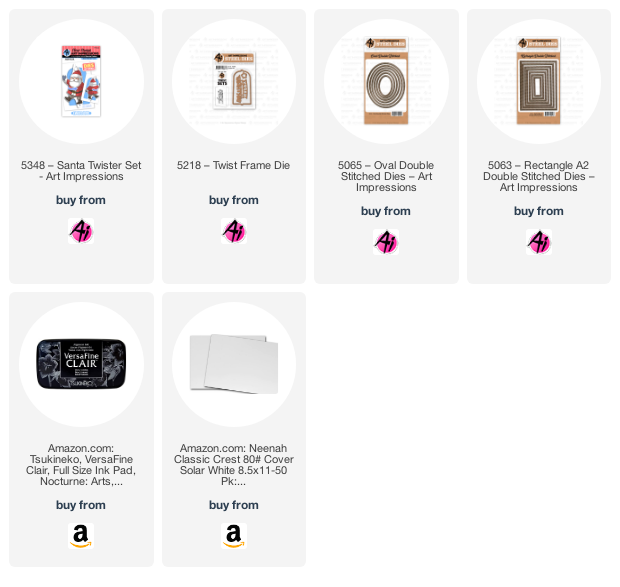
Happy Friday! Today I have a quick and easy card to share with you using the Santa Twister Set. I love how the twister cards display too, which is perfect for the Holiday season. 

To start with and especially if you are making these in batches, begin with the splattering. I splattered the front of the card base (Bazzill) with Copic Opaque white and a separate panel (Neenah Desert Storm) for the inside. (there is a photo of the inside of this card below.) You could also use a white acrylic paint. Then, while those dry I stamp the Santa on Neenah Solar White 80lb card stock with alcohol marker safe ink. I like Gina K. Designs Amalgam ink in Jet Black.


After coloring the Santa image I used the coordinating dies to die cut both sides of the santa out then adhered those together. I also used the Oval Double Stitch die set and also the Twist Frame die set. Using the oval dies to die cut a white frame using two of the smaller ovals. I also used the smaller oval die on a piece of Kraft card stock. The Twist Frame die is used twice also. Once on the card front and again on the center of the oval kraft die cut. 


The extra panel that I splattered is cut down and adhered to the inside. I also stamped the phrase "Santa Claus is coming to town and added a rectangle for a small message to be written. 


Thank you so much for joining me today. Happy Stamping!


Friday, October 30, 2020

Give Thanks Feast Mode | BY Jessica Shier

 Hello Ai fans!

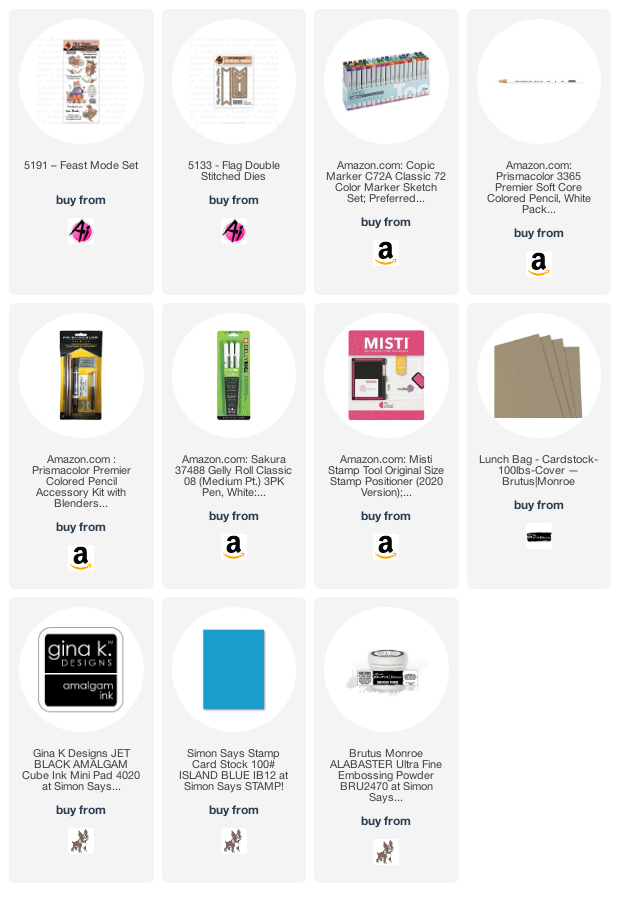
November is just around the corner, which means it's time for thanks themed cards. I'm using the adorable Feast Mode set today, to make a slimline scene card. Stamping these critters on a kraft colored card stock adds to the Fall warm and cozy theme. 


This is similar to the ghost trio card I created using the Fright Night set. (Spooky Fright Night blog post) For today's card design I ended up using a much warmer tone of kraft cardstock. Either would work perfectly, I've just cut down all of my Neenah Desert Storm card stock to an A2 size (4.25x5.5 in). Which doesn't work for the long Slimline card size (8.5x3.5 in).


I stamped all the critters onto a piece of kraft colored cardstock with Copic friendly ink. Using alcohol markers on card stock other then white is a nice change. Just pick bright or bold colors. The tone of the card stock does effect the transparent alcohol ink which ends up making a lot of the colors look more closely alike. I used a scratch piece of kraft card stock to determine which colors would work best. 


A white Prismacolor Pencil really is the key to coloring on kraft card stock. I just love how it looks and the contrast it has. I made sure to use the white pencil through out all the images. Like the bunny tail, the fox face and mug, the hedgehog and squirrel's stomachs and small areas on the cute sweaters. To add more texture or highlights to my colored scene I also used the white pencil in areas for a light shading. For the more prominent highlighted lines I used a white gel pen.


Using the double end flag from the Flag Double Stich die  I die cut the shape onto my colored scnene and heat embossed the sentiment "Give Thanks" on to a bright blue card stock that is layered behind the colored scene. This is mounted to a Neenah Solar White slimline card base. 

Copic Markers Used:

W6. W1, C5

E57, E56, E35, E31

R05, YR27, Y38, Y18, Y15

G94, YG67, G14, YG03

B16, B12, BG13, BG11

R81, R85

Thank you so much for joining me today. Happy Stamping!

Friday, October 16, 2020

Spooky Fright Night Ghosts | By Jessica Shier

 Hello Ai fans!

I hope everyone has had a good week so far! One of my favorite holiday sets is Fright Night! I love all the images and the trio of ghosts are just too cute. This is so simply colored and most of the shading is done with a white Prismacolor Pencil! Perfect for some more kraft cardstock inspiration. 


The markers I'm using today are Parkoo. You can find them listed down below. They are a cheap alternative to Copic markers, if you don't mind the bullet tip instead of a brush. I did use a alcohol marker friendly black ink, I like Gina K. Designs Jet Black Amalgam ink. I stamped the ghosts, spooky word and bats on to Neenah Desert Storm 100lb cardstock. 

The marker colors I used will be listed below. Using two shades for each color. I went with a simple shading with a hard line, similar to what the packaging of Art Impressions products show. I also colored in the ground level with several more markers. I like how this has more of a non traditional Halloween color palette.


Once I had the marker coloring done, I started coloring over the top with a white Prismacolor Pencil. This is my most used colored pencil. To get the most out of these pencils I do use a pencil extender. 

I started coloring the white pencil in the certain of the ghosts and lightly shaded out to the edges. I kept a hard line right on the edge to give these ghosts a more rounded feel. You can still see the two shades of colors I used underneath the white pencil coloring and of course white pencil shows up so nicely on kraft colored card stock. I did the same for the spooky word and then also added a little bit of shading on the ground. 


Using some scrap pieces of paper I covered the colored areas and added some white splatters with Copic Opaque white. You could also use white acrylic paint. I did use the Copic Opaque white for the highlights on the ghosts and the eyes of the spooky word. It is hard for me to get a nice line with a gel pen over colored pencils due to the wax from the lead. Using a Rounded Rectangle die I die cut the ghost panel and added a green craft foam layer underneath using the same rounded rectangle die. These are mounted to Neenah Solar White 110lb A2 top fold card base. 

Parkoo Markers Used:

64 Indian Blue, 182 Frost Blue

46 Vivid Green, 174 Spring Dim Green

14 Vermilion, 122 Fluorescent Orange

35 Lemon Yellow, 49 Pastel Green

99 Bronze, 97 Rose Biege

GG7 Green Grey, GG3 Green Gray, 123 Fluorescent Yellow


Thank you so much for joining me today! Happy stamping. 


Friday, April 10, 2020

Oopsie Daisy Birthday Card with Colored Pencils | By Jessica Shier

Hello Ai Fans!

It's Jessica here on the blog today and I'm back with another floral card. These Scrapbook.com exclusives have been really fun to work with. This time I have a card using the Daisy set. I just love Daisy's. I've said for a long time now that they are probably the most happy flower out there. They always make me smile. This punny sentiment is just to cute paired with this gorgeous bunch.


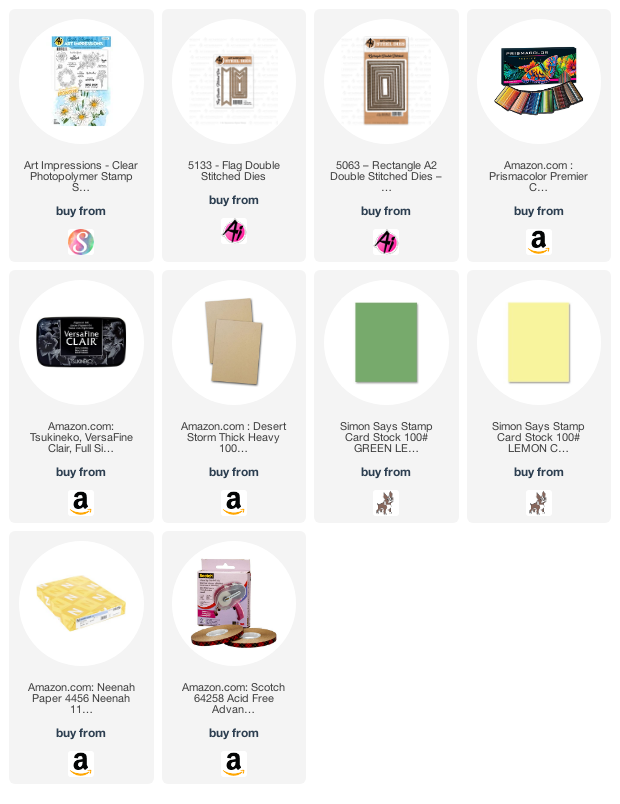
I'm using Prismacolor pencils on Kraft card stock for this card. I started by stamping the daisy bunch onto the center then stamped the two littler daisys on either side. I used Versafine Claire Nocturne ink for this. I'm coloring all the daisys with the white colored pencil, then adding in a hint of a French Gary and Warm Gray for contrast and shading.


I used one of the Art Impressions Rectangle Double Stitch dies to trim out my coloring. This is backed with a bright green card stock that matches the stems. The sentiment is also stamped with the same ink as the daisies but onto a piece of light yellow card stock. Then die cut using the double ended flag from the Flag die set.


before adding the sentiment I used several more colored pencils, the list is below, to create a cloudy back scene. The inside is kept simple of course with a tiny bit of coloring of two more daisies. One of which has a fabulous sentiment. 


Prismacolor Pencils used

PC938 White
PC1070 10% French Gray
PC1054 50% Warm Gray
PC915 Lemon Yellow
PC916 Canary Yellow
PC989 Chartreuse
PC913 Spring Green
PC1096 Kelly Green
PC1086 Sky Blue Light
Pc1088 Muted Turquoise

Thanks for stopping by today. Happy Stamping!


Friday, October 25, 2019

Hoppy Holidays | By Jessica Shier


Hello Ai Fans!

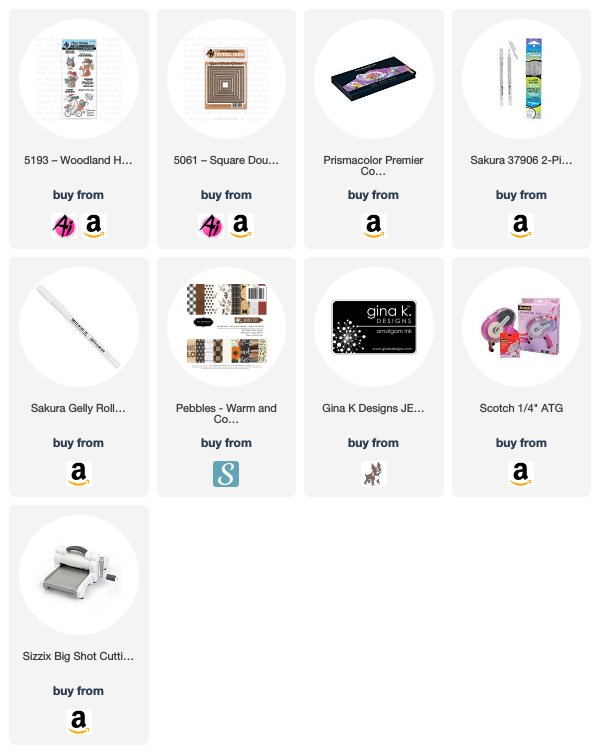
This week I'm jump starting some holiday cards using the, oh so cute, Woodland Holiday Set. Which is perfect since the new challenge is holiday cards! So for this card I decided to color this little bunny with Prismacolor Pencils.


I stamped the bunny from the Woodland Holiday set with black ink on to Neenah desert storm lb card stock. Of course one of my favorite colors to use on kraft card stock is white. I'll have a full list of the colored pencils I used down below. I thought the bells could use a little shine so I colored them in a with a Gelly Roll Stardust pen and also added snow flakes around the Christmas bunny with a white gel pen. Then I stamped the sentiment "Hoppy Holidays" which coordinates perfectly with the little Christmas bunny. 

I used the Art Impressions Square double stitch die to trim down the kraft card stock and then added a layer of green behind it. I also used a fun pattern paper that had a similar tone to the Desert Storm card stock. Everything is mounted on to a A2 card base. 


Prismacolor Premier Pencils Used;
PC924 Crimson Red
PC122 Permanent Red
PC929 Pink
PC989 Chartreuse
PC1074 70% French Gray
PC1072 50% French Gray
PC1068 10% French Gray
PC1054 50% Warm Gray
PC1051  20% Warm Gray
PC983 White

Thank you so much for joining me today! Happy Stamping!


Friday, July 19, 2019

Sloth-some set By Jessica Shier


Hello Ai Fans!

This week I'm coloring up some sloths from the Sloth- some set with Prismacolor Pencils. Since the new challenge is Animal Print I thought coloring animal fur would be appropriate! I colored these very similar in this video here. 


I started off by stamping the sloths (Sloth-Some set 5002) hanging from the tree branch three times on a piece of Kraft cardstock, using Gina K amalgam ink. I used some Copic markers to help me map out where my colors would go. I have the list of all the colors I used down below, broken up into sections. To add a bit of depth and color to the Neenah Dessert storm cardstock I used Distress Ink in Pumice Stone with a make up blending brush. Blending that ink around the sloths, making the edges the darkest. 


I used another piece of Neenah Desert Storm cardstock to re-stamp the sloths three times so that I had 3 extra party hats and balloons. I decided on a black and white pattern paper to border the sloths and would need to cut off those sections which would slice right through them. By re-stamping and coloring those 6 elements I was able to fussy cut them out and place them over the top of the chopped hats and balloons. Plus it adds a little dimension. Speaking of which I also added some green craft foam underneath the sloth kraft piece. 


I mounted the sloths with the green craft foam on to a piece of MFT Black and White striped pattern paper, then to Neenah Solar White 110lb cardbase. For the sentiment I used Tombow Markers (173 & 493) to make it gradient from green to blue, playing off of the colors of the balloons and hats. I also fussy cut the sentiment with my Fiskars scissors, then added it to the top right hand side with a few adhesive foam squares. 

Prismacolor Pencils Used:
Sloths
PC935 Black PC938 White
PC1067 90% Cool Gray          
PC1063 50% Cool Gray          
PC1060 20%Cool Gray           
PC1076 90% French Gray       
PC1074 70% French Gray
PC1072 50% French Gray
PC1068 10% French Gray
PC1082 Chocolate
PC1082 Chocolate
PC939 Peach
PC9328 Blush Pink  

Blue Blend
PC208 Indanthrone Blue
PC133 Cobalt Blue Hue
PC1040 Electric Blue
PC1086 SKy Blue Light

Teal Blend
PC907 Peacock Green
PC105 Cobalt Turquoise
PC992 Light Aqua

Green Blend
PC908 Dark Green
PC912 Apple Green
PC989 Chartreuse


Thank you so much for joining me today! 
Happy Stamping! 


Wednesday, July 3, 2019

Succulent Space by Niccole Kulig

Hello Ai fans!!

Today I am stopping by to share a card using the Succulents stamp set from Art Impressions.  I know what you are thinking ... ANOTHER Succulent card?  Can you tell this is my favorite stamp set at the moment?  I promise this is the last card using the Succulent set for a while.  It is just to darn cute and versatile. 


I started by Copic coloring my Succulent.  I die cut the image and set it aside.


I Trimmed .5" off of the card front and cut it 2" in. I added two tiny green trim pieces to define the cut space. I lined it up with my card base and then glued my Succulent onto the two pieces. I stamped the sentiment "Just For You" from the same Succulent set.


I finished it off with some Apple Green Nuvo Drops to balance out the card.  


Here is another look at the card.  I love how bright the card is. Doesn't the strip missing from the middle really give it some dimension? 

Copics Used:
G99
YG00, YG03, YG25, YG67

Thank you so much for stopping by.  See you again soon -

Until next time ... Hugs & inky fingers!


Wednesday, January 31, 2018

Life One Cup at a Time by Dana Warren

Hello AI fans!!

Are you a fan of coffee? If so you need the Latte Love set! It has a great girlfriend image and a couple different sentiments!


I started my card by stamping the image and then using Spectrum Noir ColourBlend Pencils to color. I used Pumpkin, Nectarine, Denim Blue, Royal Blue, Pink Blush, Vivid Pink, Pewter, Black, Mustard, Saffron, Cherry Red, Saddle Brown, Paprika, Amazon Green, Forest Green, Spice Brown, Bark, Yellow Ochre, Espresso, Admiral Blue, Anemone. After coloring I fussy cut the image out.


If you are strapped for time the Kraft Foil paper pad from Bazzill is great to have on hand! It has Kraft cardstock with gold foil in a bunch of different patterns! A great way to have a cool background without the work!!


I picked out the polka dot pattern and added it to a white card base. From a leftover strip, I flipped it over and stamped the sentiment Take Life One Cup at a Time. Then I added it to the card base and then the ladies with foam tape.


Thanks so much for stopping by! I hope you all have a wonderful and Happy Stamping!!