I have two projects for you today that feature the same stamp set #6163 - Poppy Margin set. One is a belly band using the #6043 - Bible Bookmark and the other is a set of bookmarks using the #6230 - Mini Decorative Bookmark set.
The poppy margin was stamped with Memento black ink onto copic friendly paper and colored with my copic markers listed below. I painted the scroll frame as well as the floral centers with the Winsor & Newton gold paint.
The belly band fits nicely over the #6121 - Storybook box. I created this box without cutting the oval center so that it was a solid closed box. Wrap the belly band around the box to form the folds. I then cut two small holes at each end, added the ribbon and sentiment and tied the bow.
Bookmark before matting and forming as a belly band:
Backside of the box with belly band:
Project 2: The bookmarks below use several fussy cut florals from the poppy margin stamp set and placed on the sentiments. The first bookmark is magnetic and the second one I used a covered paper clip.
Paper Clip BM: Take a lightweight piece of cardstock 3" x 2 1/2" (approx. the size of the bookmark) and fold in half. Place the paper clip over the folded edge. Cut a slit at the center fold of the bookmark cardstock and slip the top of the paper clip cardstock through the slit. Glue the top layers together. Do the same for the bottom layers. The paper clip will then hold the pages together of the book.
Something happened to me this week that really brought home that humility is something that's hard to live at times but should always be remembered. The bookmark I made serves as a reminder of that for me. It's residing in my work journal to remind me to be less judgmental and to be humble.
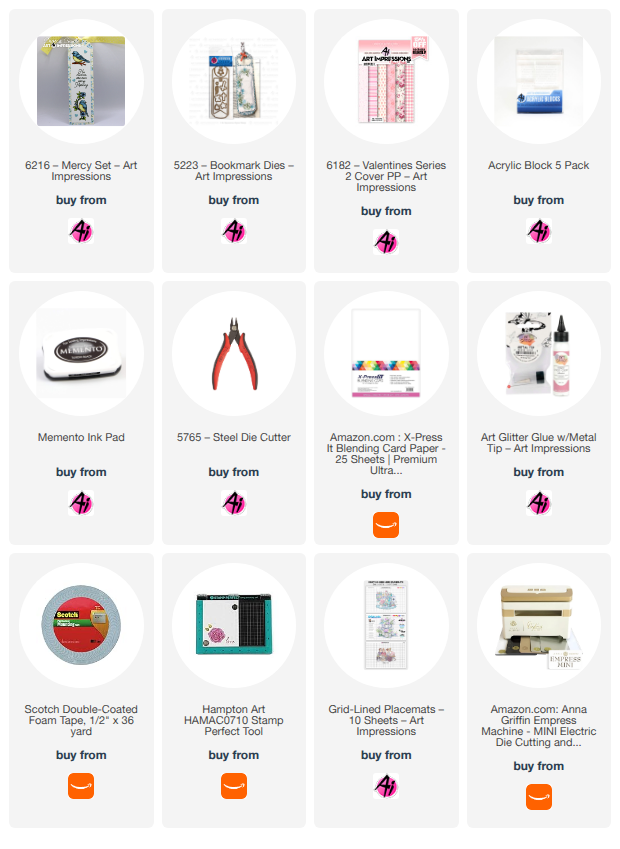
The bookmark base is made using 5223-Bookmark Dies. The feathers and cross are just two of several embellishment dies in this set. They add really nice touches as decorative bookmark elements. The bird and sentiment are from the new set released this week, 6216-Mercy Set. If you love birds and nature, you will enjoy this stamp set. It's perfect to color with water color, markers, or pencils.
Thanks for stopping by and spending time with me and Art Impressions today. Please visit the Ai store to pick up your favorite stamps, dies, papers, accessories, and supplies.
If you've been affected by the widespread freezing temps, I sure hope you're starting to thaw out a little! And if not, what is better than crafting Valentines for your loved ones in your warm home? That's what I've got to show you today. Our new challenge is Love, Love Me Do (you know I love you...I'll always be true...so plee ee ee eese) Sorry...I got a little carried away with lyrics from my youth! LOL! So anyway, I decided to create a little Valentine for one of my granddaughters. I just love how it turned out, so I hope it inspires you a little.
I just used a white gel pen to create the patterns on her hat and dress.
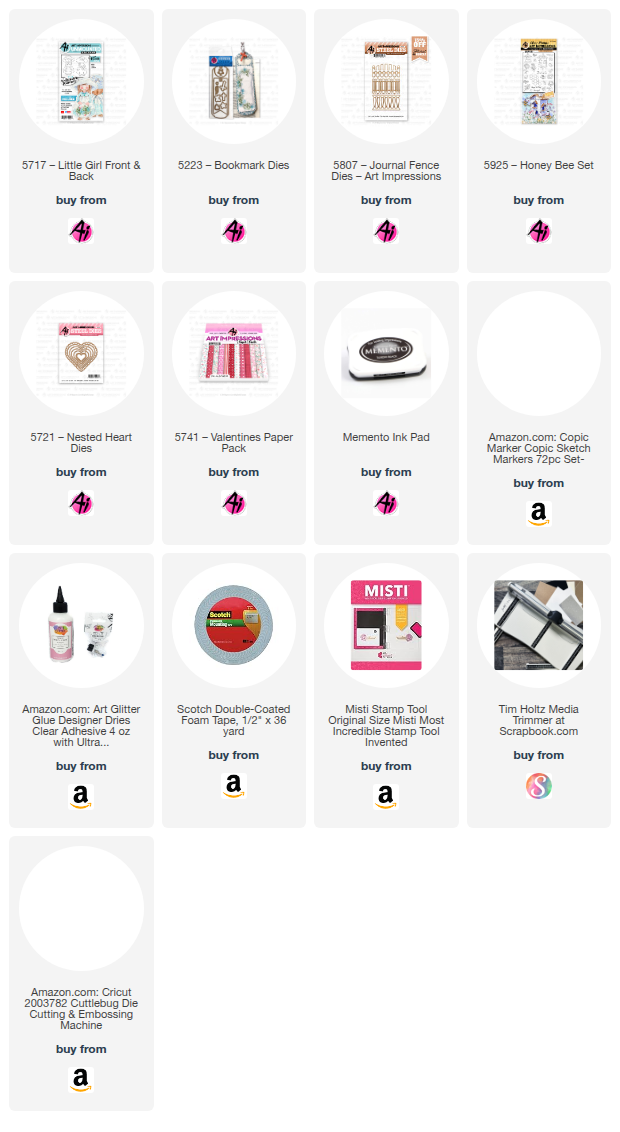
I started by pulling out #5717 Little Girl F&B stamp set and stamping her onto some Copic friendly paper. I don't know about you, but I love using pinks and reds together for Valentine's Day projects. When I cut her out, I cut a slit in her basket so I could add some pink and red hearts I cut using the heart die from #5223 Bookmark Dies. After cutting my A2 card base and adding some pattern paper from #5741, I took #5721 Nested Heart Dies and cut out a window to the inside of the card. After doing that, I glued the inked cloud paper to the inside of the card so the sky would be continuous on the front. I then took a coordinating piece of pattern paper and cut a frame for the heart window using the window size heart along with the largest scalloped heart in the set. I love framing my windows as I believe it adds a nice touch of detail. That adorable fence is from #5807 Journal Fence Dies. I just cut it twice and overlapped the edge piece to make it seamless. Of course it's popped up with dimensional tape. Daisies are my favorite flower ( I have a huge bunch of Shasta daisies in my back yard), so I just can't resist using these cute stamps from #5925 Honey Bee Set. I'm sure you notice I use them ALL the time. LOL! That set also contains those cute bees and the dies to cut them all out so they can be used exactly like this if wanted!
So that's it for me today! Thanks so much for stopping by for a visit and until next time - stay crafty!!
If you haven't seen the new Corner Bookmark Die set from Art Impressions, I think you're in for a real treat!! These are so beautiful and look amazing when you slip it into your book to mark your page. Just grab a few pages in your book and slip it right over the corner. They go together so easily and I think they make a big impression when you see them. They're beautiful either painted with your water colors or with Copic markers as these are. I just had fun and chose some cute images from the Mushroom Cubbies to use on this batch. But I really love the one I made just using the flower dies that come with the Bookmark Set. I think a set of these would be a perfect gift for that book lover in your life!!
Thanks so much for stopping by for a visit today and until next time - stay crafty!!
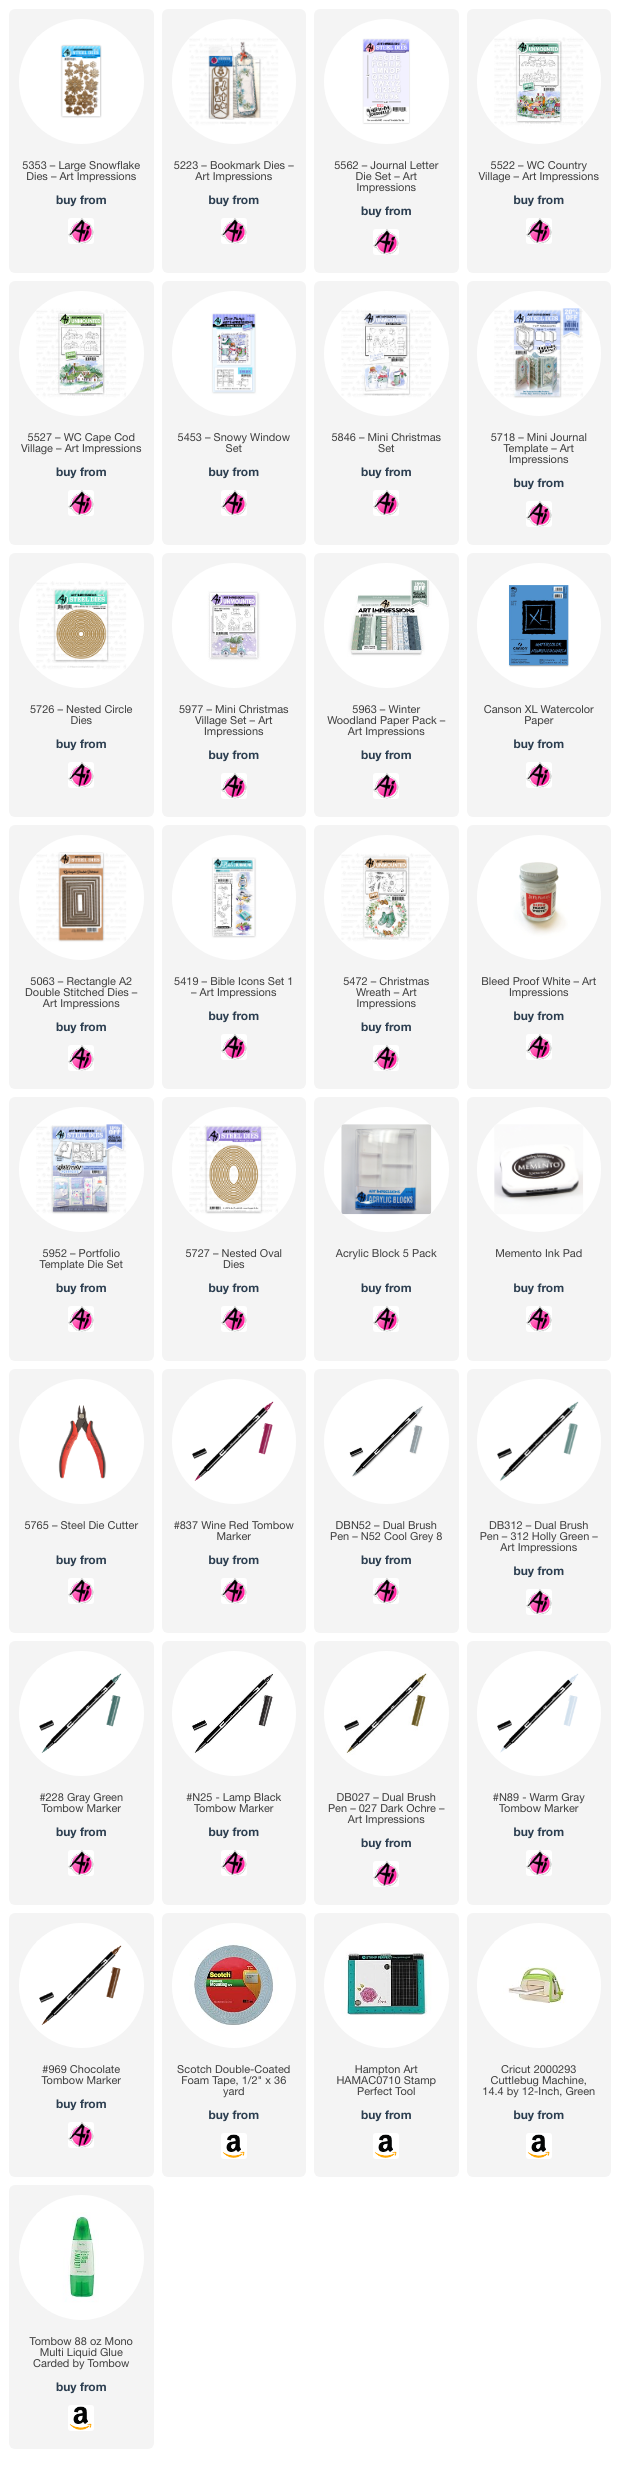
I'm starting out by sharing a winter card today. Christmas may be over but we still have LOTS of winter ahead where I live and I know some people like to create Christmas cards all year round. It's never too early to start adding to your Christmas stash for December 2025!
All of the colors that I used are at the end of my InLinkz at the bottom of the page.
My next project was something put together to do with one of the 5th grade classes that I work with.
I thought a little snowglobe ornament would be fun for them. They tend to be a very "lively" class but they really focused on this and did a great job. One girl added a deer silhouette with hoof prints, several kids added smoke and some made the chimney brick or added Aurora Borealis to the background. They were so creative.
I used colored pencils for my sample since I knew that's what they'd be coloring with.
My third project is my second attempt at making a Matchbook resembling the 5950 - Christmas Town MBE which quickly sold out. Don't despair. You can create something similar using current Art Impressions products. I think it might have been Caly Person who said she initially mistook the easel die that holds the MB up, for a snowbank. I decided to use it that way with the snowman.
I have two coworkers who are avid readers. I had a bunch of scraps laying around from other projects and decided to whip these up. They would have come together really quickly except that I decided to add text which took time to cut and glue.
We hope you all had a wonderful, relaxing Christmas and New Year's Eve with your friends and family. Our Design Teams had the holidays off, but are back in full force with amazing inspiration for you!
Our very first challenge of 2025 is called Craft Time is Golden! Wouldn't you all agree?
Our Featured Artist is Lynn, and you know what that means...a GORGEOUS project AND a fabulous video tutorial to go along with it.
This time we're challenging you to use gold.
Gold paper, gel pens, paint, glitter, beads, pearls, ribbon, paper clips... you name it!
You're going to love what Lynn created, and we can't wait to see what you make!
As always, we will select one Top Spot, and one Lucky Random Winner, and BOTH will receive a free stamp set from Art Impressions. See details at the bottom of this post.
And now, without further adieu, here is Lynn with our first challenge post of 2025.
Hello Ai Fans!!!
Watch video tutorial here!!!
I had so much fun as the featured artist for the current Art Impressions "Craft Time is Golden" Blog Challenge! This challenge is to create a card or project that incorporates something gold. It can be sequins, gems, papers, ribbons, glitters, or anything else you might like!
To get started we will begin by stamping a fun container for our flowers using the Ai Glass Containers Set (5921). Then we will add a beautiful floral bouquet from the Ai Floral Long Stem Bouquet Set (5918). In order to stamp the flowers inside the container we will need to mask off the top of the vase.
Next, let's color all of our images using the Zig Clean Color Real Brush Pens in the following colors: Blender, Lilac, Violet, Yellow, Bright Yellow, Orange, Ever Green, Lt Green, Dk Green, Turquoise Green, Sea Green, Blue Gray. Once the coloring is done, we can grab our detail scissors and cut out the design.
Using the Ai Rectangle A2 Double Stitched Dies (5063) we can die cut a large white panel for the front of the card, a smaller rectangle in some gold metallic paper for our frame, and a smaller white panel for the design. To this smaller panel we will add some interest and shimmer using the brand-new Tim Holtz Spritz in a coordinating color for each of our cards.
The other layer we will need is a beautiful diagonal border using a Diagonal Stripes Border Die Set. This will give us the perfect spot to ground our floral arrangement and add a bit more gold.
If you want to stamp a sentiment of the front of the card, this would be a good time to do that. I used the Ai Birthday Sentiments Set (5735) for my sentiments on the inside and the outside of each of the cards.
Now for the assembly, let's add some gold embroidery thread around the top of the container and die cut a metallic gold heart using the Ai Bookmarks Die Set (5223) and attach it to the center of the vase. Then we can assemble all of our layers and pop up the gold metallic frame using some 3D Foam Strips.
As a finishing touch, let's add some sparkly gold dust gems to the centers of each of the flowers and to the center of the little heart.
I hope you got inspired to add a "touch of gold" to your projects and we invite you to join us in this fun new challenge...we would love to see what you create!
Thank you so much for joining me today! Have a fun and crafty day!!!
✻ Please make a new card or handmade crafty creation. You can make any item you wish; this is not limited to cards! (unless specified)
✻ Limit two submissions per person. You will receive extra votes if you use Art Impressions stamps!
✻Please include your first name and last initial on your submission.
✻We love to comment on your entries, but keep in mind if you use a private group or a platform that you need to sign up for, we probably won't be able to.
✻ The Ai Challenge is open to everyone, international submissions are welcome!
✻ Include a link back to the Ai Blog or grab our button on the top right of our sidebar!
✻ Share the Ai love if you can, by clicking and commenting on your fellow crafters.
✻ Make sure to get your link up by the deadline to enter your creations.
My friend has two little girls who are Girl Scouts.
They are trying to earn their Craft and Tinker Badge and she asked if I could come in and work with the girls and their troop. I will have 14 girls and 1 hour to complete something. She mentioned maybe making a bookmark, and with the Halloween season upon us, I came up with this design. This is just preliminary. I am seeing a brighter background for little girls, maybe orange or lime green? And also, I think the fence is a little delicate for their small hands to glue down. I think they'll love the little characters though.
I used 5223 – Bookmark Dies for the base. This is such a fun and easy project with so many possibilities. The dies help it come together so quickly. P.S. I need a better camera. My Dracula has rosy cheeks and a pink skin tone in person but they didn't show up on camera.
My friend offered to reimburse me for my supplies but I declined. I'm starting to rethink that though. Is it wrong to ask for a box of Samoas as payment...lol!
My card today was inspired by the current challenge - Keep Calm and Celebrate On! This challenge only asks you to create and enter a card/project for any type of celebration. How easy and fun is that? Check out the tab above - "Bi Weekly Challenge" for details. Hope you play along for a chance to win a free stamp set.
Since I recently retired, I decided to create a Happy Retirement card. This seems to be the year for many of us. Finally!! LOL!
I love making fun fold cards so this one is a twist on the standard easel card. I call it the reverse easel. Very simple to make! Let's create the base first. Cut a standard A2 card base (5 1/2 by 8 1/2) and score the long side at 2 1/8" and 4 1/4". Fold at the 4 1/4 and opposite fold at the 2 1/8 to create a valley and a mountain fold towards you. See card picture above. For the background base, cut two from green cardstock (one - 4 1/8 x 5 3/8 and one - 2 x 5 3/8). For the pattern paper, I used the 5832 Gnome Paper Pack and cut two pieces (one, 4 x 5 1/4 and one, 1 7/8 x 5 1/4). At this point I mounted the pattern paper to the corresponding green base. Before adhering these to the A2 card base, I used the 5223 bookmark die and placed the top part of the bookmark over the pattern paper, making sure to place the bookmark portion of the die underneath the pattern paper so that won't cut. See Picture 1.
Picture 1:
Then, I partially cut the tab on the large green/pattern paper piece. I want the tab to remain intact so to partial die cut you need to place your cutting mat only over the portion you wish to cut. See picture 2.
As you can see, I did this upside down so make sure you put the cut edge of the die facing the cutting mat. 😞 Since I'm admitting my boo boos, I suggest you cut the tab before adhering the A2 card base. As you can see in the picture, I adhered to the A2 base first. You'll find it's easier to cut through without the A2 card base plus it won't make an indent into your card base.
Picture 2:
Okay, now that the base is done, let's go to the image. I used the 5186 Enjoy the Ride stamp set. I love this fun little couple and their dog, but I especially love the lady drinking her coffee with her feet up. No help from her! My husband says that is exactly why we'll never own a tandem bike. LOL!
He knows me too well!
I stamped the image on copic friendly paper and colored with my copic markers listed below. I stamped the sentiment, from the 5187 Happy Trails set, into a rounded shape by curving onto my stamping platform. I used the two largest dies from the 5727 Nested Oval dies to cut the image and also the pink frame. I adhered the bottom half to the folded part of the card and tucked it into the tab for display. I added some enamel dots and a bow and it's ready to go.
I hope you enjoyed my card today and it inspired you to join the challenge.

%20WM.jpg)
%20WM.jpg)
%20WM.jpg)
%20WM.jpg)

%20Renee.jpg)
%20Renee.jpg)
%20Renee.jpg)







.jpg)
.jpg)
.jpg)
.jpg)
.jpg)
.jpg)



.png)