Showing posts with label Block Letters Die Set. Show all posts

Saturday, May 21, 2022

Time To Celebrate! Sport Accessories Set by Janet Axtman


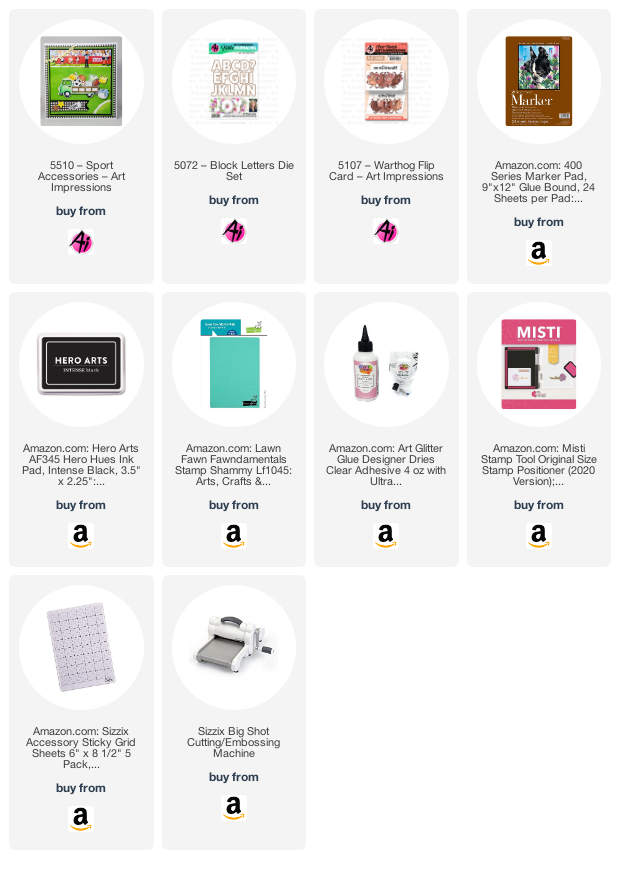
Hello Ai Fans! It's Jane with a bit of a different card for you today. It celebrates sport with a graphic style. It features the new 5510 Sport Accessories Set. I used it to make a black and white pattern on the upper portion of the panel. It's very easy to do this with a stamp positioner. Just place the small stamps in staggered positions and you get an instant background. I added pops of color by doodling in little red hearts. I love doodling like this. It adds a personal touch and it looks great too.
 
I also used the letters from 5072 Block Letters Die Set to spell the word Sport. I added a sport themed border using a punch and the sentiment is from 5107 Warthog Flip Card. The final touches are a strip of bling and another cutout megaphone from the the Accessories Set to highlight the front.

This is a perfect card to give someone for winning the big game, for having a great year in a sport, or to give special appreciation for a coach. It could even be used as a birthday card for a sports fan.

Thanks for stopping by today. I hope I inspired you to try something different with your Ai Stamps. It's great fun!

Wishing you a very crafty weekend!
Janet YouTube - Blog - Facebook - Instagram - Pinterest 

Sunday, March 13, 2022

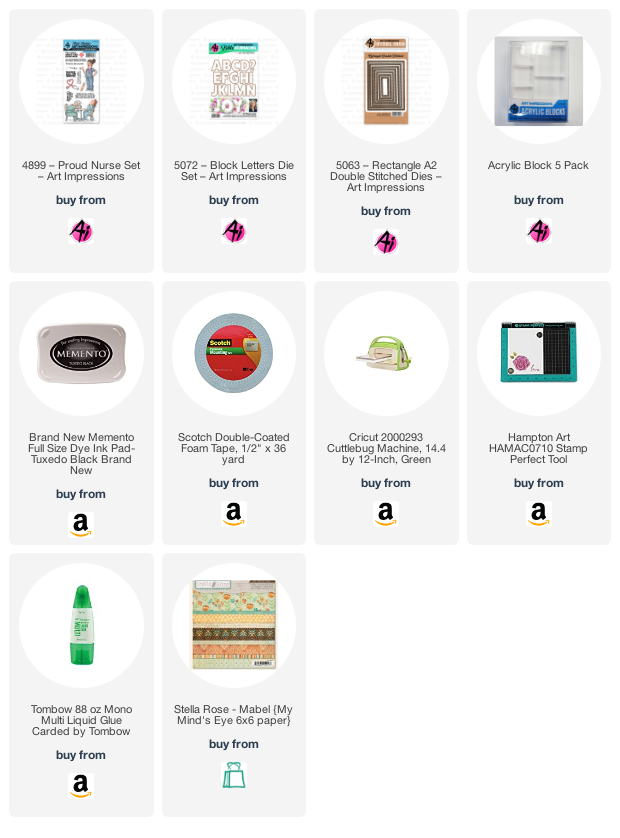
Proud Nurses by Reneé Matarese

Hello Ai fans!

My son has a friend that recently graduated as an RN.
These are 3 variations on the card that I made her.


I have used this set so many times!  I sent dozens of cards to medical personnel during Covid and have made many during my health battles over the last year as thank you cards.


The Band-Aid is one of my favorites in the set!  How cute!
My rectangles were cut using 5063 – Rectangle A2 Double Stitched Dies.


This set would be great paired with the 5332 – Health Mini Dies.


Here's my last card.  Although very similar, I made each card a little different because I like each one to be unique.


The insides of all three is the same.  I used two of the smaller images from the set as well as another sentiment.


My card also goes along with the recent Blog Hop that
Art Impressions sponsored for Women's Day.

Copics used:
E21, E30, E99, R81, Y15, T3, BG05, BG10, BG3


Tuesday, July 30, 2019

Large elephant Happy Birthday Shaker Card by Jil Lebel

Hello Ai fans!

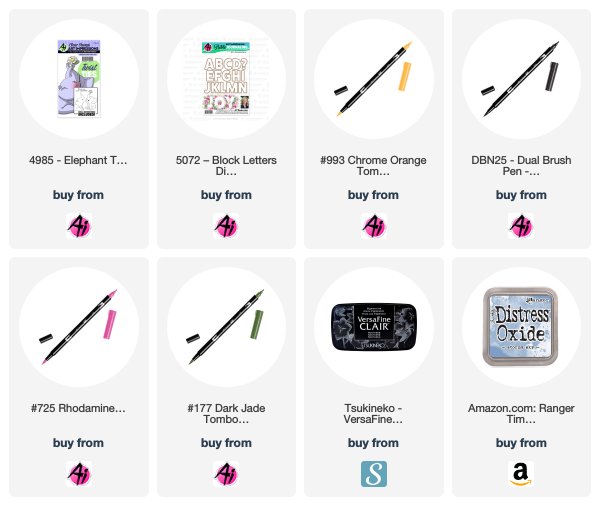
Have you ever needed a card much larger than the normal A2 size?  I did, so I made this elephant shaker card using the Elephant Twist Ties Set along with the Block Letters Die Set.  It measures 8" x 10 1/2".  It was perfect for a large group of people to sign.
A white piece of paper was stenciled with the Picket Fence Life Changing Blender Brushes using Stormy Sky Distress Oxide Ink over an Altenew stencil.  The Block Letter Dies were lined up on a T-Square ruler and taped to the paper using low tack tape before being cut out with my die cut machine.  Once they were all cut out I attached a piece of acetate behind the paper with scor-tape.  I added a double layer of foam tape around the words on the back of the paper and added in the confetti before adding a piece of white card stock to the back of  the foam tape.  It was then layered onto a dark blue piece of card stock and then added to the card. The elephants were added to the card with foam tape.
The elephants were stamped onto Canson XL watercolor paper with Versafine Clair Nocturne ink and water colored with Tombow Dual Brush Markers. I used N25 Lamp black for the bodies of the elephants and 725 Rhodamine Red to accent them.  The flowers were colored with 177 Jade Green, 725 Rhodamine Red and 993 Chrome Orange.  After they dried they were cut out.


Thanks for stopping by and Have a Great Day!

Saturday, July 6, 2019

Watercolor Weekend Roundup - July is World Watercolor Month


Hello, Ai Watercolor Fans! Did you know that July is World Watercolor Month? How cool is that! We hope today's projects inspire you to break out your stamps and play to celebrate the occasion all month long. Without further ado, here is your weekend inspiration!

Dot Freel - Instagram - Blog - Pinterest
Hello Friends,

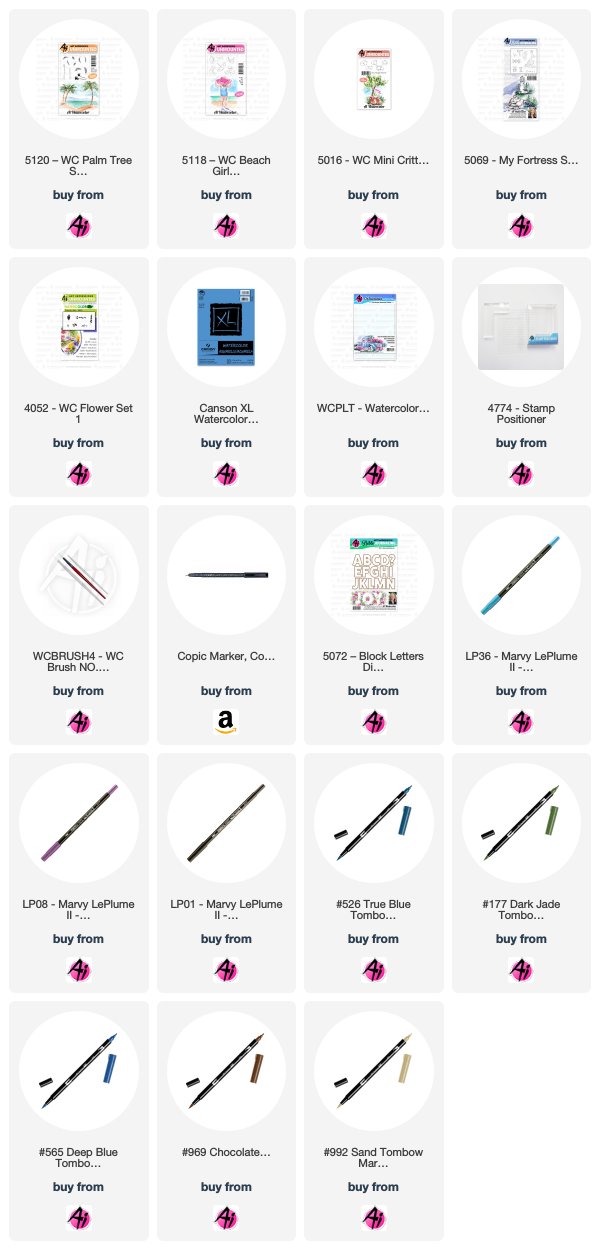
I made a "Beach Babe" with Art Impression's stamps for the Watercolor Weekend. Summer in Las Vegas always finds me wishing I was on a beach where I can cool off in the ocean. I stamped the palm tree trunks in 969 from the 5120 - WC Palm Tree Set first, then I used a pencil to sketch in the lines for the ocean and the sand. I watercolored in the sand with 992 and the ocean with 526. The water was too light so I added some 565 which darkened it nicely. I stamped the palm fronds in 177 and pulled the color out of the lines. I watercolored the sky using No. 36 manganese blue and stamped the birds in 565 from the 5069 - My Fortress Set. I stamped the beach babe in 992 from the 5118 - WC Beach Girls Set and the puppy in 992 from the 5016 - WC Mini Critter Set. I used 77 pastel peach to color in the girl's skin and 603 to color in the girl's hat and suit. I used 969 and No. 1 black to color in the puppy then darkened his eyes and nose with the fine tip of a Copic multi liner pen. I stamped the flowers in No. 6 violet from the Flower Set 4052 and touched them with a wet brush to bring out the color. I used 565 to create the shadows. I used letters from the 5072 - Block Letters Die Set to cut out the word "beach" and then used adhesive foam to give them dimension. Lastly, as always, I added my name and date to the corner.
Karen Day - Blog - Facebook - Pinterest
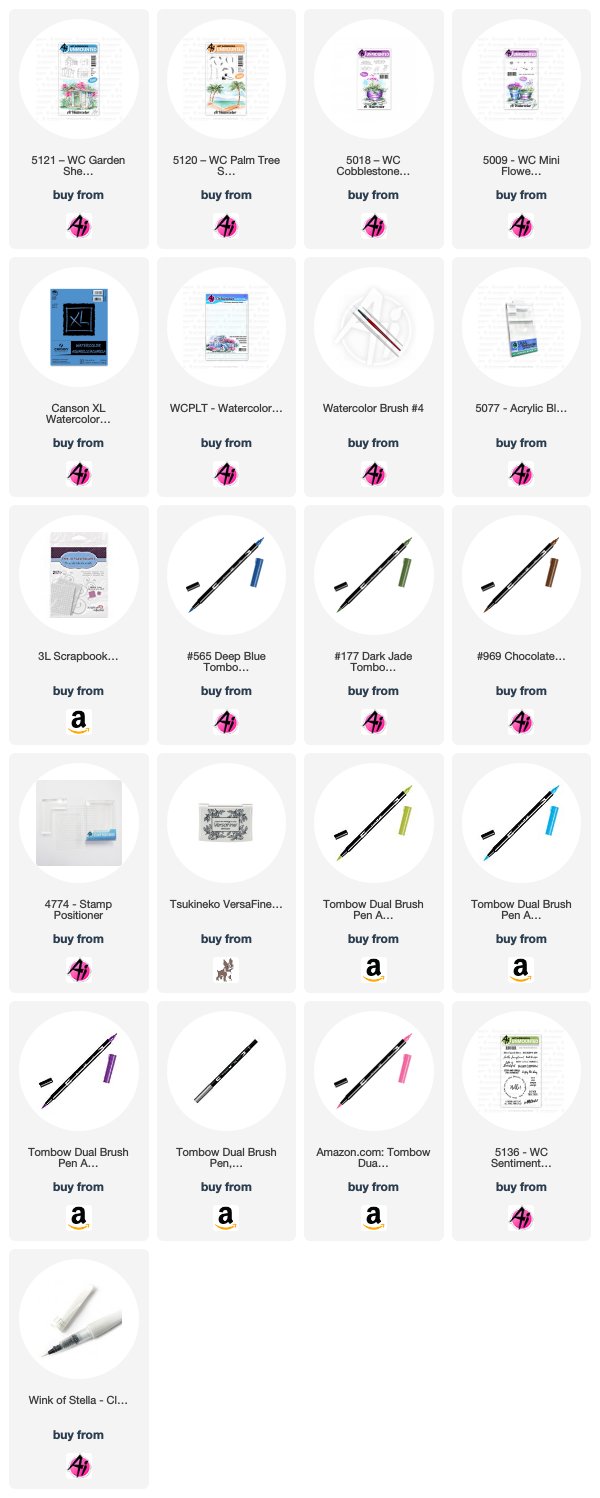
This little shed from the 5121 WC Garden Shed Set looks like a beach hut to me, so I stamped it using my Tombow marker #969 Chocolate. With #676 Royal Purple and #703 Pink Rose, I stamped the tiny dot cluster from 5009 - WC Mini Flower Set in and around the hut, to suggest tropical flowers, and added the tiny foliage stamp with #158 Dark Olive for greenery. From the 5120 - WC Palm Tree Set, I used the two trunk images with #969 to add the trees behind the hut, then with #126 Light Olive and #158, I added in the different palm fronds. Using my #4 paintbrush, I pulled out the brown of the trees and the shed, and only lightly touched all of the flowers and foliage to liven the colours. I painted the hut with #991 Light Ochre, and a bit of #969 to suggest painted wood, and added #515 Light Blue to the door and painted it to suggest the ocean in the background. I used #N65 Cool Grey 5 and the stepping stone image from the 5018 - WC Cobblestone Set in front of the hut, and then painted a wash with #126 to indicate the grass. I added #565 Deep Blue to my palette, then painted in the mountains, a soft sky, and added it around all of the images to indicate shadows. I stamped the sentiment from 5136 - WC Sentiment Set 2 using Versafine Onyx Black ink, then mounted my image onto the base using pop dots. I layered some paper flowers and a wooden button to the bottom corner of my card, along with a few loops of May Arts twine. The paper flowers and the flowers on the image were all touched with a Wink of Stella pen, so they're quite shimmery in person! And you can't really tell in the photo, but that background paper has tone-on-tone sunglasses all over it.

Tricia O'Bin - Blog - Instagram - YouTube - Pinterest - Facebook
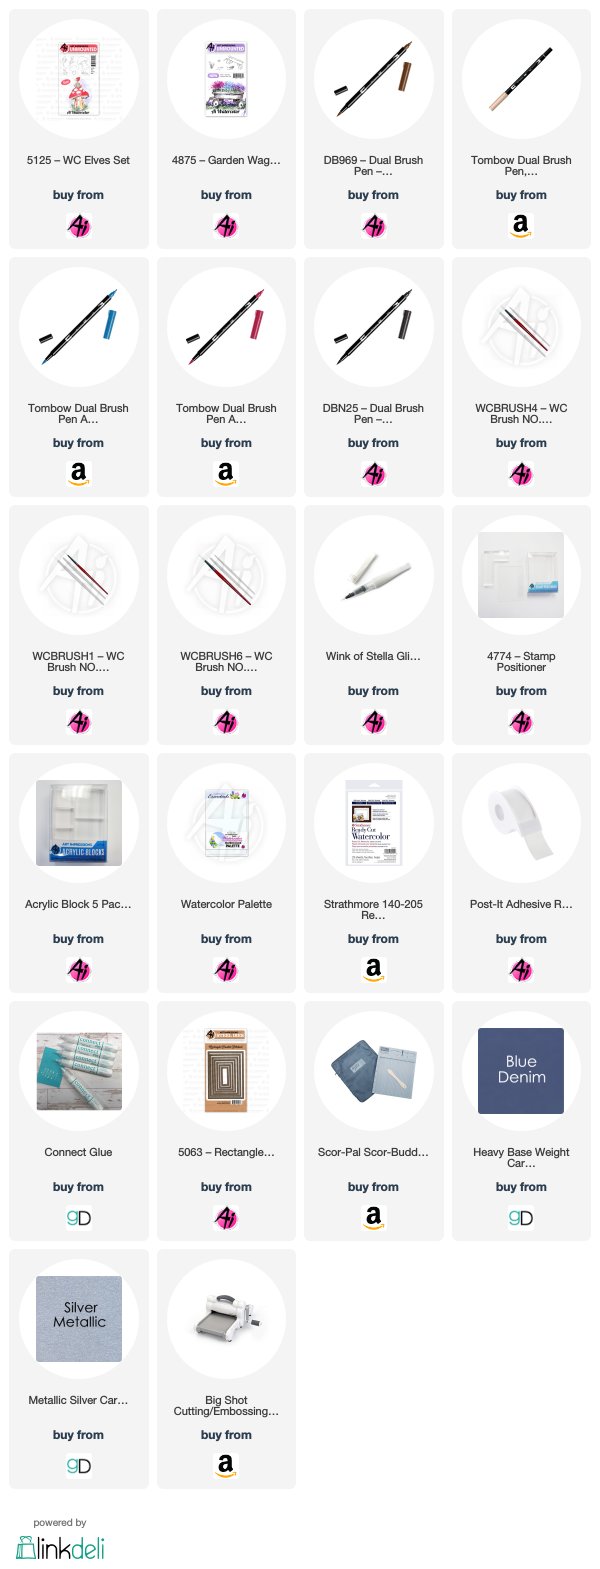
To begin, I inked the elf with the 969, stamped it off and then stamped the him to the right of the middle of the paper. Using a mask to protect him, I inked up the mushroom with the 969 and, using my positioner, stamped it underneath the elf.

I pulled the color out of the lines of the elf and the mushroom. I added some additional 969 from my palette to add some shadows onto the mushroom. I added some 954 to my palette and added it to the arms and face of the elf. I added some 969 to his pants and 535 to his shirt, adding shading around the bottom of his shirt.

I decided that it would be fun to try to use the long grasses from the 4875-Garden Wagon Mini set to create some fireworks. I am always looking for ways to stretch my stamps and this was perfect. I inked one of the grasses up with 847-Crimson and stamped it in a sort of circle a few times without re-inking, being careful not to ink the small flowers on the ends of the stamp. I did the same with the 535-Cobalt.

To create the fireworks look, I pulled the color out as far as I could in a wispy motion. I tried to pull the color out as far as I could in all directions. I added some additional red and blue to the mushroom as a type of reflection. Next, I added some N25 to my palette and slowly built up the color in the background. To add some sparkle to my fireworks, I added some Wink of Stella.

I cut the piece down using my Stitched rectangle die. I used some Gina K Designs metallic silver paper for the base and Blue Denim cardstock for the frame. To see how to create the gate fold, Jennifer McGuire does it perfectly...check out her blog here.

We LOVE to hear what you think about our bimonthly projects! Share a comment below, and we hope you can whip up a little watercolor time this weekend! Also, did you see that Bonnie (@bonniekrebs.biblejournaling) is hosting a Watercolor Challenge on Instagram that we hope you'll join! Simply use #aiwatercolorchallenge on your Instagram post so Bonnie and Ai Fans can see your work!

Happy Stamping!

Tuesday, October 23, 2018

Thank Mew! by Jil Lebel

Hello Ai fans!

I just can't seem to get enough of the flutters.  Today I am working with the Cats Flutter Set. I needed to make a fun thank you card so I combined the cats with the Block Letter Set.  I ended up being able to make a custom greeting with the block letters.  I've really been enjoying having them in my stash. I just did the waving kitties as is, but think about all the ways you can dress them up.  I can hardly wait to do them again and add things to their paws!
The images were stamped onto Spetrum Noir Ultra Smooth paper with My Favorite Things Extreme Black Ink and colored with Copic markers.  The colors used are listed at the end of this post.  The cat parts were assembled following the directions provided on the packaging of the stamp set.
The base of this card is created with the 6x6 Kitten Smitten paper collection from Doodlebug Designs. Even the block letters are die cut from the patterned papers.  The bright papers were selected to make the earthy colors of the cats stand out.
Copics Marker Colors Used:
Brown Cat - E21, E25, E27, R20
Grey Cat - C00, C1, C3, C5, R20

Thanks for stopping by and Have a Great Day!

Sunday, October 14, 2018

Haunted House Window by Reneé Matarese

Hello Ai fans!

Today I'm sharing one of the new Windows to the World images from Art Impressions.  This one is called Haunted House Window.


I used watercolor pencils to color the image and plastic googly eyes and a spider to accent it.


On the inside I used some letters from 5072 – Block Letters Die Set
I love this set so much because you can literally create ANY word you want for your card.  I can't wait to put people's names on a card.


Tuesday, September 25, 2018

Happy Fall Watercolor Card by Jil Lebel

Hello Ai fans!

The new Bible Journaling line of stamps are beautiful, but it just isn't something that I do.  That doesn't mean that I don't want several of the items from the new release.  I just had to have the Block Letter Die Set. I knew that I could use it in a variety of ways in my card making.  Once I saw how it was used on the packaging with masking paper, I had to try it myself.  The first way I had to try it was to make a Fall card because Saturday was the first day of Fall. Happy Fall!
The word Fall was cut out of masking paper using the Block Letter Die Set. It was attached to a piece of Canson XL Watercolor paper.  The area around the word was filled in using the Watercolor the Art Impressions way and the listed Ai stamp sets as well as the listed Marvy LePlume II markers. Once that was done, the masked letters were lifted off.  A shadow was added tot he letters with the Rosewood marker.
A piece of gold paper was added behind the watercolor piece.  It was added to a piece of dark brown paper with foam tape.  The brown paper was added to a pumpkin spice card with foam tape.  It was hard, but I kept the card very simple so the main image stood out.

Marvy LePlume II Markers Used:
Red 2, Brown 6, Olive Green 15,
Dark Brown 18, English Red 28, Rosewood 30,
Butterscotch 83, Tropical 101

Thanks for stopping by and Have a Great Day!


Saturday, September 22, 2018

BIBLE JOURNALING VIDEO: Living Water Set - Part 2

If you are looking for our SimonSaysStamp.com Exclusive post, click here!

Hello Ai Fans!

Time for our second video for our Ai Bible Journaling line! Today, we have part 2 from last week's kickoff of our Bible Journaling video series. We have partnered with our friend Jann Gray, who is also creating videos and now has the first devotional for the Living Water set available for preorder!

There will be videos from Bonnie on the second and fourth Saturdays, and videos from Jann on the first and third Saturdays! All videos will be linked in our Bible Journaling playlist on YouTube!

This week is part two showcasing our Living Water Set! Bonnie will show you how to create masked words. using "DRINK" in this tutorial, by surrounding the die cut pieces with flowers, foliage and branches. She simply adds a shadow to the letters to add dimension at the end!

Make sure to follow along for all the fun!
Subscribe to Jann's YouTube
Follow Jann on Instagram
Subscribe to Art Impressions' YouTube
Follow Bonnie's Bible Journaling account on Instagram!

Hop over to YouTube and leave Bonnie a comment, then tag us in your projects on Instagram or Facebook using #AiBibleJournaling!


View on YouTube: https://youtu.be/_5dJ6Yd4Ous