Showing posts with label Crosses Die Set 5909. Show all posts

Thursday, March 6, 2025

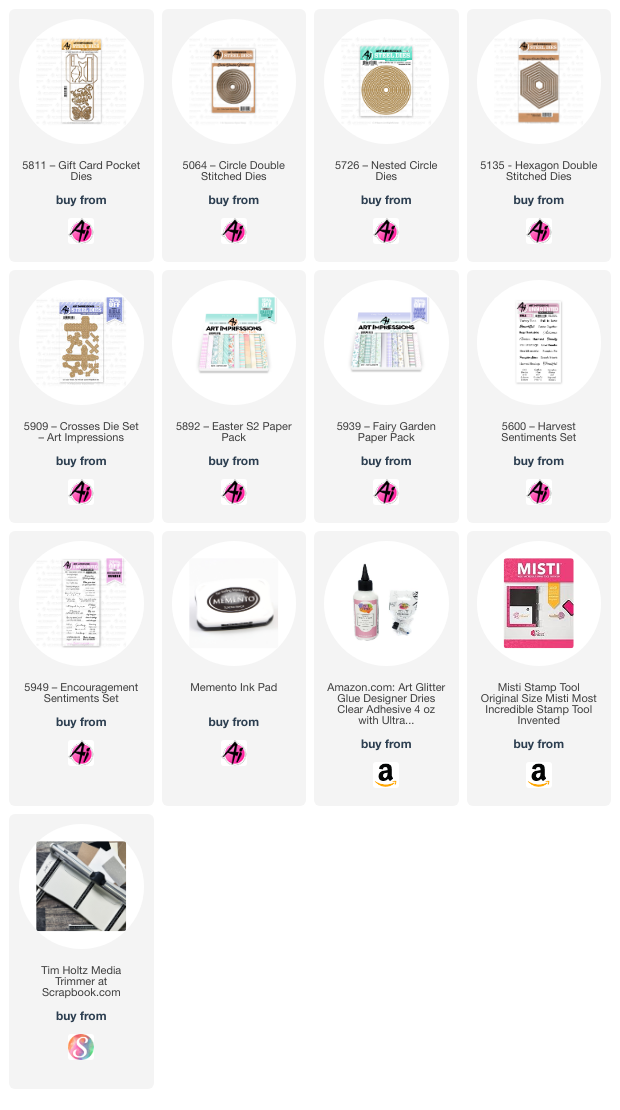
"Case" a design - Split Window card by Dori Mendiola

 Happy Thursday AI Friends!

The current challenge this week on the Art Impressions blog is "Case That Card".  What a fun idea!  I decided to recreate a split window card by Jennifer McGuire.  See below for her card and a link to her video/blog post. 

I started making Thank You cards and then decided to make a few more variations of this style.  I did find one suggestion to make them easier and create layers on the inside.  Before you adhere the sentiment panel down (circle), I recommend placing your layers (mats) on the inside first.  Then place the sentiment panel down over the mats.  Easier to cut a rectangle panel then to cut a partial circle into it and get it even.  You could even place a full panel down on the inside and then adhere the left side down.  This will create a sturdier and more finished card.

Here are a couple other versions.  I used stickles on the butterflies.  I like the look on kraft paper.  Makes it look bronze.


Below are Jennifer McGuire's cards that inspired me.  Here is the link to her video - Split Window cards


I hope you enjoyed my cased cards today.  I also hope you play along with the challenge.  See tab above for details and a chance to win a free stamp set.

Have a great day and Happy Creating!

Monday, August 26, 2024

Praise Him by Sharon Caudle

 Hello AI Fans!

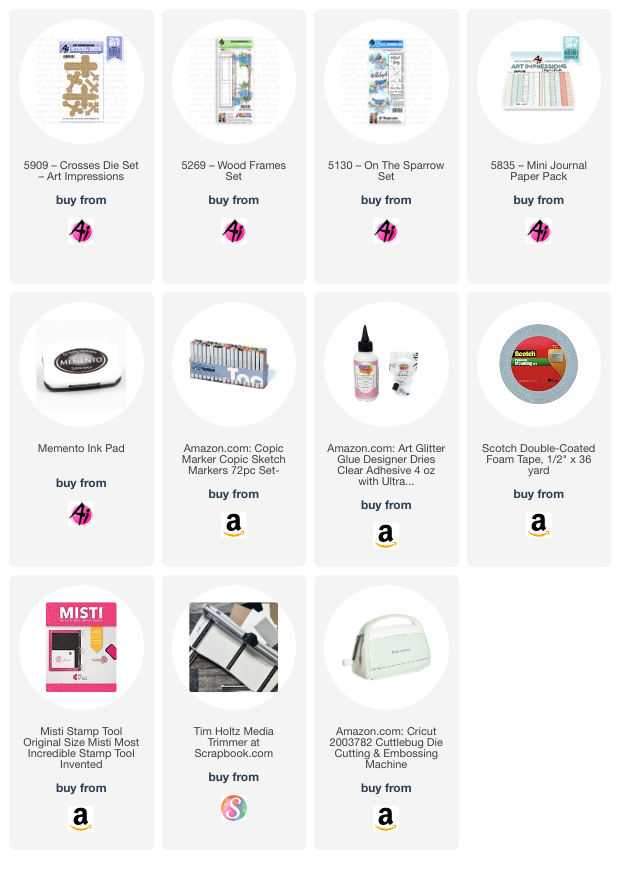
Today I have a card that features several beautiful sets from Art Impressions. I started by stamping 5269 Wood Frames Set onto a Copic friendly paper with Memento Tuxedo Black ink. Using my Misti, I lined up 5130 On the Sparrow Set and stamped that inside the frame. I then colored the images using my Copic markers listed below. Once I had that finished, I grabbed 5909 Crosses Die Set and layered two of them together to get the look I was going for. The beautiful pattern papers are from 5835 Mini Journal paper pack. For the finishing touch, I added a bow from twine. I really like how this came together, I hope you do too! 


So that's it for me today. Thanks so much for stopping by for a visit. Until next time - stay crafty!!

Copics used:
E23, 25, 27, 31, 33, and 97
Y00 and 02
B00, 01,and 02


Thursday, August 8, 2024

Never Have I Ever Challenge #384 Week #2

 Hello Ai fans and welcome to week two
of our Never Have I Ever challenge.

We want you to use a stamp or die that you've never used before.
You know you have some. We all buy things because we "NEED" them,
only to find them sitting unused. Get them out and USE them!

Our Featured Artist was Tasha
and you can see her tutorial for her Step Fold card HERE.


Tasha also created a Halloween card and you can see it HERE.

You can see my Spooky Crew card HERE.


Janet used 5185-Baby Girl Set (her never used set)

Sharon's card can be found HERE.


Lynn's card and VIDEO tutorial can be found HERE.
Follow her YouTube HERE.


Karen's cards from her Watercolor Weekend "Never Have I Ever" 
can be found HERE.


It's hard to believe, with all the cards our fabulous Design Team 
creates that there are sets that they've never used. 
All of these are wonderful! Thank you for the inspiration.

✻ Please make a new card or handmade crafty creation. You can make any item you wish; this is not limited to cards!

✻ Limit two submissions per person. You will receive extra votes if you use Art Impressions stamps!
 ✻Please include your first name and last initial on your submission.
✻We love to comment on your entries, but keep in mind if you use a private group or a platform that you need to sign up for, we probably won't be able to.
✻ The Ai Challenge is open to everyone, international submissions are welcome!
✻ Include a link back to the Ai Blog or grab our button on the top right of our sidebar!
✻ Share the Ai love if you can, by clicking and commenting on your fellow crafters.
✻ Make sure to get your link up by the deadline to enter your creations.
✻ Good luck and happy stamping! 


You are invited to the Inlinkz link party!

Thursday, August 1, 2024

Never Have I Ever Challenge #384 Week #1

  Hello Ai fans and welcome to our new challenge.

Never Have I Ever!


We want you to use a stamp or die that you've never used before.
You know you have some. We all buy things because we "NEED" them,
only to find them sitting unused. Get them out and USE them!

Before we see what our Featured Artist Tasha used for the first time,
let's see who won our All A-Buzz challenge.

#13 Linda N.
She used 5925 – Honey Bee Set
along with some WC flowers and foliage.


Please contact Leah at Feedback@artimpressions.com
to claim a free stamp set of your choice!!Also, be sure to grab our badge to display on your blog, Facebook or Instagram!

Our Lucky Random Winner was:
#17 Andrea W.
and some WC flowers and foliage.


Please contact Leah at Feedback@artimpressions.com
to claim a free stamp set of your choice!
Also, be sure to grab our badge to display on your blog, Facebook or Instagram!

Congratulations!

Now, onto our beautiful card and tutorial from Tasha.

-------------------------------------------------------------------------------------------------------------------------------------------------------

Hi Ai Friends!

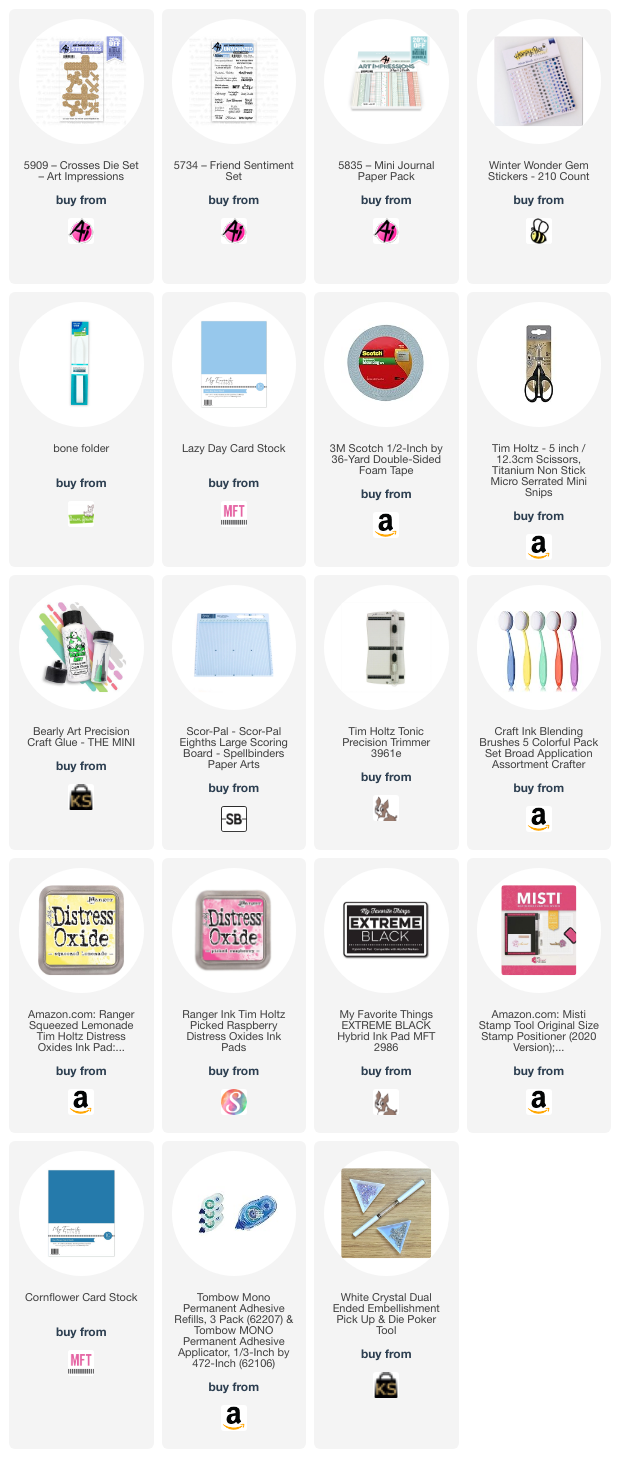
Tasha here sharing a step-fold card featuring the new 5909-Crosses Die Set. This month's challenge is to use a product you have not used before and I have wanted to use this cross die set since I first seen it. I decided to create a fancy fold card and this one is the perfect size for the large decorative cross, it also folds flat to a standard A2 sized card base making it great for easy mailing. 

To create this card, I started by cutting and scoring the card base. I used a thicker blue card stock to make sure the base was strong and could stand up easily.

Step 1) Cut a piece of card stock to 9" x 4-1/4" and score at 3-1/4", 6-1/2", and 7-3/4".


Step 2) Fold each score line following the guide below.

Step 3) Cut the second piece of card stock to 2-1/2" x 8-1/2" and score at 3".

Step 4) Fold the one score line (Mountain Fold) as shown below.


Step 5) Cut a piece of pattern paper to 3" x 4" and attach it to the center of the large card base. Having the larger piece of pattern paper will allow you to view the print when the card is standing.


Step 6) After the large piece of pattern paper is attached, add glue to the Bottom of the back side of the smaller base and the top of the back side of the smaller base, see below. 


Step 7) Attach the smaller base to the front of the large base as shown below.
Step 8) Fold the large base and glue the small base to the back of the top of the large base.
Step 9) Cut a white center card measuring 2-1/4" x 4-1/4" for the cloud background.

Step 10) Using a cloud stencil and Destress Oxide Ink, I ink blended clouds. I started with pink and layered in yellow to add tons of color. 


Step 11) Using the Crosses Die Set, cut the decorative cross out of white card stock. 
Note: I used a craft pick tool to pop out all the little sections.

Step 12) Glue the white cross on to a darker piece of paper and cut around the cross using scissors. Having the darker color allows you to really see all the details in the cross, it's so pretty!

Step 13) Using liquid glue or glue runner, attach the cloud background to the smaller card base.

Step 14) Using foam tape, attach the cross to the center of the cloud background.

Optional: I added little blue gems to the cross to give it more detail and a little sparkle.


Step 15) Cut the following to create the layered sentiment.
1. Pattern paper: 1" x 4"
2. Silver paper: 3/4" x 3-3/4"
3. White paper: 1/2" x 3-1/2"

Step 16) Stamp the greeting on to the white paper strip cut in Step 15.

Step 17) Glue the paper layers together.

Step 18) Attach the layered sentiment strip to the lower step of the base covering where the small base is attached.


Step 19) Cut two pieces of paper to cover the back panel.
1. Silver paper: 3-1/4" x 4-1/4"
2. White paper: 3" x 4"

Step 20) Stamp another greeting on the white paper or add a handwritten message.

Step 21) Glue the white paper cut in Step 19 to the silver paper.

Step 22) Attach the layered card to the back of the card base.
Step 23) Fold the card flat to mail. The completed card is 4-1/2" x 5-1/2" (A2).


I hope you enjoyed today's card tutorial and will join in the "Never Have I Ever" Challenge!

Thank you Tasha for that fabulous tutorial and for the inspiration.

Now, we can't wait to see what YOU make!!

✻ Please make a new card or handmade crafty creation. You can make any item you wish; this is not limited to cards!

✻ Limit two submissions per person. You will receive extra votes if you use Art Impressions stamps!
 ✻Please include your first name and last initial on your submission.
✻We love to comment on your entries, but keep in mind if you use a private group or a platform that you need to sign up for, we probably won't be able to.
✻ The Ai Challenge is open to everyone, international submissions are welcome!
✻ Include a link back to the Ai Blog or grab our button on the top right of our sidebar!
✻ Share the Ai love if you can, by clicking and commenting on your fellow crafters.
✻ Make sure to get your link up by the deadline to enter your creations.
✻ Good luck and happy stamping! 

You are invited to the Inlinkz link party!

Click here to enter

Saturday, July 27, 2024

My Hope by Janet


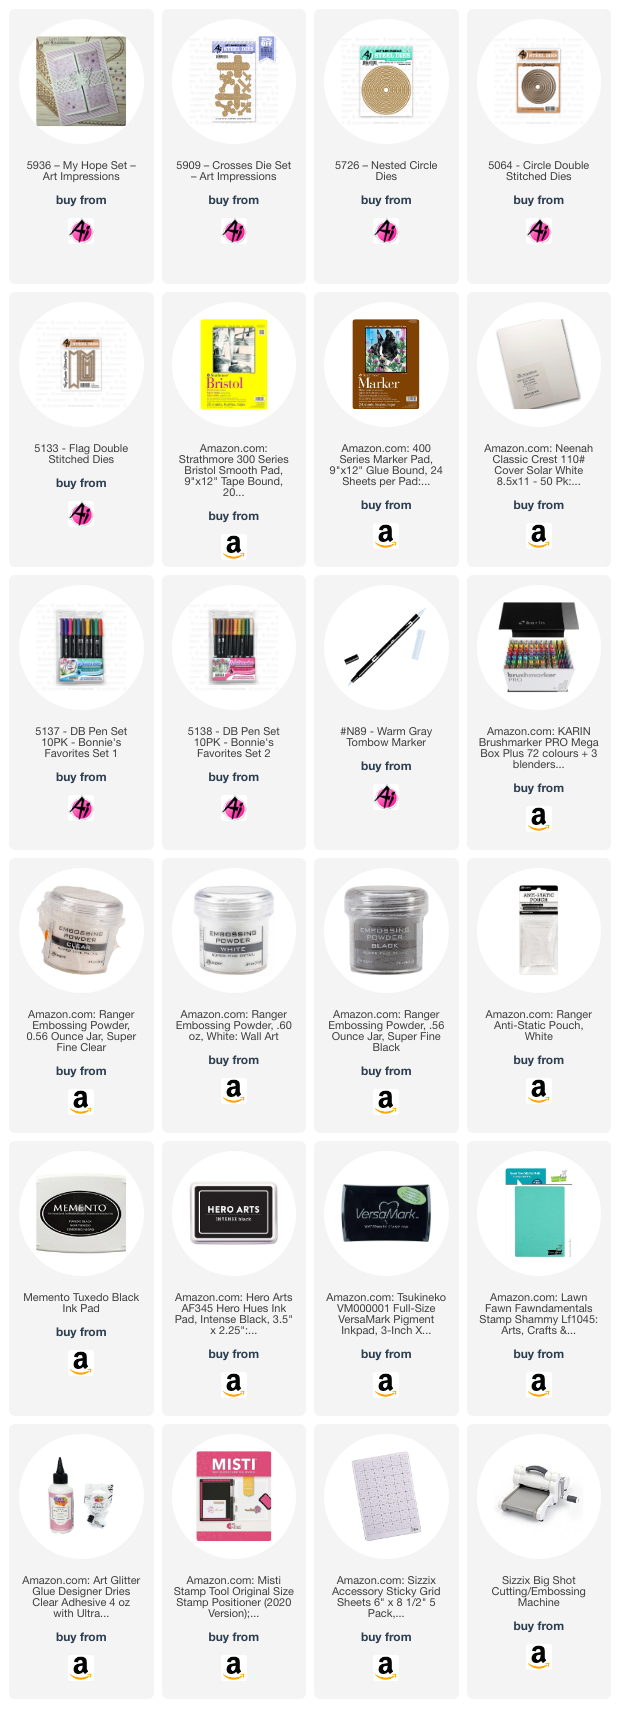
I have always been a fan of all white cards but I rarely make one. Mainly it's because I enjoy working with color. White, though a color, is just a bit boring for my brain which wants to "color my world." Yet, a white card can be truly beautiful too. When I saw the new 5909-Crosses Die Set, I immediately saw the card I've made today as all white. 

Although it looks like the crosses on the card are embossed, they are actually just glued to the card. Because my cardstock is light weight, it really does look like embossing except it's much deeper and more detailed in appearance. Once I cut all the crosses from the dies twice, I arranged the crosses on a 4 x 5 1/4" piece of cardstock and then glued them with liquid glue. 

The perfect accompaniment for this card face was the sentiment and flowers from the 5936-My Hope Set. I cut out a circle from the 5726-Nested Circle Die Set and stamped the sentiment on it. Then I stamped and colored several of the flowers and leaves. I colored and fussy cut them and arranged the flowers around the sentiment and glued them in place. I cut another larger circle from the Double Stitched Dies and stacked the two circles together with foam tape. Finally I glued the circles to the front of the card. The final touch was the addition of clear sequins.

This card is very peaceful and would be appropriate for many different occasions. It's definitely a special and a pretty gift to someone who believes. I think I'll be making a few of these cards for my personal stash because I like it so much.

  Thanks for stopping by today. I hope my card gives you some ideas of your own. Please visit the store to see all the things you need for your card, journal, and tag making projects. Be sure to take a look at all the new releases while you are there. Have a great weekend!

 Janet - YouTube - Blog - Facebook - Instagram - Pinterest