Showing posts with label Glitter paper. Show all posts

Wednesday, November 13, 2019

Snowman Flip by Niccole

Hello Ai fans!!
Do you spot something new ... SSS Exclusive Holiday Flip Card Set 5207
As you can see we have an exclusive stamp set only available at Simon Says Stamp.  I LOVE this set.  It is so fun! And what a bonus ... it's a Flip Card!
I started by using my flip die to cut my red card base. I trimmed the bottom with rose gold glitter paper.  I added a diagonal stripe paper to my sentiment square to frame it out.  I randomly added white Nuvo Drops to give the impression of snow. I added my forward facing snowmen as if they were holding up the "Wishing You" sign.
I did exactly the same to the inside of the card.  Except for this time the sentiment says "A very Merry Christmas." Isn't it cool how the sentiment flips when you open the card up?
Here is a close up of the front of my card and my colored snowmen.  I used my Copic markers to color these cute fellas! I also popped up my snowmen with foam tape for added dimension. Doesn't the glitter really make it sparkle?
Here is a close up of the inside with the cute lil' snowman butts! I also raised up these guys with foam tape as well. I actually did everything identical to the front of the card except the snowmen.
Here is one more of the front of the card laying flat so you can see where the flip die cuts along with the placement of everything.
And a flat one of the inside as well.  I love how this card looks more complex than it really is.  Using the flip feature is SO easy.  Everyone should have this die in their stash!

Thank you for stopping by today!  Please head on over to Simon Says Stamp to pick up this adorable SSS Exclusive Holiday Flip Card.

Make sure you come back next week.  I just might have another adorable card using this fun SSS Exclusive stamp set

Copics used:
BG11, BG45, BG49
C1, C3, C5, C7, C9
G07, G09
N0, N1, N3
R21, R22
R24, R27, R29, R35, R37
V20, V22, V25
W00, W1, W3

Y13, Y18

Until next time ... Hugs & inky fingers!


Wednesday, October 30, 2019

Merry Christmas to You & Yours by Niccole


Hello Ai fans!!
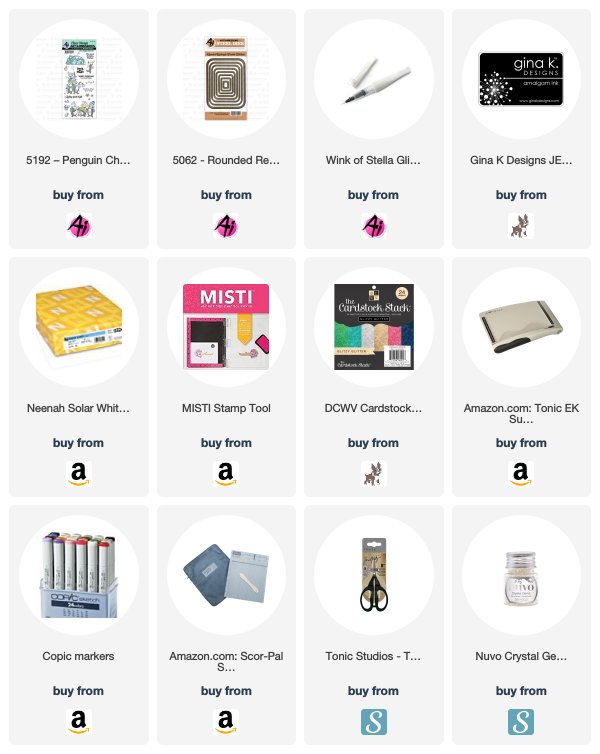
I am stopping by today to share a card I made using the new stamp set from Art Impressions called Penguin Cheer.
I started by stamping my penguin image in the center of my white card base.  I Copic colored the penguins and added Wink of Stella to the lights and the ornament and star.
I cut a Rounded Rectangle Double Stitched die twice to make a frame for my image.  I attached it to my card base with glue. I stamped my sentiment in black on the bottom center of my card base.
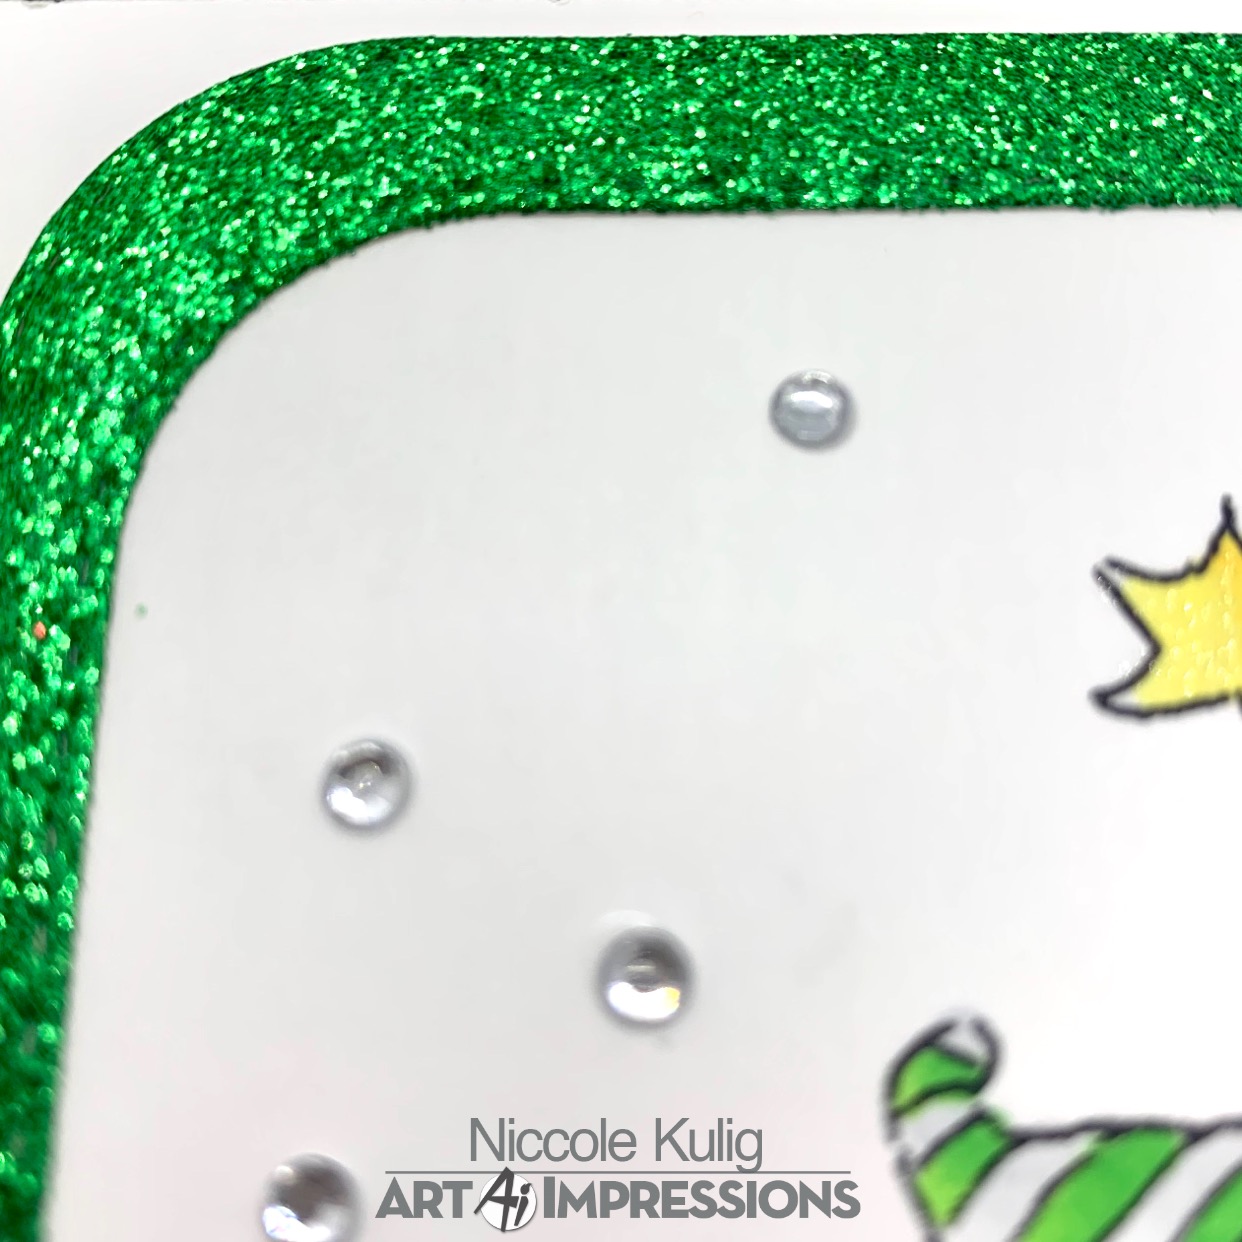
I finished it off with some diamond gems.  I kind of think they look like snow falling. Do you think I have enough or should I have added more?
Here is another look at the full card.  Thank you so much for stopping by and spending some time with me.  Make sure you come back soon to see what every one at Art Impressions' has been up to.

Copics used:
C0, C1, C3, C5, C7, C9
R35, R39
Y13, Y15
YR05, YR07

Until next time ... Hugs & inky fingers!
Wednesday, May 22, 2019

Circle of Happiness by Niccole Kulig

Hello Ai fans!

I am stopping by today to share with you a card that I had a lot of fun making.  Sometimes you do not need a lot of supplies to make a cute card.  Below I am sharing a card that you can make if you are a pro or a beginner.  It is very versatile.


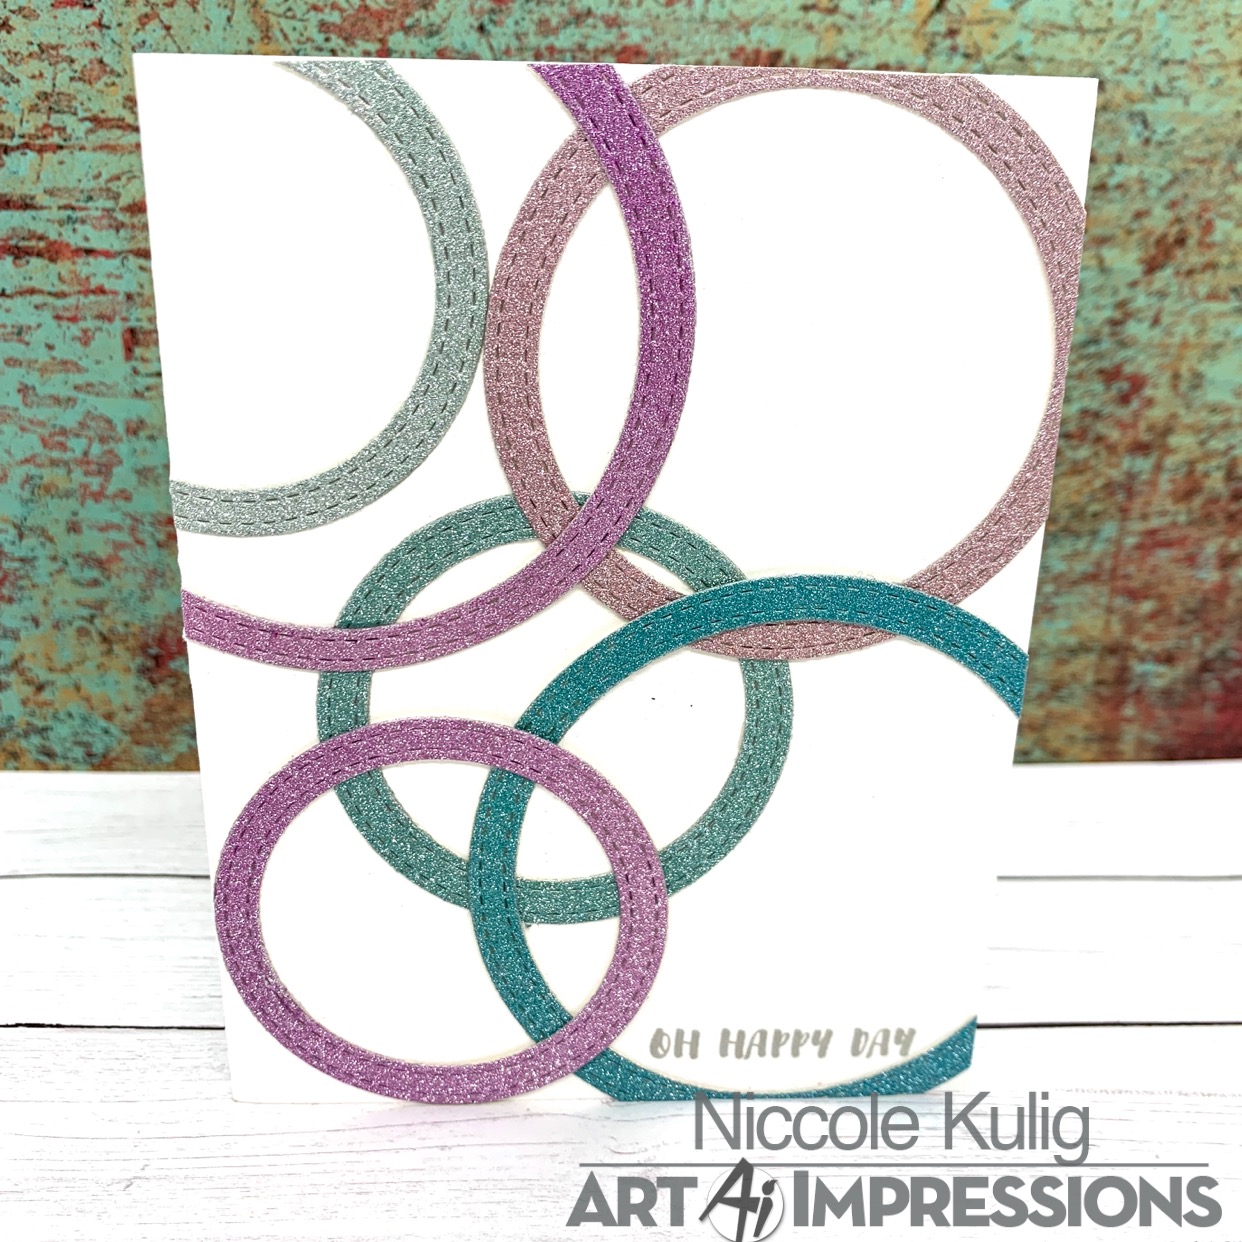
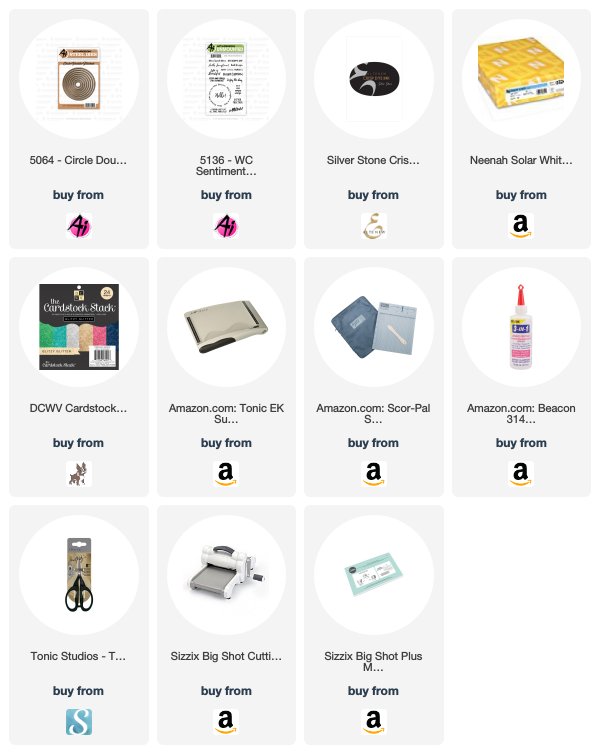
I used the Art Impressions die set called Circle Double Stitched Dies.  I used a variety of glitter cardstock.  I put two dies together to make the circle outline and not a solid circle. I glued them to my card and finished it with the sentiment Oh Happy Day from the WC Sentiment 2 stamp set.


Here is a  better view of the "Oh Happy Day" stamp from the WC Sentiments Set 2 from Ai.


Here is a close up of the Circle Double Stitched dies.  Aren't they fun?? I do not have any Copics to list today. Like I stated earlier ... It is fun to make a card sometimes with minimal supplies.

Thank you so much for stopping by.  We will talk to you again soon.

Until next time ... Hugs & inky fingers!


Wednesday, April 24, 2019

Happiness Grows by Niccole Kulig

Hello Ai fans!

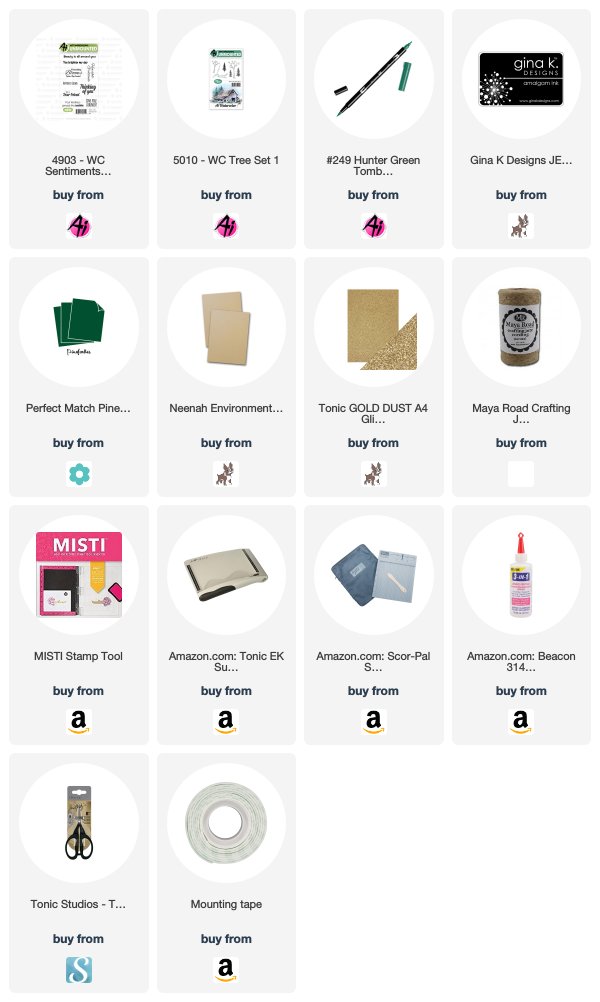
I am here today to share a card I made using two watercolor stamp sets; WC Sentiment Set and WC Tree Set 1.  It is my first time playing with Ai's watercolor stamps and Tombow Markers. I am by no means a watercolor artist but I think I did ok for my first card.

I colored and stamped my tree images and then I stamped a second time and stamped again.  I used gold paper layered along with some hunter green paper.  I stamped my sentiment with Happiness Grows from the WC Sentiment set.

 As you can see above I raised the tree portion with foam tape.  I felt with thicker jute wrapped around it would sit better on the card.

 For the inside I though the Love You A Bunch was perfect.  It is also from the WC Sentiment set. I also colored some more trees and stamped them in a bunch behind the sentiment.


Once again here is the finished card. No Copics were used for this card only black ink and my Hunter Green Tombow marker. I hope you enjoyed my first (but definitely not my last) watercolor card.  I had so much fun coloring and stamping.  Do you think I should have added more or less water?? Next time I might spritz my stamp before I stamp it and see what result I get. 

Thank you so much for stopping by.
Until next time ... Hugs & inky fingers!


Tuesday, January 21, 2014

Boy Cupid by Karen Day

Hello Ai fans!
Time is inching closer to Valentine's Day... so I've put together a few goodies to help inspire you for the big day!  I'm using the Boy Cupid Set (Sku#4219), and I've made a couple of cupcake picks and a matching card:

 
This little fella is so sweet, so I wanted to make one of the picks with just a heart that he could aim his arrow towards:

 
I used my Cricut to cut out the red doily shapes from cardstock, as well as the matching cupcake liners, and hearts.

 
I tied some Baker's twine onto the picks, and glued small red hearts onto the ends.

 
I cut fairly close around the image, and pop dotted him over some silver glitter paper.  Here is the matching card that is 5" square:

 
And finally the inside:

Happy stamping everyone!