Showing posts with label Hoppy Easter Set. Show all posts

Saturday, March 23, 2024

Hippity Hop! by Janet

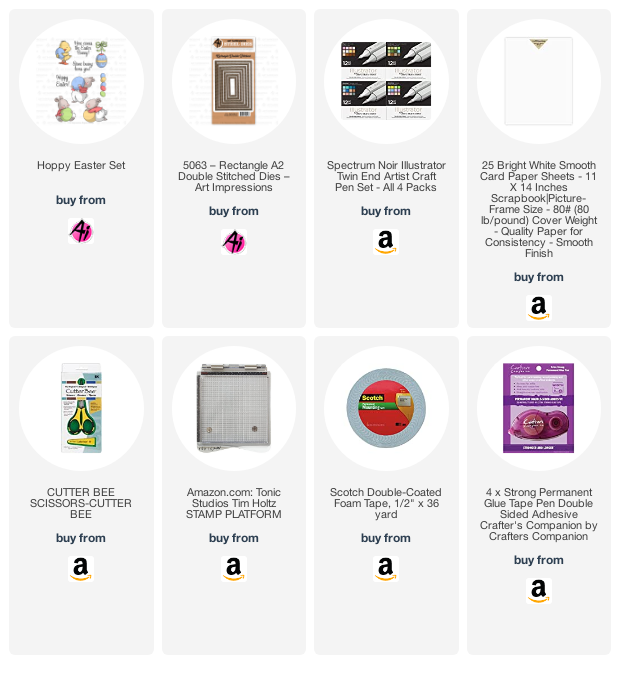
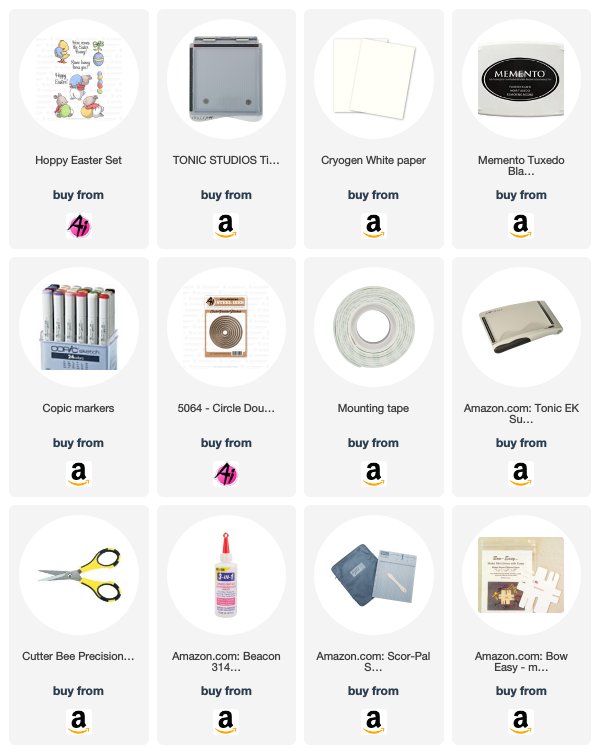
Easter is almost here and I'm making my last Easter cards. I am having fun creating window cards lately and this week I decided to make a pair of them using the super cute images from the 4754 Hoppy Easter Set. There are several adorable bunnies wearing their Easter finest and hugging their eggs. I used two of them plus the mini border of Easter eggs. The hanging egg is also in the set and it was perfect for the oval window and frames I cut from the 5727 Nested Oval Dies. The patterned papers on these are from the 5892 Easter S2 Paper Pack. I made the pink marbled backgrounds on watercolor paper with ink and then cut out the windows and trimmed them with patterned papers. The sentiments are from the new 5733 Easter Sentiments Set. The last little touches were a few gems and a crinkle bow.


The card base is created by folding a piece of 5 1/2" x 11" cardstock evenly in three panels on the long side. The window is cut out of the middle panel and the outer panel folds inside and becomes the background for the window. I put patterned paper on that panel before gluing it down behind the window. At that point the card opens like a normal side fold card. It's one of the first "fancy folds" I learned when I started card making but it works well and makes a nice little card.

Thanks for stopping by today. I hope you'll visit the store to see all the things you need for your card, journal, and tag making projects. Have a GREAT Saturday!

Janet YouTube - Blog - Facebook - Instagram - Pinterest 

Friday, April 1, 2022

Easter Chick Slimline Card by Tasha

Happy Friday Ai Fans!
Tasha here sharing an Easter card inspired by the Art Impressions Here Comes Peter Cottontail Challenge!


My card was created with the Hoppy Easter Stamp Set and the sweet little chick was colored with Copic Markers. I used a white gel pen to add a pattern to the egg to give an Easter egg look!


 I used a cloud stencil and Distress Oxide Ink for the sky and a grass stencil for the ground. I also used green markers to add more detail to the grass and create a shadow under the little chick. 


The greeting "Hoppy Easter!" was stamped with a light blue ink and I used green Distress Oxide Ink around the edges to bring in more color. I also added glitter paper around the sentiment and slimline card for extra sparkle!

Lastly, I added polka-dot pattern paper and little blue pearls to the sky to complete the happy card!

Thank you for checking out today's card and I hope you will join in the Ai Here Comes Peter Cottontail Challenge!

Have a great day!


Thursday, March 25, 2021

Easter Bunny Card Set of Three!


Hi Ai fans! This week I played with the Hoppy Easter stamp set and made a set of three cards. Easter is coming soon I'm loving this spring weather and seeing all of the flowers starting to bloom and trees have buds on them. For this card set I planned on adding all three bunnies to one card but after I had them all colored and cut out I changed my mind and made a set of three cards.  


I layered pattern paper on this card and stamped the sentiment "Here comes the Easter Bunny" onto a die cut double stitched circle and adhered the bunny on the top of the circle. 


The second card I layered more pattern paper and stamped the sentiment "Some bunny loves you!" onto banner. This card could be given an time during the spring I don't think it only needs to be for Easter. 


I added more pattern paper for this card but I cut the center out to show some solid blue paper that I had matted the pattern paper with. I added the sentiment "Hoppy Easter!" to a die cut oval double stitched die cut. 


I used coordinating paper and all three of the bunnies clothes and eggs are colored with the came colors to make this a set of cards.  


Spectrum Noir markers: 
Blender, FS4, BT1, BT3, TB1, TB2, TB3, LG1, LG2, LG3, DP1, DP2, DP3, BG1, BG2, BG3, GB2, GB4

Happy Stamping!


Friday, March 29, 2019

Here comes the Easter Bunny!! By Sharon Caudle

Hello AI Fans!!

Happy Weekend!!!  Hope you're enjoying your day!  I made an Easter card for you today featuring #4754 Hoppy Easter Set.  These bunnies are so precious and cute!! I simply stamped them up and then cut them out using the Circle Double Stitched Die Set and popped them up from the card base. Placed the sentiment circle in the middle and plopped on a bow! 


Thanks so much for stopping by for a visit today and until next time - stay crafty!!


Copics used:

E51, E53
B24, B26
G21, G24
Y13, Y15, Y17
R20, R81, R83, R85
YR02, YR04, YR07


Thursday, March 9, 2017

hoppy Easter by Diane Zechman

Hello Ai friends and happy Thursday!
 
Today I am sharing a card using the 4754 – Hoppy Easter Set.  It has a few bunnies with eggs but it also has this cute little chick.
 
 
You may have noticed that my challenge card today has the same patterned paper. I found this piece of 12x12 paper that was cut into squares for a project a few years ago. I guess I thought the leftover pieces were too pretty to toss and left them in a box of unfinished cards.  The colors and fun floral pattern were perfect for my spring cards today.
 
I brushed some clear Wink of Stella onto the eggs for some sparkle and the chick's arms & eggs were popped up!

 
I also have a sketch for this card on my blog if you'd like to try this one.  :)
Have a great day and… happy stamping!


Saturday, March 19, 2016

Some Bunny Loves You

Hello AI Fans!!!
 
Easter is almost here! And I wanted to create one of these 3D shadow box cards from the Silhouette store by Lori Whitlock. This one is supposed to be all clouds with a bunny floating in a hot air balloon, but I just altered it to be able to use for a little Easter scene using the adorable Hoppy Easter Set from Art Impressions. So I simply cut each page out twice, once in green and once in white.  I just turned the bottom "clouds" into bushes! Oh! and I trimmed off the hot air balloon from the top of it.  Easy peasy!!
 
 
Next I cut two picket fences so I could layer it up for more dimension, and attached it to the front of the card. I then colored each of the bunnies with Copic markers (listed below), and fussy cut them out and popped them up with some mounting tape. I added the sentiment to a die cut cloud and popped it up from the bottom layer.
 
The cool part about this card is that it folds flat so you can send it through the mail!!


Copic markers used:
 
Bunnies: E50, E51, E53, E55, R20
Clothing: YG21, YG23, B21, B23, Y32, Y35, Y38, E33, YR02, YR04, YR07, R11, R12, YR61, YR65, V01, V04, RV32, RV34


Thanks so much for stopping by for a visit today and hope you have some time to get crafty! Have an awesome weekend!!