Showing posts with label Scene. Show all posts

Friday, October 16, 2020

Spooky Fright Night Ghosts | By Jessica Shier

 Hello Ai fans!

I hope everyone has had a good week so far! One of my favorite holiday sets is Fright Night! I love all the images and the trio of ghosts are just too cute. This is so simply colored and most of the shading is done with a white Prismacolor Pencil! Perfect for some more kraft cardstock inspiration. 


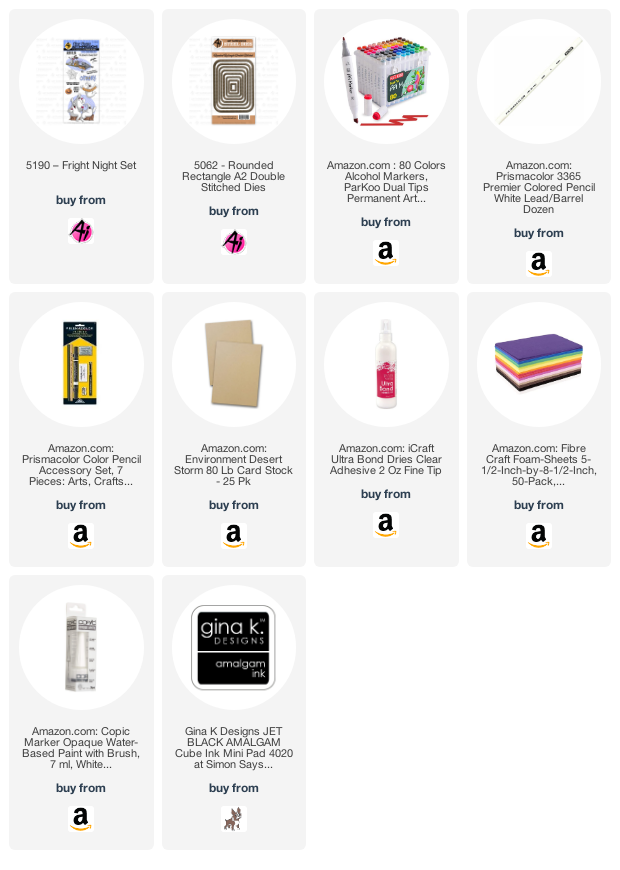
The markers I'm using today are Parkoo. You can find them listed down below. They are a cheap alternative to Copic markers, if you don't mind the bullet tip instead of a brush. I did use a alcohol marker friendly black ink, I like Gina K. Designs Jet Black Amalgam ink. I stamped the ghosts, spooky word and bats on to Neenah Desert Storm 100lb cardstock. 

The marker colors I used will be listed below. Using two shades for each color. I went with a simple shading with a hard line, similar to what the packaging of Art Impressions products show. I also colored in the ground level with several more markers. I like how this has more of a non traditional Halloween color palette.


Once I had the marker coloring done, I started coloring over the top with a white Prismacolor Pencil. This is my most used colored pencil. To get the most out of these pencils I do use a pencil extender. 

I started coloring the white pencil in the certain of the ghosts and lightly shaded out to the edges. I kept a hard line right on the edge to give these ghosts a more rounded feel. You can still see the two shades of colors I used underneath the white pencil coloring and of course white pencil shows up so nicely on kraft colored card stock. I did the same for the spooky word and then also added a little bit of shading on the ground. 


Using some scrap pieces of paper I covered the colored areas and added some white splatters with Copic Opaque white. You could also use white acrylic paint. I did use the Copic Opaque white for the highlights on the ghosts and the eyes of the spooky word. It is hard for me to get a nice line with a gel pen over colored pencils due to the wax from the lead. Using a Rounded Rectangle die I die cut the ghost panel and added a green craft foam layer underneath using the same rounded rectangle die. These are mounted to Neenah Solar White 110lb A2 top fold card base. 

Parkoo Markers Used:

64 Indian Blue, 182 Frost Blue

46 Vivid Green, 174 Spring Dim Green

14 Vermilion, 122 Fluorescent Orange

35 Lemon Yellow, 49 Pastel Green

99 Bronze, 97 Rose Biege

GG7 Green Grey, GG3 Green Gray, 123 Fluorescent Yellow


Thank you so much for joining me today! Happy stamping. 


Friday, March 6, 2020

Gnome Scene for Spring | By Jessica Shier

Hello Ai Fans!

It's Jessica today! I'm sharing a fun spring themed scene card. This is using several different Art Impressions stamp sets, Gotta Garden and the Succulents set.


The Gotta Garden set is a favorite of mine. It's just so funny and always has me wishing for Spring. I love the little gnomes and the fun sentiments, which inspired this card design. I decided to stamp and fussy cut the gnomes to create a little scene. The fence is cut twice using the WC Fence die and I also used the Succulents set which has coordinating dies to decorate my gnome scene with some foliage.


This scene came together really quickly after I copic colored all of my stamp images. You can find a Copic Color list below. I also used some distress oxides for the sky, I used a stencil and white pigment ink to create the subtle clouds. For the ground I used another Distress Oxide over top of a green cardstock.The mushroom is a die cut from my stash that I thought worked well with the Gnomes. 


For the inside I couldn't help but use a couple of the fun sentiments to tie into the front. Plus I added the same green ground and another colored and fussy cut stamp image from Gotta Garden. 


Copic Markers Used:

Thank you so much for joining me today!
Happy Stamping

Friday, August 16, 2019

Seas the Day | By Jessica Shier


Hello Ai Fans!

I have another Flip card to share with you today. This time I'm using the Octopus Flip card set. These flip card stamp sets make such cute little scenes and you can have them hold up the sentiment in so many different ways. This time I used a die from the Flag Double Stitch Die set to have the octopus hold a flag sentiment.


I started by stamping the octopus flip image on to a piece of Neenah 80lb Solar White card stock, with Amalgam ink. Using purple orange, pink and blue Copic markers to color in my image. I left just a bit of the image white like I do a lot when coloring. While coloring the Octopus I was trying to figure out what I wanted to do with the background. I decided on a simple underwater scene. 
All the Copic markers I used are listed below. The sand was easy, simple blending of some E markers adding a little definition and interest. I wanted this simple because I knew I was going to ink blend over the top of it. I added texture with a few of the darker markers by adding small dots through out the sand. For the water I did streaks or flicks of blue starting with the darkest color at the top, then fading to the lightest blue. Also adding more of the darker colors through out the panel.


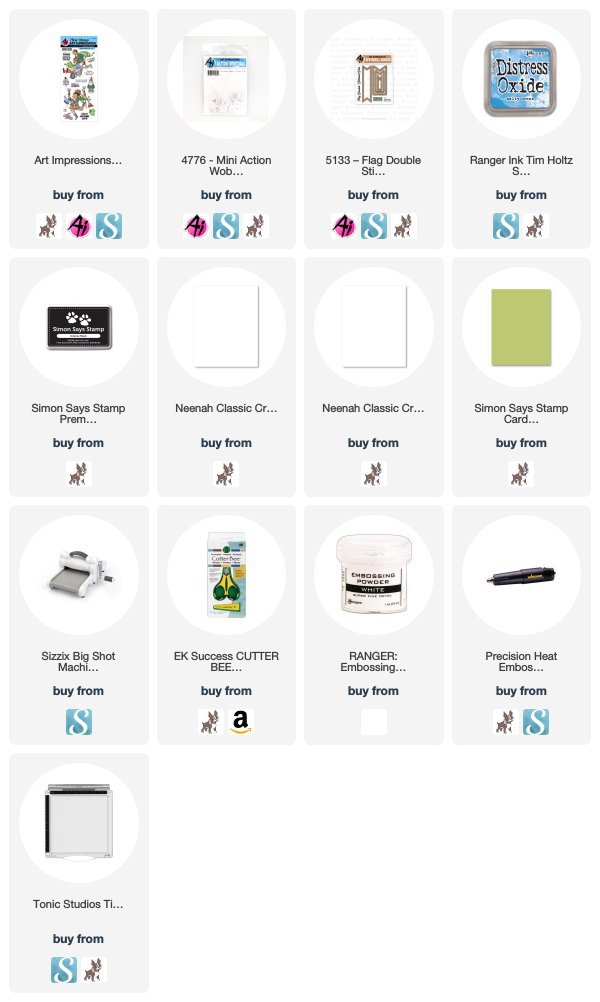
I used Distress Oxide ink in Faded Jeans and Frayed Burlap to darken the edges. Using the makeup blending brushes I was able to get pretty close to the image with out masking or inking over it. I also blended Distress Oxide inks in Picked Raspberry and Spiced Marmalade on a piece of Bristol Smooth card stock, that I trimmed down with the second to largest Rectangle Double Stitch die. I concentrated the color around the outer edge because I knew it would mostly be covered by the Octopus copic colored panel.  I adhered those panels together then added a black card stock layer below the orange and pink blended card stock before gluing everything to a side fold A2 card base. 


I used both sentiments that come with the Octopus Flip stamp set. Stamping them onto Neenah 80lb card stock with Versafine Clair Nocturne ink. I let the ink sit for a moment to dry before running it through my die cutting machine with the banner die from the Flag Double Stitch die set. 

I could have made the inside similar to the front but I kept it simple and easy. I used a smaller Art Impressions Rectangle Double Stitch die and stamped the flip image of the Octopus. Using the same Copic markers I mirrored the coloring. The points of the flag should be on the other side to make it more mirrored, but that is ok! 

Copic Markers Used:
BV04, BV02, BV01, BV00
YR04, Y21, RV55, RV52
B14, B02, B00, 
W3, W1, W0

B29, B16, B14, BG11, B02, B00
E43, E35, E34, W31, W3, W6

Thank you for joining me today! Happy Stamping!!


Friday, May 17, 2019

Ride the Wave | By Jessica Shier

Hello Ai Fans!

This week I'm playing with the NEW Loads of Fun set. I had to make this granny live her dream of surfing! There is a lot of crazy texture on this card and I'm loving the mix so much.


I first stamped and fussy cut the lady, trimming of her ironing board legs to make it a surf board. I used a lot of gray tones on her since she is facing away from the sun. Which, I think, threw my white balance on my camera off, into the cool tones. lol! One of my favorite ways to die cut waves is using a cloud border die but using the negative side, the side with the more pointy ridges. I used a cloud border die on some Tonic Luxury Embossed paper to get that effect.


The ink blending is made using masking tape to block off the middle section of a piece of Neenah solar white 110lb cardstock. I used my blending brushes for this, and also a wave stencil for the bottom area. This was trimmed down with a rectangle stitch die. For the slate cardstock, I used a larger rectangle stitch die to die cut first, then layered some Deco Foil Mettalix gel over it using the same wave stencil.


The sentiment is stamped and heat embossed using white embossing powder to the upper portion of the ink blending cardstock. Can you believe that I don't have a ampersand in any of my die sets! I was suprised!! Luckily, I have hung on to some Thickers, from years ago, and had a perfect one to use, made from white foam. 


Copic Markers Used:
W6, W3, W1, W0
E81, E34, E31
BV11, BV04, BV02, BV01, BV00
Y38, R83

Alright guys, that is it from me! Thank you for joining me today. Happy Stamping! 


Friday, April 12, 2019

Hop Till You Drop | By Jessica Shier

Hello Ai Fans!

The challenge #254 has started for the release of the new Girlfriends clear stamps sets. Perfect time to break out this Art Impression Hop Hop set! I thought these ladies looked like they were up to some spring picnic shenanigans with all their fun hopping objects. 


I stamped the ladies with Versafine Clair Nocturne ink on Arches watercolors paper. Using my Koi watercolor set I water colored these ladies and the background, adding in a bit of a finish line in white to seem like they are racing to win! 


Once my piece was dried I trimmed it down to attach to a A2 card base. I added a black and white stripe of pattern paper on the left and some lovely jewels that match the colors of the hopping ladies clothes. 


For the sentiment I die cut the smallest Double Stitched Oval die on white cardstock. Then stamped the sentiment from the Hop Hop Set with Distress Oxide ink. Placing on the top left of the card, then trimming off the top that overhangs.

That is it from me guys! Thank you so much for joining me today. Happy Stamping! ❤


Friday, February 22, 2019

I Wet my Plants By Jessica Shier

Hey Ai Fans!

Today I'm sharing a card using the Gotta Garden set. I know some of us are still experiencing freezing temperatures and snow falls, so hopefully this will remind you that spring is around the corner. Plus don't we all have a crazy garden person in our lives that would be tickled by this stamp set!? I know I do!


I first stamped the gnomes and the crazy garden lady, from the Gotta Garden set, with black ink and then colored them in, using copic markers, colors listed below. I also fussy cut those 4 images out using a craft knife to get into the smaller areas around the garden hose. 


The background I drew and colored with copic markers. I also drew the sign and trimmed it out then embossed the sentiment with white embossing powder. This set has so many good puns so I tried to incorporate as many as I could! I adhered the sign and the 2 gnomes on to my background and then stamped the "It's Birthday Thyme" with Salty Ocean Distress Oxide ink. 


I used one of the Art Impressions 4265 Action Wobbles behind this happy gardener, which makes me laugh every time she wobbles! She is just so excited. I love the bit of interaction these wobbles add to a card design!


I also used one of the gnomes on the inside. Which I had to cut and color again because I lost one, he is still MIA. I stamped two more sentiments that are full of puns and die cut them using one of the Flag Double Stitched Dies. 

Copic Markers Used:
W9, W6, W3, W1, W0
C1, Y18, Y02
R29, R17, R05, R02
E77, E74, E59, E51, E35, E34, E31, E15
G99, G94, G46, G17, G14
YG67, YG63, YG03
B12, B00

Thank you so much for stopping by today!
Happy Stamping!

Thursday, October 19, 2017

Challenge 219 Stamp a Scene WEEK 2!

Hello, Ai Fans!
Mini TryFolds
Welcome back to our Thursday challenge post here on the blog! We're hosting week two of our "Stamp A Scene" challenge, featuring our THREE new Mini TryFolds! We did an early release of our Halloween Treats set and now is a great time to grab it for your fall crafting! In addition, we have two new sets perfect for Christmas! Our Winter Window set die cuts two panes that hinge open and close, revealing a curtain and sleeping kitty under a Christmas tree! The Magical Christmas set features a door that swings open to a fireplace adorned with stockings and Santa of course! All three of the Mini TryFolds contain clear stamps for easy positioning and dies to cut and score openings to reveal the layers underneath. Grab your set today at artimpressions.com!
Magical ChristmasHalloween TreatsWinter Window

Last week, fabulous Renee gave a sweet preview of a coordinating card and gift tag! Joining her today are the rest of our design team. Give them some love in the comments! You can always click their name to view more details, including pictures of their unfolded card, on their personal blog, as well. Enjoy!

Cheri with Halloween Treats MTF

Dana with Winter Window MTF

Diane with Magical Christmas MTF

Jil with Halloween Treats MTF

Karen with Halloween Treats MTF

Renee with Winter Window MTF

Sharon with Magical Christmas MTF

So fun to see all the different coloring and assembling from our design team! They sure do inspire our current challenge!
This challenge, show us how you like to stamp your scenes! Do you use one large stamp? Or combine several smaller stamps? Do you create layers in your scene with Tryfolds or Mini TryFolds?  Do you like indoor scenes or outdoor landscapes? There are numerous ways to make your own scene, so show us what you've got! It's easy to join, and winners receive stamp prizes!

Here are the Challenge Rules:
✻ Please make a new card or creation. You can make any crafty item you wish; this is not limited to cards!
✻ Limit two submissions per person. You will receive extra votes if you use Art Impressions stamps!
✻ The Ai Challenge is open to everyone, international submissions are welcome!
✻ Include a link back to the Ai Blog or grab our button on the top right of our sidebar!
✻ Share the Ai love by clicking and commenting your fellow crafters.
✻ Make sure to get your link up by Wednesday, October 25 at 5:00 p.m. PST to enter your creations.
✻ Good luck and happy stamping!