Showing posts with label Tagged Stitched Dies. Show all posts

Friday, October 4, 2019

Happy Fright Night | By Jessica Shier

Hello Ai Fans!

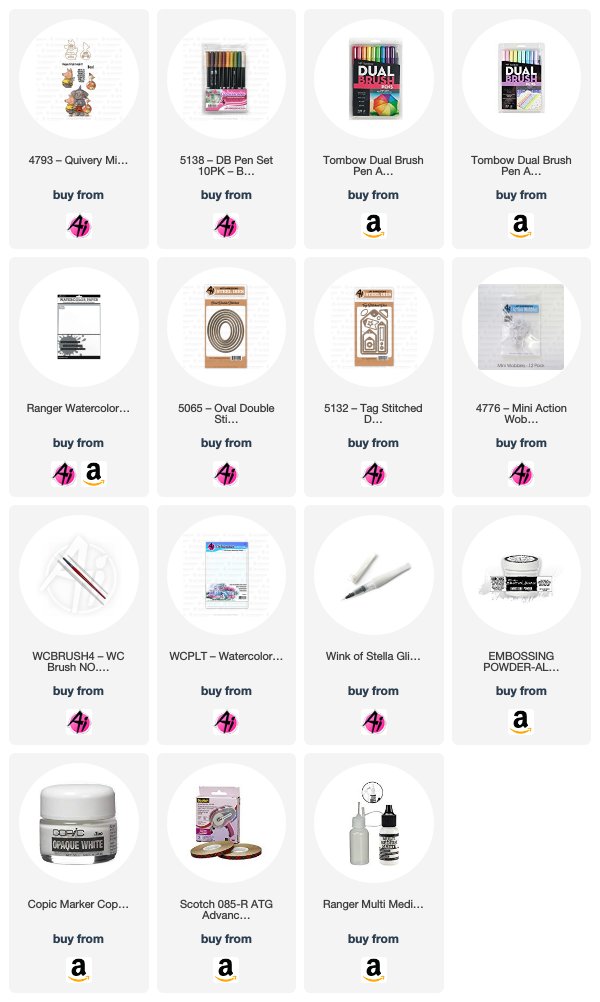
Today I'm using some Tombow Markers to watercolor these shaky little critters from the Quivery Mini Shaker set. This set was made to use with the Action Wobbles and even includes a few to get you started on these fun interactive cards. It's October so I have to get in all those cute little Halloween cards before the month is up!


This set comes with the extra dies and stamps to create the bodies that are popped up from the Action Wobblers, which gives these critters extra dimension. I stamped all the critters and extras on to a piece of Ranger Watercolor paper using Versafine Clair ink. Then embossed with clear embossing powder.


For my coloring I used Tombow Markers, the colors I used are listed below. Coloring directly to the paper with the Tombow Marker, then blending out with a clean wet brush. I find it easiest to work quickly when using the markers directly to the watercolor paper, immediately blending out with the brush. Once I had the lightest colors down and all my areas were dry, I applied the darker colors the same way. Taking the marker directly to the paper and blending out with a clean brush. 

I fussy cut the three characters out and used the coordinating dies on the pig and duck. Also die cutting a piece of navy card stock using the largest oval from the Oval Double Stitched die. I ran that oval through my die cutting machine several more times with the little star die form the Tagged Double Stitch die set. Then added some white splatter to the top of the oval and a bit of ink blending on the bottom half using Peeled Paint Distress Oxide. It's just enough to add some color. 


After heat setting the distress oxide ink I used the "Happy Fright Night" sentiment and white heat embossed it. Adhering the oval to a Neenah Solar White 110lb card base and attaching the three animals on top. The Action Wobblers come with a release paper that you peel off. I attached the Action Wobblers to the back of the die cut bodies first, then peeled off the release paper on the other side and attached over the top of the large stamp image. Matching up the character shapes. 

The Quivery Mini Shaker stamp set also comes with a couple of extra small dies. These dies don't have coordinating stamp but there is two sizes of bats, a pumpkin and a ghost die. I also added some shimmer and sparkle to the stars with a Wink of Stella pen. Perfect for the current Art Impressions challenge #267 Make it Sparkle!

Tombow Markers Used:


947   026
925   933
055   991
969   173
098   133
062   679
636   620
743   723
493   451

Thank you so much for joining me today!
Happy Stamping!


Friday, September 6, 2019

Fright Night Anything Ghost! | By Jessica Shier

Hello Ai Fans!
I can't get enough of this Fright Night set. I just had to make another scene card, this time I'm using these fun loving, partying ghosts!


I started this design by stamping the ghosts and pumpkin on to a piece of Neenah 80lb Solar White card stock. I used Gina K Amalgam ink in Jet Black to stamp these guys. Aren't they so fun!? Plus ghosts are super easy to color! I used just a few gray Copic markers, colors listed below, to color the ghosts bodies. Adding in some yellow highlights as a reflection of the light coming from the jack-o-lantern. This stamp has the ghosts sitting on top of stumps and the pumpkin is a separate stamp. I brought the grass/ground coloring just past the edges to make the edges. Then I fussy cut the whole scene out and the pumpkin which I adhered on top. 


I layered this over a piece of Wolf Pack pattern paper which I die cut using the small double ended flag die from the Art Impressions Tag Double Stitch Die.  Both of those pieces are layered over a piece of navy cardstock and then I heat embossed the sentiment with white embossing powder. I added a piece of gray cardstock to a Neenah Solar White 110lb card base and attached everything to the top. 


Copic Markers Used:
W6, W3, W0
R39, R27
Y38, Y35, Y02, Y00
G46, G14, YG01
E77, E74, E31

Thank you for joining me today! 
Happy Stamping.


Friday, August 16, 2019

Seas the Day | By Jessica Shier


Hello Ai Fans!

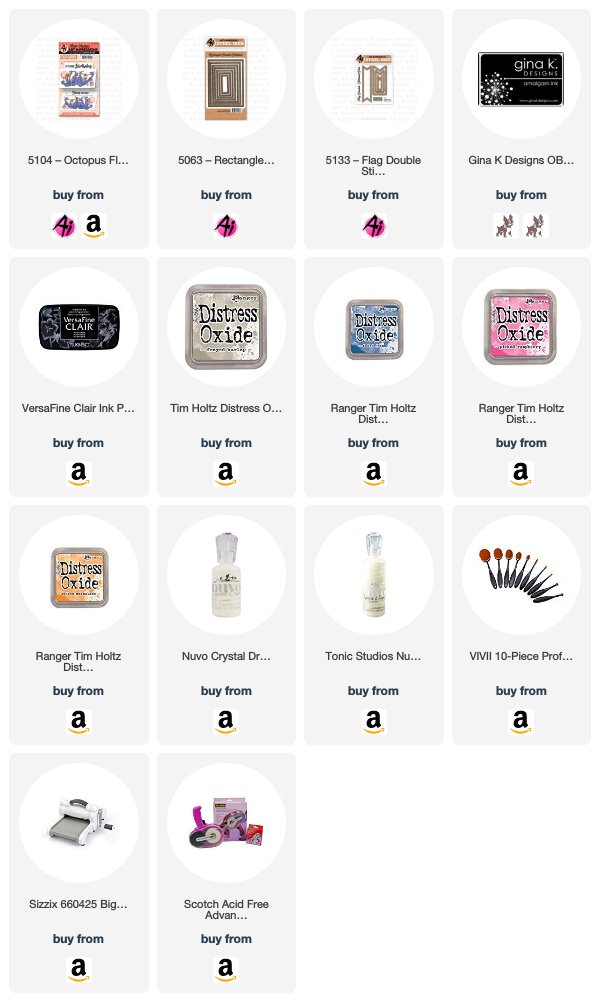
I have another Flip card to share with you today. This time I'm using the Octopus Flip card set. These flip card stamp sets make such cute little scenes and you can have them hold up the sentiment in so many different ways. This time I used a die from the Flag Double Stitch Die set to have the octopus hold a flag sentiment.


I started by stamping the octopus flip image on to a piece of Neenah 80lb Solar White card stock, with Amalgam ink. Using purple orange, pink and blue Copic markers to color in my image. I left just a bit of the image white like I do a lot when coloring. While coloring the Octopus I was trying to figure out what I wanted to do with the background. I decided on a simple underwater scene. 
All the Copic markers I used are listed below. The sand was easy, simple blending of some E markers adding a little definition and interest. I wanted this simple because I knew I was going to ink blend over the top of it. I added texture with a few of the darker markers by adding small dots through out the sand. For the water I did streaks or flicks of blue starting with the darkest color at the top, then fading to the lightest blue. Also adding more of the darker colors through out the panel.


I used Distress Oxide ink in Faded Jeans and Frayed Burlap to darken the edges. Using the makeup blending brushes I was able to get pretty close to the image with out masking or inking over it. I also blended Distress Oxide inks in Picked Raspberry and Spiced Marmalade on a piece of Bristol Smooth card stock, that I trimmed down with the second to largest Rectangle Double Stitch die. I concentrated the color around the outer edge because I knew it would mostly be covered by the Octopus copic colored panel.  I adhered those panels together then added a black card stock layer below the orange and pink blended card stock before gluing everything to a side fold A2 card base. 


I used both sentiments that come with the Octopus Flip stamp set. Stamping them onto Neenah 80lb card stock with Versafine Clair Nocturne ink. I let the ink sit for a moment to dry before running it through my die cutting machine with the banner die from the Flag Double Stitch die set. 

I could have made the inside similar to the front but I kept it simple and easy. I used a smaller Art Impressions Rectangle Double Stitch die and stamped the flip image of the Octopus. Using the same Copic markers I mirrored the coloring. The points of the flag should be on the other side to make it more mirrored, but that is ok! 

Copic Markers Used:
BV04, BV02, BV01, BV00
YR04, Y21, RV55, RV52
B14, B02, B00, 
W3, W1, W0

B29, B16, B14, BG11, B02, B00
E43, E35, E34, W31, W3, W6

Thank you for joining me today! Happy Stamping!!


Friday, January 25, 2019

Hey There Hot Shot | Ole Buck by Jessica Shier

Hello Ai Fans!

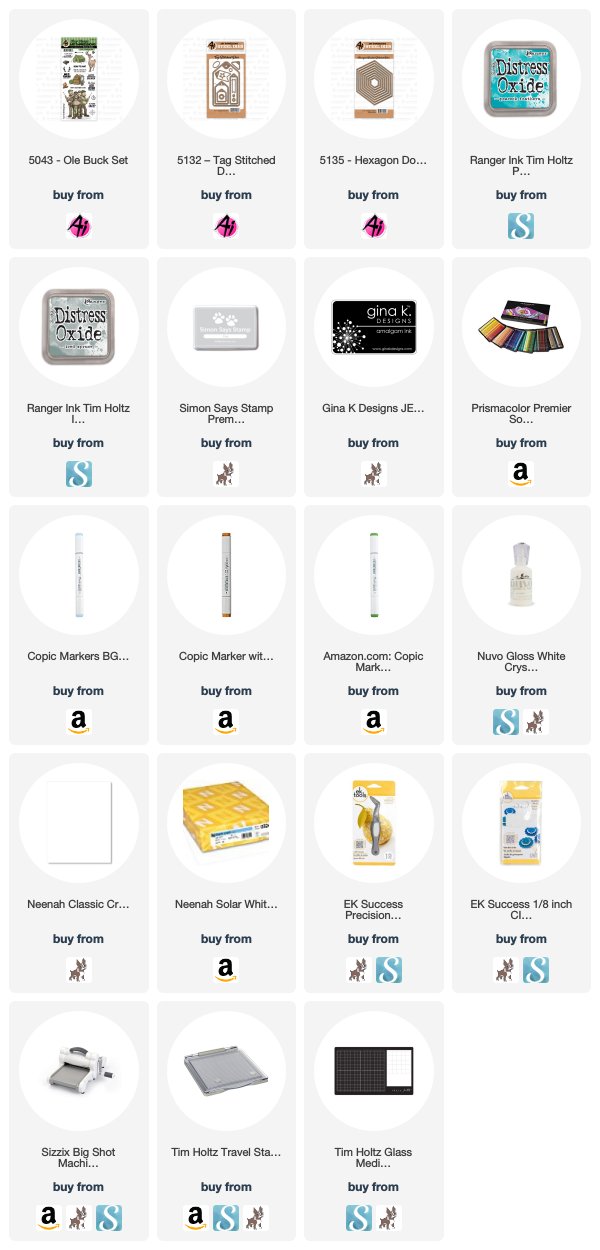
I hope you all are having a great day! Today I'm working on the some general male themed cards, this could be used for any celebratory occasion. I have this one to show you. I used the Ole Buck set and did some no line pencil coloring.


First I used a couple of different colors of Distress Oxide Ink to create the gray to green fade. I also stamped the sentiment and die cut it with the smallest hexagon die. That die is part of the new Hexagon Double Stitched Dies set.


I used some light gray ink to stamp the "camping supplies" along with the binoculars then colored the images with Prismacolor Pencils, to get the no line coloring effect. I used just a few Copics for the sky and ground colors. Using two of the Hexagon Double Stitched dies I cut a white frame to go around my images and also through the ink blended cardstock. 


The Tag Stitch Dies set has some great small circle dies to be used for the hole protectors on the tags but I used them to create the die cut circles on this card. I did have to run them through several times to get the cluster that I wanted, but it didn't take much time at all. I also used several of the negative pieces to group together with some of the smaller stamps in the Ole Buck set. After popping up the ink blended cardstock on a A2 card base I glued everything together and added white Nuvo Drops for a added accents. 


Prismacolor Penicls Used;
PC1058 90% Warm Gray
PC1054 50% Warm Gray
PC1060 10% Cool Gray
PC105 Cobalt Turquoise
PC905 Aquarmarine
PC992 Light Aqua
PC1096 Kelly Green
PC1089 Pale Sage
PC925 Crimson Lake
PC926 Carmine Red
PC922 Poppy Red
PC918 Orange
PC1002 Yellowed Orange
PC914 Cream

Copic Markers Used:
BG000
E35
G43

Thank you so much for joining me today. Happy Stamping!