Monday, December 8, 2025

A Christmas Story by Sharon Caudle

 Hello AI Fans! 

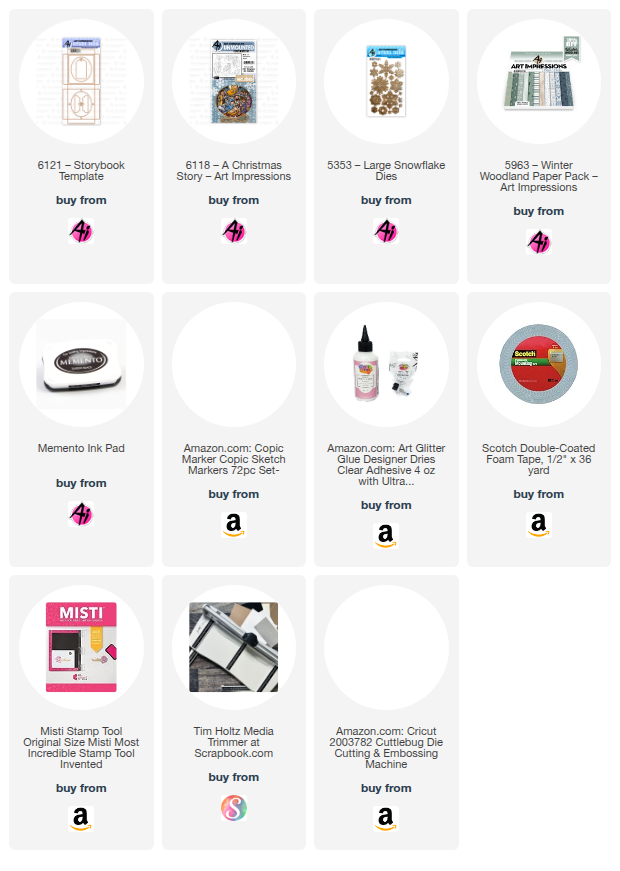
I have so loved all of the new releases by Art Impressions this year! One of my favorites is the new #6121 Storybook Template Die Set and the stamp sets that go along with it. I chose to show you #6118 A Christmas Story in my post today. I know some may not agree with me, but I do believe that Jesus is the reason for the season, and this Nativity Set makes such a beautiful ornament for either displaying on your tree or just to tuck on a shelf somewhere. The details that Bonnie added to this set is just truly spectacular!! I started by stamping all the images onto a Copic friendly paper and then coloring them with Copic markers. Once done, I die cut them out with the included dies and layered them up inside the amazing box. I think this is really super easy to create an amazing ornament that is perfect for gifting to friends and family. The Storybook Template also has a die so you can create a hanger for the ornament. You can make it as simple or as elaborate as you want. I went the simple route with this one as I wanted all of the focus to be on the amazing scene. I added a simple twine bow and some snowflakes from #5353 Large Snowflake Dies


A view from the top to show the dimension of the box. 


 Another view to show the layers on the inside. The depth is truly amazing. 


Thank you so much for stopping by for a visit today, and until next time - stay crafty!!


Sunday, December 7, 2025

Two CHUBBY Snowmen! by Guest Designer Kimberly Wiener

Hello Ai fans!

I had a day here on the blog that I needed to fill in, and we found the perfect person
for the job!

Please welcome Guest Designer

 Kimberly Wiener!

We just KNOW that you're going to LOVE her wintry cards.

---------------------------------------------------------------------------------------------------

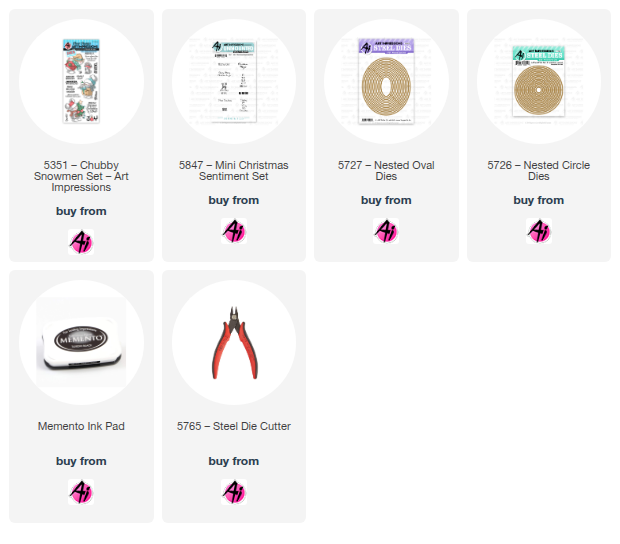
Hello Art Impression Fans!  I’m thrilled to join you and be a guest.  My favorite cards to create are Winter & Christmas cards.  Snowflakes and snowmen are my absolute favorite. Today I am sharing all the details to create shaker cards that are filled with wintry wonderland magic. I have selected the most adorable stamp set called Chubby Snowmen and paired it with the Mini Christmas Sentiment Set.


Instructions Snowmen Cards:

Stamp images in black ink, die cut, and color with Copic alcohol markers.

Solar White: Create two A2 base cards and four A2 panels.

Acetate Transparency sheet: Cut two A2 panels

[TIP: To align the circles & ovals in cardstock panel and the fun foam panel, die cut the cardstock first, place over fun foam and remove outer panel leaving the die atop the fun foam, place die and in place and run through machine]

A2 Panels: Center and cut one oval nesting die in one, and one centered circle die from the other, distress ink blend the two remaining panels.

Fun Foam: Cut two 4”x 5.25” panels & die cut one circle centered in one, oval die centered in other.

Hand trim a piece of white cardstock into a wavy snowbank.

Heat emboss sentiments in white onto black cardstock & trim.

Attach the distress ink blended panel atop A2 cardbase and glue.

With the circle & oval cut cardstock, adhere transparency to underside, add snowbank to transparency and line up the cut fun foam and affix to transparency leaving the underside (space for sequins) face up to dry completely.

Fill underside with sequins and attach cardbase and let dry.

Attach images and sentiments.


Supply List Snowmen Cards:

Stamp Sets: Art Impressions 5351 Chubby Snowmen Set, 5847 Mini Christmas Sentiment Set

Dies: Art Impressions 5726 Nested Circle Dies, 5727 Nested Oval Dies

Cardstock: Neenah Solar White, Black, White Fun Foam, Transparency Sheet

Inks: Memento Tuxedo Black Ink, Peacock Feathers Distress Oxide Ink

Markers: Copics: E11, YR21, YR24, YR04, R32, RV29, BV31, BV04, BG10, BG32, B12

Other: Versamark Clear Embossing Ink, Hero Arts White Detail Embossing Powder, Blending Brush, Heat Gun, Mini Blossom Die Cutting Machine, Spellbinders Platinum 6 Die Cutting Machine, Paper Trimmer, Scissors, Original Misti, Bearly Art Precision Craft Glue, Sequins


I hope you have enjoyed these cards as much as I have enjoyed creating them.  Shaker cards are so fun to make and shake!


Have the very best holidays and New Year!


Kimberly Wiener can be found on Instagram as @wienerhoneymooners 

Thank you Kimberly for your FABULOUS work!
We hope you'll come back and join us again sometime again.

Saturday, December 6, 2025

Village House Tag by Janet


The new 6114 - Box Village Template Dies have many uses. It makes a wonderful journal box but it also can be used as a focal point on a card or even as a charming tag, as I used it here. The finished house is a perfectly sized gift tag. To make it simple, I made sure to place the roof above the roof line so that there was room to punch a hole for the twine.

This die can take on a number of different styles and in mine, I chose a pink pastel scheme with touches of blue. It reminds me of homemade fondant candy and I can almost taste it!

This will make a Christmas package stand out. I look forward to attaching it to a special gift. It's going to look great under the tree!

Thanks for joining me on the blog today. As always, find your favorite stamps, dies, papers, and accessories at the Ai Store!

Happy Crafting!

Janet - YouTube - Blog - Facebook - Instagram - Pinterest  

Friday, December 5, 2025

Christmas in the Woods! Card by Tasha

Happy Friday Art Impressions friends!
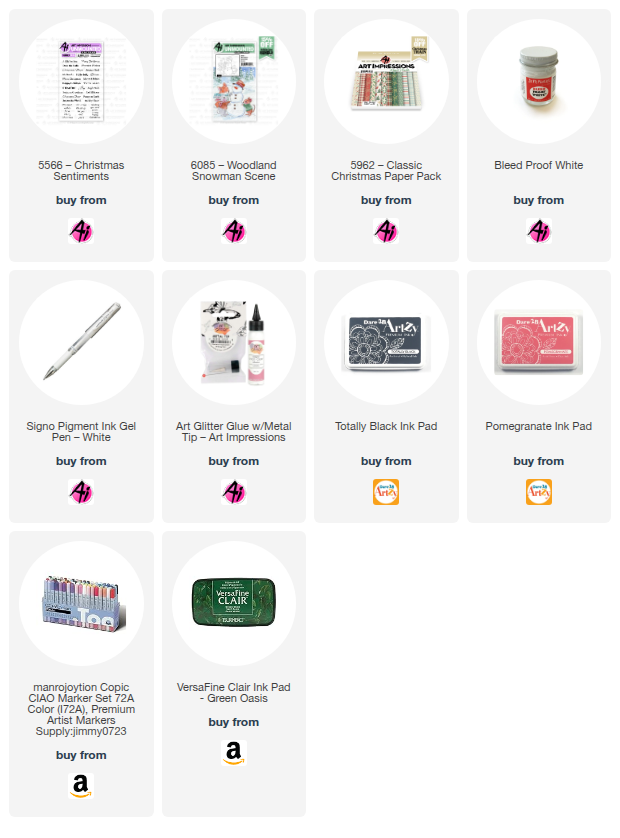
Tasha here sharing a Holiday card created with the new 6085-Woodland Snowman Scene stamp set. Now that we’re officially in December, it’s the perfect time to finish (or start!) those holiday cards and projects, and this sweet snowman scene is wonderful for sending warm Christmas wishes to someone special.
To build my scene, I stamped the snowman and added a cluster of pine trees behind him to give the design a cozy woodland feel. I used Bleed Proof White to paint snowy highlights on the trees, add texture to the ground, and create soft falling snowflakes; this little detail really brings the winter magic to life.


For the sentiment, I stamped “Merry Christmas” in bright red ink on a crisp white banner and attached it to layers of Green, Red, and White cardstock. A festive plaid patterned paper ties everything together and adds that classic holiday charm.

I hope this card inspires you to get creative and enjoy a little crafty time this season! 


Thursday, December 4, 2025

Flurries Forecasted Challenge #417 Week 3

 Hello Ai fans!

Welcome to week #3 of our

Flurries Forecasted

challenge.

This will be the final challenge of the year.

We want to see your winter projects featuring snow, snowflakes, snow globes, snowmen, snow embossing folders, puffy snow, glittery snow, snowflake stamps and dies and more.

Our Featured Designer was Dori and she created the most darling interactive penguin card.


I created three cards using the new Woodland Scenes from the Holiday Lane collection.


Click the photo below for all of the details on this one.
Tasha's card is HERE.

And Sharon's card is HERE.


It's been an amazing 2025 at Art Impressions with so many fun, new things.
We can't wait to see what 2026 brings!

✻ Please make a new card or handmade crafty creation. You can make any item you wish; this is not limited to cards! (unless specified)

✻ Limit two submissions per person.
 ✻Please include your first name and last initial on your submission. You may include your entire last name, but it's not necessary.
✻We love to comment on your entries, but keep in mind if you use a private group or a platform that you need to sign up for, we probably won't be able to.
✻ The Ai Challenge is open to everyone, international submissions are welcome!
✻ Include a link back to the Ai Blog or grab our button on the top right of our sidebar!
✻ Share the Ai love if you can, by clicking and commenting on your fellow crafters.
✻ Make sure to get your link up by the deadline to enter your creations.
✻ Good luck and happy stamping! 


You are invited to the Inlinkz link party!

Click here to enter

Reindeer Box by Dori Mendiola

 Happy Thursday AI Friends!

I hope you all had a wonderful Thanksgiving week celebrated with friends and family!  

December is here and that means holiday creating!  Clearly, I'm one of those that doesn't get started until now.  Yikes!  Guess I love the pressure of the holiday season.  😏 

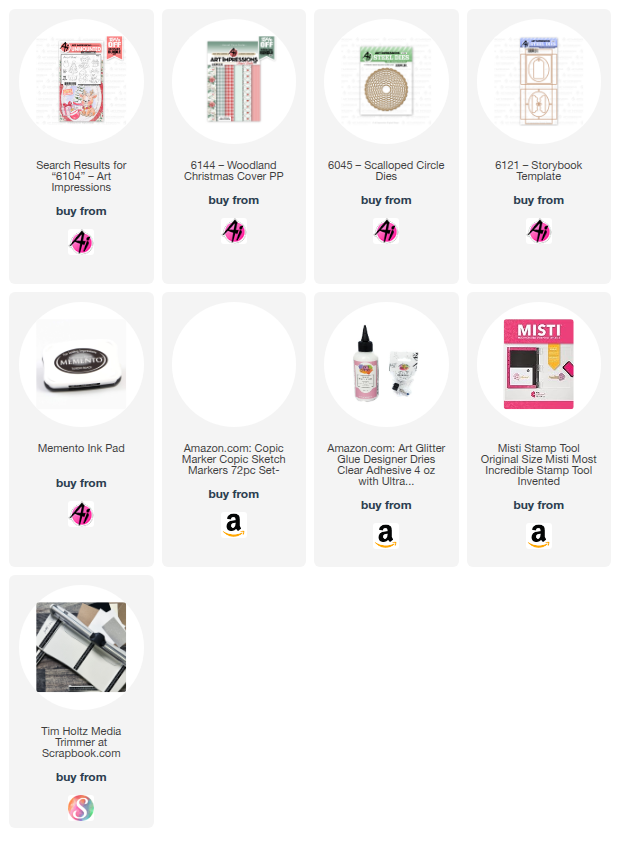
I've got a fun project for you today and you'll find yourself wanting to make lots of these.  I used the new #6104 Christmas Keepsake set for this cute little box.  I found a short video on Pinterest by SammyDemmy displaying this box, but it is in a foreign language.  I was able to improvise and create a version for you with English instructions.  I want to give credit to Sharon for helping me perfect the nose mechanism.  Thanks, bestie!
Cutest little box EVER!  

To open the box, you pull the reindeer's nose.


The finished box size is 3 1/2" tall x 2 3/4" wide x 1/2" deep.  This will fit a gift card nicely or you can place money or a small gift inside.

To make the box:  Cut a piece of 100 lb cardstock at 5 1/2" x 4 3/4".  Score along the 5 1/2" side at 
1/2", 1", 3 1/4" and 4 1/4".  Turn and score at 1/2", 1", 3 3/4" and 4 1/4".  On each of the corners, cut off the 3 small outer squares and snip up to the fold on the remaining small square (see below).


Fold and burnish all score lines remaining.  Tuck in each of the small tab squares and glue to the inside lower fold creating the box shape.  Before glueing the top 1/2" flap, check to see if you need to snip off a little so that it fits just to the bottom of the box when tucked inside.  Place glue on the top 1/2" flap and fold into the box to give the box stability (see below).  Do this for all four sides.  Your inside box is ready.


For the box cover:  Cut a piece of pattern paper at 7 1/4" x 3 5/8".  
Score along longest side at 1/2", 1 1/8", 3 7/8" and 4 1/2".  Fold and burnish.

To create the nose pull:  Color your reindeer and adhere it on a red circle base.  Punch a 1/8" circle into his nose.  Place the reindeer over your pattern paper box cover and mark where you want the nose.  Note:  I found that the lower you place the reindeer on the box, the farther the box will open.  
Punch a hole into the pattern paper for the nose.  If you have a crop a dile that will reach, you can adhere the reindeer onto the pattern paper and then punch the hole through all three layers at one time vs. marking it.  
Once the hole is punched onto the pattern paper, line up the hole with the reindeer and adhere the circle in place.  Thread the ribbon or embroidery thread through the bell.  Tie the thread so bell stays in place.  Place the two ends of the thread through the hole to the inside.  Hold the inside box into place and bring the thread up the front of the box and over the top.  Glue the thread on the top and again on the back of the box (towards the top).  After the glue has dried completely, snip off the loose thread from the back and glue the box cover together.  Make sure the cover does not adhere to the box.  


If you want the box to hang from the tree or a gift, place a tag topper to the back side of the box cover.  Tie some ribbon or string and a To/From tag to the topper and it's ready for your gift or tree.


Once you make one of these, you will find yourself making so many more!  Have fun pulling his nose!

Thanks for joining me today!  Keep creating!

Copics used:  E50, E51, E53, E55, E57, E59
R20, R22, R24, R27
Y28, Y32, Y35

Wednesday, December 3, 2025

How To Create a Winter Scene - Bridge Card by Lynn Dionne

Happy Wednesday Ai Fans!

Watch video tutorial here!


We are going to have some great fun today creating a pretty winter scene "bridge" card! Don't worry it is super simple, and I will give you all of the instructions and dimensions in today's video!

Let's create this "bridge" card today using the brand-new Ai Woodland Bench Scene (6088) stamp! This set is part of the new Woodland Series Stamp Sets! There are six new sets in this series!

Let's get started by stamping and coloring the images using the Zig Clean Color Real Brush Pens in the following colors: Blender, Sugared Almond Pink, Lt Beige, Yellow, Orange, Persian Green, Haze Blue, Aquamarine Blue, Dull Blue, Purple, Beige, Mid Brown, Platinum Brown, Green Gray, Lt Gray, Gray.

Next, we can create a pretty gold frame for this image using the Ai Oval Double Stitched Dies (5065) and the Ai Scalloped Oval Dies (6046).

To create the "bridge" design we will be cutting the center portion from a standard A2 size card. I will show you exactly how to do this in today's video!

We will add a few embossed panels to each side of the card. This will not only add some elegance to the card but will also give a bit more stability to the card.

Now we will glue the oval frame to the front of the card.... only applying glue to the sides of the oval. I did back the framed oval with a solid gold oval to finish off the inside of the card as well; however you may skip this step if you wish.

For the inside of the card, we will die cut two more stitched ovals from gold and white cardstock and stamp the sentiment. Let's also emboss the sentiment with some gold embossing powder to continue that elegant look! I'll show you a little trick for lining this up perfectly on the inside of the card!

For a finishing touch, we can add a few pretty glittery snowflakes to the front and inside of the card and a few sparkly gems in the center of the snowflakes!

Thank you so much for joining me today!  Have a fun and crafty day!

Ai Woodland Bench Scene (6088)

Ai Snowflake Frame Set (5782)

Ai Christmas Sentiments Set (5566)

Ai Oval Double Stitched Dies (5065)

Ai Scalloped Oval Dies (6046)

Ai Nested Oval Dies (5727)


Tuesday, December 2, 2025

Blue Woodland Barn Scene by Reneé Matarese

 Hello Ai fans!

If you haven't already seen them, you need to check out the new
Woodland Scenes from the Holiday Lane collection.


My card fits with our current
Flurries Forecasted
challenge. Use any form of snow on your project.
Embossing folders, stamps, dies, embellishments, snowbanks, spattered snow. Etc.

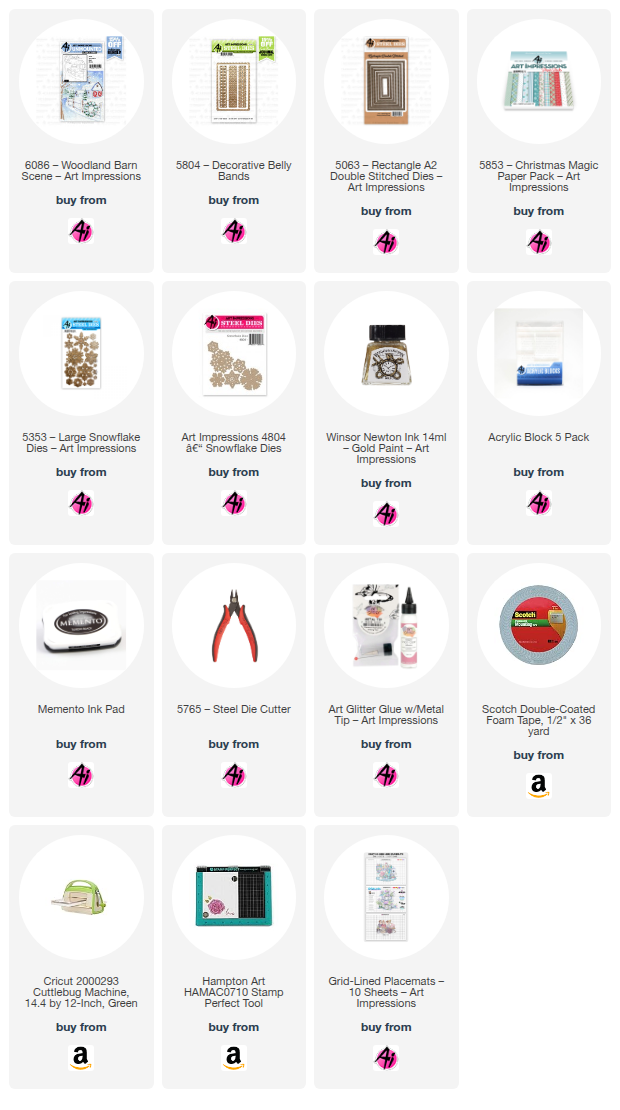
For my card, I chose to use 6086 – Woodland Barn Scene.
I absolutely love old barns so I fell in love with this image the second I saw it.

The beautiful matte around it comes from 5804 – Decorative Belly Bands.
That's framed with 5063 – Rectangle A2 Double Stitched Dies.
The beautiful papers are from 5853 – Christmas Magic Paper Pack and the snow
flakes are from 4804 – Snowflake Dies and 5353 – Large Snowflake Dies.
I cut them out of plain white cardstock that I had painted gold using
Winsor Newton Ink 14ml – Gold Paint.


I used a combination of Copic markers, Micron pens and a pencil to add details and
color to the images.
Copics:
C00, C0, N2, T4, E31, E34, Y11, R29, B01,
B91, BG02, BG10, BG11

Microns:
Sepia 0.01, 0.005


Monday, December 1, 2025

November 2025 Monthly Challenge Winners!

 Hello Ai fans!

To those who celebrated, we hope you had a wonderful Thanksgiving!

We enjoyed seeing all of your beautiful art and hope that you enjoyed
Sara's fabulous inspiration!

This was our last Monthly Challenge for 2025.

We're taking December off because it's such a busy time for everyone.

Be sure to check back in January when Simone will be our Guest Designer.

Beverly Sizemore is the winner of a free stamp set from Art Impressions.


  Bev, please contact Leah at Feedback@artimpressions.com
to claim your stamp set.


Rachel Bankes is the winner of a freebie from me.

Please email me at Renee@artimpressions.com with your full name and address and I'll send you a photo of the freebies I have available for you to choose from.


We hope you all enjoyed participating in our Monthly Challenges

and we can't wait to see what you make next year.


Looking for another challenge?

Our Bi-Weekly Challenge is going on until December 10th.

Our theme is

FLURRIES FORECASTED

Anything with snow.

Snowflake stamps, dies, embossing folders, embellishments, snow drifts,
falling snow, snow spatters and more!
Just click above where it says Flurries Forecasted and it will take you to the page.

Have a safe and wonderful holiday season.


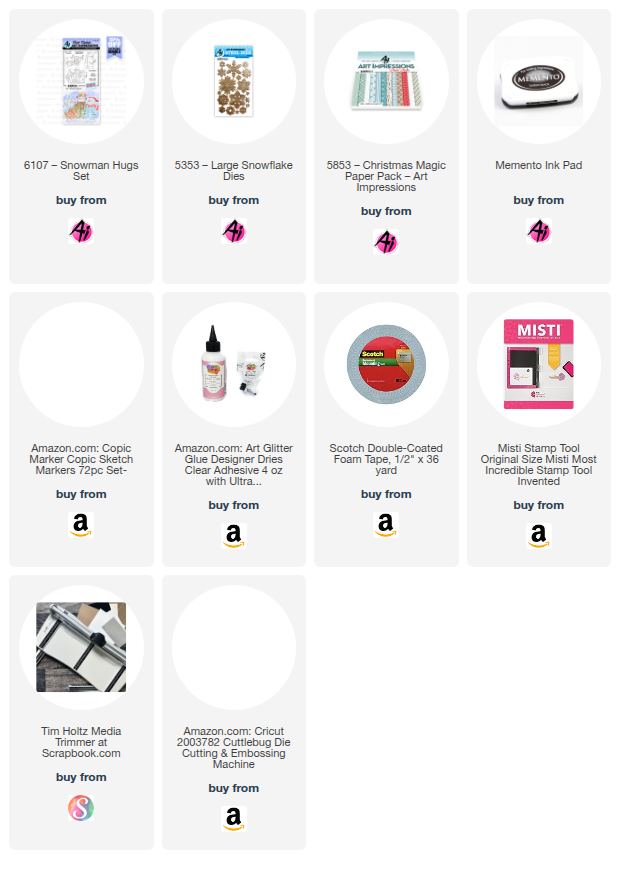
Frosty Kisses by Sharon Caudle

 Hello AI Fans!

Today's card features one of the amazing snowmen from #6107 Snowman Hugs Set. What is it about snowmen that just grabs my heart and won't let go??!! Each time Bonnie releases a new one, I absolutely have to have it, period. LOL!  This set was no different. For this card, I used the single snowman and put him in the forest with some snow falling around him. He just looks like he is in absolute heaven right now. He's all bundled up in his warm coat enjoying the holidays! If you haven't submitted anything for the Flurries Forecasted Challenge yet, you still have plenty time to grab your paper and glue and play along with us!! A free set of your choice would definitely brighten the holidays, don't you think??