Showing posts with label Exclusive Roses Set. Show all posts

Sunday, June 27, 2021

Exclusive Cherry and Roses by Reneé Matarese

Hello Ai fans!

Today I'm sharing two cards with you.

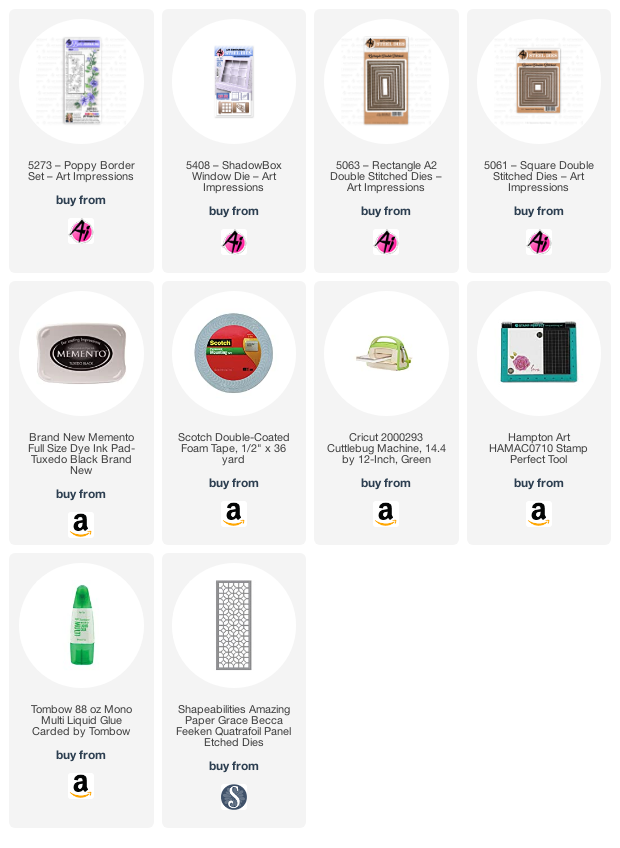
For my first card I used 


I stamped the roses several times, fussy cut them and popped them up on foam tape to add lots or dimension.  The butterfly is from 5200 – Butterfly Set.


The inner frame was cut using 5061 – Square Double Stitched Dies.


See all the fabulous layers?  This makes this card so interesting in person.


My second card also uses one of the exclusive floral sets.


I stamped the verse on 5064 – Circle Double Stitched Dies.


Monday, August 10, 2020

Cards for Kindness Challenge - Roses for Kindness by Bri Firth

Hi everyone! Today I am sharing my creation for my first Art Impressions Challenge as part of their wonderful design team. Art Impressions is partnering with Scrapbook.com for their event, Cards for Kindness. For more information on this event check out the details here

For this event they request you mail in a minimum of 10 cards so I wanted to make a card design I could duplicate easily. For my challenge project I used the Exclusive Rose stamp set available on the Scrapbook.com website. I love "thinking of you" cards because they are great for variety of occasions.

First, I used the Oval Double Stitched Dies to die cut oval shapes out of Canson watercolor paper. I then used my Misti stamping platform and Tombow Dual Brush Markers to color and stamp the rose image onto all of the ovals. I used a waterbrush to spread the color throughout the rose stem images.

For the card background I used a piece of 4" x 5.25" floral cardstock. By trimming the floral cardstock to those dimensions I was able to create a card background for 12 cards out of two pieces of 12" x 12" cardstock! I finished the card background by double matting the floral cardstock with different shades of green solid cardstock.

Next, I heat embossed the "thinking of you" sentiment with white embossing powder. Then I added the rectangular sentiment strip to the card. Finally, I finished the card by attaching the watercolored oval image to the card front.

Thank you for stopping by the blog today. Check back next week for more of my creation inspiration!


Saturday, April 4, 2020

Watercolor Roundup : Scrapbook.com Exclusive Sets


Hello, Ai Fans! Happy Watercolor Weekend!

As we are all hunkered down at home and finding new ways to be creative with our time, we are so glad that we get to share a little beauty with you. If you haven't tried our Scrapbook.com Exclusive Sets, or new Bible Journaling sets, you're missing out! 

There are beautiful borders, images, and sets that compliment any card, scrapbook, or bookmark.

From our heart to yours, sending you wishes of health, happiness, and the beauty of spring!

Check out our newest Bible Journaling sets at artimpressions.com, and our Exclusive Sets at scrapbook.com!!

Be sure to follow these lovely ladies on social media by clicking the link in pink next to their names!


Tricia O'Bin - Blog - Instagram - YouTube - Pinterest - Facebook


Hello Watercolor Fans, I am so excited to showcase the Exclusive Scrapbook.com 
Roses Set. These are so easy to watercolor the Art Impressions way.  I hope you get lots of inspiration from the design team.  I am having a blast using these new stamp sets while I am stuck at home!

Project Details
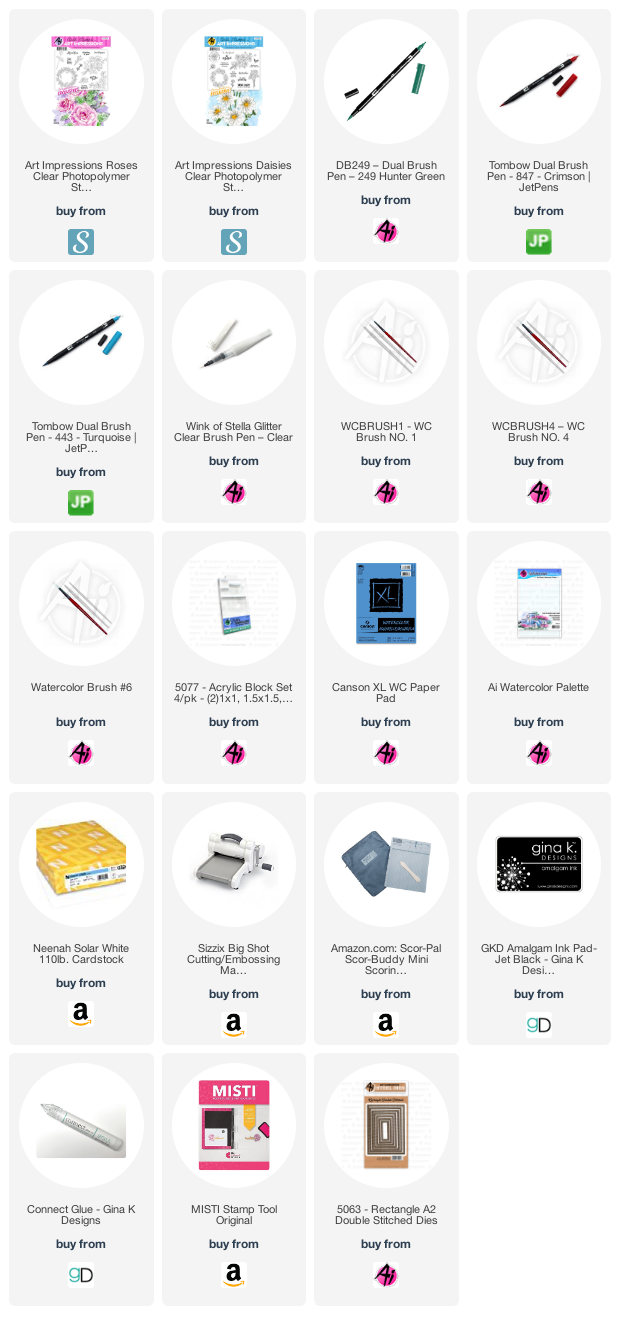
I inked the roses in the rose bouquet with 847 and the leaves with 249.  I stamped it down on my watercolor paper.  Using my #1 paintbrush, I pulled the color out of the lines.  Layering color slowly using my palette, I added additional color to the roses and leaves. For some bling, I added Wink of Stella to the rose buds, just because you can never have enough bling!

I added some 443 to my palette and added lots of water to create a light wash.  I painted it along the outside of the bouquet.  To build the color slowly,  I added more color, keeping it darker in the center.  I allowed some of the color from the roses and leaves to bleed into the background, because I love that look.

Lastly, I signed and dated my work.
Check out my blog to see how I put the card together.  Thank you so much for stopping by and I hope you all stay healthy in these trying times!


Dot Freel - Instagram - Blog - Pinterest

Hello,

Thank goodness we have our arts and crafts during these stay at home days of the Corona Virus Pandemic! Hope this finds you healthy and safe. 


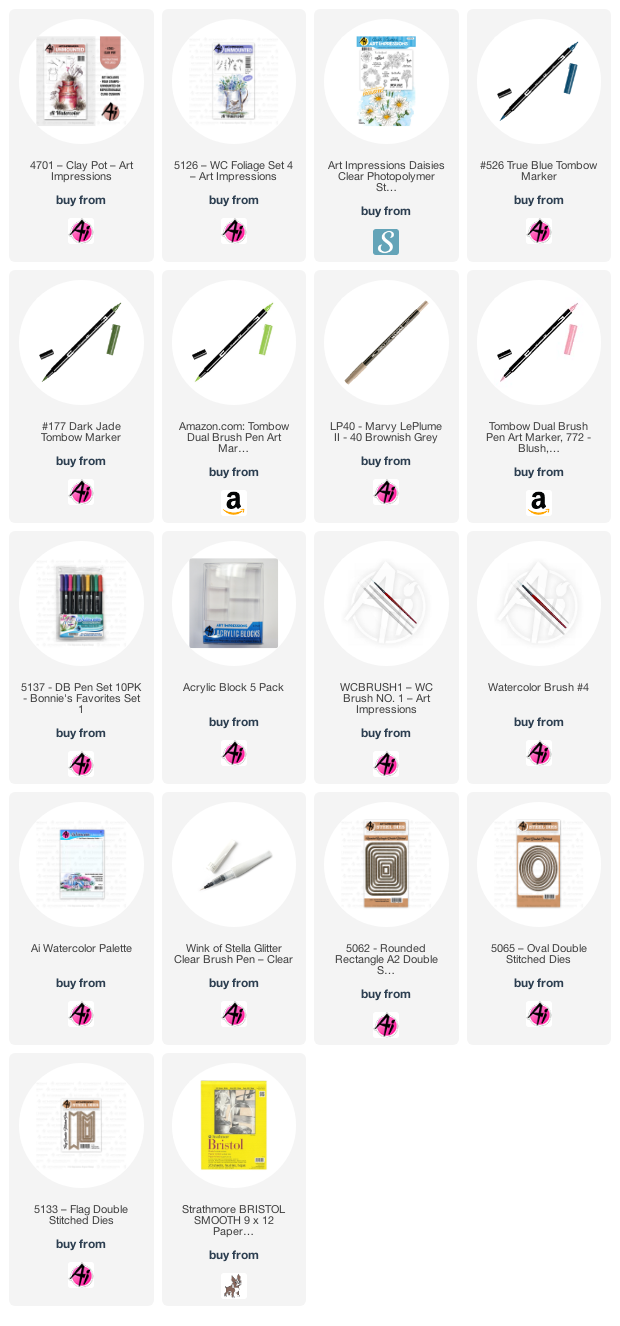
I used the brand new 5228 - SBC Exclusive Daisies Set to make my card for the Watercolor Weekend post on the Art Impressions Blog. I stamped the 4701 - Clay Pot first using No. 40 brownish grey ink on Strathmore Bristol Smooth paper. 

I pulled the color out of the lines and then added NO. 40 brownish grey to the sides of the pot. I just love pink Gerber Daisies so I stamped the daisies in and on the pot using grey archival ink. I watercolored them from the palette using 772  and the No. 1 watercolor brush. 

I dabbed at the centers of the flowers with the 743 fine point end. I stamped the grasses from the 5126 - WC Foliage Set inked in 177, pulled the color out and added some green to the ground. I then inked up the grasses with 173 and stamped them over the other grasses. I stamped the vine from that same foliage set inked in 177 and dabbed at them with a wet brush.  

Once again, I inked up the vines in 173 (bright green) and stamped them on top of the other vines. I used 526 for the sky and 565 to the ground in front of the pot.  I cut it out with the Oval Die set and cut out the background papers with the Rectangle Rounded Corner dies. 

I stamped that sentiment (I love!) in coffee archival ink and then used the label die to cut it out. I added some Wink of Stella glitter to the flowers but it doesn't show up in the photo.

Thank you for checking out my blog!  You can find more of my cards on my Instagram account here


Karen Day - Blog - Facebook - Pinterest


Greetings!!!


I am using the lovely Exclusive Cherry Set available from Scrapbook.com today!


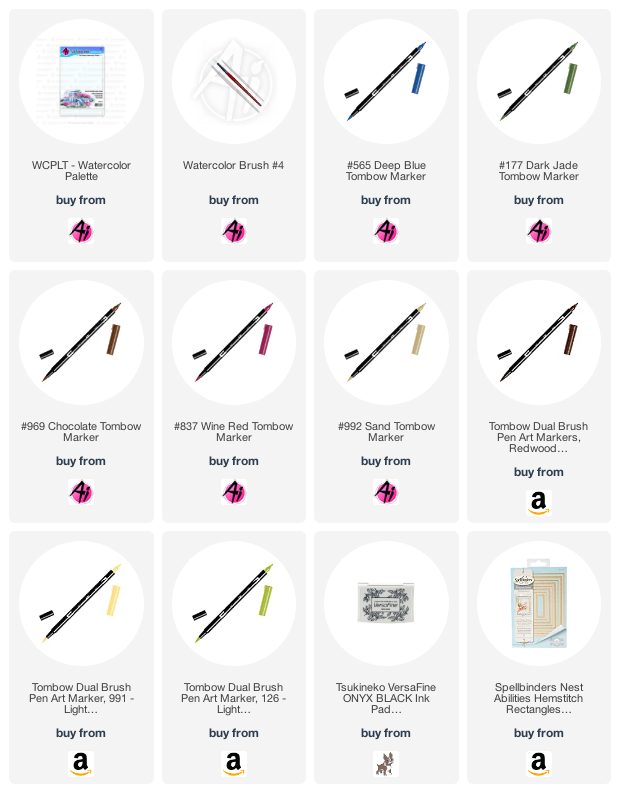
I began by stamping my image onto some smooth watercolor paper (the paint doesn't move around quite as much, but gave me a bit more control of where my color went).  Using my Tombow Dual Brush Marker in #837 Wine Red, I painted the cherries in layers, starting with a fairly pale wash, leaving plenty of white areas to give them a shiny appearance.  After several layers of #837, I wanted the shadows to be darker still, so I went over the darkest areas with #899 Redwood - which is a dark brown color.  I painted the branch and cherry stems with #992 Sand, then added touches of #991 Light Ochre for a little warmth.  


I kept in mind that the undersides of leaves are always paler, so I painted those areas with a wash of #126 Light Olive.  The rest of the leaves were painted with #177 Dark Jade, and I added several layers of the color, keeping it concentrated along the veins.  I used a wash of #565 Deep Blue to paint in my sky (it's much stronger than it shows in the photo!), and then I used #565 to add shadows to the branch, leaves and cherries.  The sentiment is from the Daisy Exclusive Set, stamped in Onyx Black Versafine ink.  I die cut my scene, then matted in on green cardstock and adhered it onto my patterned paper background.


Thank you, ladies, for your fun, floral additions to our blog!

Happy Stamping!

Friday, April 3, 2020

Exclusive Roses Window Card | By Jessica Shier

Hello Ai Fans!

It's Jessica today and I have a rose window card to share with you. These Scrapbook.com exclusives are gorgeous and the rose one especially. I love all the detail, I knew these roses would look good colored or embossed so I had to try both. 


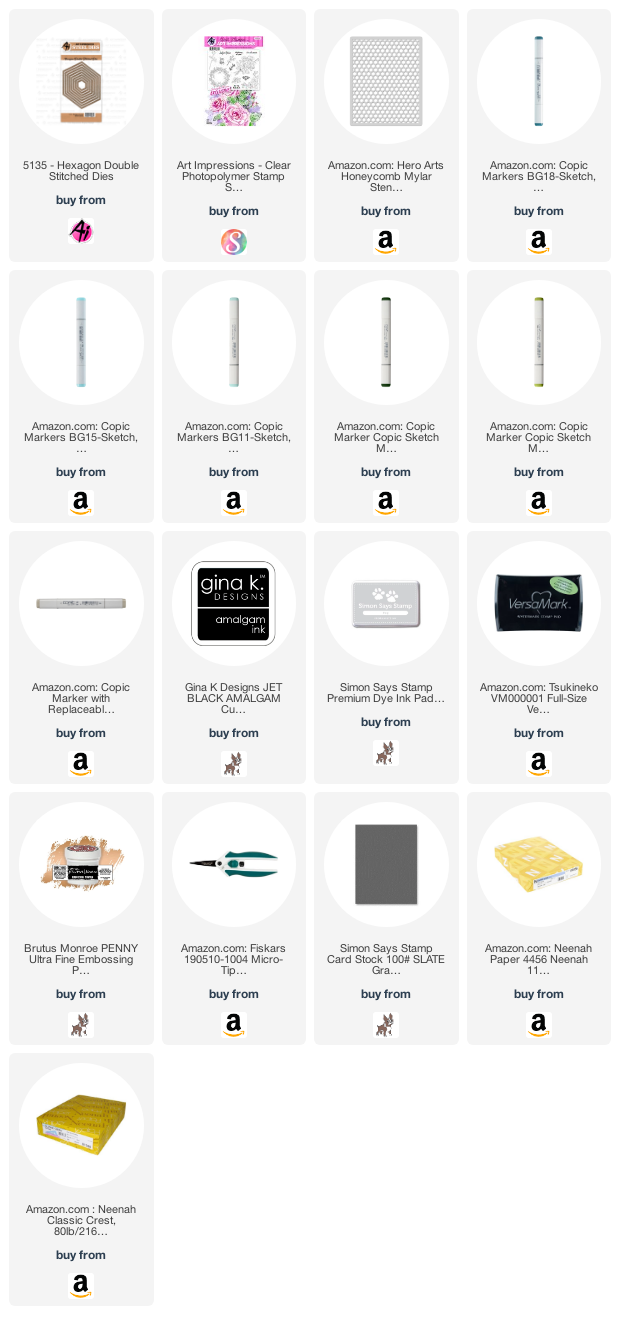
I'm using the Hexagon Double Stitch die set. This shape is a lot of fun to work with. I die cut one of the larger dies on to the front of my card. I'm using a Neenah 110lb card base. I one of the large rose images and heat embossed in two corners, using copper embossing powder. Having some fun with a teal and copper color combination. 

The light gray texture is done by using gray dye ink and a hexagon stencil. Also, I shaded in the roses with a W3 Copic Marker. I never recommend coloring your images with alcohol markers when it has been powder embossed. I'm pretty sure I have ruined more Copic tips. 


Using black ink I stamped the wreath image on to Neenah 80lb card stock. And color in with Copic Markers. The list of colors I used is listed below. After heat embossing the sentiment into the center of the wreath, I fussy cut it out and adhered to the inside center. I do like to add something else to the inside with window cards. I like the idea of having a little surprise. For this card, I die cut two smaller hexagons and add an embossed sentiment and small rose image to them. Those are adhered to just out of sight through the window of the card. Embossing these images in a metallic powder is pretty magical. 


Copic Marker list
BG18, BG15, BG11
YG67, YG03
W3

Color inspiration.


Thanks for stopping by today and happy stamping!
Thursday, March 19, 2020

Many Thanks by Crystal


Hi, Ai fans! This week I played with this Feature Rose Stamp set from Scrapbook.com


I stamped it with Black Versafine ink because I wanted to watercolor the image. I love the look of water coloring. I don't watercolor very often, my go-to medium for coloring is always alcohol markers. I scribbled the color from my Aqua markers onto my glass matte and pick it up with a paintbrush to color the image in. 


After the image was dry I stamped the sentiment "Many Thanks" into the middle of the wreath. Then I die cut it out with a double stitched circle die. I centered the circle onto a die-cut embossed rectangle card stock. 


Happy stamping!


Wednesday, March 18, 2020

NEW VIDEO! Scrapbook.com Exclusive Sets

Hello Ai Fans!

Welcome back, Watercolor Wednesday fans!

NEW VIDEO! Watch Bonnie demonstrate how to color our new EXCLUSIVE Scrapbook.com sets! There are five sets in this partnership with Scrapbook.com: Cherry, Hydrangea, Poinsettia, Daisies, and Roses. All of these available ONLY at Scrapbook.com!


View on YouTube: 


View on YouTube: 


View on YouTube: 


Sunday, March 8, 2020

Hope your day is Rosy! by Reneé Matarese

Hello Ai fans!

Today I'm sharing a card made with one of the new Exclusive sets from the collaboration of Art Impressions and Scrapbook.com.


All of the new floral exclusive sets are gorgeous!
These are perfect for so many occasions!
They're perfect to water color or color with whatever medium you like.  I used Copic markers.


Copics used:
G12, G20, G43, RV000, RV63, RV91


Tuesday, March 3, 2020

Roses Love Card by Jil Lebel

Hello Ai fans!

The exclusive flower sets from Ai and Scrapbook.com are so versatile.  I used the SBC Exclusive Roses Set for today's card.   Remember, you can only get the exclusive sets at Scrapbook.com.
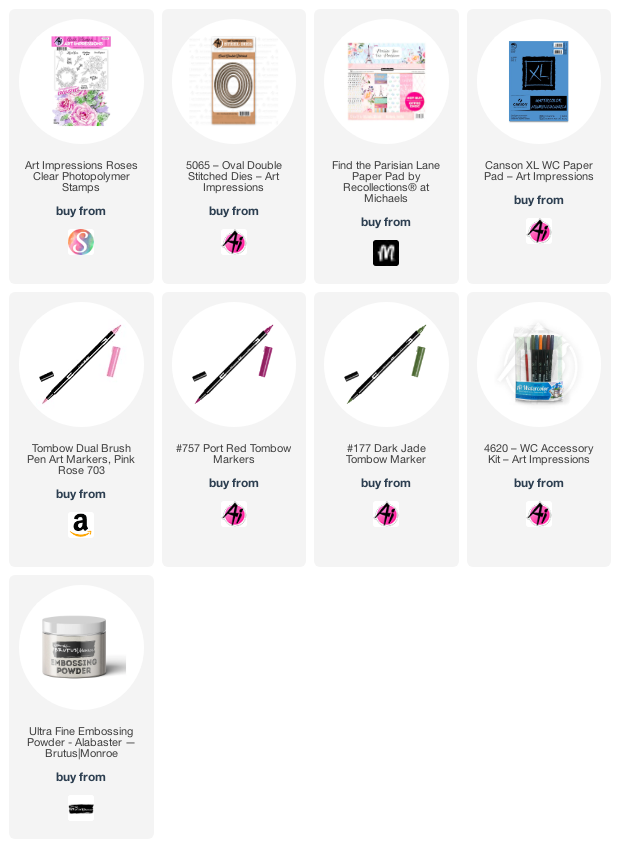
I started by stamping the rose image onto Strathmore 140 lb watercolor paper. I stamped it  with VersaMark Watermark ink and embossed it with Ranger Sparkle Gold embossing powder. I then colored it using Tombow Dual Brush Markers and a #4 Brush.  The colors used are listed at the end of this post.
I cut the image and a piece of vellum with the Oval Double Stitched Dies.  I attached  two pieces of Carte Bella Botanical Garden paper to an A2 card base.  The papers were cut with the Rectangle A2 Double Stitched Dies. The greeting was stamped and embossed the same was as the rose onto a banner from the Flag Double Stitched Dies.
Tombow Dual Brush Markers Used:
Rose - 685 Deep Magenta, 757 Port Red
Leaves - 192 Asparagus, 177 Dark Jade
Background - 452 Process Blue

Thanks for stopping by and Have a Great Day!