Showing posts with label Square Double Stitched dies. Show all posts

Saturday, May 27, 2023

It's Been a Tough Day! by Janet


Have you ever felt like this lady? Oh, I know you have. Many times. Maybe even today! I'm feeling this way right now. My baby is graduating from High School and I'm on a terror cleaning up the house and getting ready for his open house. Between work and preparations, this pretty well represents me about 9 PM lately. Oh well. It's a small price to pay for having a happy celebration. I will say I have something a little stronger in that cup than coffee! Don't judge. My knees hurt! LOL.

This stamp is called 5518-Hot Mess Laugh Lines. I also used the 5061-Square Double Stitched Dies to cut out the main image and the mat. The sentiment is from the set. I cut it out with a die in the 5543-Journal Template Die Set. It's just one of several sentiment dies that are useable beyond journals.

Once in a while, I like to paper piece something into a stamped image. Today I stamped, cut out, and glued in the pattern for the chair with patterned paper. In this case, the paper pattern is way better than I could draw and color and I think it adds a lot to the image. It's very simple to do and has a great effect. I used a leftover piece of the paper under the image to tie it all together. I had a relatively small piece so I tore the edge at the bottom and cut a small piece off the top of it. Then I glued the thin piece at the top to give the illusion that it's underneath the whole image. It's a great way to fool the eye when you're short of paper! It can also save you from wasting paper by covering most of it up!

Copic Markers Used:
Jeans: B95, B93, B00
Top: E47, E44, E43
Shoes: C1, C0
Skin: E01, E00, E000
Cup: YR24, YR16, YR14

Thanks so much for stopping by today. I hope you'll stop by the store soon for all your card making needs. 

Wishing you a very crafty day!


Janet - YouTube - Blog - Facebook - Instagram - Pinterest 

Saturday, May 20, 2023

It's a Love Thing - Retracting Reveal Card by Janet


 Hi everyone! It's Janet here and I have a retracting reveal card for you today. I really enjoy creating interactive cards. Engineering the elements to pop up, lift and move is very satisfying! I have used a fan favorite set, 4752-Love Thing Set. All the patterned paper is from the 5741-Valentines Paper Pack. After coloring, I cut the image out using the largest square die from the 5061-Square Double Stitched Dies. 

This card starts flat as shown below. You'd never know it holds several interactive surprises from its unassuming starting position. 


 When the strings are pulled at the top, the front retracts to reveal a hidden message. My hearts are cut from the 5721-Nested Heart Dies Set. I cut a heart in the white card base and cut another out in red cardstock. Then I filled the negative space by inlaying the red heart. This way I could add color and a shape to the hidden message without creating another layer of cardstock that would catch on the sliding mechanism. I heat embossed the set's sentiment with white embossing powder before I inlaid it into the card base. I used the smallest heart in the die set to decorate the bottom of the card.


Pulling the strings lifts up the cute couple so that it stands and takes center stage. But that's not all! When the string is pulled, it reveals another message on the tag as it's pulled out. This sentiment is from 4999-Perfect Duet. This is also where I would write my message to the recipient. There's plenty of room since the tag will pull out an additional 1 1/2". Tip: If you don't want the ink from the colored image to show as it does on mine, sandwich another piece of white cardstock behind it before gluing it to the lift-up mechanism.


I hope you enjoyed seeing this card. If you would like to learn how to make this style of card, leave a comment. If there's enough interest, I'll do a video tutorial on it. 

Thanks so much for stopping by today. I hope you'll stop by the store soon for all your card making needs. 

Wishing you a very crafty day!


Janet - YouTube - Blog - Facebook - Instagram - Pinterest 

Sunday, March 19, 2023

Happy Easter Planter by Reneé Matarese

 Hello Ai fans!

Before you know it,  Easter will be here.

Do you have people you make Easter cards for?
Perhaps you scrapbook your kids or grandchildren's Easter egg hunts or Church services?

Art Impressions has all of your Easter needs as far as stamp sets go!

EASTER

The card I'm sharing today used multiple sets.


The main bunny planter image is from 5521 – WC Animal Planters proving that they don't have to be watercolored, in fact they need very little color at all to be adorable.

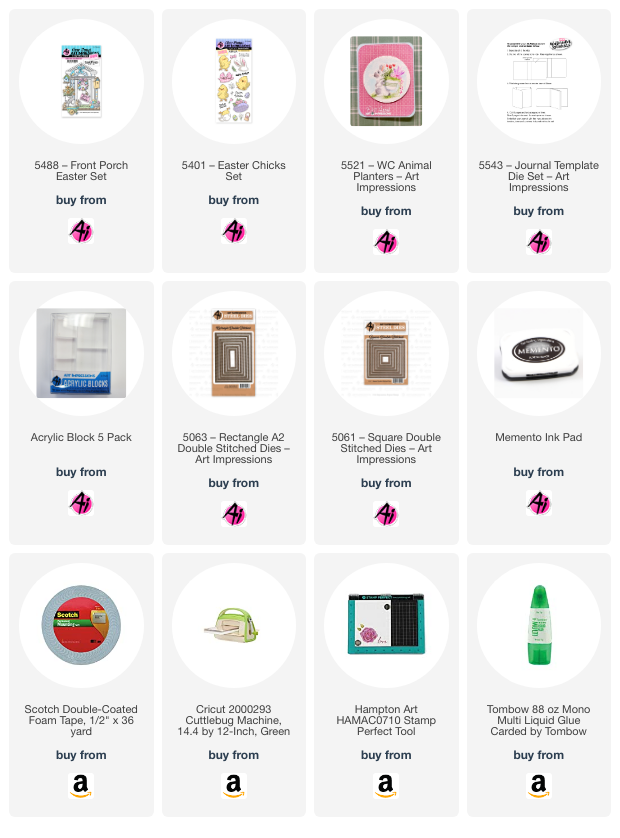
He was framed using the 5061 – Square Double Stitched Dies.


I filled the pot with flowers from 5488 – Front Porch Easter Set and the bow and additional flowers and foliage are from 5401 – Easter Chicks Set.


The Happy Easter phrase was stamped on dies from 5543 – Journal Template Die Set.
I used the 5063 – Rectangle A2 Double Stitched Dies for the bottom portion of the card.


Though some of these are considered Watercolor sets I used Copics to color them.

Copics used:
RV00, RV63, RV93, C00, C3,
B0000, B02, G12, G24, Y13, Y18


Sunday, February 19, 2023

Mailbox Full of Love by Reneé Matarese

 Hello Ai fans!

Today I have some fun news!

I had a card published in Creative Scrapbooker Magazine
Spring 2023 issue!

You can see it in the current issue in craft stores right now.
My card was for the fussy cutting/cards for mom categories.

Though this set comes with dies, the mailbox does not have a die to cut it out.
The die only cuts the mailbox open so I fussy cut that.


For my card I used several sets.

The image is from 4848 – Sweet Wishes MTF. 


 The mailbox is interactive, opening and closing,
 to reveal a little bird and some happy mail.


I cut some squares and rectangles to mount my image on using
and


The little heart is from 5317 – MB Template Dies.


It's never too early to start thinking about making your mom, mother-in-law, daughter/daughter-in-law who's a mom,  or special mother-like figure in your life, a card for Mother's Day.


Copics used:

B0000, RV93, E23, E35, N1, T2, T3

Saturday, February 18, 2023

A Colorful Birthday Card with a Surprise Inside! by Janet


 Hello and happy Saturday! I am so excited to share this colorful birthday card with you. It features several of Ai's newest releases in the store. Here I'm featuring the new 5722 Birthday Journal Set which has stamps and dies with this adorable dog, yummy cake, and the pretty Celebrate word die. I just love the little dog's expression. He's so adorable!

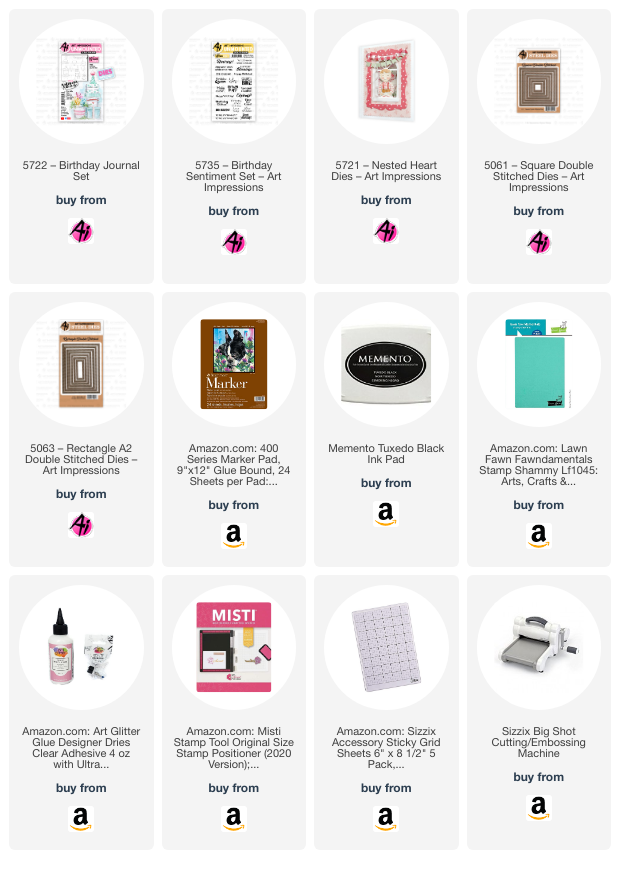
To make this card, I started by using a 5063 Rectangle A2 Double Stitched Die to cut a mat for the card front. Then I used 5061 Square Double Stitched Dies to cut a window and a frame. I also used the new 5721 Nested Heart Dies to cut red and white heart shapes. I stamped, colored and cut the images out and placed them on the white heart. The smaller red heart is also from a die included in the heart die set. I placed the finished heart image over the cut window and secured it with glue where the heart overlaps the window. The stars are birthday table confetti shapes which I glued to the card using liquid glue.

The fun of this card is revealed when it's opened! There's a party in it! I colored and cut the cake, candles, balloons and banners from the Birthday Journal Set. It's so fun to see all of this inside the card. It's unexpected because you think you're seeing through the card because there's a window cut in it. It's all done by strategic placement so that none of the shapes show through the window. There are three super balloons in the 5722 Birthday Journal Set. You can cut these out of colored cardstock or you can color them. Either works well. The banner is also a lot of fun to work with. I made mine very colorful with several Copic marker colors. And how great is that cake? I love the height and size of it which is wonderful in a card but also in the journal pages. The sentiments in the card are from another new set of birthday phrases - 5735 Birthday Sentiments Set.


Thanks so much for stopping by today. I hope you are enjoying all the new releases. Visit the store to see everything that's new.

Wishing you a very crafty day!

Saturday, January 21, 2023

Thinking of You - Stretching Your Christmas Stamps

Hello everyone! I'm back again this week to offer further inspiration for a Windows to the World stamp set. If you missed our challenge post, check it out. Included is my tutorial for using a Windows the to the World stamp and dies designed just for it. Here's the card I made to kick of our newest challenge. The post can be found HERE.

The weather has definitely turned colder and I wanted to a card featuring a winter scene. Most winter stamps in my collection are about the Christmas season. However, I realized that this Christmas stamp, M4691 - With Love Window could be used for a winter themed card. All I had to do was eliminate the sentiment around the window which mentions Christmas. I love when you can get multiple seasons out of one stamp set! Here's a close up of the finished stamp on the card. The snowman is so cheerful. Just what we need in the middle of January!

In today's card I decided to create mats with graduating window sizes. Each layer underneath is slightly smaller until the window is the perfect size for the stamp. To do this, I picked my papers and cut them all to fit an A2 sized card base. I used three 5061-Square Double Stitched Dies to create a gradual reduction to the die I used from the 5408-ShadowBox Window Die that perfectly fits the Windows to the World stamps. If you don't have this die, you can simply fussy cut it out.

I highly recommend using paper pads when choosing to use multiple patterns on a card. Doing so makes sure the colors go together. In my case, I also chose a pattern that had a tree pattern at the bottom of it. I used it to my advantage as part of the design on the card. All I needed to add was a sentiment to finish it! 

Thanks for joining me today. I hope you enjoyed my project and that you have been inspired to enter our Windows To The World challenge! Can't wait to see what you create.

Janet - YouTube - Blog - Facebook - Instagram - Pinterest


Thinking of You - Stretching Your Christmas Stamps

Hello everyone! I'm back again this week to offer further inspiration for a Windows to the World stamp set. If you missed our challenge post, check it out. Included is my tutorial for using a Windows the to the World stamp and dies designed just for it. Here's the card I made to kick of our newest challenge. The post can be found HERE.

The weather has definitely turned colder and I wanted to a card featuring a winter scene. Most winter stamps in my collection are about the Christmas season. However, I realized that this Christmas stamp, M4691 - With Love Window could be used for a winter themed card. All I had to do was eliminate the sentiment around the window which mentions Christmas. I love when you can get multiple seasons out of one stamp set! Here's a close up of the finished stamp on the card. The snowman is so cheerful. Just what we need in the middle of January!

In today's card I decided to create mats with graduating window sizes. Each layer underneath is slightly smaller until the window is the perfect size for the stamp. To do this, I picked my papers and cut them all to fit an A2 sized card base. I used three 5061-Square Double Stitched Dies to create a gradual reduction to the die I used from the 5408-ShadowBox Window Die that perfectly fits the Windows to the World stamps. If you don't have this die, you can simply fussy cut it out.

I highly recommend using paper pads when choosing to use multiple patterns on a card. Doing so makes sure the colors go together. In my case, I also chose a pattern that had a tree pattern at the bottom of it. I used it to my advantage as part of the design on the card. All I needed to add was a sentiment to finish it! 

Thanks for joining me today. I hope you enjoyed my project and that you have been inspired to enter our Windows To The World challenge! Can't wait to see what you create.

Janet - YouTube - Blog - Facebook - Instagram - Pinterest


Sunday, October 23, 2022

Matchbooks and Masculine cards! by Reneé Matarese

 Hello Ai fans!

Today I'm sharing several cards and a bookmark.

Two of my cards are from the Matchbook series.

Both cards used the 5317 – MB Template Dies and 5318 – MB Envelope Dies. 

My first Matchbook was created using 5498 – MB Salon.


Unless you're bald,  you almost definitely have a hair dresser/barber.  How cute is this card as a little thank you for keeping you looking amazing?!


Due to some medical issues I haven't needed my hair dresser in over a year and a half but when I go back and she makes me beautiful, she'll definitely be getting a card like this!


These tiny little scenes are such a treasure!


My second MB used the 5499 – MB Get Well.  I love the little white board that you can personalize any way you'd like.


The Matchbook folds up and fits neatly in a tiny little envelope.


These are perfect for someone's desk or bedside table.
Whether you have a sick friend or need to thank a doctor or nurse this set is perfect!
Swap out the Get Well for Thank You.


I have a former co-worker who is having some health issues so I made this card and took it to work for everyone to sign. For this card I used the same MB but I did it on a traditional card.  It's mounted on 5061 – Square Double Stitched Dies.


The verse is stamped on 5132 – Tag Stitched Dies and the heart is from 5543 – Journal Template Die Set.


My bookmark was cut using 5223 – Bookmark Dies.
The main images are from 5322 – MB Den Set.


The frame around the verse and the star are from 5543 – Journal Template Die Set.
The little tags are from 5132 – Tag Stitched Dies and the clock is from 5323 – MB Wall Accessories.


I hope you've enjoyed my projects for today and that you find some time to be crafty.  Most of my projects were made with the current Let's Hear it for the Boys challenge here on the blog.  Be sure to enter for your chance to win a free stamp set!


Copics used:

Salon MB: C00, N2, W2, C6, Y13, Y21, Y26,
YG13, RV29,RV63, RV93, E23, B01, B04

Get Well MB: Y13, Y17, G03, B00, B18, B34, E35, C0, N1, T4 
Marvy NO. 100 Sapphire

Bookmark: G20, G24, G43, B21, B45, Y28, Y32, N4, W2, E23, E97


Saturday, October 8, 2022

Fall Blessings Abound by Janet

Fall is such a great time to take stock of the many blessings in our life. Even when there are challenges, there are always blessings to acknowledge and appreciate. Today I embrace that message with my card.

I've chosen to use Windows To The World 5449 - Autumn Window Set. These are designed to be used with 5408 - Shadowbox Window Die but they can also be used alone to good effect. Each set in the series has a hand written note around the window image and they are often quite inspirational. This one touches me with, "May bundles of blessings abound & joy be yours in abundance this year." What a great wish to offer someone! I stamped this one with Memento ink in Rich Cocoa. I colored it with Copic markers. 

The stamps in this line will color up quickly. I added some shading but I didn't use more than two colors for any of the stamped areas. This set comes with a separate basket with veggies and a die to cut it out. Typically the basket would be staged on the outside of the Shadowbox Window Die. In this case, I added a foam dot to help it stand out.

The finished card is 4 1/2" x 4 1/2". I cut the stamped image and the light brown mat with 5061 - Square Double Stitched Dies. I mounted the stack on a fall patterned paper and then directly to a dark brown card base. To finish it off, I added a green button with twine and three green glitter enamel dots. 

 And speaking of buttons, don't forget to enter your card into the Button and Bows challenge for your chance to win a free stamp set! It's a great opportunity do I hope you'll play along with us.

Thanks for stopping by today. Please visit the Ai Store and check out all the great fall and Thanksgiving sets available.

Wishing you a very crafty day!

Janet - Facebook - Instagram - YouTube - Pinterest