Showing posts with label Slimline Dies Set. Show all posts

Thursday, October 13, 2022

Let's Hear it for the Boys! #338

  Hello Ai fans!

Today we begin a new challenge...
Let's Hear it for the Boys!


But first...the winners.
We just ended our Buttons and Bows challenge and we have a Top Spot and a Lucky Random Winner to announce.

For our Top Spot we selected Debbie Hedges!
She created a stunning floral arrangement in a pot using a beautiful color palette.


Debbie made two cards for this challenge and the other one is equally adorable!


Please contact Leah at Feedback@artimpressions.com
to claim a free stamp set of your choice!
Also, be sure to grab your badge to display on your blog, Facebook or Instagram!


Our Lucky Random Winner was Liz W.


Please contact Leah at Feedback@artimpressions.com
to claim a free stamp set of your choice!
Also, be sure to grab your badge to display on your blog, Facebook or Instagram!

Congratulations to our two winners!  Now on to our fabulous Design Team feature! 
---------------------------------------------------------------------------------------------------------------------------------------------

Hello Ai fans, I am so excited you are joining us today as we announce a new challenge; All for Boys!! This challenge inspired me so much and I can't wait to share with you my projects.


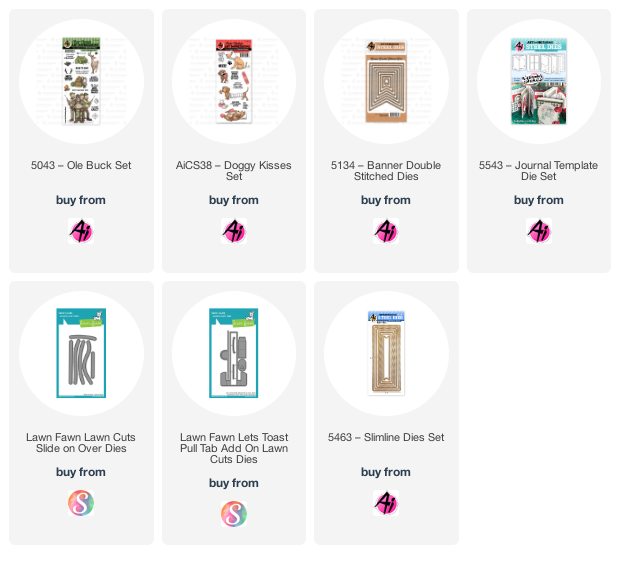
I created a fun card for these cute campers searching for the Birthday Cake :) I used Ole Buck Set and stamped these curious campers and colored them with Copic markers then cut with my mini scissors all around the image.


For the background, I used a Camping paper collection that has camp scenes cards and then backed the campers image with foam tape and attached it to the background. I also grounded the scene with a strip of dark brown paper.

To brighten the card a little bit, I added multiple scraps of colored cardstock behind, yellow, orange then navy.

I used alphabet stickers to add the same sentiment that was in the stamp set "Is that Cake"? :) 

I also embellished the card with enamel dots that matched the card colors.


They are so cute :)

I then created an adorable interactive puppy card using the cute Doggy Kisses Set. The set has this adorable puppy that has, almost all his body, wrapped with gauze. 


I stamped the puppy twice and colored it with same colors. Cut the back of the puppy from one of them, and cut the front of the other. 

I used a pastel aqua background, cut it using Ai Double stitched slimline dies.

For the interactive element I used a pull tab slider die to create a path for the front of the puppy to slide through, I then thread the slider tab through the path opening and glued the front  of the puppy on it so when the tab is pulled out the front of the puppy slides with it.


I glued the other puppy, that has the back only, directly to the background with its body overlapping the other puppy image.so when the front of the puppy is pulled out it would look like the dog is becoming longer. I attached a band aid image where the overlapping of both the puppy images show to cover the cut.

I then added a strip of brown floor below the puppy and die cut the pull tab notch so it is easier to pull out.

I stamped the sentiment that's included in the set on a white cardstock and die cut around it with Ai double stitched banners and attached it with foam tape to my card. I also used the smallest banner from the Banner set and a banner from Ai Journal Die set to die cut two thin banners and tucked them under my sentiment banner and colored them with same Copic shades and finished the card with enamel dots here and there.


---------------------------------------------------------------------------------------------------------------------------
Thank you so much Nina for these two beautiful, masculine cards and the incredible inspiration. 
Congratulations to both of our winners!

Now for our new challenge.


✻ Please make a new card or handmade crafty creation. You can make any item you wish; this is not limited to cards!
✻ Limit two submissions per person. You will receive extra votes if you use Art Impressions stamps!
 ✻Please include your first name and last initial on your submission.
✻We love to comment on your entries, but keep in mind if you use a private group or a platform that you need to sign up for, we probably won't be able to.
✻ The Ai Challenge is open to everyone, international submissions are welcome!
✻ Include a link back to the Ai Blog or grab our button on the top right of our sidebar!
✻ Share the Ai love if you can, by clicking and commenting on your fellow crafters.
✻ Make sure to get your link up by the deadline to enter your creations.
✻ Good luck and happy stamping!

You are invited to the Inlinkz link party!

Click here to enter

Tuesday, September 27, 2022

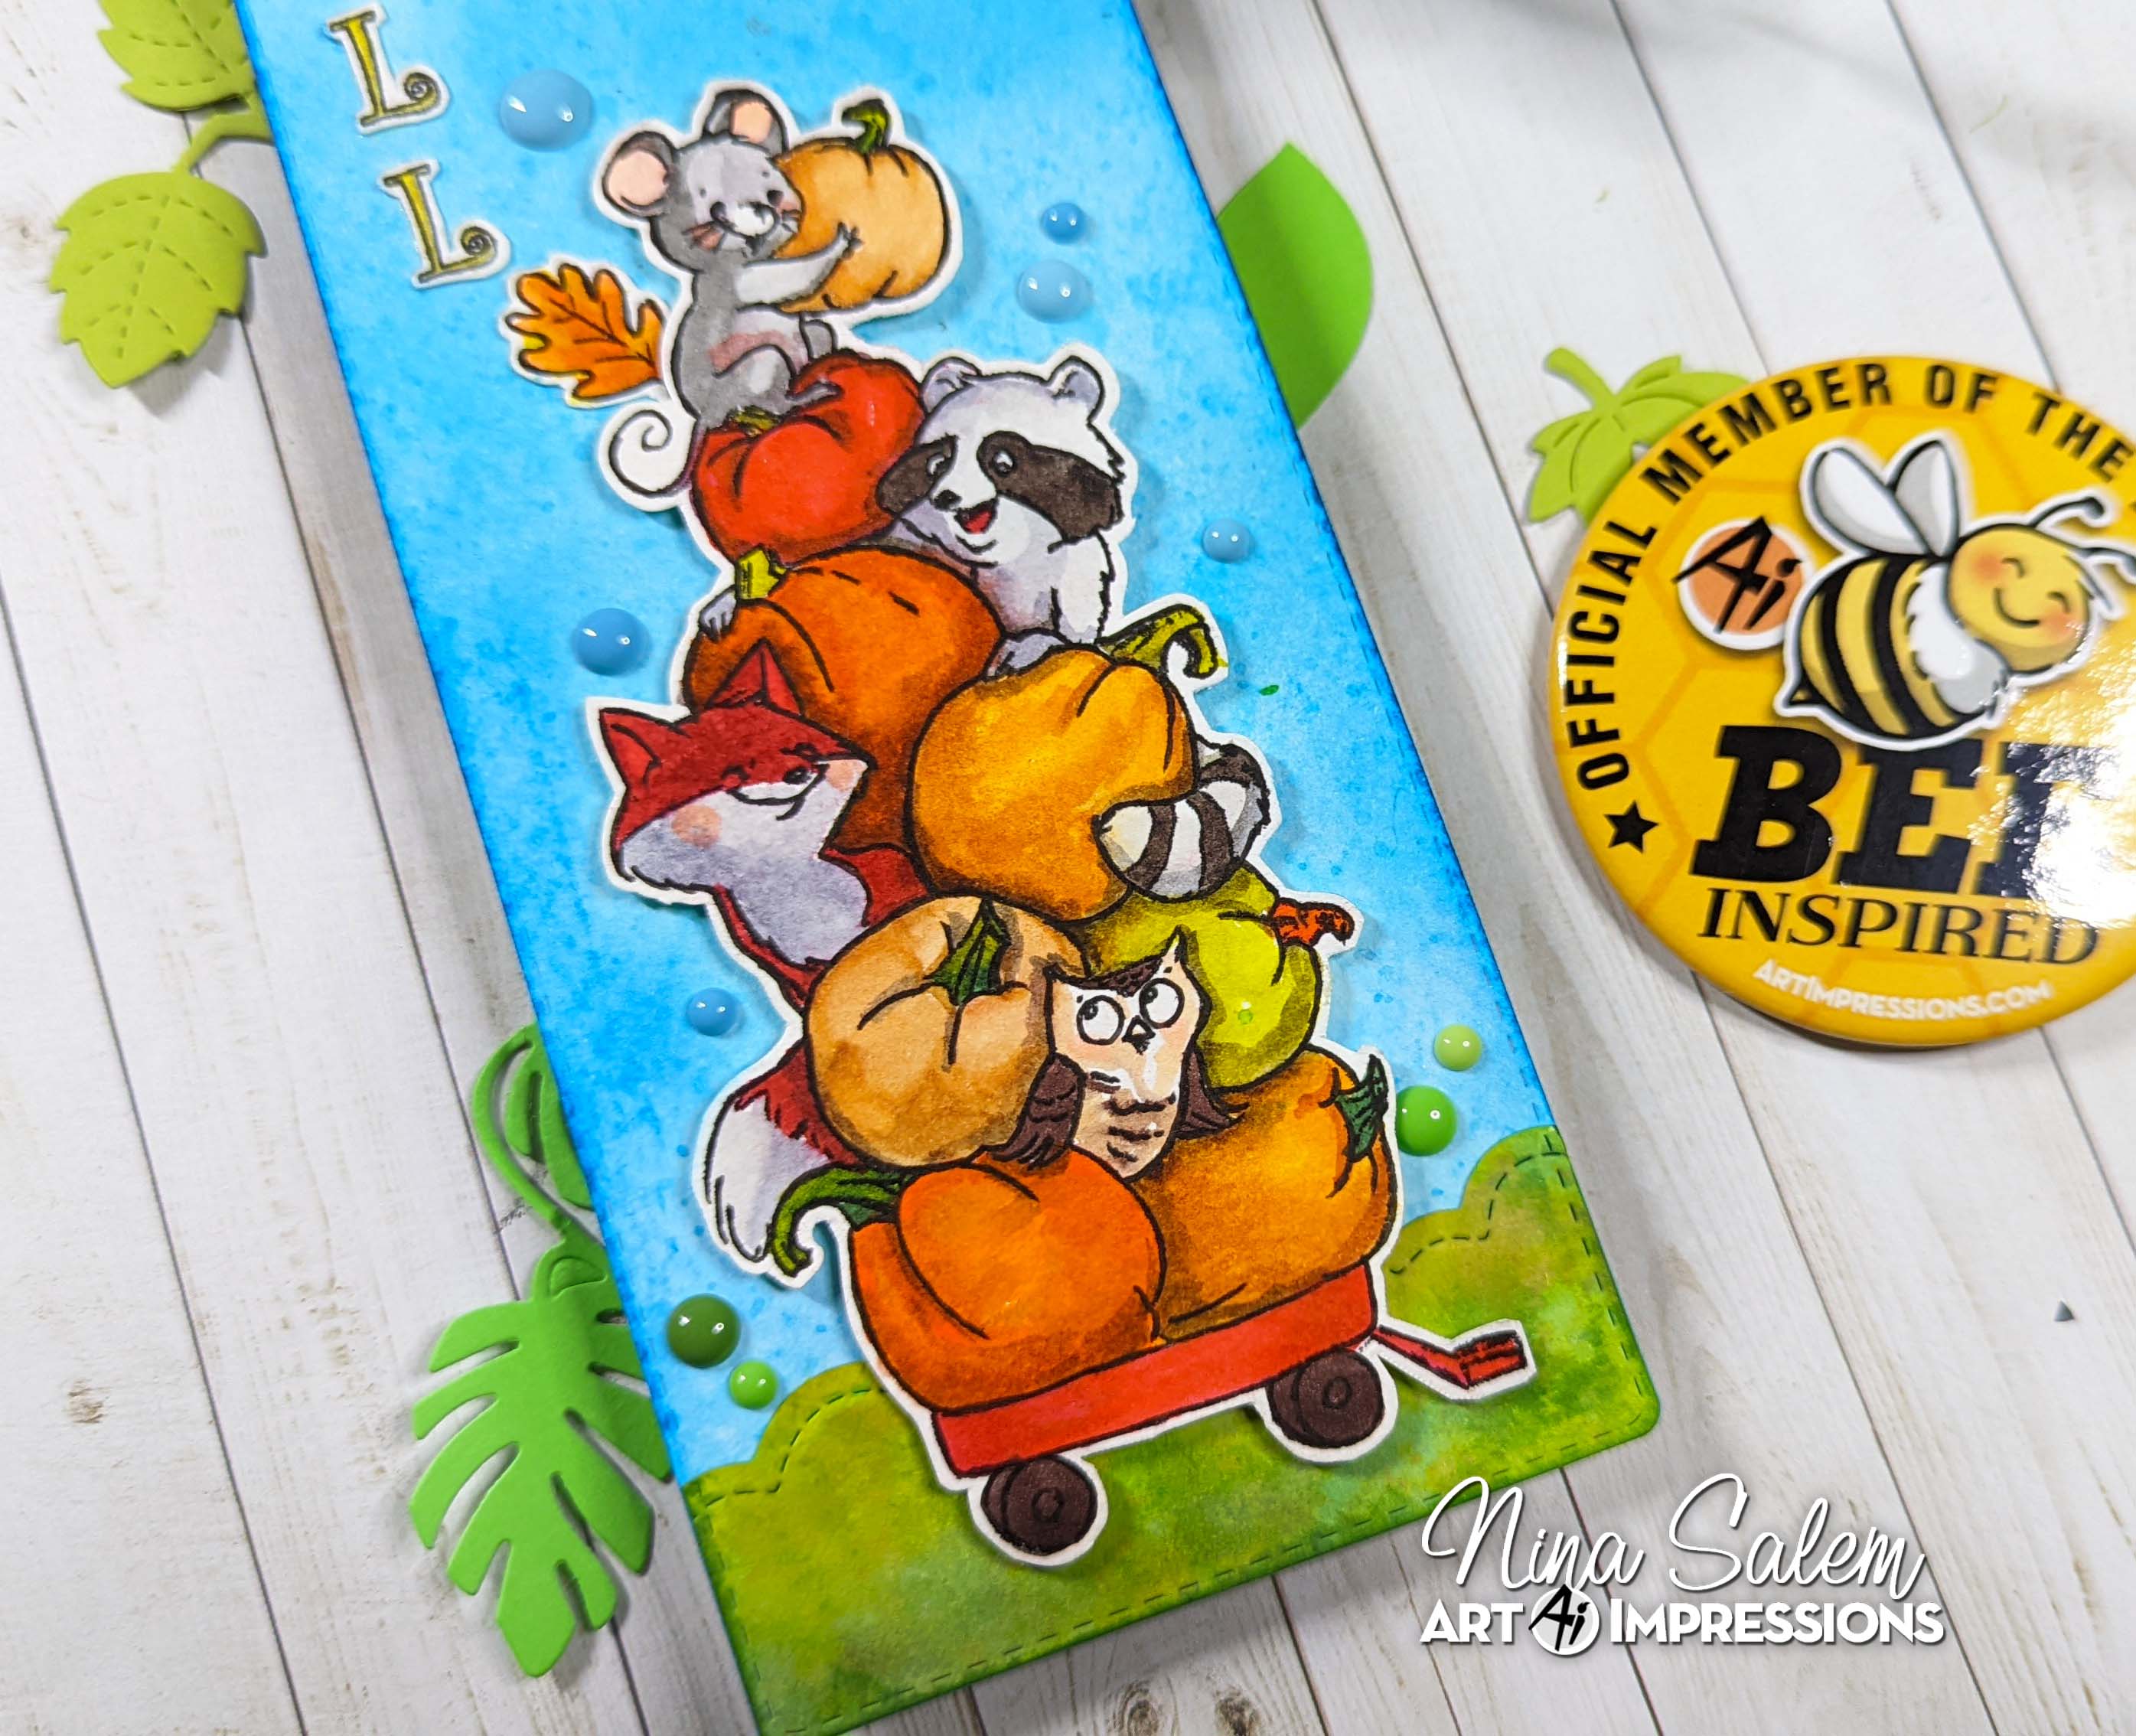
Fall & Pumpkin Slimline Card by Nina

 Hello Ai fans, join me today as I share this cute slimline card using the cute Halloween Slimline Set.


I am going for Zig Brush markers today so I am stamping my images with watercolor friendly ink, Versafine Onyx Black Ink. I then choose my Fall-themed palette from my Pinterest Pallets collection here.

I then cut all around my images.


I scribbled with different Zig marker blue shades on my glass mat and sprayed them with water and smooched my background on them to crate a lovely textured background. For the background, I used Ai Slimline die set to cut it.

I also cut the grass from a cloud border and ink blended couple green shades of Distress Inks. 

I used the letters from the Halloween Slimline set to write the word Fall. It didnt have an F, so I stamped the E instead and cut a bit of its bottom to make an F, and colored all my letters with same Zig markers shades.

I then assembled my card with foam tape behind my pumpkins.


  You can follow the steps in the video tutorial here:


Tuesday, April 19, 2022

Be our Guest Doorway by Nina

 Hello Ai friends, join me today as I share this adorable slimline card I made using the new Front Porch Door Set.


I stamped my images and colored them with Copic markers and cut them using the dies included in the set. I then stamped the phrase "Be our Guest" from the set and replaced the word "Guest" with bigger dies from my stash.


I arranged my scene and backed the door with foam tape to add dimension. and cut my background using Art Impressions Stitched Slimline Die Set. I used a stencil to create the background bricks using a blender and Antique Lenin distress ink applying very little pressure so you just get a subtle hint of the bricks.


Sunday, April 17, 2022

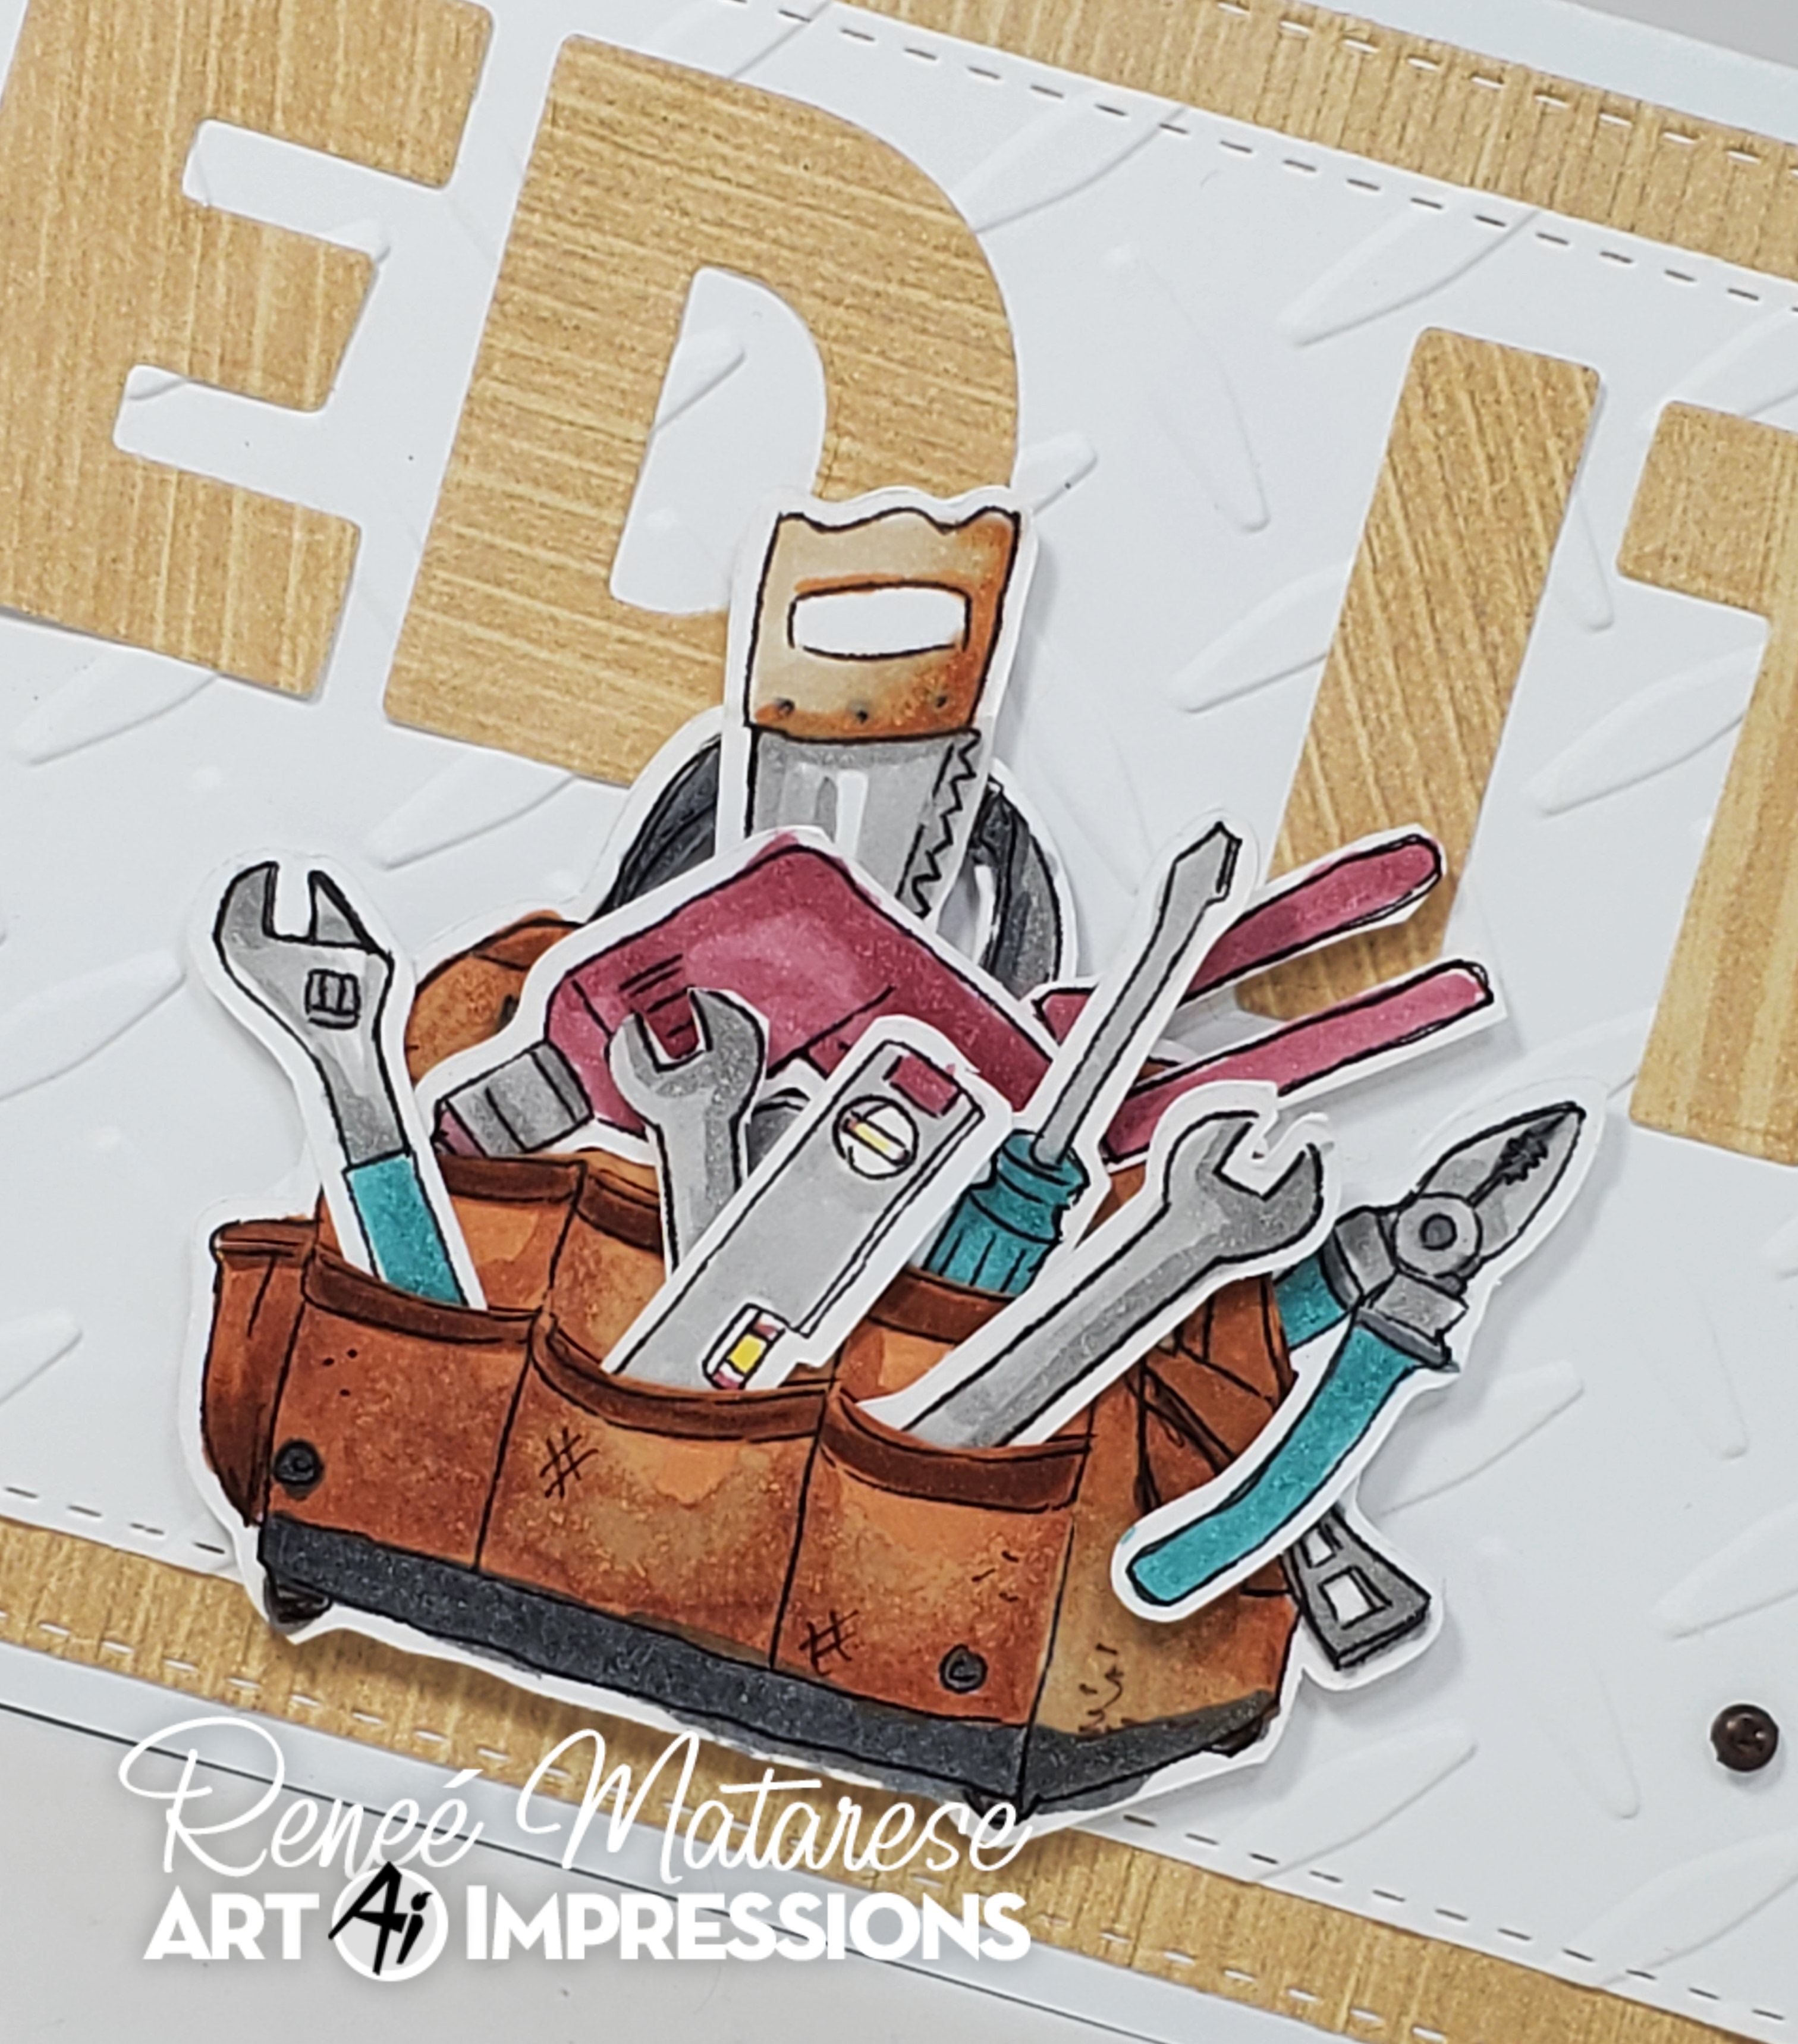
Nailed it! by ReneƩ Matarese

 Hello Ai fans!

Happy Easter everyone!

Have you all seen the amazing new releases at Art Impressions?


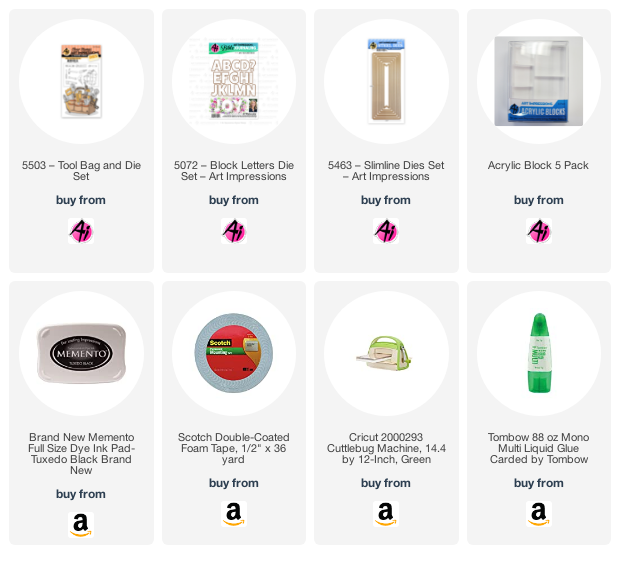
My panels were cut using the 5463 – Slimline Dies Set.

For my cards I used the new 5503 – Tool Bag and Die Set.
Isn't that bag adorable?!


I just love all of those tiny tools.
Though this makes a fantastic masculine card I also know some pretty handy women who would really enjoy this set.


I added some metal embellishments because I thought they went well with the tool theme.
NAILED IT was cut using 5072 – Block Letters Die Set.


I used a diamond plate embossing folder to add some texture.


Copics used:
Y15, R39, R56, BG18, T3, T4, N6,
E30, E37, E39, E43, E99
TT41 – TwinTone Marker – 41 Chocolate to add dots and # on the bags.

Tuesday, February 1, 2022

Fluttering By To Wish You A Happy Birthday by Janet


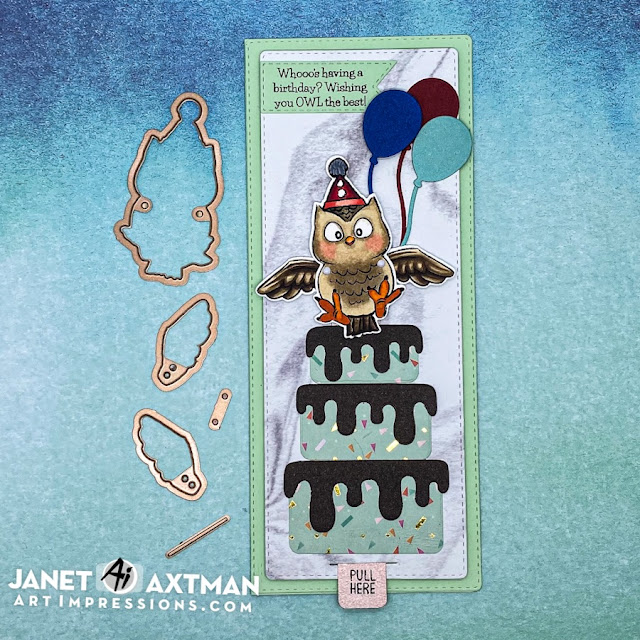
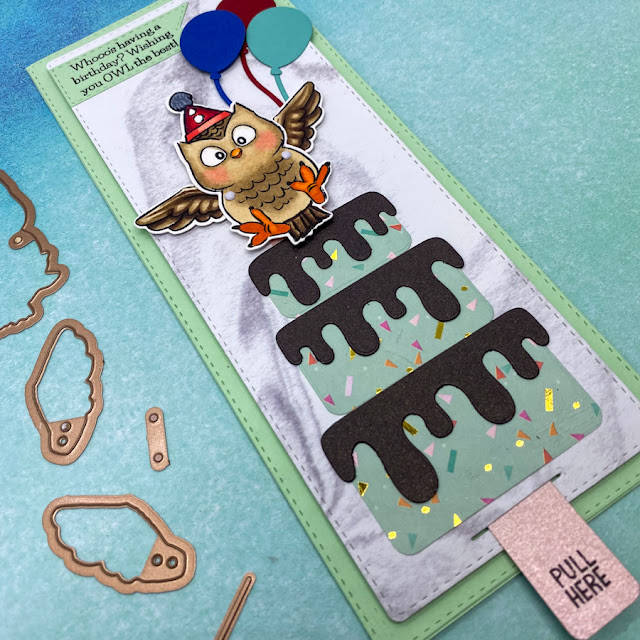
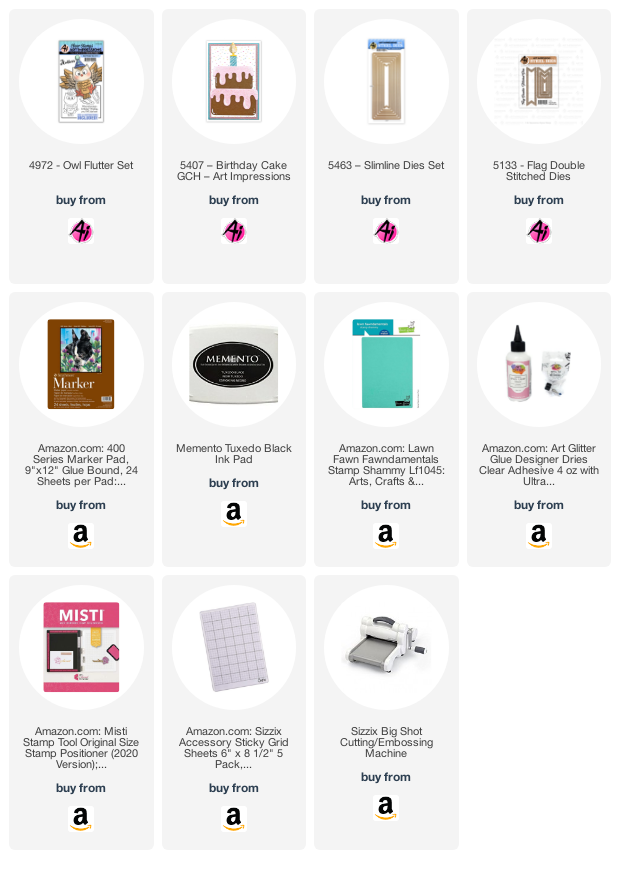
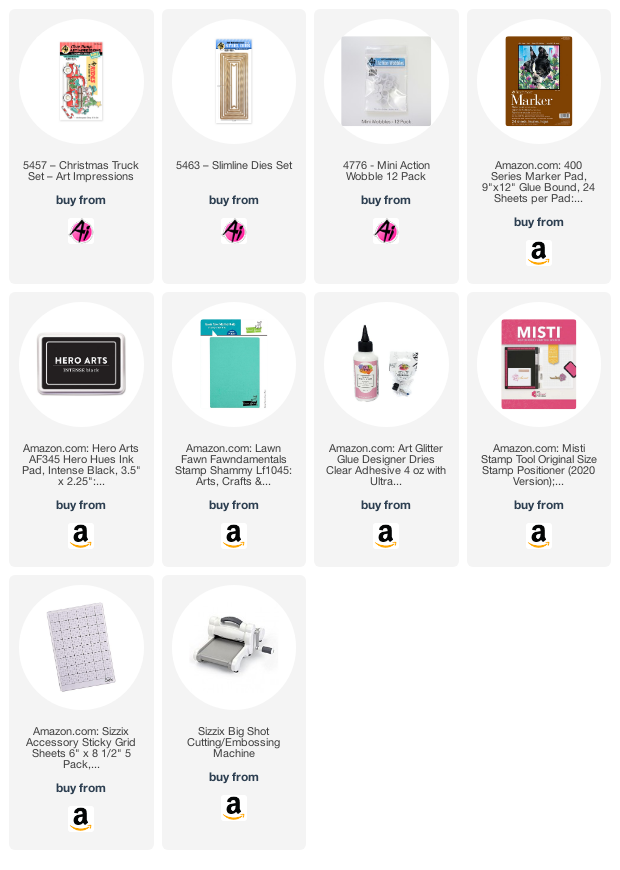
Hello Ai fans! It's Janet and today I have a slimline card that combines several unrelated Ai sets to create a fun interactive birthday card. This card was made with the 5463-Slimline Dies Set, 5407-Birthday Cake Gift Card Holder Set, 4972-Owl Flutter Set and 5133-Flag Double Stitched Dies.  

The card base measures 8 1/2" by 3 1/2" when folded. On top of the base, I placed a matching cardstock piece cut with a Slimline Die. The next sized die in the set was used to cut the gray marbled mat. I placed the three layers of cake from the Birthday Cake GCH on the gray mat and then stamped, colored and cut out the adorable little owl from the Owl Flutter set on marker paper. I also cut a long pull tab out of rose gold metallic cardstock. I followed the easy Flutter Owl package directions to assemble the winged mechanism and tab and install it under the gray mat. Once done, I glued the gray base on top of the green matt being careful not to glue on or too closely around areas that move. Then I trimmed the tab to the right length and stamped it with a Pull Here stamp from my stash. 

The finishing touches were to stamp the sentiment from the Owl Flutter Set and cut it out with a flag from the Flag Double Stitched Dies set. I also cut three balloons with dies from my stash and arranged all the extra pieces on the card. 

Once complete, pulling and pushing the tab causes the owl's wings to move up and down.I really like how this looks like the owl is landing on top of the cake to wish the birthday recipient. "owl the best!"

Thanks for stopping by today. Please join us in our new challenge. You might win some swag of your choice and challenge yourself with a new technique. Win, win! Click on the graphic above to link up your card.


Happy Creating!
Janet YouTube - Blog - Facebook - Instagram - Pinterest 

Thursday, November 18, 2021

Thankful for You Slimline Card -by Crystal


Hi Ai fans! We are one week away from Thanksgiving! Who is ready? I have not made to many Thanksgiving cards this year I think I skipped over Thanksgiving and started making Christmas cards, but this week I took a little break to make a Thanksgiving card to share with you all. I played with my favorite Ai Thanksgiving set-Feast Mode


I added strips of pattern paper to a piece of scrap paper in bright colors. I then die cut it out with the second largest slimline die. I used the double stitched circle die to cut circles out for all of the characters I wanted to add to the card but instead of removing the circles I kept them in place.  


I added the characters from the stamp set with foam tape and adhered them to the middle of all of the circles. I stamped the sentiment onto a double stitched rectangle and adhered it between the third and last circle on the card. 


I matted the panel onto shimmer cardstock die cut out with the largest slimline die. I then adhered the whole panel to a 3 1/2" X 8" card base. 

Happy Stamping!


Thursday, November 11, 2021

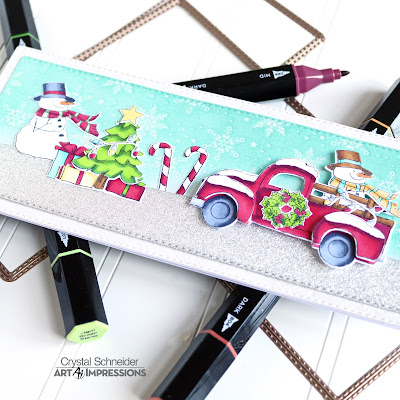
Christmas Truck Slimline Card by Crystal


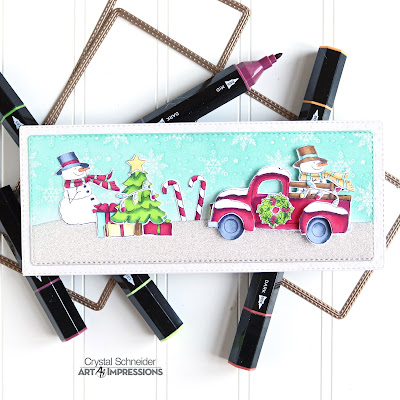
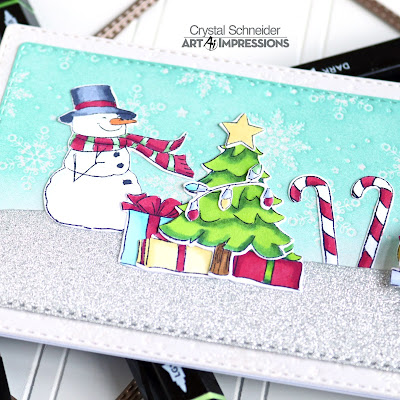
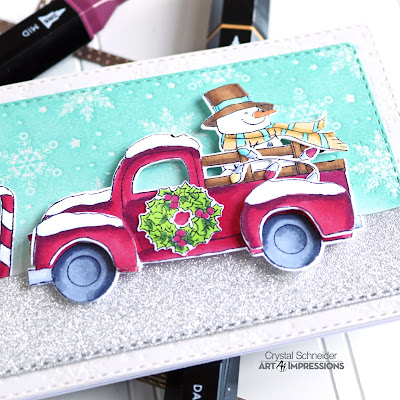
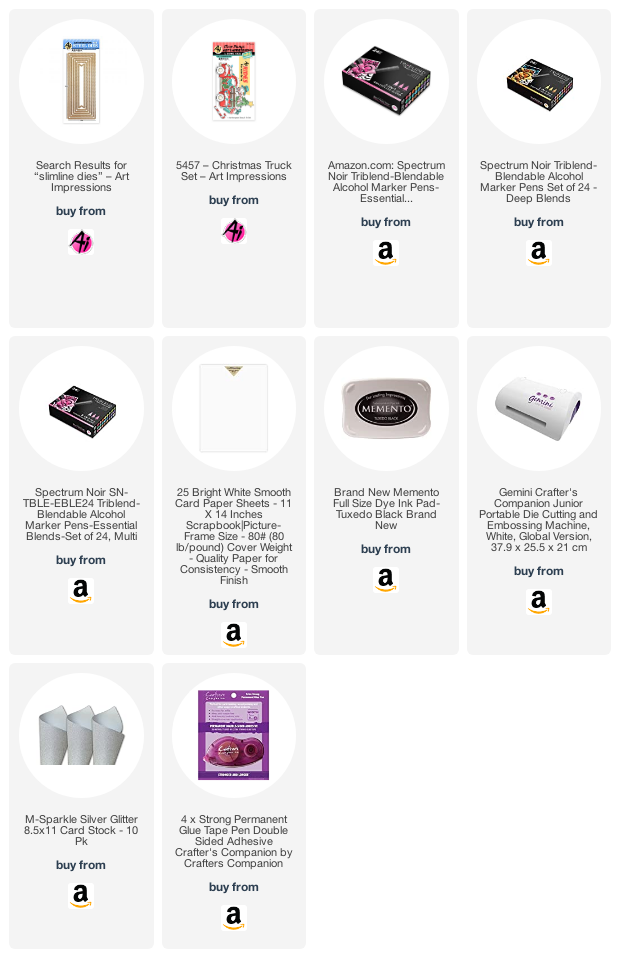
Hi Ai fans! We are in November so I'm all about making Christmas cards. I played with two new items this week the Slimline dies and the  Christmas Truck set. I have been loving making slimline cards lately.  I stamped all of the images I wanted to use with Memento black ink onto smooth white card stock. I actually had a weekend out of town so when my husband was driving I colored. I love coloring when we travel or watch t.v. 


Once I colored all of the images in and got home I die cut them out with the coordinating die that comes in the stamp set.  


I love all of the elements in the stamp set. I used foam tape to a dimension to everything on the card. I used silver glitter card stock as the ground for the truck. I added snow flake resist paper to the top with blue ink so the snow flakes would pop. 


Happy Stamping! 


Saturday, October 16, 2021

Christmas Truck Interactive Card by Janet


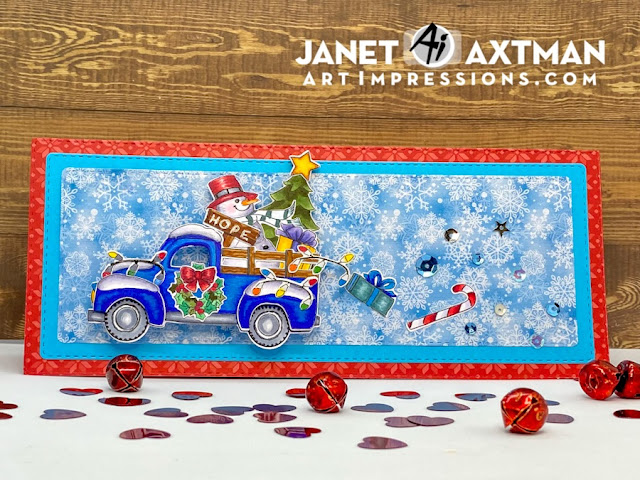
Hello! It's Janet with a new card for you today. Have you seen the new Rides Interactive Series just released? So far there are three stamp sets and they are awesome. I especially like that all the images are interchangeable between the three sets. The images can also be used on their own without the cars or trucks to give you maximum versatility. 

Today I'm showing you the card I made using the new Christmas Truck Set and the Slimline Dies Set. There is a lot packed into this one. It includes the truck, separate fenders for the wheel wells, two presents, a tree, a candy cane, wreath, snowman, star, bow, string of lights and sign. I really love that this set comes complete with matching dies. That's a lot packed into one set! 

I invite you to watch the video I made for this card. Find it by clicking on it below.


I chose to create a slimline scene. After arranging goodies into the truck, I put it on an action wobble. It's so fun to make the truck shake. I arranged a package, candy cane and some magic dust (aka sequins!) to the rear of the truck. This makes it appears that along the way, a few things escaped!  

I hope you enjoyed the card I made for you today. I invite you to make a visit to the store to see all the wonderful new stamps sets released so far!

Happy Creating!

Janet YouTube - Blog - Facebook - Instagram - Pinterest