Hello Ai Fans!
Here in Ontario the Kids go back to School on Tuesday, so I thought it was the perfect time to use the Art Impressions "Teachers Rule" set! That sentiment just cracks me up! I give tremendous credit to all Teachers for the amazing job they do and the patience they have!

I thought the school themed papers from the Doodlebug "Back To School" 6x6 collection were perfect for my card design! I fussy cut my image using my Brother Cut N Scan and then popped her up with foam tape. I stamped the sentiment onto the front of her desk.

As you can see the "Teachers Rule" set has so many fun sentiments and images to create so many different card designs! What a great value this set is!

Copics Used:
Skin: Too, E21, E11, R20
Hair: C2, C3, C5
Dress: B24, B26, B28, C1, white gel pen polka dots
Desk: E51, E53, E55
R24, R27, YG23, YG25, Y35, Y38
Thanks for stopping by!
Happy Stamping!

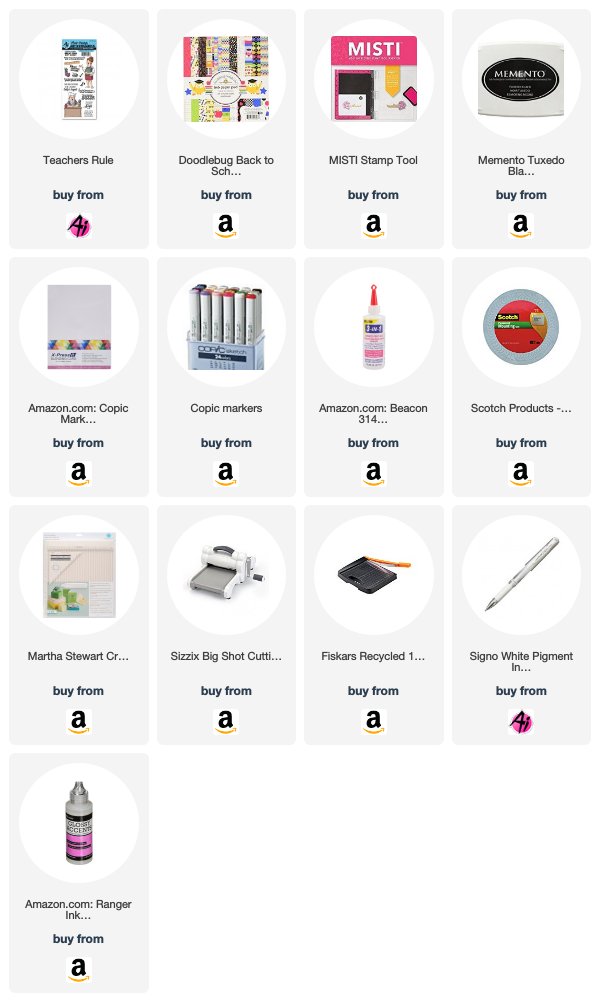
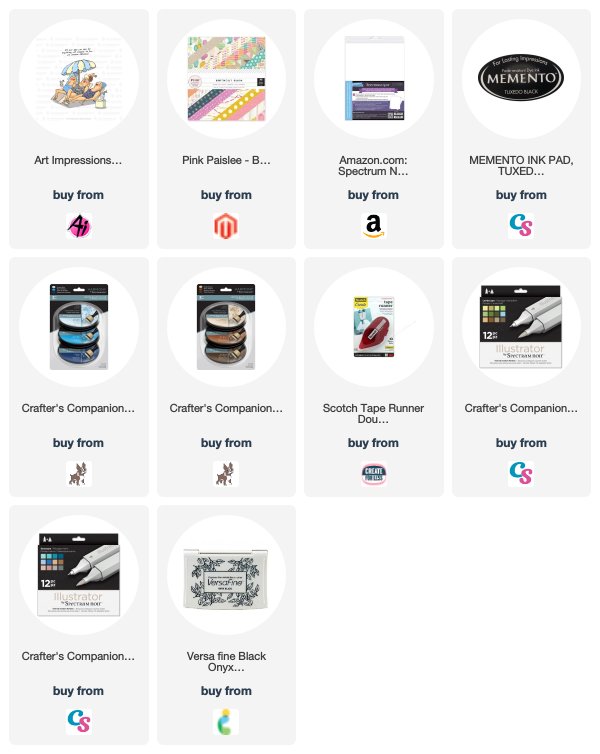
Supplies: