Hello, Ai Fans!
Hooray! Welcome to our first Watercolor Releases of 2019! These fabulous sets are sure to be favorites in your collection! Our WC Decorative Jars Set includes four gorgeous containers, such as pitchers and even a teapot! The set also includes three decorative designs for accents. Create a playful scene with our WC Bicycle Set, including four bikes with baskets, ready to be filled with flowers. Enjoy our whimsical WC Elves Set, featuring mushrooms and little characters for scenes with a touch of magic. Add the new WC Foliage Set 4 to your collection, because Bonnie is sure to use the small bunches of wild grass, tiny left- and right-facing vines, and other leaves in her upcoming videos! Last but not least, our WC Sentiments Set 2 features several sweet verses to pair with your projects.
Be sure to subscribe to our YouTube channel so you don't miss our Watercolor Wednesday video tutorials on these fabulous sets! These sets, along with our NEW 2019 Watercolor Catalog, are now available at artimpressions.com!


We have a plethora of inspiration from you today, from our Watercolor Guest Design team members, as well as our own Bonnie Krebs! Let's take a look at what these lovely ladies have in store for us today!
Bonnie Krebs - Instagram
Hear what Bonnie has to say about these new sets in her video below!


Hello Watercolor Friends,
There are some amazing brand new stamp sets available now from Art Impressions! I used the new 5125 - WC Elves Set to create this card for the latest challenge, "Floral Cards." I stamped the mushroom using both the brown and blue. I pulled the color out of the lines. I took Sepia from the palette
to paint in the circles on the mushroom top. I used the red 885 on the palette to color in the mushroom top. I stamped the door from the 5056 WC Fairy Doors Set (which fits perfectly) using the sepia and added lines with the fine tip of the sepia pen. I colored the door pine green, using the palette. I used the sepia fine tip to darken in the door shadows and door knob leaving that white high light in the center. I used the stamp positioner to stamp the elf on top of the mushroom house using 40 brownish grey. Then I colored him using the pine green on his pants and hat and half sleeves and I used 77 pastel peach to color in his face and hands. I colored his hair and shoes in with the sepia. I stamped a single flower in his hand from the 4868 WC Flower Set 2 using blue 565 and pine green and then stamped in the group of those same flowers above the mushroom and added water. I used pine green and stamped the leaves from the 5009 - WC Mini Flower set then used the flowers from 4052 - Flower Set 1 and stamped the flowers in using the red 885. I added water to them. I used the grass from the 4051 - WC Foliage Set 1 and stamped it in using the olive green. I used the tall stalks from the brand new 5126 - WC Foliage Set 4 and the 72 pine green and stamped them in the background. I put some olive green on the palette and dabbed it in around those leaves. I used blue 526 on the palette to color in my sky. I took actual watercolor paint - silver and white to make my sky look more cloudy. I cut out my image using the 5065 - Oval Double Stitched Dies and cut out the red background piece from the next larger oval die. I used two of the 5063 - Rectangle Double Stitched dies for the next background pieces. I glued those little green jewel flowers in the corners. Lastly, I used a Copic Multi Liner 0.03 pen to add the black centers to the flowers, draw in the elf's eyelash, draw the string on his shirt, and sign and date it.

Tricia Kennedy - Instagram

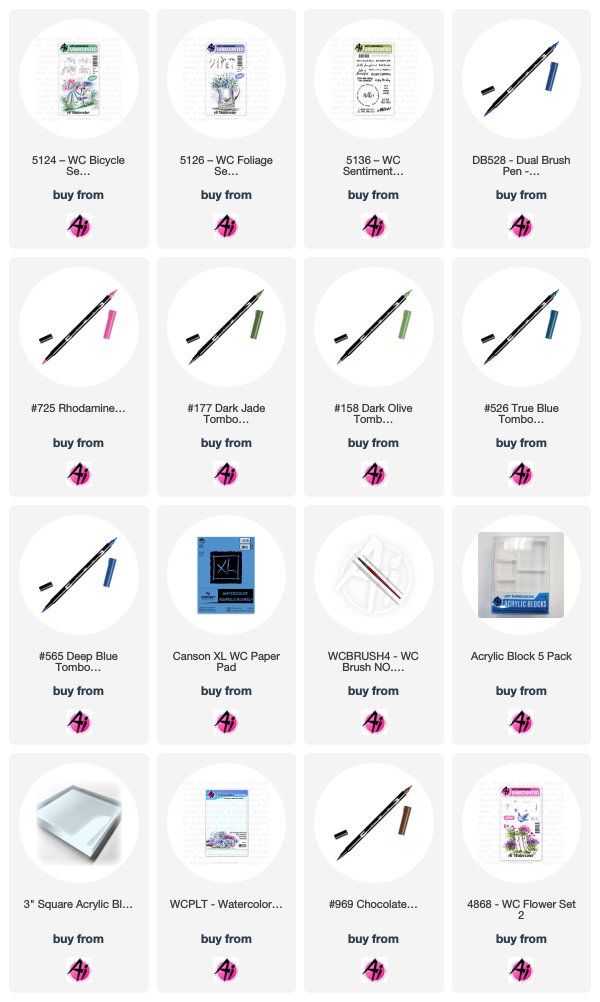
Begin by stamping the bicycle from the WC Bicycle Set in 565 Deep Blue, stamp it off onto a scrap piece of paper then add 969 Chocolate and stamp onto your watercolor paper. The combination of both colors will result in a gray tone. Watercolor the Art Impressions way with water and a paint brush. Next stamp in the foliage from the WC Foliage Set 4 in the basket and around the tires using 158 Dark Olive on some leaves and 177 Dark Jade on others. Mask off the bottom of the basket with masking paper or a post it note, then stamp the flowers from WC Flower Set 2 in 725 Rhodamine Red. Scribble a little 528 Navy Blue on your palette and brush onto the bike. Darken up the basket, seat, etc. with a bit of 969 Chocolate. Also add in tire spokes with the small tip of 969 Chocolate. Brush in the sky using 526 True Blue. Add dot detail around the flowers with 725 Rhodamine Red. Finally, stamp the sentiment from Sentiment Set 2 in your favorite black ink. I cut out the design and mounted it to the card with foam tape for added dimension.

Step 1: Container
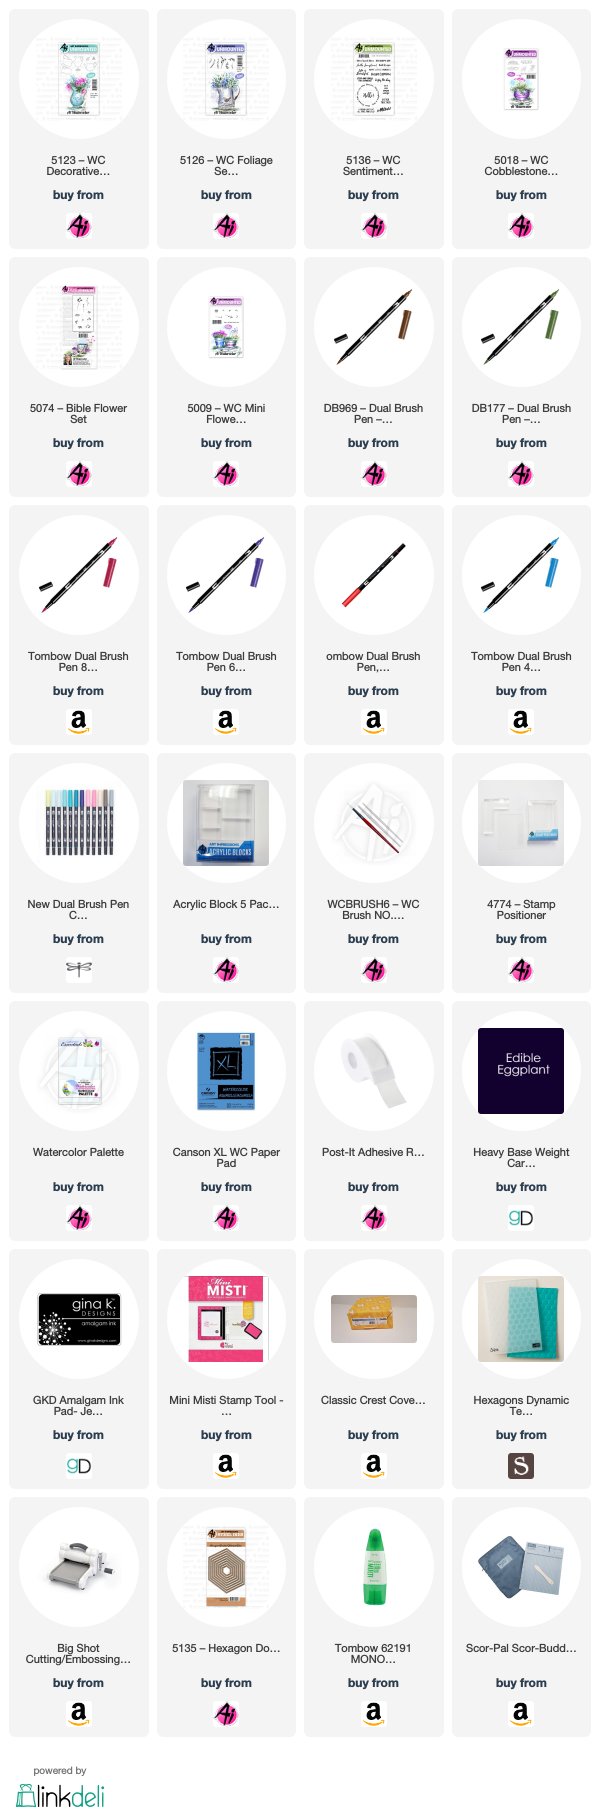
First, I inked up the container from the New Decorative Jar Set using 969-Chocolate and 569-Jet Blue. Pull the color out of the lines from the edges working your way in. In order to create the texture, add additional color in an up and down brush stroke, this creates the look of smooth metal. Make sure to leave your highlight in the middle of the container as well as along the top of the spout.
Step 2: Foliage
I inked up the leaves in the New Foliage 4 set with 177-Dark Jade. I stamped the leaves (5 times at least) along the top of the container. Make sure you leave enough space for the flowers. I added water to the foliage.
Step 3: Flowers
I inked the flower blooms from the Bible Flower set using 905-Red and stamped three blooms. I then inked up the small flower bunch from the Mini Flowers set with 606-Violet. I added 4 additional flower bunches. I added water to the blooms starting from the lightest area. I inked the stems from the Bible Flower set using 847-Crimson and 177-Dark Jade. I added water to the blooms. To fill in the middle of the bouquet, I added some additional foliage from the New Foliage 4 set.
Step 4: Cobblestones
I used a piece of post-it tape to mask the bottom half of the container. I inked up the cobblestones from the Cobblestones set with Chocolate and Jet Blue. I stamped it off and then stamped it under the container. When pulling the color out of the lines, make sure to pull it from below the stones to make them pop. I added some 476-cyan to sides of the container to show sky.
Step 5: The Card
Make sure you sign your work. I placed the watercolor piece in my MISTI stamping tool and inked up the “Blessed & Grateful” with Gina K Designs amalgam ink and stamped it along the bottom of the container.
Next, I cut the watercolor piece out with the new Hexagon double stitched die. I also cut a mat from peach cardstock using one size larger Hexagon die. I popped up the watercolor piece using foam tape. I adhered this to a piece of white cardstock cut to 3.75 x 5 that I ran through my big shot using a hexagon embossing folder.
I adhered this onto a Edible Eggplant card stock mat. I adhered this to a side folded card base.

Just LOVE these cards! They are the perfect inspiration for our new Floral Cards challenge! It may still be wintery in many parts of the country (even at Ai headquarters in Oregon!), but that doesn't stop us from dreaming about spring! Join us by making a flower-inspired creation for our challenge for a chance to win Ai stamps!
Inlinkz Link Party
Here are the Challenge Rules:
✻ Please make a new card or creation. You can make any crafty item you wish; this is not limited to cards!
✻ Limit two submissions per person. You will receive extra votes if you use Art Impressions stamps!
✻ The Ai Challenge is open to everyone, international submissions are welcome!
✻ Include a link back to the Ai Blog or grab our button on the top right of our sidebar!
✻ Share the Ai love by clicking and commenting your fellow crafters.
✻ Make sure to get your link up by Wednesday, March 13 at 5:00 p.m. PST to enter your creations.
✻ Good luck and happy stamping!
Inlinkz Link Party
Before we go, let's take a look at the winners of last week's House or Cottage Challenge!
Top spot goes to...
Helen F!

Congrats, Helen! We adore how you used two of our Windows to the World stamps (Cottage Window and Greatest Gift Window) and transformed them into polaroid snapshots! Email annelise@artimpressions.com with your address to claim your prize pack!
Honorable mentions go to...
Janet K!

Heidi!

Thanks to everyone who joined the challenge, we had awesome entries! Be sure to join us again for our Floral Cards challenge!
Happy Stamping!