Friday, January 31, 2025

I Love You Tons! Card by Tasha

 Happy Friday Ai Friends!

Tasha here sharing a new Valentine's Day card created with 5219-Lovable Animals Set and inspired by the current Art Impressions "Highlights" Challenge. This set has four adorable animals, but I just love this sweet elephant with his little bow tie!

The elephant was stamped with black hybrid ink, colored with Copic markers, and cut with the included dies. The die also creates the opening on the arms, so you can add different accessories to customize your card or project. Since Valentine's Day is coming up, I used the included small heart die to cut a red heart and added white accents with my paint marker. I also used my paint marker to add little dots on the bow tie; so cute!

After the elephant was colored, I made a background with puffy clouds and a wooden floor. The greeting "I Love Sharing My Heart With You" goes perfectly with the theme of this card and coordinates with the paper heart; I love it! 

Lastly, I attached layers of black, red, and white card stock, silver glitter paper, and a piece of heart pattern paper. I also attached white enamel dots to complete the design.

Thank you for stopping by and I hope your enjoyed today's card and will join in the "Highlights" Challenge!


Thursday, January 30, 2025

Highlights! Challenge #396 Week #1

 Welcome to week #1 of our Highlights Challenge.

We want to see you use either a white gel pen or Dr. Ph Martin's paint to add some highlights to your projects. We all know that a little highlight here or there can add so much dimension to a project. Let's see what you've got!

Before we see what our Featured Artist Tasha has in store let's see who won our Monochromatic challenge.

For our Top Spot we selected


Please contact Leah at Feedback@artimpressions.com
to claim a free stamp set of your choice!! ***Leah is out of the office until further notice***
but someone is covering for her. Please be patient if there is a slight delay.
Also, be sure to grab our badge to display on your blog, Facebook or Instagram!

Our Lucky Random Winner was #13
(who says 13 is unlucky...lol!)


Please contact Leah at Feedback@artimpressions.com
to claim a free stamp set of your choice!! ***Leah is out of the office until further notice***
but someone is covering for her. Please be patient if there is a slight delay.
Also, be sure to grab our badge to display on your blog, Facebook or Instagram!

Congratulations to you both! Enjoy your new stamps.

Tasha is our Featured Artist and for those of you who don't know, she is the QUEEN of white gel pens. 
I just know that you're going to love what she created. I learned something from her. I didn't know that white gel pens come in different sizes like Microns or other markers. Cool!

--------------------------------------------------------------------------------------------------------------------------------------------------------


Hi everyone, Tasha here sharing a new card created with the fun Happy Mailbox Cubbies Set. I love all the mailboxes and it was so much fun customizing the envelopes with my white paint/gel pens!

I started by stamping all the images with black hybrid ink and used the included coordinating dies to cut everything out. The dies cut everything perfectly and makes the mailbox openings, so all you need to do is decorate!

After I had all the images cut, it was time to start coloring. I used Copic Markers and my white gel pens for my project. I am a big fan of adding white accents to my cards and this challenge is the perfect time to get really creative with white details!

I used different types of white ink pens to make my designs. My favorites include a fine paint pen and the #5, #8, and #10 sized white gel pens, I usually mix and match these on my cards. the #5 is really small and is great for eyes, or adding cute details to small critters or floral stamped images. 


For the background, I made puffy clouds with Distress Oxide Ink and a cloud stencil. I just used one color of ink for the sky and love the soft blue and white color combination.


For the ground, I used a slimline grass die and green polka dot pattern paper. The dots add so much detail and go with the highlights theme.

For the greeting, I stamped "Sending a Little Hello" on to white paper and added layers of glitter paper and pink card stock to bring in more color and sparkle. I also attached the greeting to the card with foam tape to raise it up a bit. 

Lastly, I added a pretty pastel pink scalloped frame and attached additional layers of silver glitter paper, deep pink card stock, and a piece an Art Impressions heart pattern paper. I love the tiny hearts and the colors coordinate well with the shades used on the mailboxes. 

I hope you enjoyed todays project and are inspired to join in the "Highlights" Challenge!


You are invited to the Inlinkz link party!

Click here to enter

Valentine Shaker by Dori Mendiola

 Happy Thursday AI Friends!

I've always had an interest in shaker cards but don't find that I make them very often.  I don't know why because I have collected all of the little bits to fill them.  😁 Soooo, I decided to make one for Valentine's Day.  I just love seeing all of the little hearts bouncing around.  They really are fun to make plus fun to shake.

I began by stamping the fox from the #5219 - Loveable Animals set with Memento black ink onto copic friendly paper and coloring with my copic markers listed below.  This set comes with the coordinating dies so no fussy cutting necessary.  Yay!  It also comes with some accessories that each of the animals can hold in their paws.  The heart was appropriate for this card, but the other choices are a flower, present, cupcake, party hat or letter.  I stamped the sentiment from this same set on a tag from the 
#5132 - Tag stitched die set.

To make the shaker, using two nesting heart dies taped together, I cut two hearts from acetate or clear packaging, one from red cardstock and four from white heavy cardstock.  I glued the acetate to the back side of the red heart and then layered (glued) all of the white cardstock hearts to that.  Place the shaker pieces inside the well of the hearts and then glue the last acetate heart to create the shaker pouch.  I find it easier to make a shaker pouch so you can place nicely onto your project and see exactly where you want to adhere it.

That's it for my card today.  Hope you enjoy it!  Keep creating!

Copics used:  R20, E93, E95, E97, E99
 

Wednesday, January 29, 2025

Silhouette Skaters w/ Layering Stencil Background by Lynn Dionne

Happy Wednesday Ai Fans!!!

Watch video tutorial here!!!

Today we will be creating a serene winter skating scene using the wonderful Ai WC Silhouette Skaters Stamp Set! There are several fun silhouette skaters from this set that can be used on this background...just select the one you like best!

Let's start with the Ai Rectangle A2 Double Stitched Dies (5063) and line up the largest and second largest dies to create a frame for this card. We will cut two from some white cardstock and one in black. Glue the three frames together keeping the black on the top. Now let's take the center from one of those white frames that we die-cut and use this to create the beautiful mountain background scene.  

We will be using a wonderful Layered Mountain Scene Stencil (TCW). This scene can be colored for any season which makes it so versatile! Therefore, I thought it would be fun to create some snowy mountains and a frozen lake for our skaters to enjoy! 

This is probably the simplest layered stenciling I have ever done, because it's mostly just adding a bit of gray to create the mountains and a few blues for the sky and lake. And with a touch of black on the trees, we will add to and complement our skaters, which will also be in black.  If you would like to see a different version of this stencil you can head over to my blog at Pink Whisper Designs.

Once the background is complete, we will stamp the skaters in a nice crisp black ink!

Let's go ahead and layer the card and add a sentiment using the Ai Encouragement Sentiments Set (5949). It will say "Lean on me, I'm here with open arms and a listening ear". This set has the most beautiful and thoughtful sentiments that I'm sure you will love. Almost any of these sentiments would be perfect for this card. This sentiment will be die-cut from the Ai Banner Double Stitched Dies (5134).

Next, we will spatter the entire piece using some white ink and then some clear sparkle glitter. This just brings everything together.

For a finishing touch let's add some iridescent snowflakes and a few cute little hearts around the sentiment!

Thank you so much for joining me today!  Have a fun and crafty day!!!

Ai WC Silhouette Skaters (5429)

Ai Encouragement Sentiments Set (5949)

Ai Banner Double Stitched Dies (5134)

Ai Rectangle A2 Double Stitched Dies (5063)


Tuesday, January 28, 2025

Mini Journal Box Tutorial with 6x6 paper by Reneé Matarese

Hello Ai fans!
I have loved this little box since the moment I saw it.

This is the first time that I've created it using Art Impressions paper. The reason? The template is larger than 6"x6" which most Ai paper measures. But, where there's a will, there's a way! I figured out a way to make the template work using two sheets of Ai paper.


I wanted to create a cute little Valentine's Day treat box and this is what I came up with.


To make the template dies fit on a 6x6" piece of paper to create the box, I used two sheets of paper. The first piece cut the top and back flap.


The second piece of paper cut the base of the box.


Then, I overlapped the back panel from the top, with the back panel from the base, to create a full box.


Though this die set was designed to hold the mini journal, it makes the absolute cutest little gift box or treat box. I filled mine with Hershey Kisses.


Doesn't someone in your life deserve a little something sweet?


If you share something made with Art Impressions products be sure to tag them or use #artimpressions so that we see. We LOVE seeing all of your creations.
 

Monday, January 27, 2025

Valentine Bear tag by Sharon Caudle

 Hello AI Fans!

As promised last week, here's another card using those adorable bears from #5005 Valentine Bears Set and I wanted to make a tag. So I grabbed the large tag die from 5132 Tag Stitched Dies and went to work. I stamped the image onto a Copic friendly paper and colored them with the markers listed below. I just had to add the honey pot and bee. I mean....what bear can resist a honey pot??!! LOL!  For the frame I used 5768 Decorative Journal Page 1 and for the small tags, 5543 Journal Template Die Set. The papers are from 5741 Valentines PP. The adorable bee and honey pot are from 5925 Honey Bee Set. Tucked in behind the sentiment tag is a heart that was cut using 5721 Nested Heart Dies.  These are all linked below for your convenience. 


So that's it from me today! Thanks so much for stopping by for a visit and until next time - stay crafty!!


Copics used:

RV32 and 34
R01, 20, 22, 24, and 27
C3, 4, and 5
BV00 and 02
Y00, 32, and 35
B000 and 00
E30, 31, 33, 35, 37, 41, and 43


Sunday, January 26, 2025

Chubby Snowman Card and Lovable Animals Valentine's Cards


Happy watercolor weekend! For my first card, I stitched a snowflake while visiting my family during Christmas. When I got home, I knew I needed a cute little snowman and smaller snowflakes to go with it. The Chubby Snowman Set (5351) and the Snowflake Frame Set (5782) were perfect choices.

I painted the snowman using Tombow markers in the following colors: 312, 565, 969, 879, 977, 850, 025, 526, 933, 856, N55, and N75. I selected the Winter Woodland collection for the paper inside and outside the card. I die-cut the snowflakes from some silver foil and blue paper. 

I incorporated sentiments from the Christmas Sentiments Set inside the card (5566). To add more detail, I added snowflakes and a decorative edge to the Winter Woodland paper pack. For the final touch, I used Dr. Ph. Martin's Bleed Proof White to add details to the snowman.


For my second card, I wanted to create a cute animal-themed Valentine's card. The Lovable Animals stamp set with dies is perfect for this project! 

To start, I stamped the animals using permanent ink and then painted them with the following Tombow markers: 850, 856, 933, 025, 526, N55, N65, N75, 772, 977, 992, and 177. After that, I cut out all the elements and sponged around the edges of the large hearts and bows with a red stamp pad. I then glued the die cuts to the front of the card.

To make the popup heart inside the card, I cut a piece of matching cardstock measuring 3/4" wide by 3" long. I scored the paper at 1 1/2" in the center and scored each end at 1/4". After folding all the scored lines, I glued the flaps inside the card—one at the top and one at the bottom. You can then attach anything you’d like to pop up. I added a few extra details inside, and my card was finished.

If you have any questions, feel free to ask. Thank you so much!


Saturday, January 25, 2025

New Guest Designer Challenges for 2025: Welcome Simone and Sara!

 Hello Ai fans!

This year for 2025 we have a brand new challenge concept for you.

We will be featuring two Guest Designers who will take turns being our featured artists throughout 2025.

Drum roll please...

Welcome Simone Carr and Sara Furr!


These two artists have wowed us in 2024, so we will be sharing their art with you all year long.
We're calling this Spotlight on Simone and Sara.

On the first of most months we will be sharing two cards from one of our Guest Designers.  They will fill you in as to how they created their cards or projects.

Then, YOU can enter any Art Impressions creation at all that you've created for your chance to win a free stamp set from Art Impressions or a "freebie" from me! (The freebie from me will be for US addresses only but the set from Ai is open to international fans as well!)

This will be a RANDOM drawing so all ability levels are encouraged to enter.

There will be NO theme, so anything goes each month.
Create whatever you like. New baby on the way? Great! Special birthday or anniversary? Perfect. Maybe you just felt like creating something pretty. Enter it!! Just be sure to use Ai products on your creation.

Like with our Bi-Weekly challenge, there will be a limit of two entries per person.

Now, let's see what wonderful inspiration Simone has for you for her debut as our new Guest Designer!

------------------------------------------------------------------------------------------------------------------------

Hello Crafty Friends,

I feel honored that Renee approached me with the opportunity to be a guest designer throughout the year. I’m excited to share my projects and hope they inspire your creativity along the way!

For this card, I decided to repurpose some 1" white cardstock strips leftover from cutting my panels. Instead of discarding them, I inked the strips with Distress Oxide inks in Spun Sugar, Kitsch Flamingo, and Picked Raspberry. On a 4 1/4" x 5 1/2" piece of cardstock, I adhered double-sided tape and carefully arranged the inked strips. To give it a polished look, I added thin mirri mats over the joints where the strips met. Once the panel was complete, I die cut it using a rectangle die, adhered it to a mirri mat, and attached it to the card base.

I stamped the Love Birds (AiCS27) using Tombow markers (969 and 565) on Canson watercolor paper. Using a stamp positioner, I aligned and stamped the branch from the Branches Set (4964) beneath the birds. After coloring the images, I die cut the birds with the 7th largest circle die. I also die cut a vellum circle using the 2nd largest stitched circle die and layered the bird image on it with 1mm foam tape for added dimension.

To create the wreath—though you can use any wreath die or embellishment you have on hand—I die cut it from white cardstock and ink blended the flowers with the same colors I used for the background. The wreath was adhered to the bird circle for a cohesive design. For finishing touches, I placed heart embellishments on either side of the card and added Nuvo Crystal Glaze for a glossy, dimensional effect. To add a bit of sparkle, I placed rhinestones at the center of the flowers.
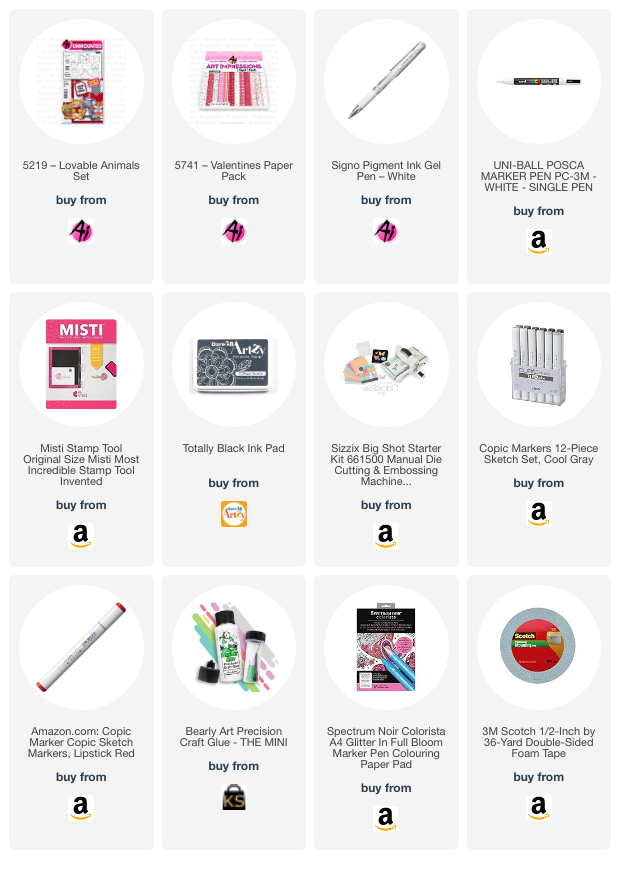
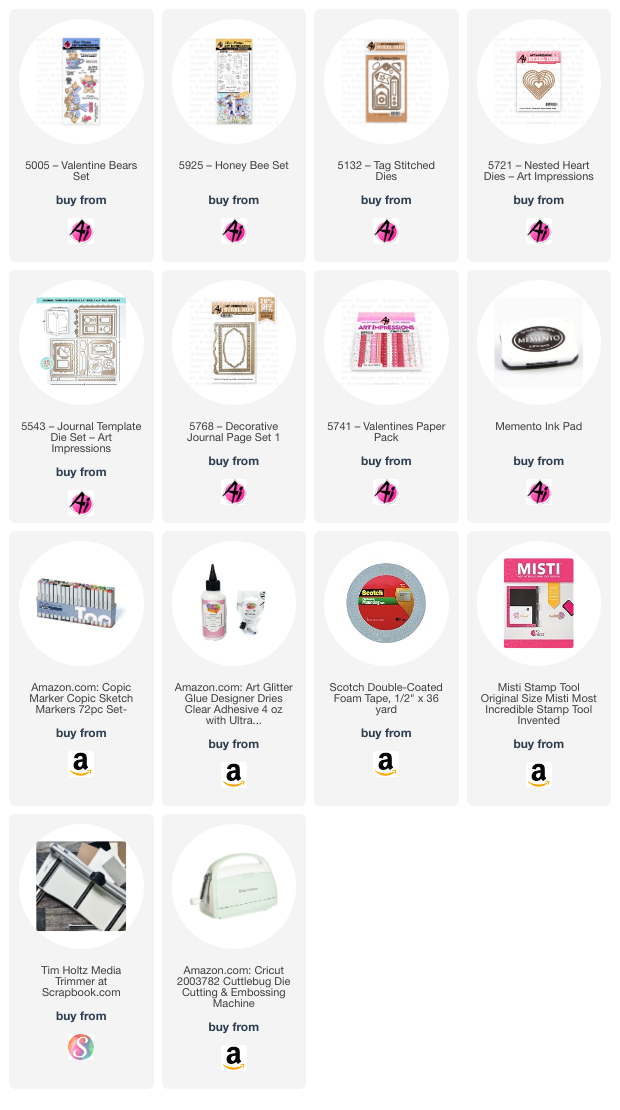
Materials Used:

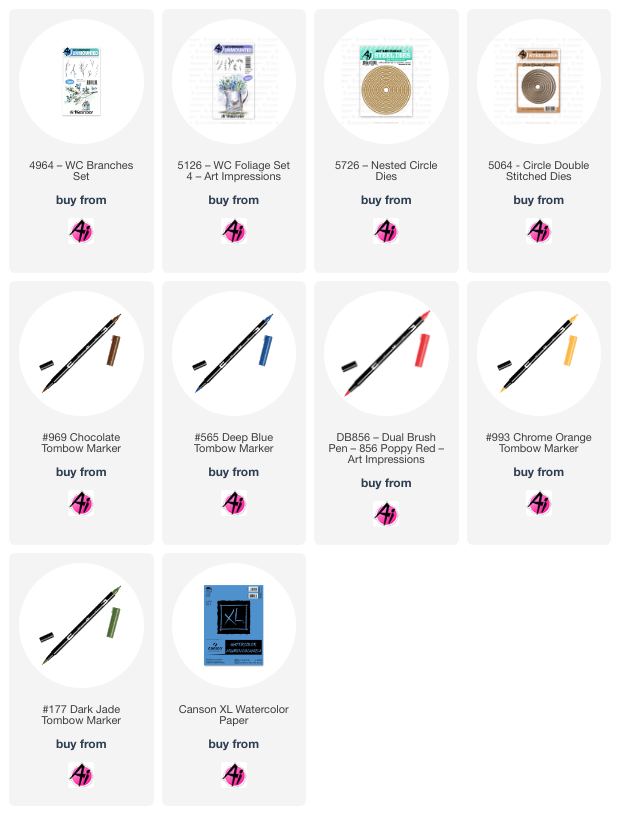
Stamps: Love Birds (AiCS27, retired), Branches Set (4964), Foliage Set 4 (5126), Nest Circle (5726)

Dies: Double Stitched Circle (5064)

Inks: Distress Oxide (Spun Sugar, Kitsch Flamingo, Picked Raspberry)

Markers: Tombow (969, 565, 856, 452, 993, 177)

Other: Nuvo Crystal Glaze, Vellum, Foam Tape (1mm), Mirri Mats, Heart Embellishments, Double-Sided Tape

This card was a joy to make, and I hope it inspires you to give your scraps new life in creative ways!

Happy crafting,

Simone

For my second card, I worked with the charming Gnome Set. 


I began by stamping the image on Canson watercolor paper using Tombow markers in 969 and 565. With the help of a stamp positioner, I stamped the flowers in the pot, using 177 for the stems and leaves and 725 for the flowers.
After completing the stamping, I colored in the image with Tombow markers. I then die cut the image using the 5th largest die from the Nested Rectangle Set (5724) and added a mat just slightly larger than the image for a clean, layered look.
For the background, I used paper strips from the Valentines Paper Pack, measuring 1 ½” x 5 ¼” and ½” x 5 ¼”—a great way to use those smaller scraps of paper we all tend to have. I adhered the strips to the card base and added foam tape behind the gnome image to give it some dimension. Once everything was adhered, I stamped the sentiment to complete the design.
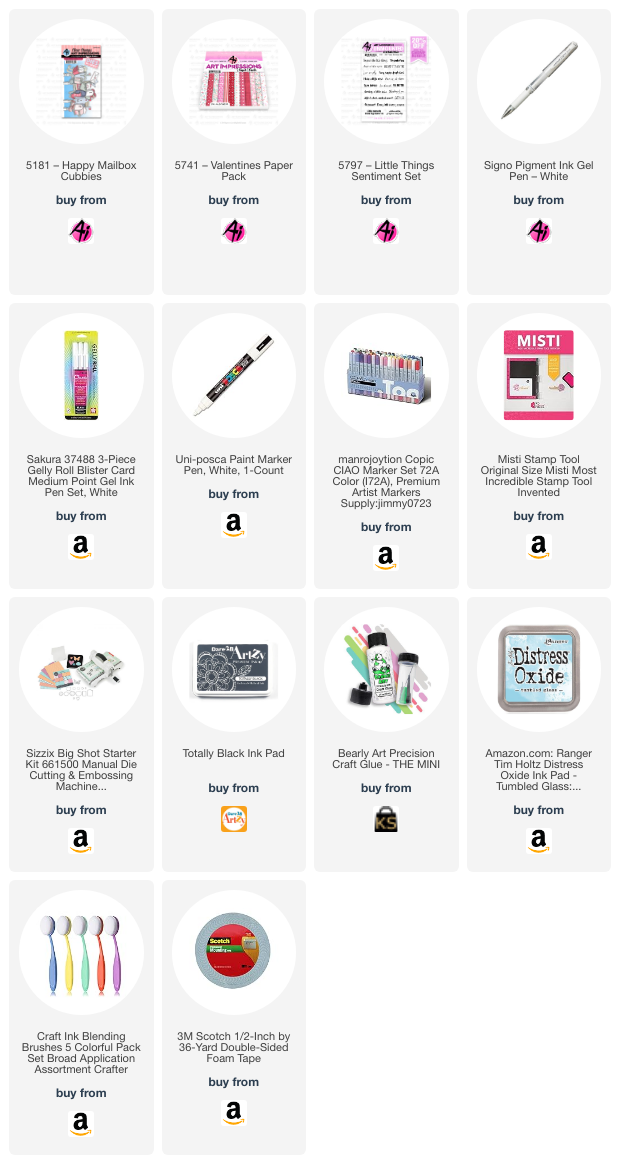
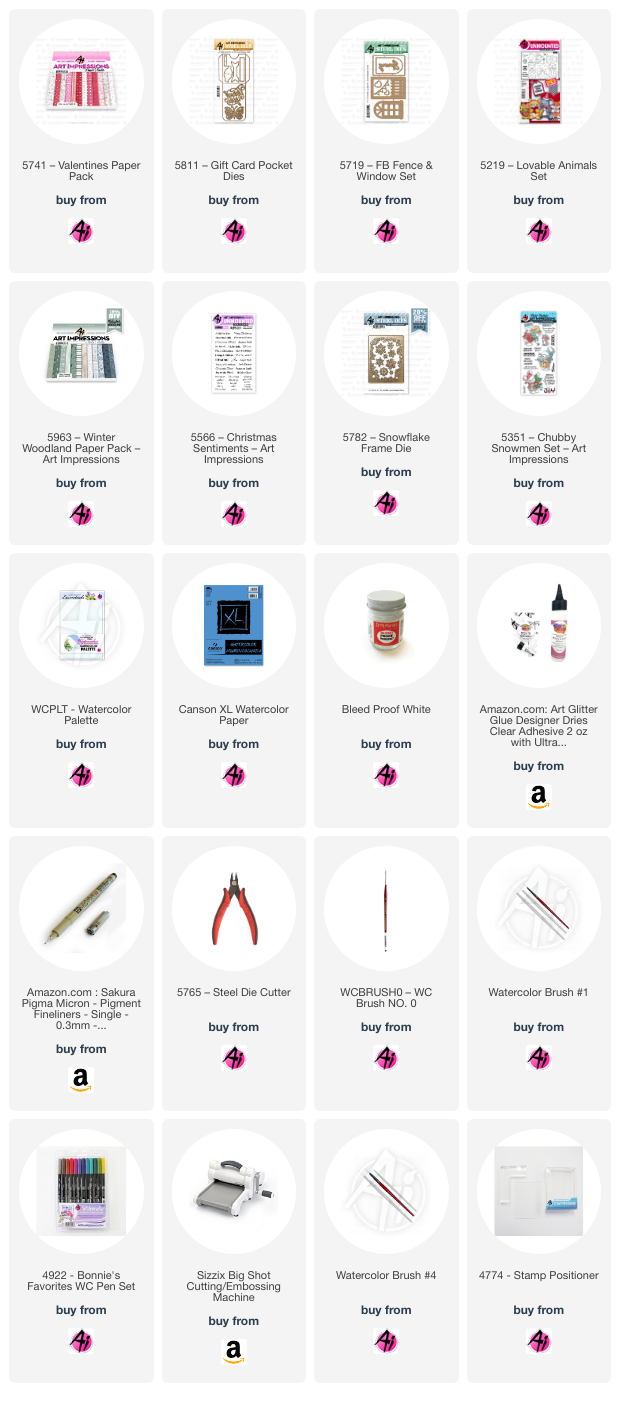
Materials Used:
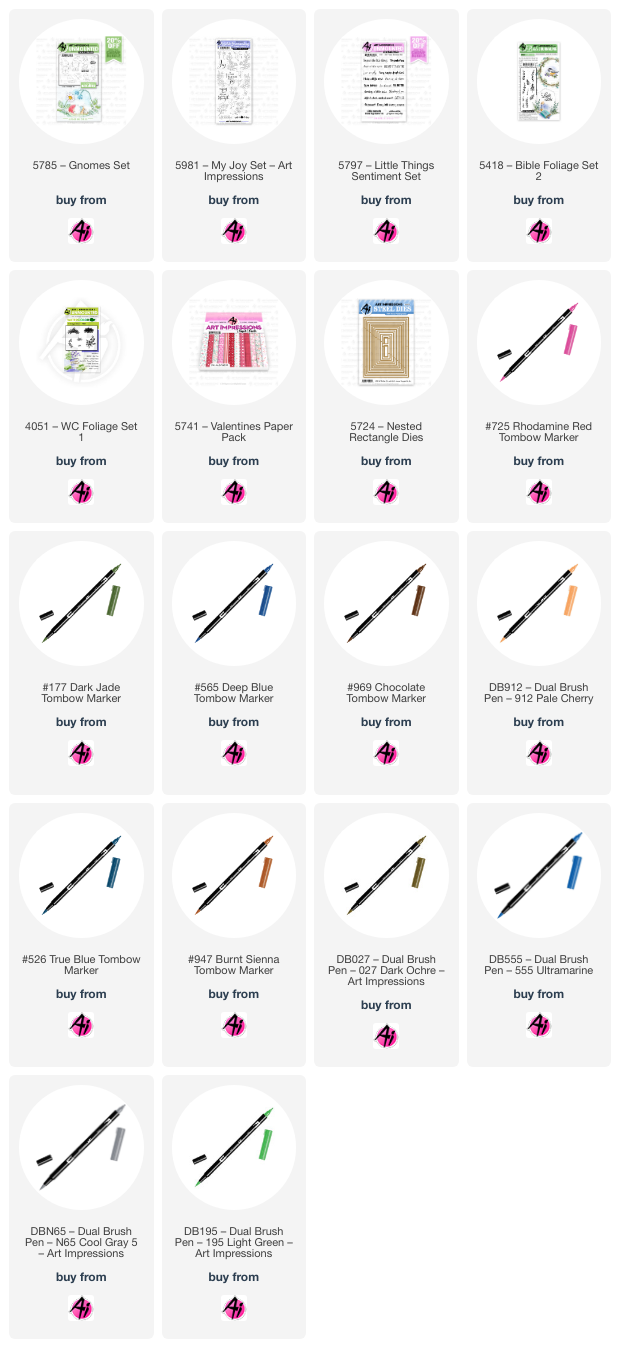
Stamps: My Joy Set (5981), Gnome Set (5785), Foliage Set 4 (5126), Foliage Set 1 (4051), Bible Foliage Set 2 (5418), Little Things Sentiment Set (5797)
Dies: Nested Rectangle (5724)
Paper: Valentines Paper Pack (5741)
Other Supplies: Foam Tape (1mm)
Tombow Markers Used:
969, 569, 555, 027, 946, 985, 947, 526, 910, 912, 815, 195, 725, 177, N95, N65
Twin Tone Brown
This card was so much fun to make, and it’s a great reminder to make use of those leftover paper strips. I hope it sparks some inspiration for your next project!

Happy Crafting,
Simone


Here is the fine print...

✻ Please make a new card or handmade crafty creation.
✻You can make any item you wish; this is not limited to cards and it can be any theme you like.
✻ Limit two submissions per person. 
✻You MUST use Art Impressions stamps or dies! You may use other companies products but the main focus should be on Ai items.
✻If you win, you will receive one free stamp set of your choice. 
This will be a random drawing so all levels of ability are encouraged to enter!
 ✻Please include your first name and last initial on your submission.
✻We love to comment on your entries, but keep in mind if you use a private group or a platform that you need to sign up for, we probably won't be able to.
✻ The Ai Challenge is open to everyone, international submissions are welcome!
✻ Good luck and happy crafting!

You are invited to the Inlinkz link party!

Click here to enter