Showing posts with label winter card. Show all posts

Friday, December 6, 2024

It's the Most Wonderful Time of the Year! Card by Tasha

 Happy Friday!

Tasha here sharing a Christmas card featuring the 5802 - Joyful Snowman Set. This set has the cutest little snowmen stamps and several greetings for holiday cards and projects. I think this snowman would also look great on gift tags.
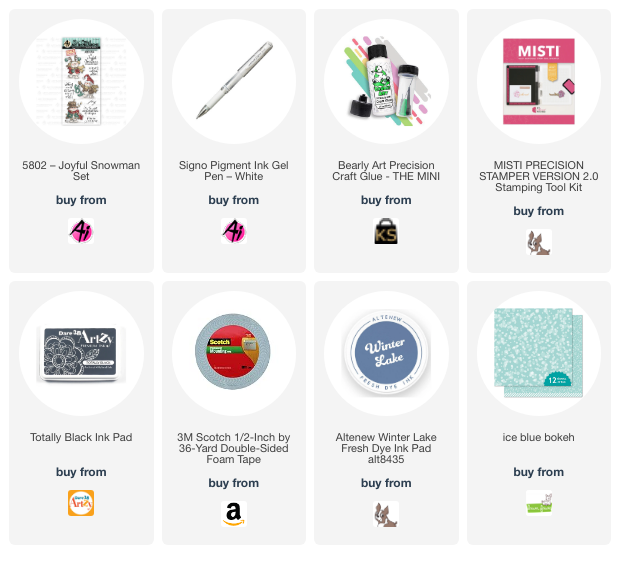
To begin, I stamped the snowman and used the included dies to cut the image out. For the coloring, I used  teal, purple, and blue Copic Markers and added a light pink for his cheeks. I also used a white gel pen to create a design on the hat and scarf, I love coloring clothing!

To make the background, I added a pattern paper for the sky and cut a hill out of white paper to look like snow. I also attached several small white enamel dots to go with the snowy sky. 

After I completed the background, I attached a metallic teal frame and stamped a sentiment with teal ink. I think this sentiment goes perfectly with the joyful snowman and I like how it looks with the silver glitter frame.

Lastly, I added layers of plaid paper, dark teal card stock, and silver glitter paper. All of these colors look so pretty together and in person the glitter is so sparkly. Teal and silver colors always look awesome on winter cards and it's one of my favorite color combinations.


I hope you enjoyed today's card and are having a wonderful day!


Saturday, November 18, 2023

Chubby Snowman Paper Piecing by Janet


Happy Saturday Ai Fans. One of the newest sets at the store is a stamp and die set I'm featuring on today's card. It's called 5803 - Snowman Puppet Set. It comes with stamps and matching dies. You can use the dies and stamps separately or together. Either way, it's very easy to use some of the great paper packs for the holidays that are available to paper piece this jolly and chubby snowman. I used cheerful paper patterns from 5853 - Christmas Magic PP. The Joy sentiment is from 5566 - Christmas Sentiments Set.

I enjoy paper piecing. In fact, it's what got me started in card making years ago. I was always a scrap booker and I had plenty of paper scraps laying around that I didn't have a use for but couldn't toss. One day, I was browsing books in a store and came across a paper piecing instruction book. It was full of patterns and designs to make cute little scrapbook figures, very much like this chubby snowman. Fast forward to today and now I can cut cute paper figures conveniently with dies. The stamps included add more detail and are super cute!

This set allows you to build the snowman you prefer. There are different hat and neck options and a bird and candy cane shape for additional embellishment. I stamped every piece except the candy cane before cutting them out. I cut an extra pocket and pieced it to the jacket. I colored parts of the snowman and the bird with Copic markers. Then I pieced it all together to create this adorable little guy. I used some white shimmer paper for the snowman. You can see that shimmer in the photo below. He looks very frosty in person! I added white drops on his hat brim and pompom for more texture. Clear glitter drops were used as accents on his tie and jacket pocket and silver metallic drops were used for his buttons too. A holly brad from Eyelet Outlet adds a bit of decoration to the hat.


I think this little 'fella turned out really cute! There are so many combinations you can make with this set. It's the perfect size for a card, cheerful tag, or as a puppet mounted on popsicle sticks. They'd be adorable peaking out of a potted plant or a holiday floral arrangement. As usual, you are only limited by your imagination!

Thanks for stopping by today. I hope you'll stop by the store to see all the things you need for your card, journal, and tag making projects. 


Janet YouTube - Blog - Facebook - Instagram - Pinterest  

Thursday, February 24, 2022

Let It Snow Card by Tasha

 Good morning Ai Fans!

Tasha here sharing a winter-themed card created with the Ai 5041-Snow Friend Set!
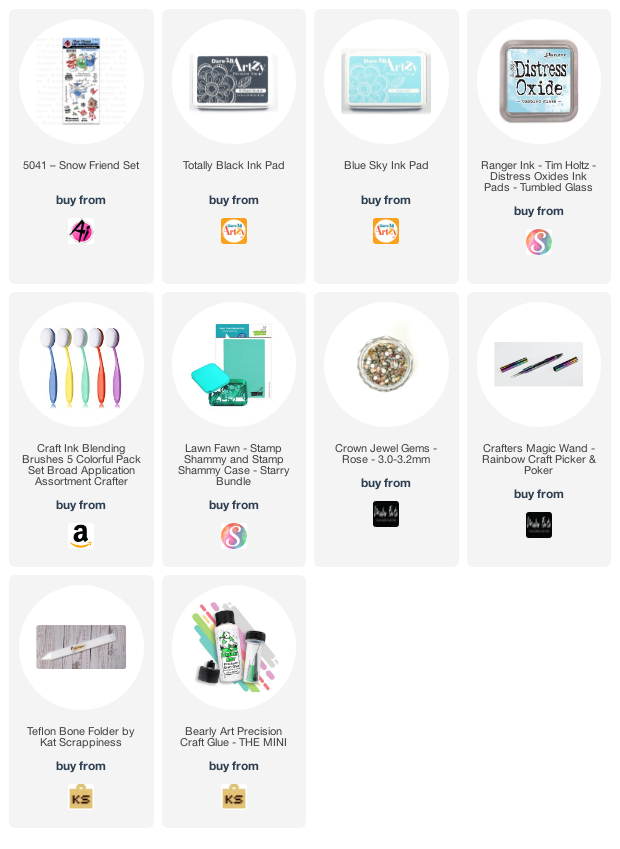
To begin this project, I stamped all the images with black ink and colored them with markers. I used white gel pen for little accents and clear glitter on the snow. I also added little snowdrifts to the ground; I love the light blue color!


The background was created with Distress Oxide Ink and I used a light blue ink to stamp several snowflakes. I also used a marker to add little inked dots and rhinestones on the center of the snowflakes to extra sparkle! The sentiment "Let it Snow" was stamped in gray ink and it blends in perfectly with the snowy scene!

Lastly, I added a layer of deep red cardstock and a birch bark pattern paper before adhering it to a white A2 sized card base. 

Thank you for checking out today's winter-themed card and I hope you are having a great day!


Friday, December 10, 2021

Owl Be Yours For Christmas Cards by Tasha!

Happy Friday Ai Fans!
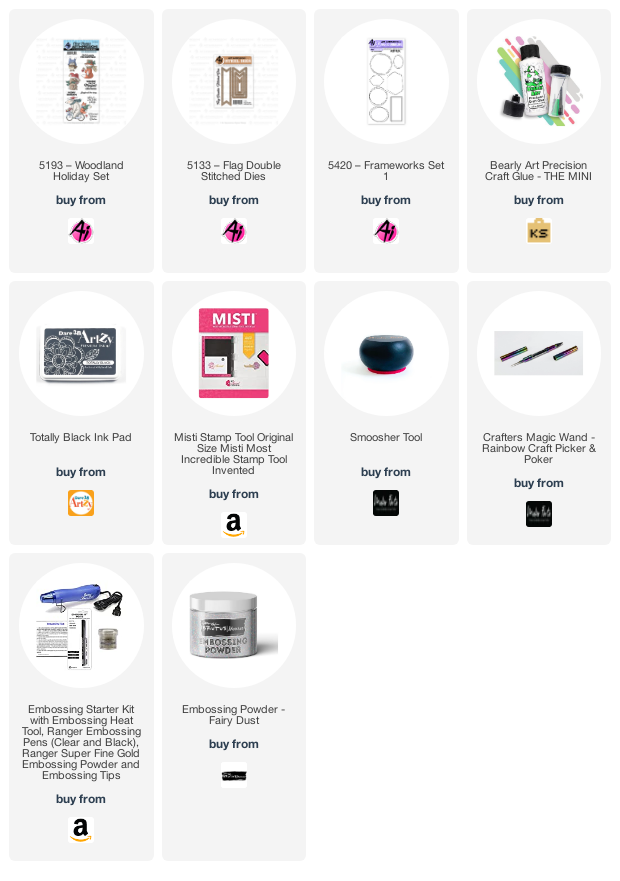
Tasha here sharing two holiday cards created with the super cute 5193 -Woodland Holiday Set!


The first card is super sparkly and uses different shades of green. I stamped the little owl on to white card stock and colored it with Copic Markers. I used Distress Oxide Ink to bring in the green color around the image and added little snowflakes with a white gel pen. I love these light green colors!

The background was created by ink blending a stencil design and embossing with clear glitter powder. The glitter is so pretty and I think this design looks really cool!


The second card uses the same owl image, but I colored it with traditional red & green holiday colors and used a stamp from the 5420-Frameworks Set 1 to spotlight the owl. I also used a gel pen to add falling snow to the background, I think it looks so nice against the blue sky!

The sentiment "Owl be yours for Christmas" was stamped on to a banner from the 5133- Flag Double Stitched Dies. To continue with the winter theme, I added a piece of snowflake pattern paper and used silver glitter paper to add extra shimmer. 


Lastly, I added little silver sequins to the card before attaching it to a white A2 sized card base.

I hope you enjoyed today's projects and are inspired to create with the 5193 -Woodland Holiday Set!


Saturday, December 4, 2021

Oh What Fun! by Janet


Hi everyone! Janet here with a cheerful wintery card celebrating the winter season. You know how sometimes things speak to you? This guy told me that's his name! It's Barney. I just fits him I think. Isn't he adorable?

This stamp set used from my card is #5041 - Snow Friend Set. There two snowman images and related sentiments in this super fun set along with a birdhouse, birds and holly.

This snowman actually holds a string of lights and I thought it would be fun to try masking it so I could eliminate the light string. This way, this festive little guy works for Christmas and the winter season generally. I found it was pretty easy to do and it makes him usable all winter.


To make this card I first stamped and colored Barney. Then I covered him with a mask and colored the pond around him with Copic markers. Then I used a stencil to create the clouds in the background. This worked beautifully to allow me to create the scene all around him. Once done I peeled away the mask and then I embossed the sentiment with blue heat embossing powder. 

I cut the image down and put it on an A2 card. I created a stitched frame and put it up on foam tape. I think it gives the feel of looking through a window. The final touches were to add a light blue enamel heart in his hand, a white pompom to his hat and some small pearls and snowflake sequins around him. I hope you like Barney as much as I do!

Happy Creating!

Janet YouTube - Blog - Facebook - Instagram - Pinterest

Friday, November 27, 2020

Fairy Winter Wonderland | By Jessica Shier

 Hello Ai fans!

Have you seen this Fairy Cubbie set? It is adorable! I thought I would create a little winter wonderland for these magical little fairies. Using kraft paper and copic markers and a few different white materials to really make my frosty vision come through. 

I stamped the fairy house and fairies with a copic friendly ink on to Neenah Desert Storm 100lb cardstock. The Copic colors I used will be listed below. The lovely thing about coloring on kraft paper with Alcohol markers is that you don't need a lot of colors since the pigment will be more muted. To add a highlight I went over areas with a Prismacolor White pencil. For more bright white areas and also the ground I used a White Gelly Roll pen. 


I like to add dimension to these cubbies. To pop up the fairy house I used black craft foam. The leaves are stamped NUMEROUS times with Versamark ink and heat embossed using white embossing powder. Gives the leaves a frosty look! I used a pattern paper (Kaisercraft Magenta paper pad) that has a similar pink to the pink Copic marker I used. I liked the gradient of pink colors from that paper but a solid cardstock would work well too.


The sentiment is from the Chubby Snowman set. I also popped up the sentiment and a few of the leaves with some black adhesive foam dots. This panel is mounted on a Bazzill Peanut Cluster card base. 


Thank you so much for joining me today. Happy stamping!

Thursday, January 14, 2016

Winter Wonderland Challenge 175 Week 2!

Hello, Ai Fans!

Welcome back to Challenge Thursdays! We've got a sparkling new one for you!

Last week we saw Cheri show how to make a cute set of boxed cards. This time we have all the designers here showing their winter wonderland! Take a look! Be sure to click on the designer's name for more information and to leave comment love on their blog!


 Diane with Christmas Cheer Set (SKU 4666)

Karen with Snowman & Penguin Set (SKU 4508)


Kerry with Bench Set (SKU 4546)

Renee with Snowman & Penguin Set (SKU 4508)


Sharon with WC Series 4 Set 1 (SKU 4097)


What beautiful cards! Thanks, designers! We hope this inspires you to make some lovely winter cards, as well! Join in our challenge! It's so simple and fun to enter! Don't forget, one lucky and talented top spot winner and two honorable mentions receive stamp prizes!

Here are the challenge rules …
✻ Please make a new card or creation. You can make any crafty item you wish; this is not limited to cards!
✻ Limit two submissions per person. You will receive extra votes if you use Art Impressions stamps!
✻ The Ai Challenge is open to everyone, international submissions are welcome!
✻ Include a link back to the Ai Blog or grab our button on the top right of our sidebar!
✻ Share the Ai love by clicking and commenting your fellow crafters.
✻ Make sure to get your link up by Wednesday, January 20 at 5:00 p.m. PST to enter your creations.
✻ Good luck and happy stamping!


Thursday, January 7, 2016

NEW Winter Wonderland Challenge 175

Welcome back, Ai Fans!

After a holiday hiatus, we are ready to start off a new year of inspiration and challenges! It's going to be a BIG year!

Today we have Cheri bringing some warmth into winter with her adorable creations! Lets take a look!

Hello Ai Fans!

The new Challenge starts today and the theme is "Winter Wonderland".  I had no idea what I was going to do. Whenever I see a stamp with a winter theme I automatically think it has to be for Christmas.  Weird I know but I guess it's just how my brain thinks LOL! I got all my Ai stamps out and started to look through them when BAM it hit me! I could use the "Beanie Whoot" set (#4127). It was one of the sentiments that got me thinking.... "with owl my thanks". What a perfect card to use right after Christmas to thank your family and friends for the lovely gifts you received! My brain went into overdrive LOL and I decided to make a set of 5 Thank You cards.

I started by picking what Design papers I wanted to use, my embellishments and matching cardstock.
I went ahead and stamped 5 of the Owl images. I wanted to paper piece the hats so I also stamped an image on each of my 5 Designer papers from the MME Moments 6x6 collection. I went ahead and coloured my images using my Copic Sketch markers. I cut out my sentiments using the MFT Stitched Fishtail Flag Stax. I like to get as much use out of my dies in various ways. Instead of using the the die as a "fishtail" I used it to make a long skinny rectangle for my sentiment. Using one of my favourite tools....the Perfect Layers Mini ruler and mat, I layered my sentiment with 2 matching pieces of cardstock.
I added 2 pieces of Doodlebug Twine and made a double bow for each card.  After fussy cutting out all the hats it was time to assemble my cards.
The finished product!!
Of course I had to make a little file folder and matching cover for my cards. It's super cute and makes this set into an adorable gift to give!

I hope that I have given you some inspiration and you will play along in our new Winter Wonderland Challenge! 

Happy Stamping!
Supplies:


Thanks, Cheri! Thank you cards are perfect for January! This challenge calls for a wintery creation, it can be for any occasion! We'd love to see what you come up with!

Here are the challenge rules …
✻ Please make a new card or creation. You can make any crafty item you wish; this is not limited to cards!
✻ Limit two submissions per person. You will receive extra votes if you use Art Impressions stamps!
✻ The Ai Challenge is open to everyone, international submissions are welcome!
✻ Include a link back to the Ai Blog or grab our button on the top right of our sidebar!
✻ Share the Ai love by clicking and commenting your fellow crafters.
✻ Make sure to get your link up by Wednesday, January 20 at 5:00 p.m. PST to enter your creations.
✻ Good luck and happy stamping!