Showing posts sorted by date for query Thanksgiving. Sort by relevance Show all posts

Sunday, September 13, 2026

The Magic Starts at the Santa's Workshop - Light it up.


Here is my First Card!
The Magic Starts at Santa's Workshop


 Hello Crafty Friend,


I am excited to share two cards I created for you this week using stamps from the latest release. And one of the cards lights up. I used Canson XL watercolor paper and painted the images with Tombow markers.

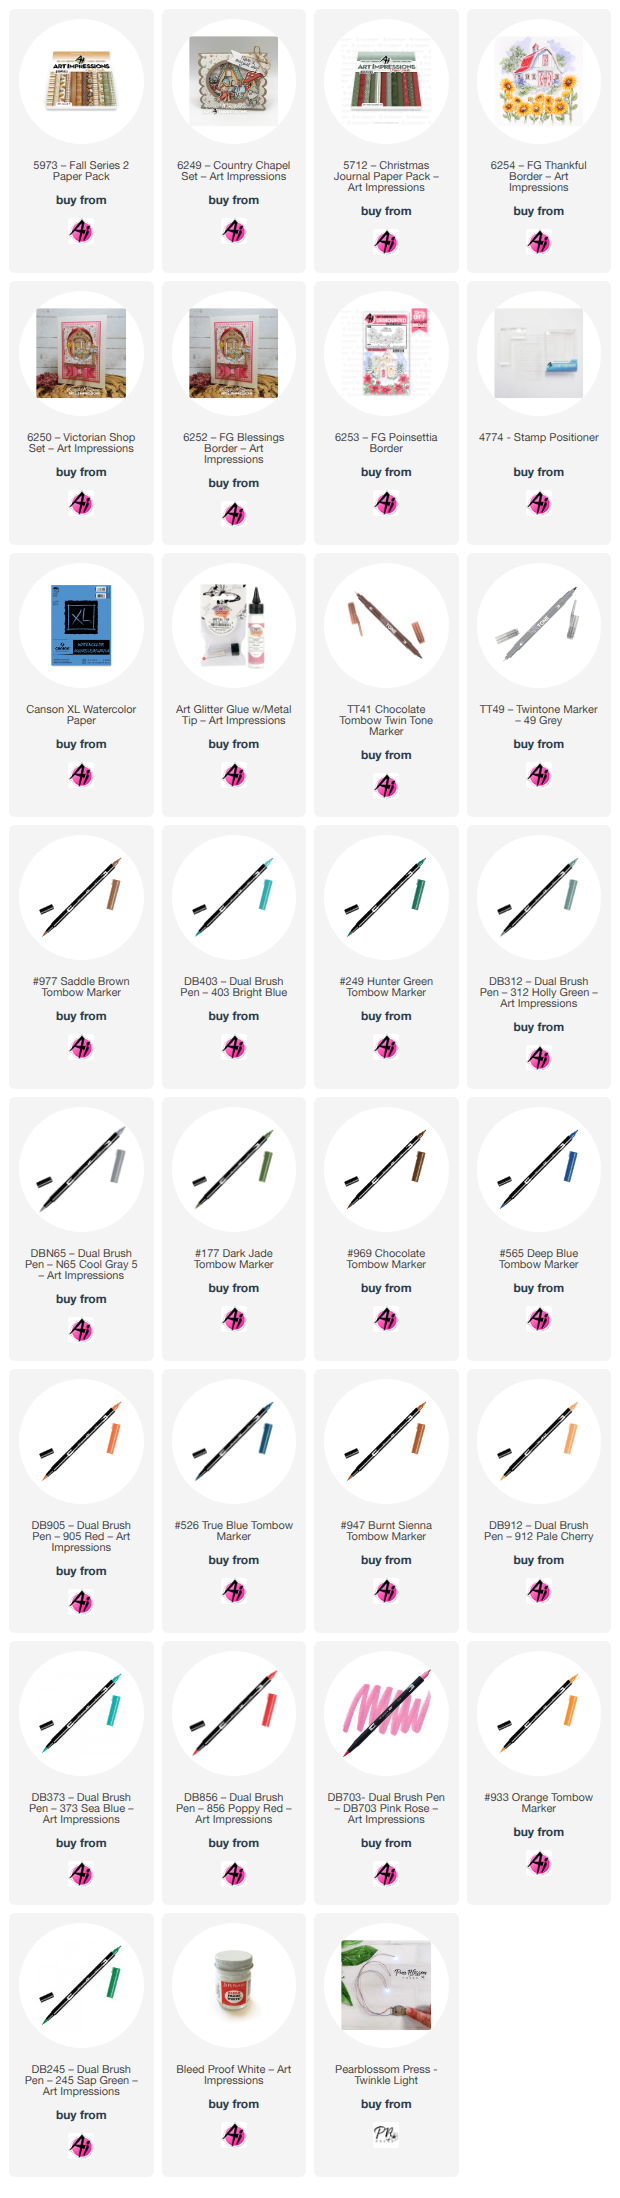
Here are the step-by-step instructions for the first card, which features Santa's Workshop (stamp #6250), Poinsettias (stamp #6253), and the Christmas Blessing set (stamp #6252), along with light fixtures from Pear Blossom Press:

1.  Stamp Santa's workshop in the middle of the paper.
2.  Color the stamped image using Tombow markers.


3.  Stamp the poinsettias above Santa's workshop, and the gate and trees below it. Lightly sketch a pebble path from the workshop to the gate using a pencil.
4.  Color the elements with Tombow watercolor markers and paint the sky light blue.


5.  Carefully cut out the windows and light fixtures using an X-Acto knife.
6.  Apply Dr. Ph. Martin's Bleed Proof White to create a snow effect.


7.  Poke small holes in the Christmas trees for the lights.
8.  Cut a piece of vellum and color it with a yellow alcohol marker.
9.  Glue the vellum to the back of the painting, ensuring all cut-out areas are covered. Use a gel pen to draw the window's frames.


10. Cut a piece of cardstock to match the size of the card panel.
11. Tape the Pear Blossom Press Twinkle Lights to the cardstock, positioning one light for Santa's workshop and one for each tree, with the push button centered at the bottom, (I moved it down after I took the picture)
12. Apply foam tape around the workshop and tree areas.


13. Test the lights to ensure proper positioning, then adhere the cardstock cut on step # 10.
14. Cut a card base measuring 5.5 x 5.5 inches.
15. Cut a piece from the Christmas Journal cardstock collection slightly smaller than the card base, glue it to the base, and center the painted panel on top.


The best way to appreciate this card is through a video. Use the link below to watch a short YouTube video of this card, and while you are on that page, check out other videos that I have made using Art Impressions Stamps on my channel, Crafts and Designs by Neema. 


My second Card!!!!

For the second card, I created a Thanksgiving design using the barn from set #6249 and the Thankful and Blessed set #6254.


I hope you enjoy these projects! You can find the links to all the supplies below. Please let me know if you have any questions.

Stay crafty, and I will see you in the next project!

Neema


Thursday, December 4, 2025

Reindeer Box by Dori Mendiola

 Happy Thursday AI Friends!

I hope you all had a wonderful Thanksgiving week celebrated with friends and family!  

December is here and that means holiday creating!  Clearly, I'm one of those that doesn't get started until now.  Yikes!  Guess I love the pressure of the holiday season.  šŸ˜ 

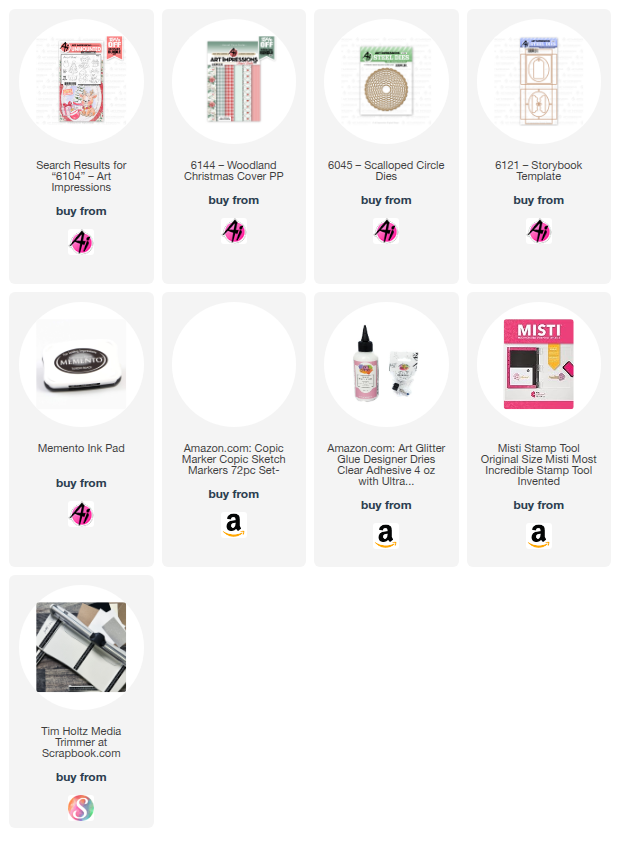
I've got a fun project for you today and you'll find yourself wanting to make lots of these.  I used the new #6104 Christmas Keepsake set for this cute little box.  I found a short video on Pinterest by SammyDemmy displaying this box, but it is in a foreign language.  I was able to improvise and create a version for you with English instructions.  I want to give credit to Sharon for helping me perfect the nose mechanism.  Thanks, bestie!
Cutest little box EVER!  

To open the box, you pull the reindeer's nose.


The finished box size is 3 1/2" tall x 2 3/4" wide x 1/2" deep.  This will fit a gift card nicely or you can place money or a small gift inside.

To make the box:  Cut a piece of 100 lb cardstock at 5 1/2" x 4 3/4".  Score along the 5 1/2" side at 
1/2", 1", 3 1/4" and 4 1/4".  Turn and score at 1/2", 1", 3 3/4" and 4 1/4".  On each of the corners, cut off the 3 small outer squares and snip up to the fold on the remaining small square (see below).


Fold and burnish all score lines remaining.  Tuck in each of the small tab squares and glue to the inside lower fold creating the box shape.  Before glueing the top 1/2" flap, check to see if you need to snip off a little so that it fits just to the bottom of the box when tucked inside.  Place glue on the top 1/2" flap and fold into the box to give the box stability (see below).  Do this for all four sides.  Your inside box is ready.


For the box cover:  Cut a piece of pattern paper at 7 1/4" x 3 5/8".  
Score along longest side at 1/2", 1 1/8", 3 7/8" and 4 1/2".  Fold and burnish.

To create the nose pull:  Color your reindeer and adhere it on a red circle base.  Punch a 1/8" circle into his nose.  Place the reindeer over your pattern paper box cover and mark where you want the nose.  Note:  I found that the lower you place the reindeer on the box, the farther the box will open.  
Punch a hole into the pattern paper for the nose.  If you have a crop a dile that will reach, you can adhere the reindeer onto the pattern paper and then punch the hole through all three layers at one time vs. marking it.  
Once the hole is punched onto the pattern paper, line up the hole with the reindeer and adhere the circle in place.  Thread the ribbon or embroidery thread through the bell.  Tie the thread so bell stays in place.  Place the two ends of the thread through the hole to the inside.  Hold the inside box into place and bring the thread up the front of the box and over the top.  Glue the thread on the top and again on the back of the box (towards the top).  After the glue has dried completely, snip off the loose thread from the back and glue the box cover together.  Make sure the cover does not adhere to the box.  


If you want the box to hang from the tree or a gift, place a tag topper to the back side of the box cover.  Tie some ribbon or string and a To/From tag to the topper and it's ready for your gift or tree.


Once you make one of these, you will find yourself making so many more!  Have fun pulling his nose!

Thanks for joining me today!  Keep creating!

Copics used:  E50, E51, E53, E55, E57, E59
R20, R22, R24, R27
Y28, Y32, Y35

Monday, December 1, 2025

November 2025 Monthly Challenge Winners!

 Hello Ai fans!

To those who celebrated, we hope you had a wonderful Thanksgiving!

We enjoyed seeing all of your beautiful art and hope that you enjoyed
Sara's fabulous inspiration!

This was our last Monthly Challenge for 2025.

We're taking December off because it's such a busy time for everyone.

Be sure to check back in January when Simone will be our Guest Designer.

Beverly Sizemore is the winner of a free stamp set from Art Impressions.


  Bev, please contact Leah at Feedback@artimpressions.com
to claim your stamp set.


Rachel Bankes is the winner of a freebie from me.

Please email me at Renee@artimpressions.com with your full name and address and I'll send you a photo of the freebies I have available for you to choose from.


We hope you all enjoyed participating in our Monthly Challenges

and we can't wait to see what you make next year.


Looking for another challenge?

Our Bi-Weekly Challenge is going on until December 10th.

Our theme is

FLURRIES FORECASTED

Anything with snow.

Snowflake stamps, dies, embossing folders, embellishments, snow drifts,
falling snow, snow spatters and more!
Just click above where it says Flurries Forecasted and it will take you to the page.

Have a safe and wonderful holiday season.


Saturday, November 29, 2025

Warm Hugs by Janet

Hello everyone! I hope all of our US friends had a great Thanksgiving earlier this week. You know what that means....Christmas crafting is HERE!!!!! Today I'm showing off the card I created for the Flurries Forecasted challenge going on at the blog this week.

This card features one of the cute snowman images found in the new 6107 - Snowman Hugs Set. These two snow people are heartwarming. The hugging snowman is especially touching. She is hugging with such pure adoration! I also used one of the many sentiments in this set for the card.

For the snowy background, I chose a paper from the 5963 - Winter Woodland PP. It perfectly works for all snowy skies and it makes this card especially good for the Flurries Forecasted challenge.

Thanks for joining me on the blog today. As always, find your favorite stamps, dies, papers, and accessories at the Ai Store!

Happy Crafting!

Janet - YouTube - Blog - Facebook - Instagram - Pinterest  


Monday, November 24, 2025

Happy Thanksgiving! (Blog closed-Challenge OPEN)

 Hello Ai fans!

Our blog will be closed this week, to give our designers time to prepare for
Thanksgiving and to enjoy time with their families. 


We will reopen on November 27th.

Our current
Flurries Forecasted
challenge will remain open and you can enter
at any time while we're on break.

You can find loads of Thanksgiving inspiration HERE
if you still need to make a card, place cards or maybe a treat bag, box or hostess gift.

Planning ahead for next year?

Find all of your Thanksgiving and Fall needs on the Art Impressions website.

From all of us here at Art Impressions, we hope you have a safe and wonderful
Thanksgiving Day.

See you back here next week.


Saturday, November 15, 2025

Fall is Best with Friends! by Janet


Hello everyone! I hope you are having a nice start to the weekend. Today I have a fun card made with Ai papers and a great new stamp 6105 - Fall Keepsake Set. I used most of the images for this card. Also included is an owl and a mushroom. You can make so many scenes with this one!

This card also qualifies for the current challenge, Gobble, Gobble! Any card with a fall or Thanksgiving thing will qualify. Visit the blog to enter your card. You might win some free stamps! Yay! We love seeing what you are making.

To start my project off, I prepared my card base. I used a premade dark bronze glitter A2 card. I layered a 4" x 5 1/4" piece of patterned paper from 5973-Fall Series 2 Paper Pack. Then came another piece from that pack cut with a smaller 5062-Rounded Rectangle A2 Double Stitched Die. On top of this, I placed a watercolor background I made on watercolor paper. I cut it in an arch shape before I applied blue and green watercolor paint on it. After it dried I splattered Winsor Newton Gold Paint on it to give it an even more distressed look. 

The next step was to stamp and color the images from the set. I had to laugh because I colored the fox wrong. He should have had a red head and a white mouth! Let's just say he's special! I certainly wasn't going to discard him and he's cute just the same. Once they were done, I cut the images out and glued the pumpkin collage into the bucket. The bucket has a slit in it to allow you add any of the other pieces into it. It's a fun feature. 

Before arranging the rest of the pieces, I used the Winsor Newton Gold Paint as a gilding on the green pumpkin. I did something similar to the orange one but coated just certain areas of it and dabbed the rest of it. Afterward, I arrange the critters and the pumpkin on the card in front of the bucket, using thick foam pads to lift the critters up from the surface.  
 
I hope you enjoyed this card and learning how it was make.

Thanks for joining me on the blog. As always, don't forget to find your favorite stamps, dies, papers, and accessories at the Ai Store! You'll always find something that calls to you. 

Happy Crafting!

Janet - YouTube - Blog - Facebook - Instagram - Pinterest  


Friday, November 14, 2025

Thanksgiving Harvest Wishes!

 Happy Friday Art Impressions friends. 

Tasha here sharing a Fall themed card inspired by the current Gobble-Gobble! Challenge.

Thanksgiving is next week and Art Impressions has so many great Fall sets to create fun cards and projects. Today I used the 5507–Harvest Together Set to make a golden Fall design. I stamped the girl scarecrow and cut her out with the included dies; I just love her basket of apples! After die-cutting, I colored her with Copic Markers and used foam tape to pop her up in the center of the card.

For the background, I blended a warm golden sky and added a wooden ground for a rustic look. I also used three dies from the 6046–Scalloped Oval Dies to create a pretty layered frame in rich Fall colors. To finish the card, I added layers of white, copper, and black card stock along with a piece of Ai plaid paper for an extra cozy touch.


Thursday, November 13, 2025

Gobble Gobble! Challenge #416 Week 2

 Hello Ai fans and welcome to week #2 of our Gobble Gobble challenge.

Our Featured Designer last week was Sharon and she 


Lynn's card and YouTube tutorial are HERE.


I started working on my Thanksgiving place cards for 2025.


Tasha has a sweet scarecrow.


We hope our Design Team has inspired you to join in our challenge.


✻ Please make a new card or handmade crafty creation. You can make any item you wish; this is not limited to cards! (unless specified)

✻ Limit two submissions per person.
 ✻Please include your first name and last initial on your submission. You may include your entire last name, but it's not necessary.
✻We love to comment on your entries, but keep in mind if you use a private group or a platform that you need to sign up for, we probably won't be able to.
✻ The Ai Challenge is open to everyone, international submissions are welcome!
✻ Include a link back to the Ai Blog or grab our button on the top right of our sidebar!
✻ Share the Ai love if you can, by clicking and commenting on your fellow crafters.
✻ Make sure to get your link up by the deadline to enter your creations.
✻ Good luck and happy stamping! 


You are invited to the Inlinkz link party!

Click here to enter

Fall Placecards by Dori Mendiola

Happy Thurday AI Friends! 

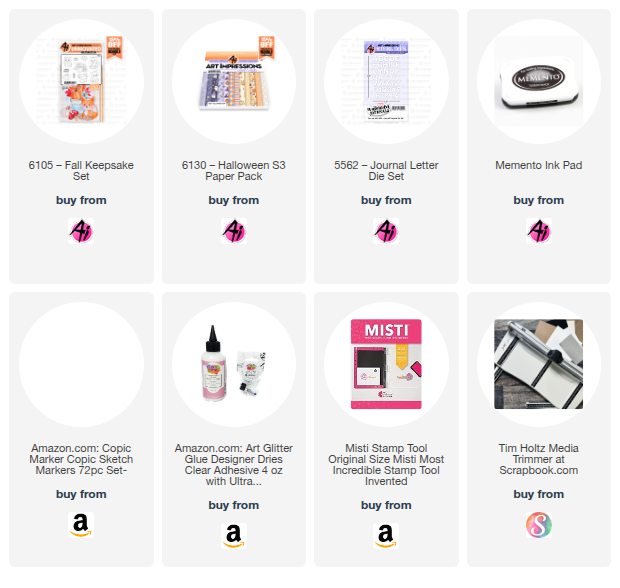
Have you checked out the newest challenge called "Gobble Gobble" on the AI blog?  Super fun and simple to play.  Just anything fall or thanksgiving themed.  I thought placecards would be fun for this challenge especially using the newly released stamp set #6105 - Fall Keepsake set.  Perfect for your thanksgiving table!


I began by stamping the images with Memento black ink onto copic friendly paper and colored with my copic markers listed below.  I then die cut each with the coordinating dies (yep, they're included with this stamp set).  I also cut an extra set of all images with scrap cardstock.  I like to adhere to the back of the colored image for stability plus dimension instead of foam tape.  

The placecard is made by cutting a 5 1/2" x 3 1/2" piece of cardstock.  Score at 2", 4" and 4 3/4" along the 5 1/2" side.  Fold and burnish as mountain, valley, mountain.  Place your images as desired and die cut the letters for each name with the #5562 - Journal Letter die set.  

And there you go, easy peasy, you're ready for your table setting!

Thanks for joining me and I hope you join along with the blog challenge for a chance to win a free stamp set.   We love to see your creations!

Have a wonderful day and keep crafting!
Copics used:  E50, E51, E53, E55, E57, E95, E97
R20    YR02, YR04, YR07, YR20, YR21, YR23

Tuesday, November 11, 2025

Thanksgiving Place Cards by ReneƩ Matarese

Hello Ai fans!

I always host Thanksgiving for my extended family.
I've begun making this year's place cards.


I made these place cards with the Gobble Gobble challenge in mind.

  
I "watercolored" my images with my Arteza Real Brush pens.
I love these because they're really easy to work with.
 

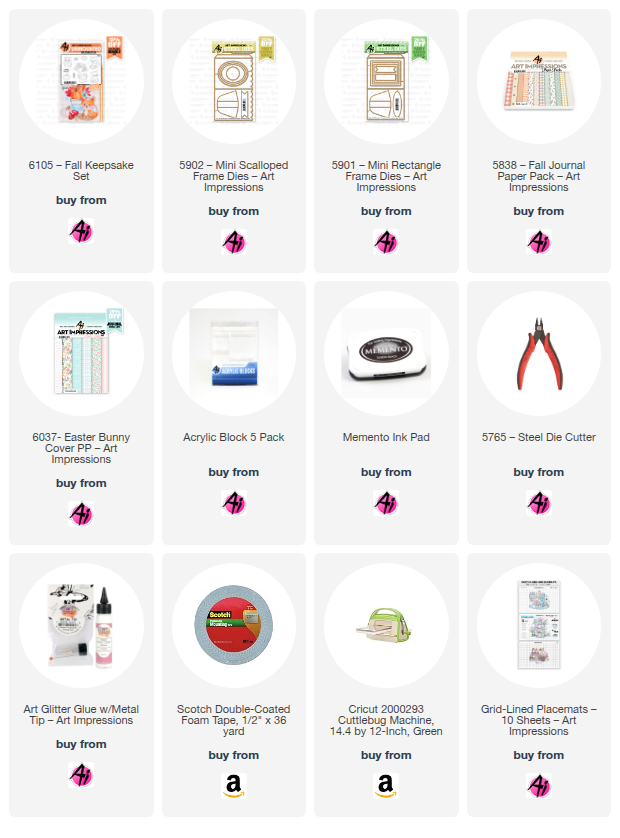
I used dies from the mini frame series and 2 different paper pads.
One is Easter which just goes to show you that you should always think outside the box.


See my list below for links to all of the Art Impressions products that I used.
Happy Fall everyone!!


Arteza Real Brush Pens

Ginger/A178
Tawny/A137
Acid Green/A152
Orange/A112
Mint Green/A177
Sunset Yellow/A156
Lemon Yellow/A105
Punch Pink/A195
Tomato Red/A194
Ice Blue/A173
Chamomile/A157