Easter Place Cards:

I enjoy making seasonal decor and thought it would be fun to
make some place cards for the Easter table. I made some slight modifications to
the 5717 – Little Girl Front & Back and the 5716 – Little Boy Front &
Back stamped images. I inked the stamps with 969, but left off the basket on
the girl and the hat on the boy. I used a pencil to draw in the boy's pants
legs and across the girl’s apron and skirt to complete the images. Next, I
stamped the egg basket from 5869 – Easter Bunny Puppet Set inked in 969/565 onto
my Canson XL watercolor paper. I used the following colors for the boy, girl,
and baskets: boy’s hair (026, 977, brown
TwinTone), skin tone for both (850, 947), overalls and stripes on shirt (526),
boy’s shoes (947), girl’s hair (947, 977, brown TwinTone), girl’s dress and ribbons
(603), cheeks (a touch of 703), girl’s shoes (N52), Easter eggs (703, 407, 933,
173, 603) and to shade the white areas (565). White dots were added to the girl’s
outfit with Dr. Ph. Martin’s Bleed Proof White.


I die-cut all the pieces with
the included dies from each set. I wanted the girl and boy to be interactive,
kind of like paper dolls. I used a craft knife to cut around their hands so I
could slide the basket handle under their hands. Because I removed the hat from
the boy image, a little bit needed to be trimmed off the sides of the die-cut
with scissors before gluing the front and back together. I did not apply glue
under the hands.

For the place cards, I
die-cut a 2 ½ x 3 ¾ inch rectangle (5724 – Nested
Rectangle Dies) of cardstock and scored at 1 ¼ inches on the 2 ½ side to create the fold for the place card. I cut two
1 x 3 ½ inch pieces
of purple-dotted patterned paper from the 5742 – Easter Journal Paper Pack to attach
to the front and back of the place card. The front piece was only glued on
three sides, leaving the top open for the boy and girl to slide into place for
display along with their Easter basket of eggs. This next step is optional, but
since these are paper dolls and we want them to be played with, it’s a good idea
to seal them with a bit of Distress Micro Glaze so the colors won’t bleed if
they should get a little water splashed on them.


I stamped the “Easter Wishes”
sentiment from the new 5867 – Mini Easter Sentiments Set onto a sentiment
banner die from 5543 – Journal Template Die Set. I die-cut two additional blank
sentiment banners to attach to the back of the place card to personalize with
your guest’s name. I think these sweet place cards will add a nice touch to your
Easter dinner table and if you want to, go ahead a play with those adorable
paper dolls after dinner! Now on to our next project.
Easter Mini Journal Treat box:
A holiday dinner wouldn’t be
complete without a little sweet treat! These adorable treat boxes could be
placed on your Easter table along with the place cards or passed out after
dinner for your guests to enjoy. To make this treat box, I used the recently
released 5805 – Mini Journal Box Dies to create the box. I love this die! It
was created to safely keep the mini journal, but it makes a great little gift
box too!
To decorate the front of the
box, I stamped the egg basket, 2 eggs, and bunny bum from 5870 – Peeking Bunny
Set with Versafine Onyx Black ink onto my Canson XL watercolor paper. Versafine
Onyx Black ink is water-resistant when dry and is perfect for watercolor. These
images painted up rather quickly and the dies made cutting them out a breeze!
Here are the colors I used to paint the images:
Eggs and basket (703, 403, 173, 603, 993), bow and bunny bum (shaded with
565, and 703 for the pads on the feet). I die-cut the pieces, slid the bunny
bum into the slot, and glued them in place leaving the feet to hang free. I then
attached the basket to the front cover with foam squares. I tucked one of the
eggs behind the basket and glued it in place. For the other egg, I added it on top
of the basket and attached it with a foam square. For the top of the box, I
die-cut a bow from white cardstock using the dies from 5811 – Gift Card Pocket
Dies. Once the bow was assembled, I attached it to the top of the box with mini
glue dots.

As I mentioned before, this
box was created to house the mini journal. Well, our mini journal won’t have
any pages this time, it will have something better inside – chocolate!
Using the cover die from 5718
– Mini Journal Template, I die-cut two panels from purple cardstock and glued
together the front and back. For the cover, I used the frame die from 5805 to
cut the frame from the purple-dotted patterned paper from 5742. With the same die,
I die-cut a piece of watercolor paper for my bunny painting, using only the
interior piece. I stamped the bunny on a tree stump from 5737 – Bunny &
Chicks Set inked in N52, leaving off the pot and lower part of the stump. The
bunny was shaded with 565 and 703 for the cheeks. I painted the stump in 977
and 969, and added details with a brown TwinTone. I brushed in some sky with
407. I glued the frame to the front cover of the mini journal and popped up the
painting in the center with foam squares. Next, I added sentiments and die-cuts
to the interior and inside flap. The sentiments are from both Easter sentiment
stamp sets: 5733 and 5867. The die-cuts for the sentiments came from the
following sets: 5805, 5718, and 5588.
To make the decorative covers
for the Hershey’s Nuggets, I cut (2) – 1 inch x 3 ½ inch strips of Canson Mixed Media Paper. I randomly stamped the egg from
5870 in Versafine Onyx Black Ink and painted them with the same colors as
above. To fill in the white space, I randomly added tiny dots in the same
colors. I wrapped the strips around the chocolates and secured the ends with double-sided
tape. I then added mini glue dots to the chocolates and pressed them into place
on the center of the mini journal.
Your little mini journal is
now complete and ready to go inside its adorable treat box. I hope you enjoyed
these projects and will give these ideas a try! If you do, please share and tag Art
Impressions on social media – we love to see your work! Until next time, Happy
St. Patrick’s Day, Happy Easter, and Happy Painting!
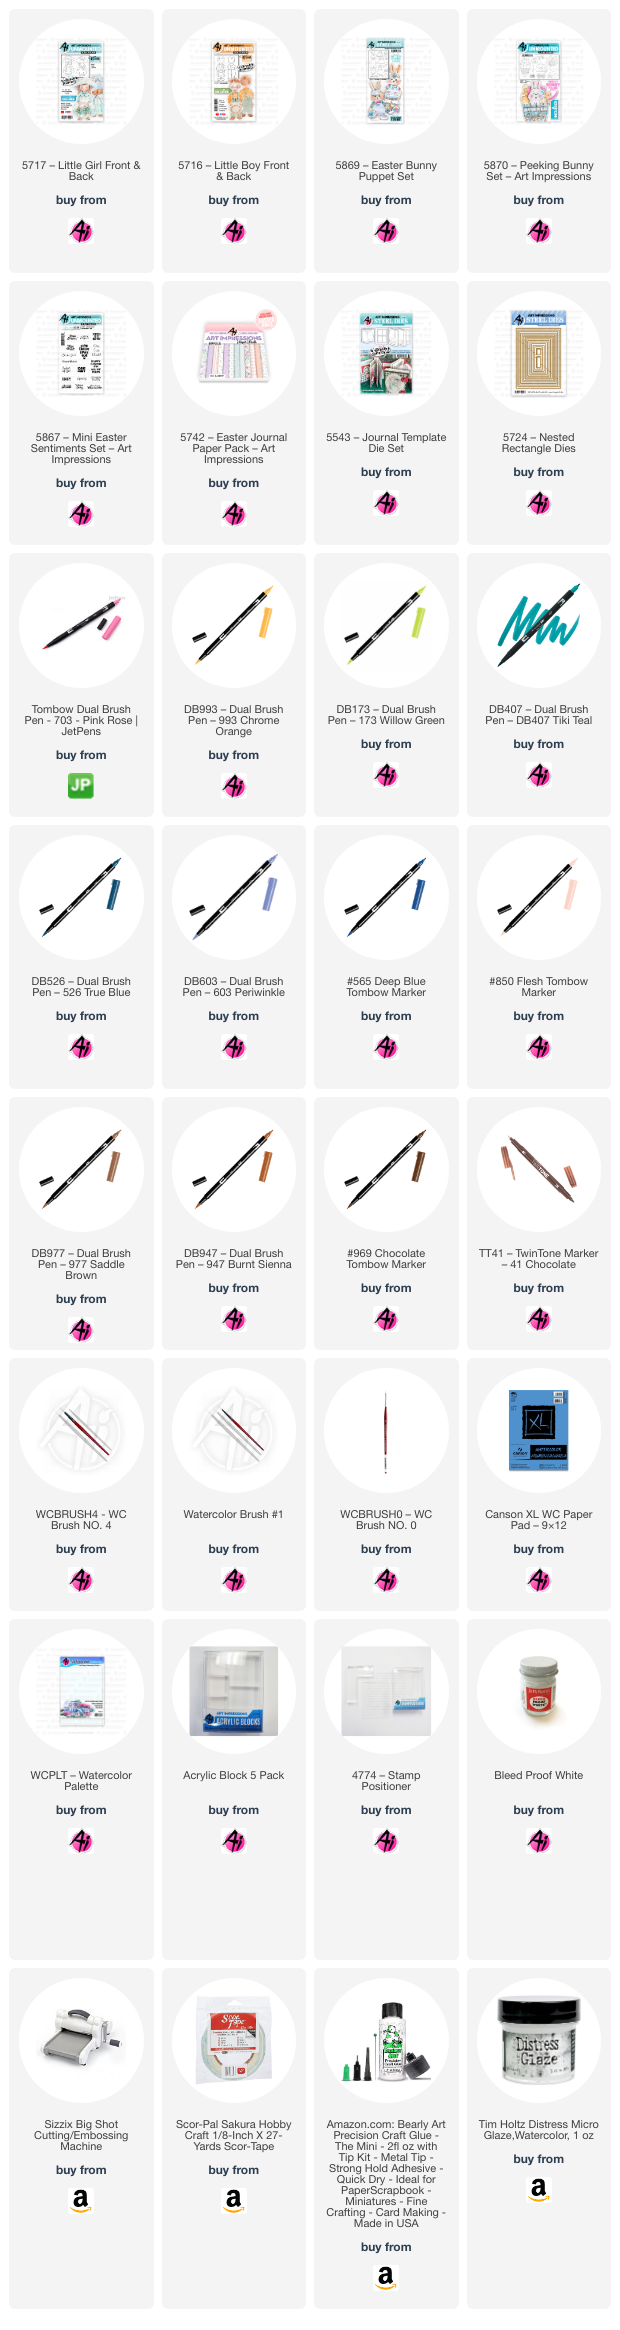
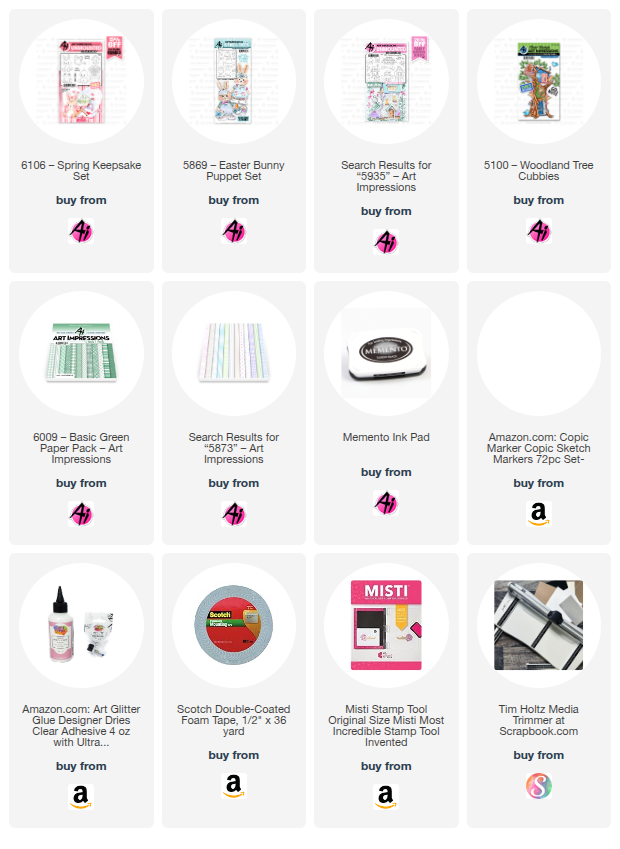
For the Easter Place Cards:
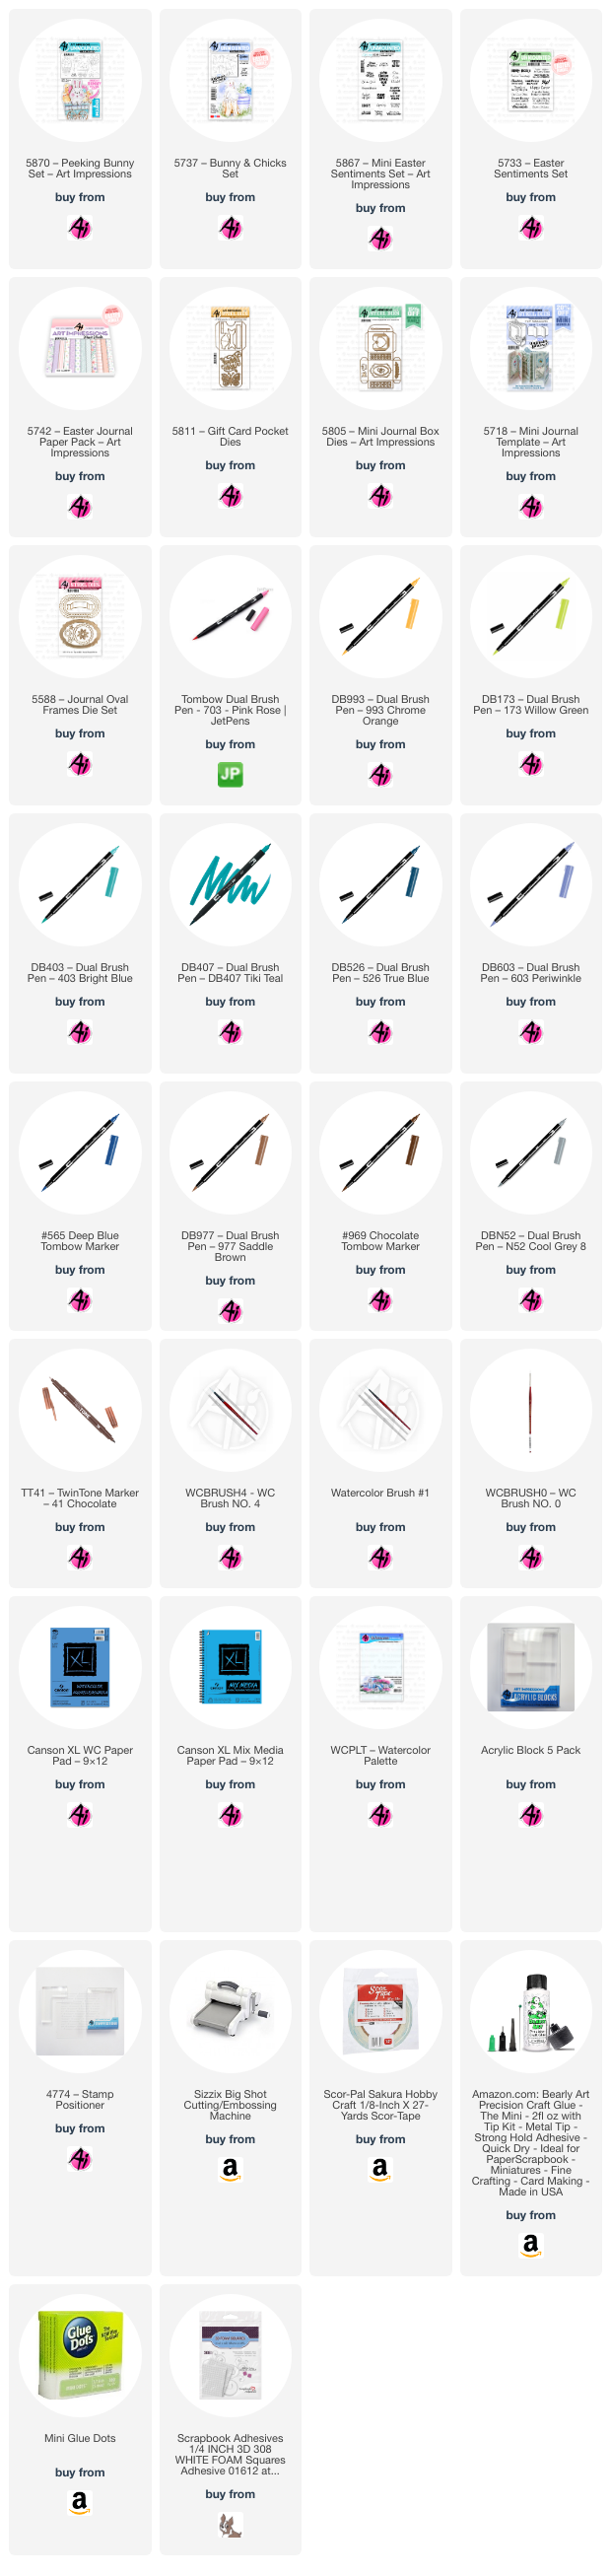
For the Easter Mini Journal Treat Box:





.jpg)