So the new challenge that started Thursday is called Farm Fresh! How fun is that?! So for my card, I used 5396 Hen House Cubbies for this. The Cubbies are such an awesome line of stamps and dies! I stamped all the images onto a Copic friendly paper with Memento Tuxedo black ink and then colored them with Copic markers which are listed below. For the card base I used 5939 Fairy Garden PP. The sentiment is from AiCS40 Spring Chicken Set. I hope you join in on the challenge for a chance to win a free stamp set of your choice!
Thanks so much for stopping by for a visit today! Until next time - stay crafty!!
Good morning! I love Watercolor Weekends. This weekend I have a scarecrow with sunflowers and a wash basin full of flowers for you.
For the scarecrow card, I used the following stamps and dies: 5594 - Harvest Scarecrow, 4051 - Foliage Set, 5059 - WC Harvest Set, and 5724 - Nested Rectangle Dies.
The Tombow markers used are the following: 026, 228, 177, 565, 969, 856, 933, 947, 977, 992, 526, 312 and 879
This little scarecrow always makes me smile whenever I see it.
I wanted to make a card that looked like a scarecrow in a field of wild sunflowers. I first stamped the scarecrow using 565 and 969 markers. After the scarecrow was painted I used a stamp positioner to line up the milk container below. I made masks for the container and the sunflowers to stamp a few layers of the sunflowers. As I made this card I decided the scarecrow needed yellow hay sticking out like a real scarecrow and the grass/wheat stamp from the 5059 - WC Harvest set was perfect! I think it adds a cute little detail. Along the bottom of the card, I stamped some grass and painted small blue dots to look like wildflowers. I used brown twine to wrap it around twice and tie it into a bow on the three layers of cardstock. I used Dr. Ph. Martin's Bleed Proof White for the final touches to add small white highlights. I attached the cardstock to a pretty orange plaid to complete the card.
For the flowers in a container I used the following stamp sets: 5923 - Farmhouse Containers, 5917 - Floral Bouquet Set, 5925 - Honey Bee Set (honeycomb), and 5561 - Birds and Bugs
This was a fun simple card to create and I love the bug critters!
I began by stamping the honeycomb stamp from set 5925 - Honey Bee using Tombow marker 026 on watercolor paper. Then, I pulled out the color from the lines to create a watercolor effect. Next, I stamped the wash basin onto watercolor paper and filled the basin with stamped flowers using Post-It white tape. To achieve the desired effect, I created a mask of the flowers. After stamping the flowers, I lightly painted each one and added deeper colors once they were dry. I die-cut the floral container with an oval die set. Before mounting the floral container painting to my card base, I wrapped a small ribbon around the honeycomb background, then mounted it to a card base and tied a small bow. Next, I stamped a bunch of bees, ladybugs, and butterflies onto watercolor paper, painted them, and then die-cut each bug. I added pop dots to the bugs, and the card was finished!
I hope you all enjoy the cards and are having a great weekend. Thank you.
Hello Ai fans! I love the work the watercolor team does but I lack the skills to do the beautiful paint work that they do. We all know that Ai has so many fabulous set designed to make watercolor easier but please don't think they can't be also used with other mediums like markers. If you're a watercolor person, you can try pencils and markers too. In other words, there are no limits for the artwork that Ai makes available to us, no matter what our preferred coloring tools.
Today I've used several products that were designed with watercolor mainly in mind. First, I cut the base that holds the picture I colored using 5902-Mini Scalloped Frame Dies. What's so great about it is that it holds a small scene and has an easel so the frame can be displayed like a piece of art. It makes it a great gift!
My scene was created with 5378-WC Stone Creek Scene, 5371-WC Barn Set, and 5372-WC Mini Foliage. I used a variety of green markers to color the pastures, crop land, and trees. I used several blue markers for the water and sky. Brown and red was used for the tree trunks and wind mill blades. The Stone Creek Scene is larger than the window of the display so I lightly drew in the window shape over the area I wanted to show and that helped me decide where to put the trees, bushes, grass, windmill, and cows. Then I cut it down to fit inside the card and display the intended scene.
To finish this display, I stamped the sentiment on a small circle cut with 5726-Nested Circle Die Set. The sentiment is from 5734-Friend Sentiments Set. I attached the sentiment to the frame and decorated it with a twine bow and a small sunflower. I also placed a few gold glitter enamel dots in the lower corner of the frame.
Thanks so much for joining me to see what I created for you today. Please visit the Ai store for the sets I used and all the things you need for your card, journal, and tag making projects. Have a great weekend!
Tasha here sharing a Halloween card created with the new 5934 - Spooky Crew Set. I love making Halloween cards and this set has several super cute images to use on your project. I selected this adorable Cat stamp and created a not-so-spooky Halloween night scene.
The little kitty and witch hat were stamped with black ink and colored with Copic Markers. I used the included die set to cut the images out and attached the cat to the card with foam tape. This cat looks so happy; I love her smile!
This set also includes several sentiments, but I thought it would be fun to use the 5814 - Crooked Lamp & Sign Post Set and make a greeting. I stamped the sign post and used scissors to cut the image out. After coloring, I used a white gel pen to write "Happy Halloween" and "Boo!" on the signs.
To create the background, I added layers of multi-colored leaves and little orange embellishments for the ground. For the sky, I added a bright white moon and two fun bats cut with the 5328 - Halloween Mini Dies Set. I love the pink color on the bats!
Lastly, I attached layers of black and deep pink card stock and a layer of Art Impressions Halloween pattern paper. This colorful pattern paper is great for Fall projects and I love the colors!
I hope you enjoyed today's project and are having a wonderful day!
Hello Ai fans and welcome to our newest challenge on the Art Impressions blog!
Farm Fresh!
We're looking for your projects that take us down on the farm...hay bales, animals, barns, wagons, wheelbarrows, trucks, tractors, chicken coops, produce/veggies etc.
Before we see what our Featured Designer Lynn has created, let's see who won our last challenge.
Please contact Leah at Feedback@artimpressions.com
to claim a free stamp set of your choice!!
Also, be sure to grab our badge to display on your blog, Facebook or Instagram!
Congratulations!
Now for Lynn's fabulous Farm Fresh inspiration! She created a gorgeous diorama card and has a video tutorial to walk you though everything step by step. Sit back and enjoy. We hope you'll give this challenge a try. You may be the next lucky winner of a free stamp set.
Today I am the Featured Artist for the brand-new Art Impressions "Farm Fresh" Blog Challenge! I'm really excited to be asked to create a card that includes anything farm related such as, hay bales, animals, barns, wagons, wheelbarrows, trucks, tractors, chicken coops, produce/veggies etc. So, I thought we would create this fun, interactive, diorama card!
I'm calling today's card the "Christmas on the Farm" diorama card and we will be using the Ai Christmas Truck Set (5457) which includes a truck, tree, Christmas lights, presents, a candy cane, and a cute little signpost. We will also be grabbing the hay bales from the Ai Harvest Set (5598).
Let's go ahead and stamp, color and cut the pieces that we will be using today. To do our coloring we will be using the Zig Clean Color Real Brush Pens in the following colors: Blender, Lt Pink, Wine Red, Orange, Yellow, Mustard, Ice Blue, Persian Blue, Lt Green, Deep Green, Lt Gray, Warm Gray 4, Beige, Mid Brown.
To create the diorama card base we will be using the Lawn Fawn Ta Da! Diorama! Set. This die set will cut and score all of the pieces that we will need to create this fun design. For paper we will be using the Ai Christmas S2 Paper Pack (5812). I'll give you a detailed demonstration in the video for how to easily assemble this fantastic and fun diorama.
For the little signpost we will add a "Joy" sentiment using the Ai Christmas Sentiments Set (5566). This just looks so cute on our woodgrain sign!
Again, I will show you the assembly of the card base and all of the dies needed in this video! The end result is just so cute and interactive!
I hope you will join us in this new challenge! We would love to see what you create! It is a great opportunity to dig through your stash and combine some of your stamp sets to create your own "Farm Fresh" project!
Thank you so much for joining me today! Have a fun and crafty day!!!
Thank you SO MUCH Lynn for that amazingly cute card and wonderful tutorial.
Now, here is YOUR chance to enter and win...
✻ Please make a new card or handmade crafty creation. You can make any item you wish; this is not limited to cards! (unless specified)
✻ Limit two submissions per person. You will receive extra votes if you use Art Impressions stamps!
✻Please include your first name and last initial on your submission.
✻We love to comment on your entries, but keep in mind if you use a private group or a platform that you need to sign up for, we probably won't be able to.
✻ The Ai Challenge is open to everyone, international submissions are welcome!
✻ Include a link back to the Ai Blog or grab our button on the top right of our sidebar!
✻ Share the Ai love if you can, by clicking and commenting on your fellow crafters.
✻ Make sure to get your link up by the deadline to enter your creations.
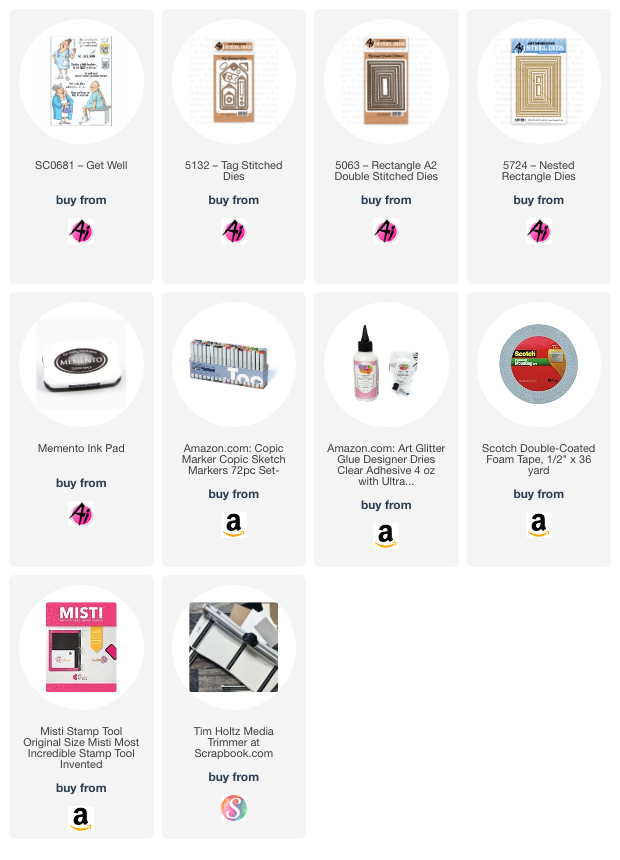
I have been wanting to make a card with the #SCO681 Get Well stamp set for quite some time. I just love the expressions on their faces! Classic!!
I stamped the images on copic friendly paper and colored with my copic markers - colors listed below. I die cut the image panel from the #5063 Rectangle A1 Double Stitch dies and the sentiment from the #5132 Tag Stitched Dies (partial cut). I then used the #5724 Nested Rectangle Dies to frame both the image panel as well as the sentiment with the blue and brown cardstock. I fussy cut the pill bottles and popped them up with foam tape. I added a twine bow and the card is complete.
This stamp set just makes me giggle! The images as well as the sentiments are just too funny and sure to make someone that is under the weather chuckle. The supplies I used are listed below and you can find each of them in the Art Impressions store. Just click on the product link below.
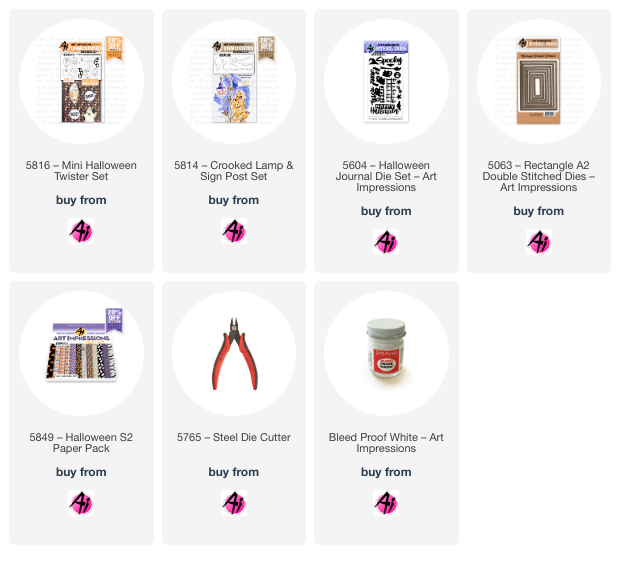
Let's have some fun today and create a cute little Mini Halloween Twister Card! This interactive card is so much fun to create and to give! We will be using the Ai Mini Halloween Twister (5816) Set which includes several "twister" choices such as the little owl, a pumpkin, a ghost and a cat. This stamp set includes both the front and back of the images so that you can see them from both the inside and the outside of the card. The set also includes the dies necessary to create the "twister" mechanism and I will show you exactly how to do this in today's video.
We will also be using the Ai Crooked Lamp & Signpost (5814) Set for the signage on the card. For the sentiments on the signs, we will use the Ai Journal Series Paper Pack (5849).
Now we will stamp, color and die cut the images, and to do the coloring we will be using the Zig Clean Color Real Brush Pens in the following colors: Blender, Yellow, Orange, Beige, Lt Brown, Mid Brown.
Let's go ahead and create our spooky background for the front and inside of the card using the Ai Rectangle A2 Double Stitched Die (5063) Set, cutting the largest one for the front of the card and the second largest one for the inside of the card. To ink the backgrounds, we will be using the Tim Holtz Distress Oxide Inks in Wilted Violet, Blueprint Sketch, Chipped Sapphire and Black Soot. Using a blending brush, we can apply these to the background to get a really spooky look! We can spatter these backgrounds with water, white ink and metallic watercolors for lots of interest.
Now we will stamp a couple of branches on the background, and one will be a place for our owl to sit. Let's also die cut our wrought iron fence a couple of times, a few bats, the "spooky" sentiment, and the "Happy Halloween" sentiment from the Ai Halloween Journal Die (5604) Set.
We will also die cut a stitched hillside border from some patterned paper using the Ai Journal Series Paper Pack (5849). We can ink up the edges of this border for a bit of a shadow.
Now we can create the opening for the "twister", and I will show you exactly how to do this in the video.
Finally, let's do the assembly by gluing the front and back of the owl together and place it in the "twister" opening! Let's also assemble all of the other images on the inside and outside of the card!
Now you can twist and spin until your heart is content!!!
I hope you are inspired to give this card design a try...it is really fun and easy to do! If you enjoyed this "twister" design, you may want to check out my other video using this technique, and I will link that below:
Thank you so much for joining me today! Have a fun and crafty day!!!
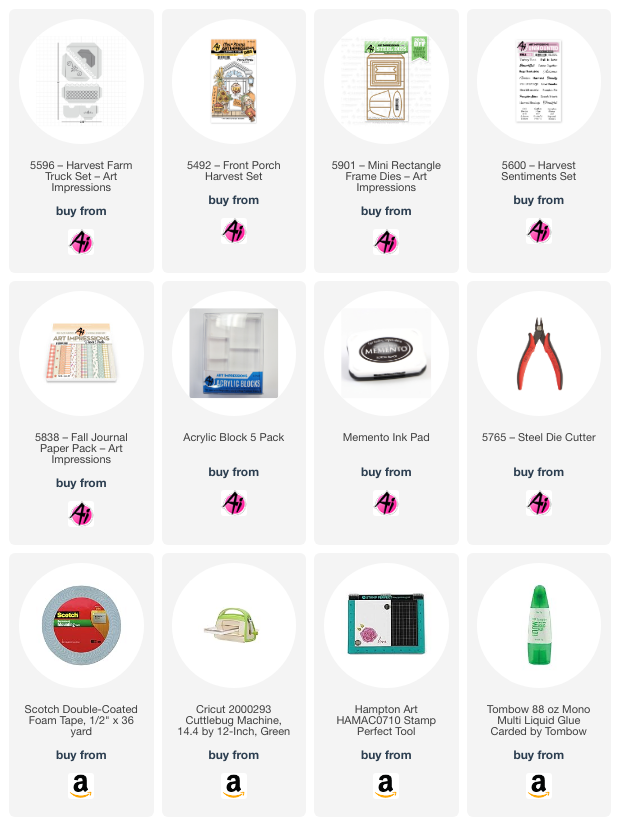
Since the Never Have I Ever challenge last month, I've really been trying to use stamps that I've never used before. This time, for the Not Just Paper challenge I pulled out 5596 – Harvest Farm Truck Set. I felt it was perfect for this time of year. My area is full of farms and our pumpkin farms are about to be in full swing!
My card qualifies for the challenge because I used twine and an enamel dot. You still have about 24 hours to enter and you may win a free stamp set!
I used the new 5901 – Mini Rectangle Frame Dies which have an easel on the back because I thought these would be cute displayed on my fireplace mantle this fall.
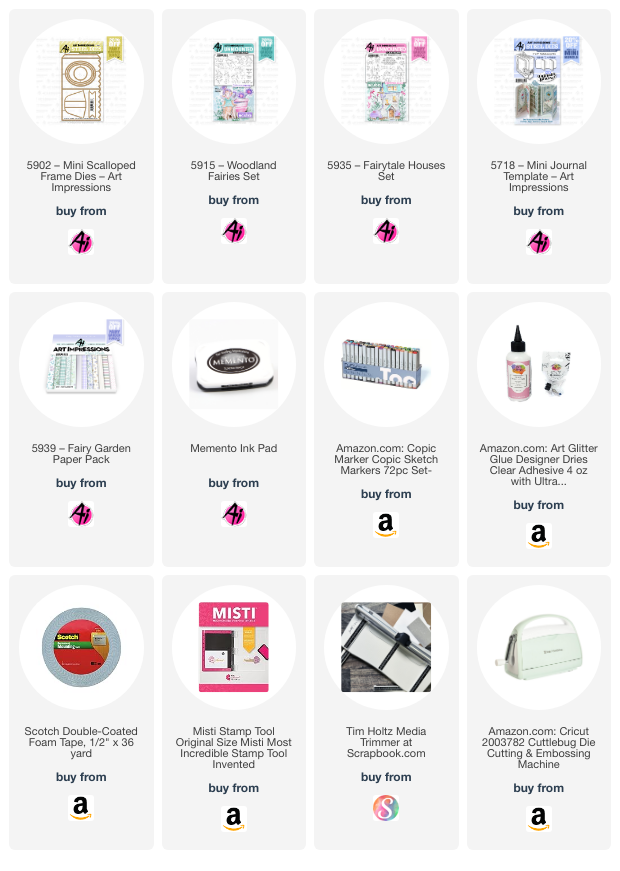
I just love the whimsical fairies and houses that Bonnie has blessed us with this year! I used them again today along with the amazing 5902 Mini Scalloped Frame Dies. I stamped the images onto Copic friendly paper and then colored them up with the markers listed below. All the products I used are listed below. You can just click on the product and it will take you right to it in the shop!! This was so much fun to decorate, and I love that it's small enough to brighten up a little area on your desk or anywhere else. I wanted to add a layer of grass on the front, so I just used the Scalloped frame to cut out a piece of green and cut it along the scored edges. I then cut it again with my grass die and then simply glued it to the front of the frame.
Thank you so much for stopping by for a visit today. Until next time - stay crafty!!
Happy Saturday everyone! Halloween is such a great time of year for card makers. Art Impressions has so many adorable Halloween stamp and die sets that are never too spooky or inappropriate. Today I've used the 5934-Spooky Crew Set. I used this one a few weeks ago but I love it so much I pulled it out again. This card looks nothing like the last one though. That's the beauty of Ai's sets. You can use them in so many different ways. Plus there's so much variety. This set would be sold as two separate sets at another company. There's a large spooky house which could be a separate set but Ai puts it together with the images I've used today for a great value. If that's not enough, matching dies are included too!
This is a border flap card. The foreground is a stitched frame from my stash. It includes doors for the windows and I used one of them to hide a message inside. This all fits on the front of a regular A2 card.
Before I cut the frame out, I stamped the pumpkin top and the witch hat in the circles and colored them in to help tie this all together. I added a twine bow to the door and some orange pearl bling. For even more fun, I filled in the yellow grins and eyes of the jack-o-lanterns and the moon with glow-in-the-dark drops. Here's what it looks like when it's glowing in low light. I think it will delight the young or old.
This card was made with the current Ai blog challenge - Not Just Paper Challenge in mind. Here I've used twine, pearl bling and glow-in-the-dark drops. You can enter your cards by including anything besides paper on your card. Easy peasy! Go HERE to post get inspiration from the Design Team and enter your card and a chance to win a free stamp set from Ai.
Thanks so much for joining me to see what I created for you today. Please visit the Ai store for the sets I used and all the things you need for your card, journal, and tag making projects. Have a great weekend!


